Kimchi
Turnip Green Kimchi, cooked at home
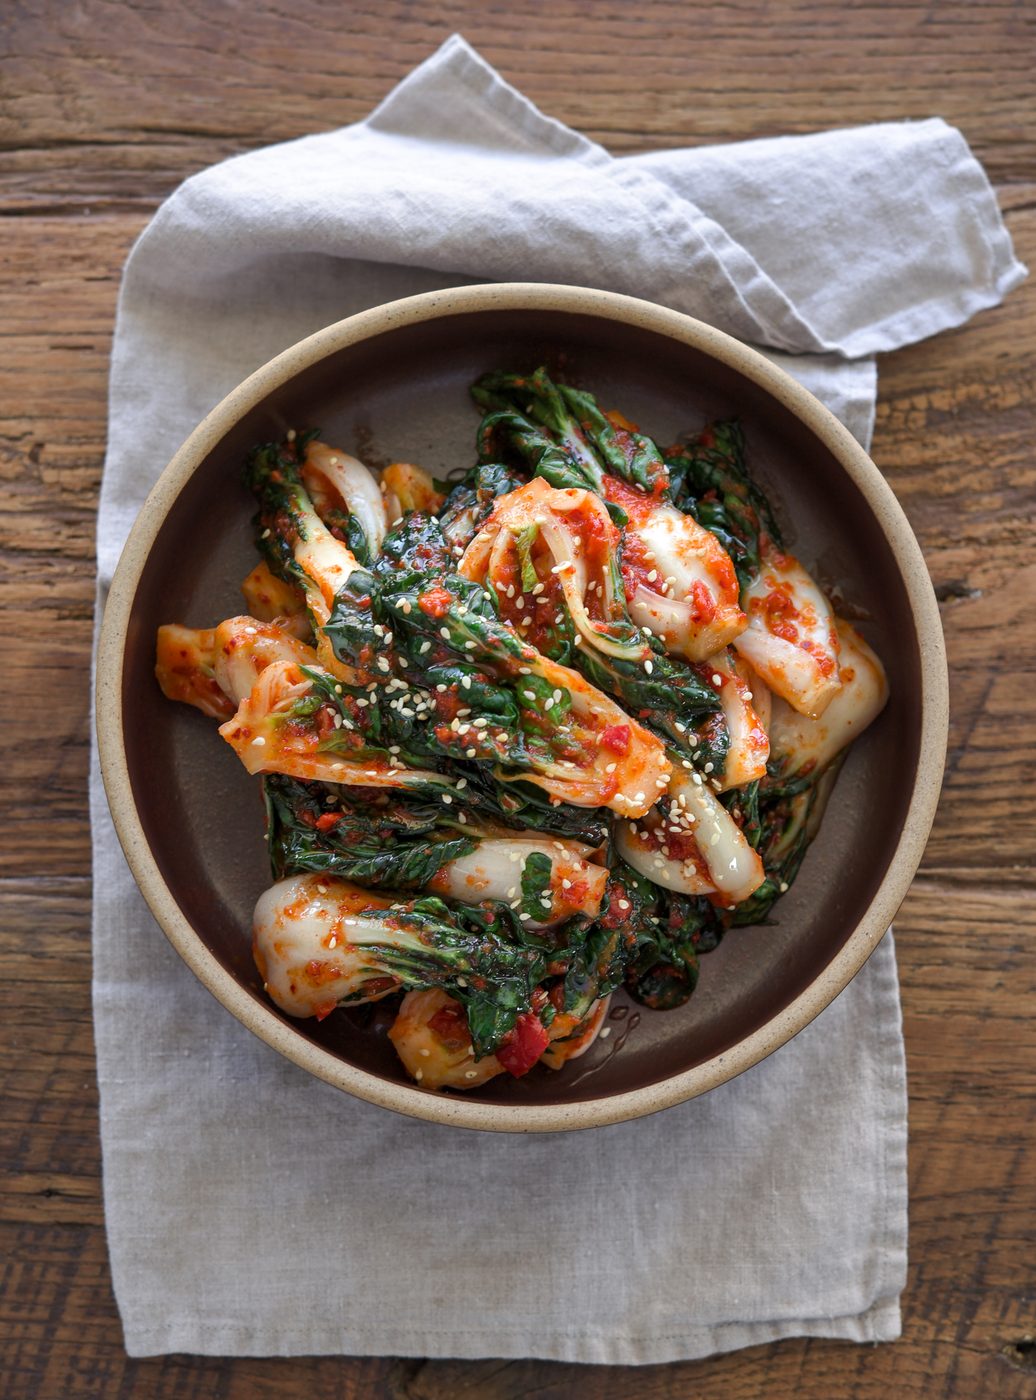
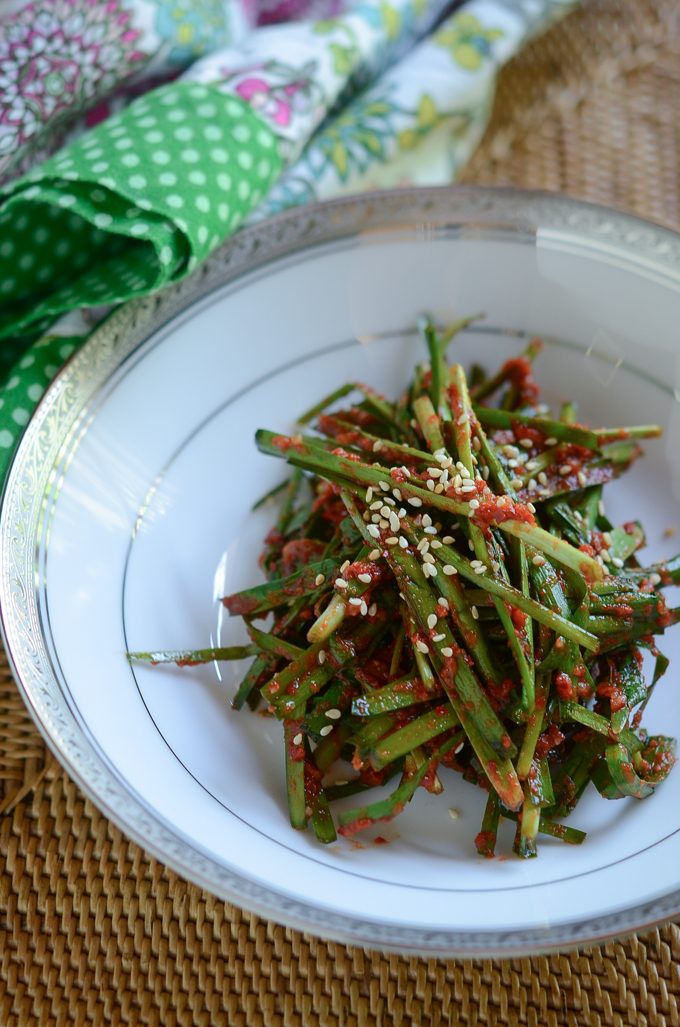
Turnip green kimchi is well suitable kimchi to make in the fall season when turnip greens are abundant and cheap. Fresh red chili makes it more refreshing and light in taste.
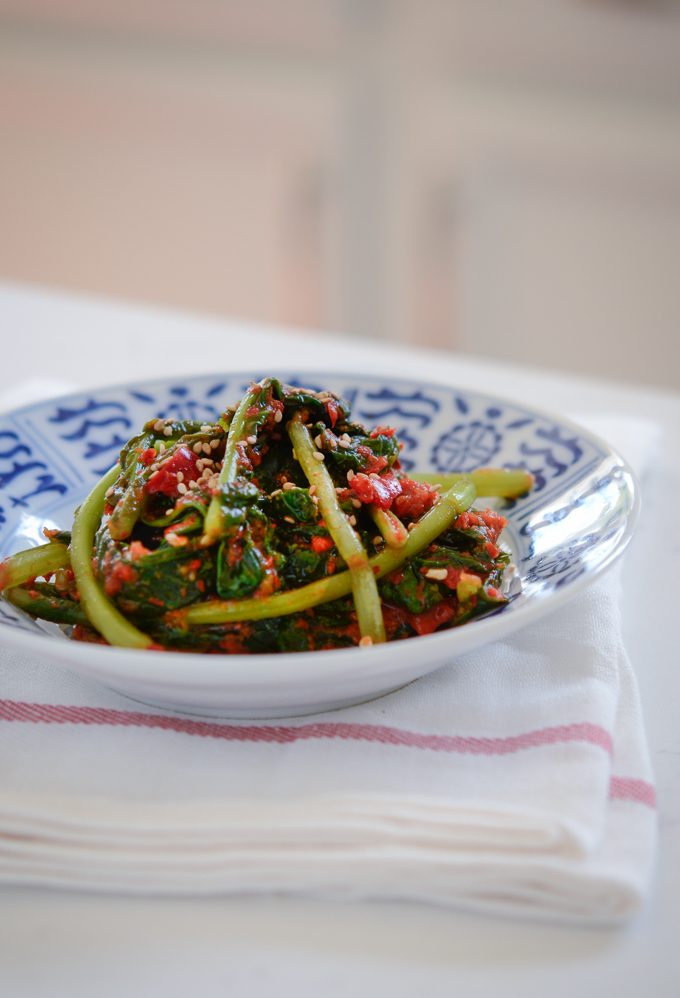
Turnip green kimchi is well suitable kimchi to make in the fall season when turnip greens are abundant and cheap. Fresh red chili makes it more refreshing and light in taste.
Here is fresh taste of turnip green kimchi; the kimchi of autumn.
It seems like it has been forever since we have posted recipes on our blog. We left Argentina this past summer and relocated back to U.S recently. It took nearly 3 months for our family to settle into our new place. We have moved numerous times for the past 20 years, but we would say this move was perhaps the most difficult one.
We moved into a brand house and things are finally settling in. We still have lots of boxes to open and many house projects we need to work on. At least we have rooms ready for our families to have a good rest at night, and kitchen items organized so that we can feed a home cooked meal that had been missing for a few month. Life needs to get back on routines.
We love autumn. Therefore the first Korean recipe we made in our brand new kitchen would be this turnip green kimchi out of all kimchi recipes. Here goes the tutorial.
Turnip Greens
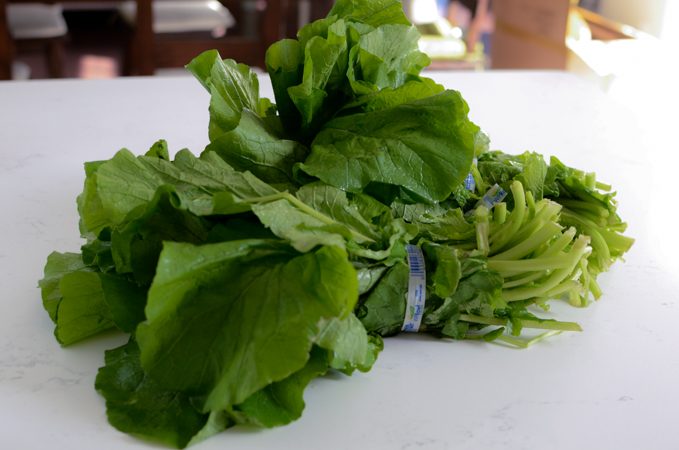
Turnip greens are only available around this time, so we decided to take the chance and make a batch of kimchi with them. They are great to make into kimchi.
Salting Turnip Greens to make Kimchi
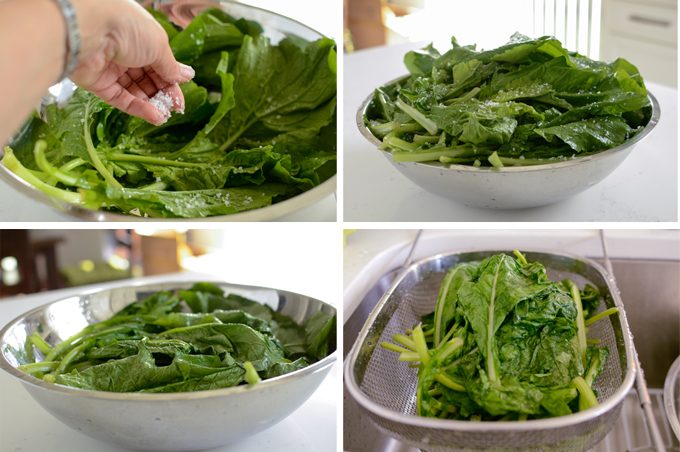
With any kimchi recipes, you will need to salt them well before you add the seasoning. We have explained several different way to salt the kimchi soaking process. With the turnip greens, we just sprinkled Korean coarse sea salt on the turnip greens, layer by layer. Let them sit for an hour, turning upside down half way. The greens will reduce its volume to more than half. Then rinse them out a couple of times.
How the dish comes together
While the turnip greens are soaking, make flavorful stock. We used dried anchovies, dried shiitaki mushrooms, and dried sea kelp. If you want this kimchi to be a complete Vegan style, check our Vegan Kimchi recipe for the adaptation.
In order to make the seasoning paste, we like to use bunch of fresh red chili this time. Turnip greens will go so well with the fresh taste of red chili. However, you will still need some Korean dried chili flakes, though, but not as much.
You will also need to make rice paste. A form of starch will help feed good bacteria to grow during the fermentation. If you don’t want to make rice glue, you can use some leftover cooked rice instead. Check this Direct Cabbage Kimchi recipe for the idea.
We like to puree the onion, garlic, ginger, shrimp sauce, and the red chili in a blender. Add a little bit of stock to help the blade to run at the beginning.
The seasoning paste is ready. It will be slightly loose since the red chili has ton of moisture.
Toss the turnip greens with the seasoning to coat evenly. However, be gentle with the greens. You don’t want to handle them too rough. Otherwise they will yield grassy taste.
Keeping leftovers
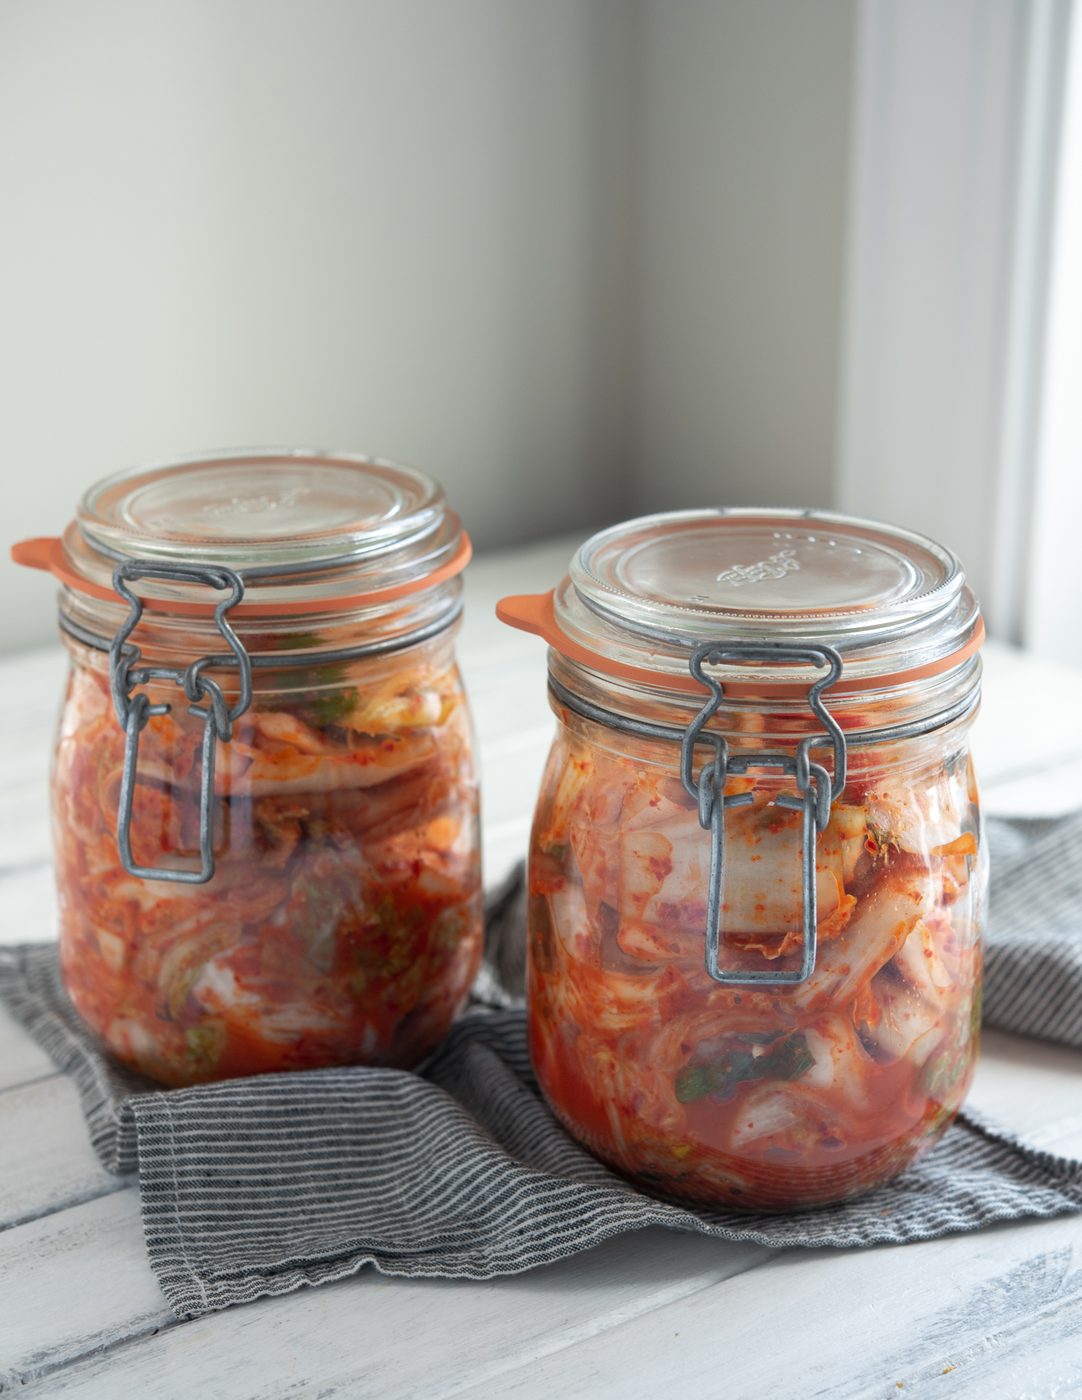
Put them in an airtight container and let it sit in a warm place for 2 days to reach the ideal fermentation, then keep them in the fridge after that. You should be able to eat them after 2-3 days.
Ways to serve it
If you want to enjoy classic Korean dining, boil up some good Doenjang Jjigae (Korean soybean paste stew) to serve with your kimchi. That’s so Korean!
With a bowl of hot steamed rice, Korean soybean stew, and kimchi, our Korean comfort meal was born.
This was our humble lunch and we thoroughly enjoyed them all.
- Stuffed Cucumber Kimchi (Oi-sobagi)
- Direct Cabbage Kimchi
- Green Cabbage Kimchi
- Green Onion Kimchi (Pa Kimchi)
- Garlic Chives Kimchi (Buchu Kimchi)
Cooking has brought us a great deal of joy as long as we can remember and we think we are going to have even more fun with our new kitchen. We're excited to create many Korean dishes and beyond in our new sun-filled haven.
Hope you are able to find the turnip greens and try out this recipe. It is good for you kind of kimchi and direct to cook. Cheers!
- Yield: 12 people
Ingredients
- 1.5 lb turnip greens, rinsed
- 1/4 cup Korean coarse sea salt
- 1-1/2 cup water
- 5-6 large dried anchovy
- 1 piece dried sea kelp (dashima)
- 2 dried shiitake mushroom
- 1 tablespoon sweet rice flour (chapssal-garu)
- 1/4 lb fresh red chilies, diced
- 1/2 onion, diced
- 3-4 cloves garlic
- 1 ” piece ginger
- 1/4 cup Korean chili flakes (gochugaru)
- 3 tablespoons Korean anchovy sauce
- 1 tablespoon shrimp sauce
Method
- In a large shallow bowl, lay a few turnip greens on the bottom. Sprinkle a little bit, about 1/2 tablespoonful, of sea salt on top. Repeat the layers and sprinkle with salt until all the turnip greens covered with salt. You might need more salt depends on the volume.
- Let them sit on the counter for 1 hour, turn upside down half way. They will reduce in volume by half. Rinse the turnip green with water a couple of times. Drain and set aside.
- Meanwhile, make a stock. Combine 1-1/2 cups of water dried anchovies, sea kelp, and the dried mushrooms in a small pot. Bring to a gentle boil, then simmer for 5 minutes over low heat. Remove the pot from heat and let it cool for 5 minutes. Reserve 1 cup + 2 tablespoons of stock and discard the rest.
- To make rice glue, in a small pot whisk together 1 cup of reserved stock and sweet rice flour. Bring to med-high heat and let them bubble whisking continuously until it gets thicken. Remove from heat and set aside to cool.
- In a blender, puree onion, red chili, garlic, ginger, anchovy sauce, shrimp sauce until semi-smooth. Pour the mixture in a large mixing bowl. Add the Korean red chili flakes, the reserved rice glue; mix well.
- Add the turnip greens and toss gently with your hand to incorporate with the seasoning.
- Transfer the turnip green kimchi into an airtight container and let it sit in the room temperature for 2 days, then store in the fridge afterward. Your kimchi should be ready to eat 2-3 days.
Notes
Turnip green kimchi can last in the fridge about 2 months. They are still edible after the 2 months but it will be potent and sour.