
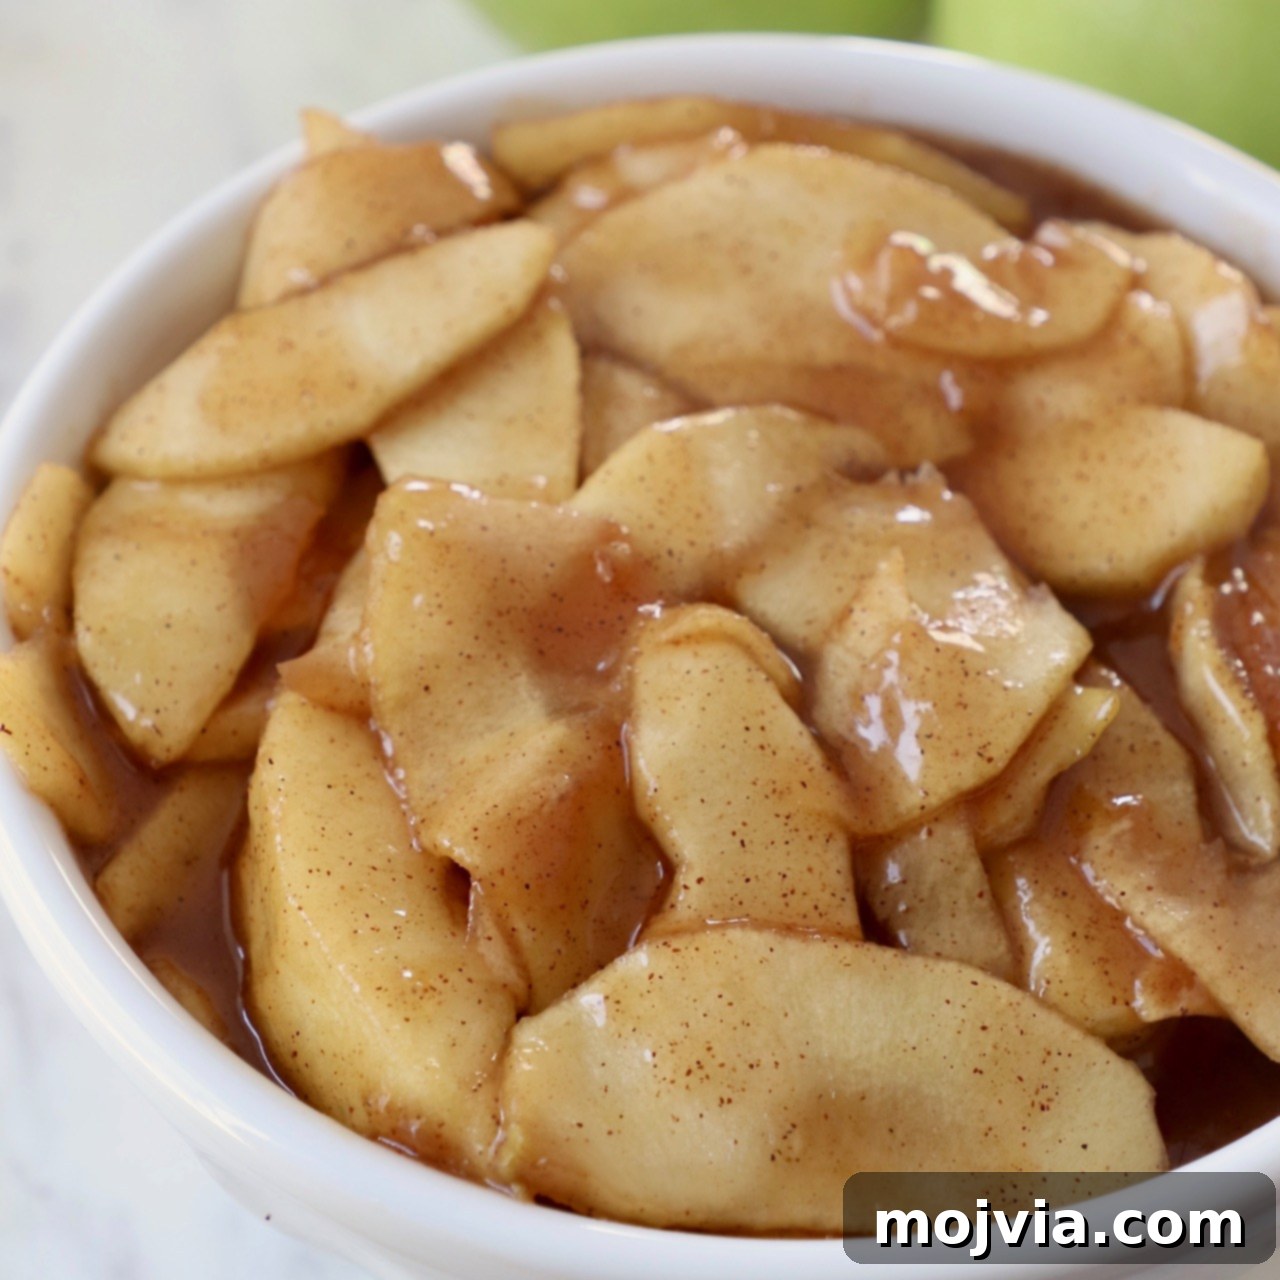
Prepare to elevate your dessert game with the ultimate homemade Apple Pie Filling recipe! Bursting with the rich, authentic flavor of fresh apples and balanced with just the right amount of sweetness, this filling is a true culinary revelation. Forget bland, syrupy canned versions; in just about 15 minutes, you can create a vibrant, flavorful filling that will transform your pies, cakes, ice cream, danishes, and more into extraordinary treats. It’s incredibly easy to make from scratch, ensuring a pure, preservative-free delight every single time.
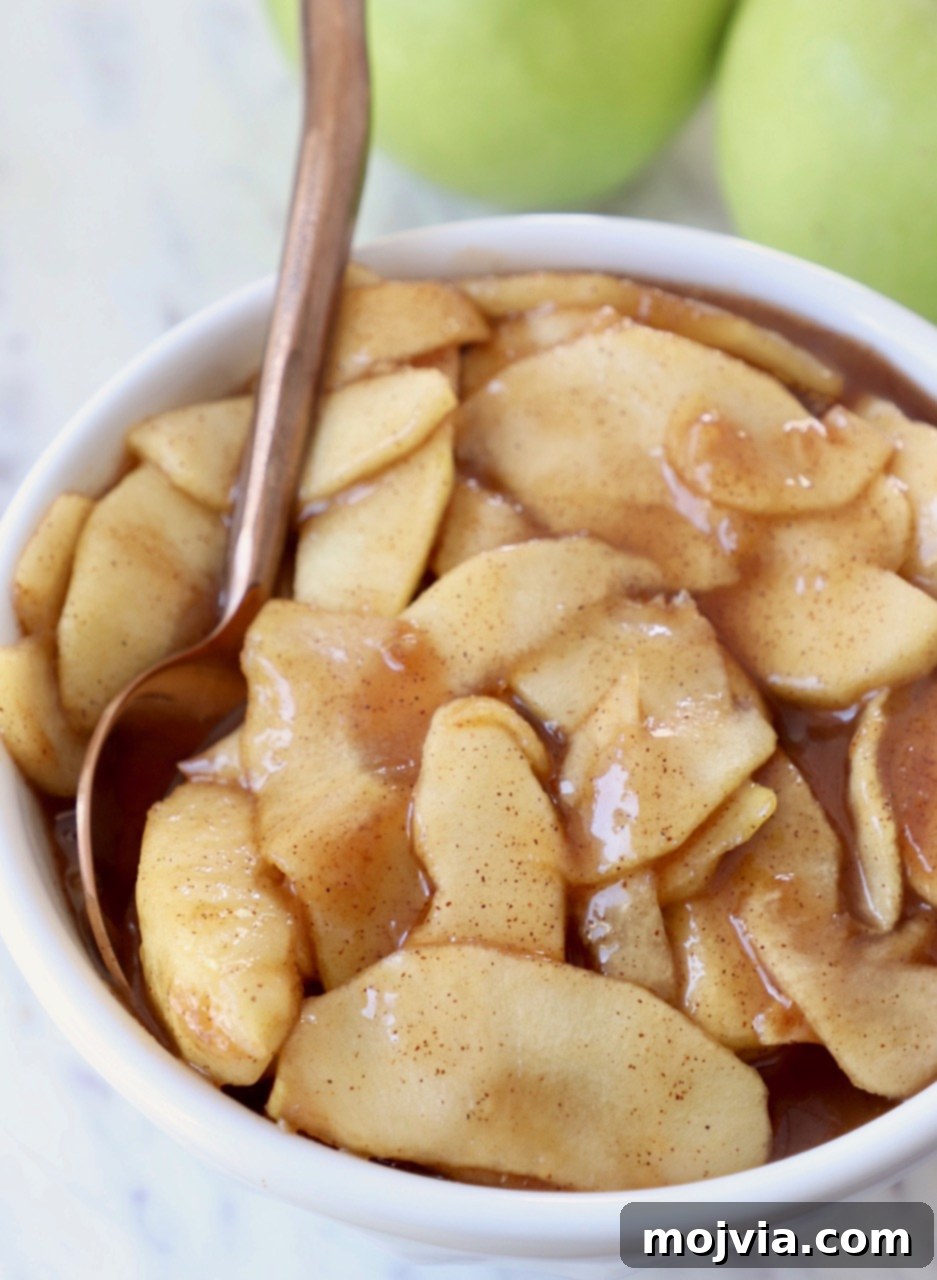
“This filling turned out great. It’s so much better than a can any day. It tastes so good!!! Love it!”
-Fran
Imagine crisp, vibrant apples mingling with rich butter, a perfectly balanced blend of granulated and brown sugars, aromatic cinnamon, and a splash of apple juice. These simple yet powerful ingredients converge in exquisite harmony to forge the finest apple pie filling you’ll ever taste. It’s a symphony of flavors and textures, promising to be the star of any dessert it graces.
Why Choose Homemade Apple Pie Filling?
There are countless compelling reasons to craft your own apple pie filling from scratch, moving beyond the convenience of store-bought cans. First and foremost, the taste is simply unparalleled. Homemade filling offers a freshness and depth of flavor that commercially produced versions can never replicate. You have complete control over the quality and type of apples used, the balance of sweetness, and the spices, allowing you to tailor it perfectly to your preferences.
Beyond taste, making your own ensures you know exactly what goes into your food. No mysterious preservatives, artificial flavors, or excessive sugars – just wholesome, natural ingredients. It’s also surprisingly easy and quick to prepare, often taking less time than a trip to the grocery store to buy a can. The satisfaction of creating something so delicious from scratch is an added bonus, making every bite that much more enjoyable. Plus, you’ll never again be caught off guard by an empty shelf in the baking aisle; with a few basic ingredients, you’re always ready to whip up a batch!
Essential Ingredients for Perfect Apple Pie Filling
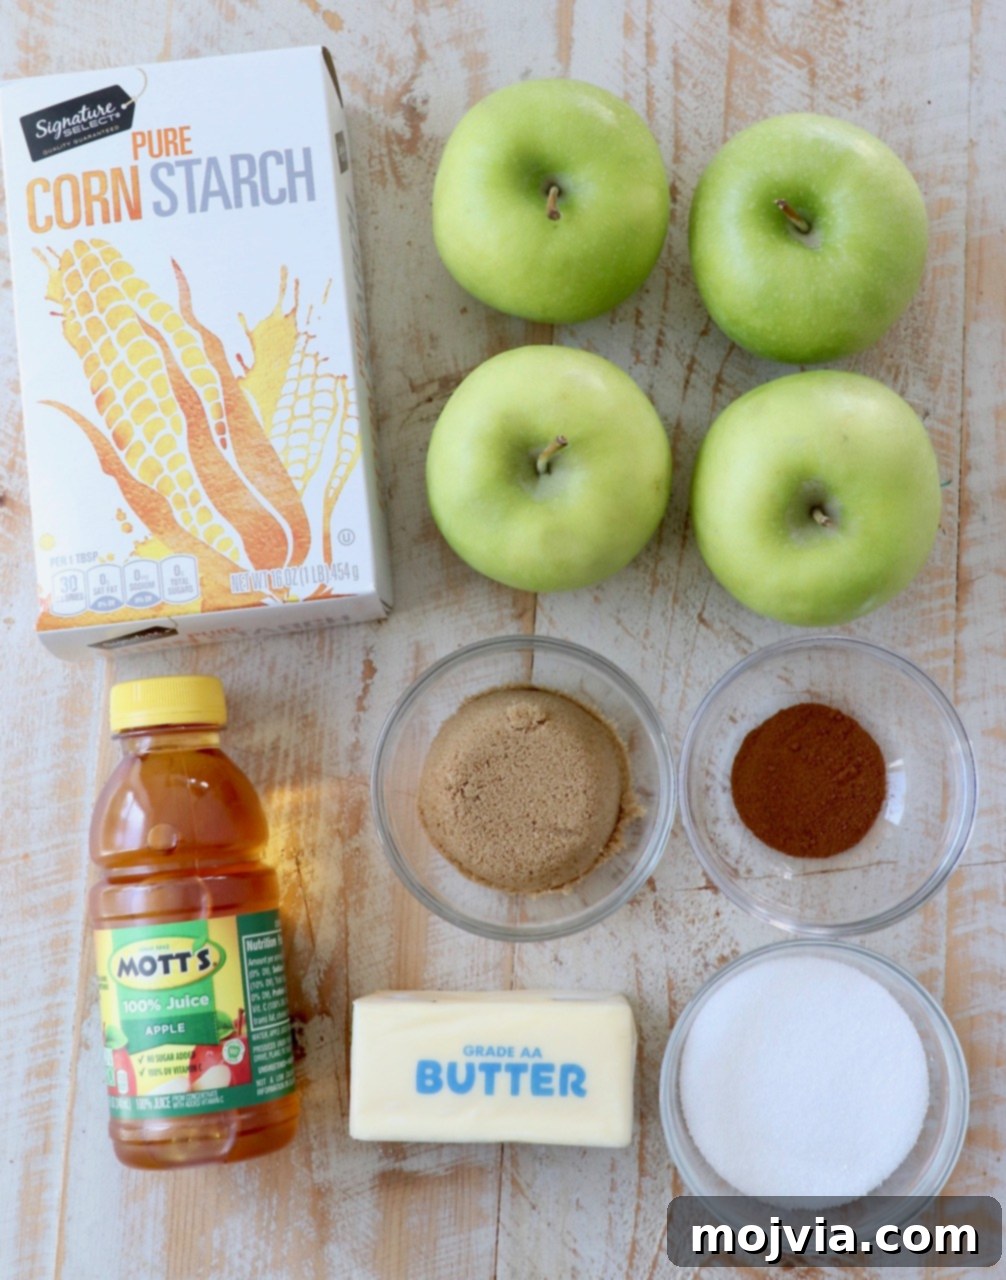
Crafting the perfect apple pie filling begins with selecting the right ingredients. Here, we delve into the best choices for this recipe, their specific roles, and helpful substitution options. For the precise measurements, please refer to the comprehensive recipe card located at the bottom of this post.
- Apples: The foundation of your filling! I wholeheartedly recommend using Granny Smith apples for their ideal tartness and firm texture, which holds up beautifully during baking without turning to mush. Their natural acidity perfectly balances the sweetness of the sugars. Other excellent choices that offer similar desirable qualities include Pink Lady, Honeycrisp, Fuji, Golden Delicious, or Braeburn apples. Each offers a slightly different flavor profile, allowing for subtle variations.
- Unsalted Butter: Butter adds a crucial richness and a silky mouthfeel to the filling. Opting for unsalted butter in baking is always preferred as it gives you complete control over the overall sodium content of your dish. Salt levels can vary significantly between different brands of salted butter, making consistent results challenging.
- Granulated Sugar + Brown Sugar: This dynamic duo of sugars is key to achieving a complex, sweet, and slightly caramelized flavor. Granulated sugar provides clean sweetness, while brown sugar adds molasses notes, contributing a richer, deeper flavor profile and helping with that beautiful golden hue. This blend creates a more nuanced and satisfying sweetness than using just one type of sugar.
- Ground Cinnamon: The quintessential spice for apple desserts, ground cinnamon infuses the filling with a warm, inviting aroma and classic fall flavor. For an extra layer of seasonal warmth, consider substituting the cinnamon with Pumpkin Pie Spice, which typically includes nutmeg, cloves, and ginger in addition to cinnamon.
- Apple Juice: Instead of plain water, apple juice is used to intensify the natural apple flavor within the filling and create a more flavorful syrup. It adds another layer of apple goodness. If apple juice isn’t available, water can certainly be used, or for an even richer, deeper flavor, consider using apple cider. A crucial note: DO NOT use apple cider vinegar; its acidity is entirely unsuitable for this sweet application!
- Cornstarch: This is your secret weapon for achieving the perfect thick, glossy consistency without cloudiness. Cornstarch creates a smooth, syrupy texture that coats the apples beautifully. As alternatives, you could use all-purpose flour (though it might yield a slightly cloudier finish), potato starch, or rice flour, all of which act as effective thickening agents.
Step-by-Step Instructions to Make Your Apple Pie Filling
Making homemade apple pie filling is a straightforward process, and to ensure your success, I’ve provided step-by-step photos below. These visual aids are designed to make following this recipe at home incredibly easy. For the complete, detailed recipe instructions and precise ingredient quantities, please scroll down to the recipe card at the very end of this post.
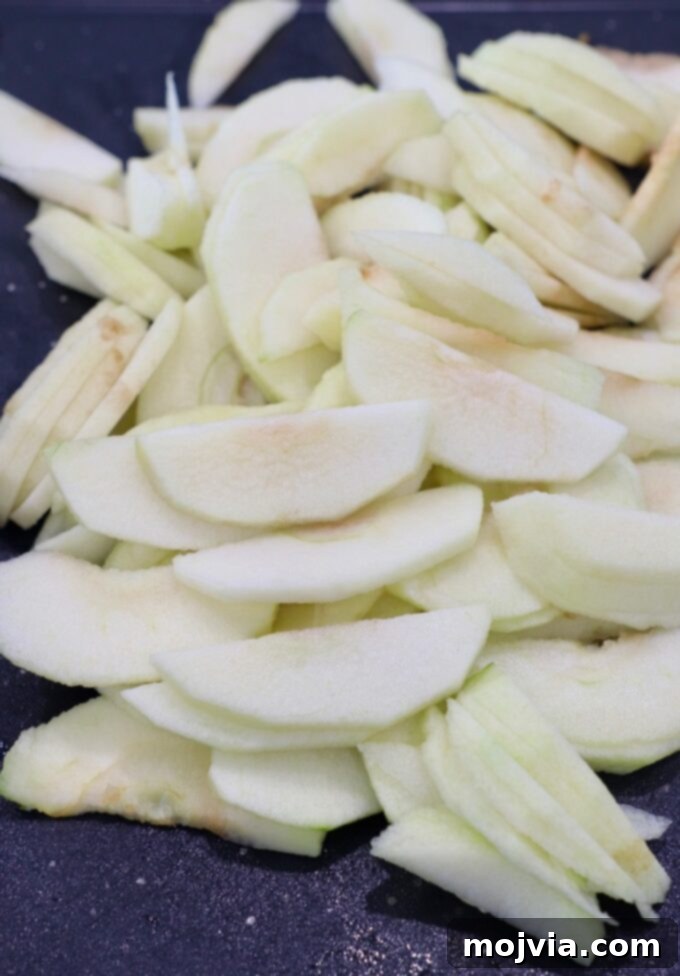
Step 1: Prepare the Apples. Begin by peeling, coring, and thinly slicing your chosen apples. The key here is to aim for slices that are as uniform in thickness as possible. This consistency is crucial for ensuring that all the apple pieces cook evenly, resulting in a perfectly tender, not mushy, filling.
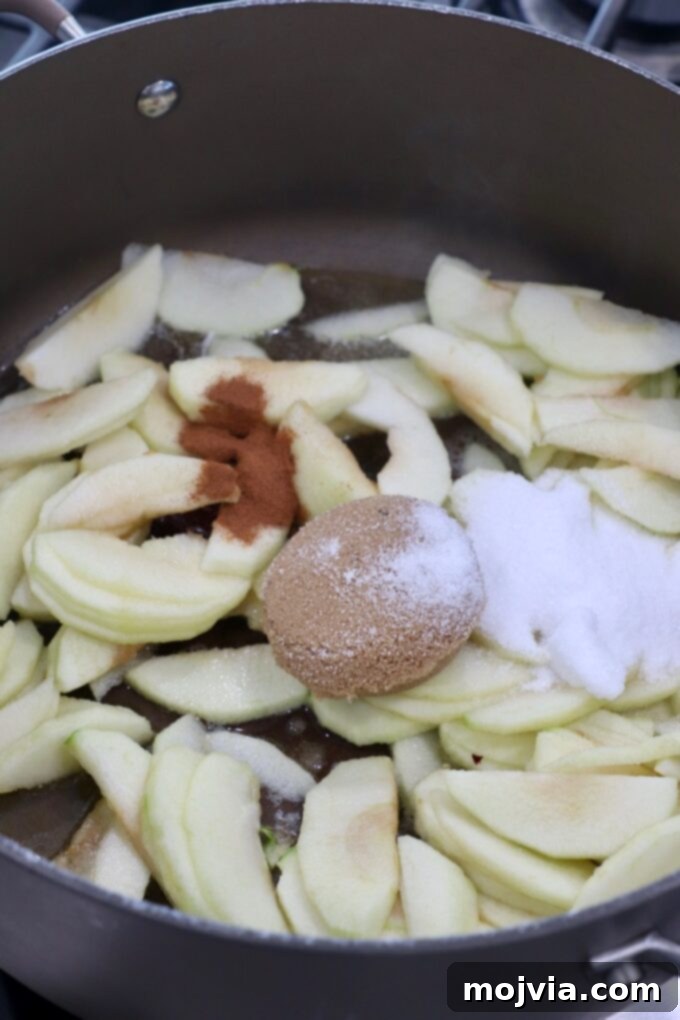
Step 2: Cook the Apples with Sugars and Spices. In a large skillet, melt the unsalted butter over medium heat. Once melted, add the prepared apple slices, granulated sugar, brown sugar, ground cinnamon, and apple juice. Stir all the ingredients together thoroughly until the apples are well coated. Cover the skillet and allow the mixture to simmer gently for 4-6 minutes. This initial cooking phase allows the apples to soften slightly and begin releasing their natural juices, while the sugars and spices meld together.
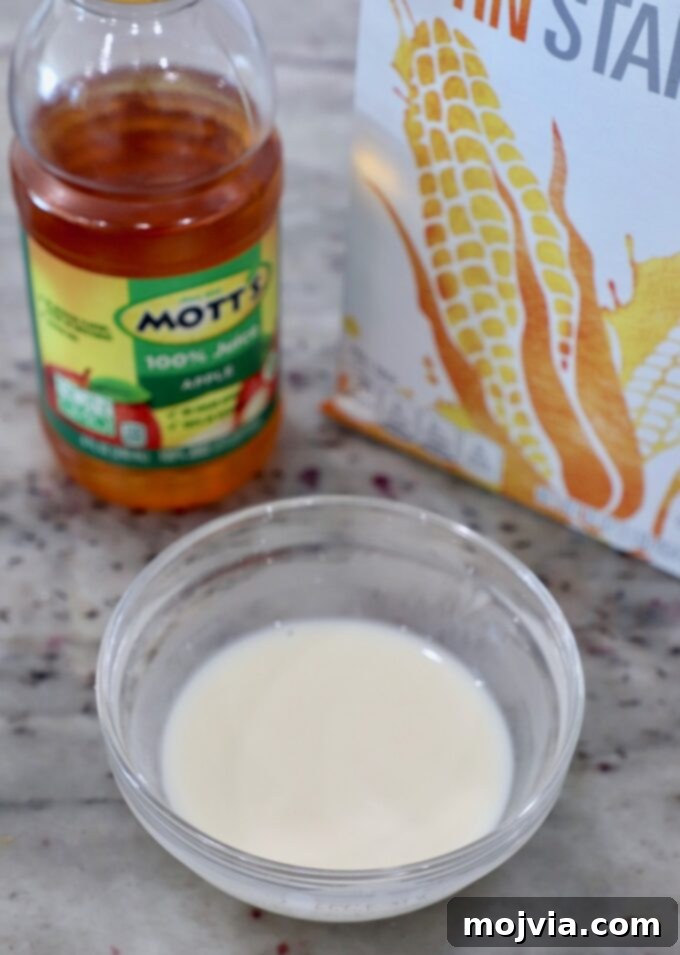
Step 3: Prepare the Cornstarch Slurry. In a separate small bowl, whisk together the cornstarch with a tablespoon of apple juice (or water) until a smooth, lump-free slurry forms. This mixture is essential for thickening your apple pie filling, giving it that luxurious, syrupy consistency without any chalkiness.
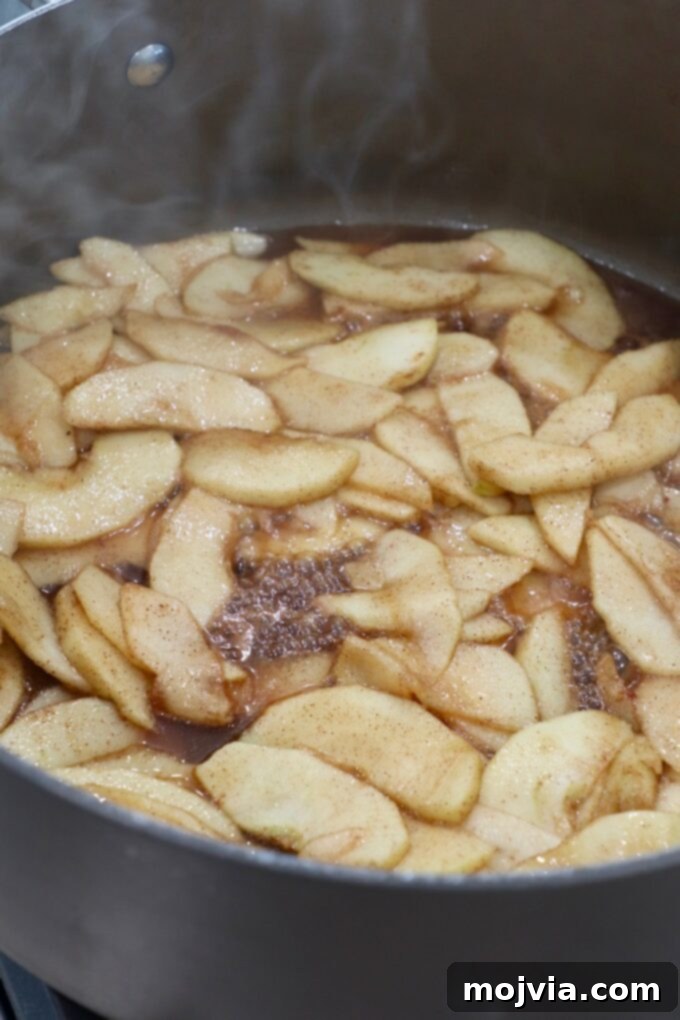
Step 4: Thicken the Filling. Remove the lid from the skillet. Pour the cornstarch slurry into the simmering apple mixture. Stir continuously to ensure the slurry is fully incorporated and to prevent lumps. Allow the mixture to bubble gently for an additional 3-5 minutes, or until the liquid in the pan transforms into a thick, glossy syrup that coats the back of a spoon. The apples should be tender but still retain a slight bite.
Once your apple pie filling has reached its desired consistency, remove it from the heat. It is crucial to allow the filling to cool completely before incorporating it into any recipe. As it cools, the filling will continue to thicken further, achieving that perfect, ready-to-use texture.
Diced vs. Sliced Apples: A Versatile Filling
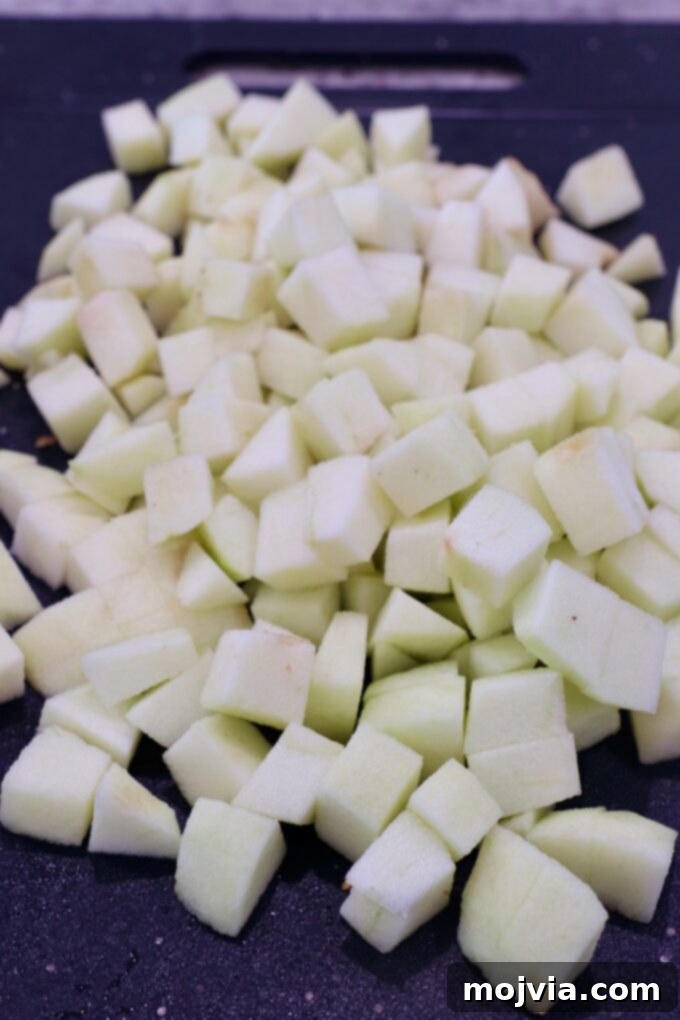
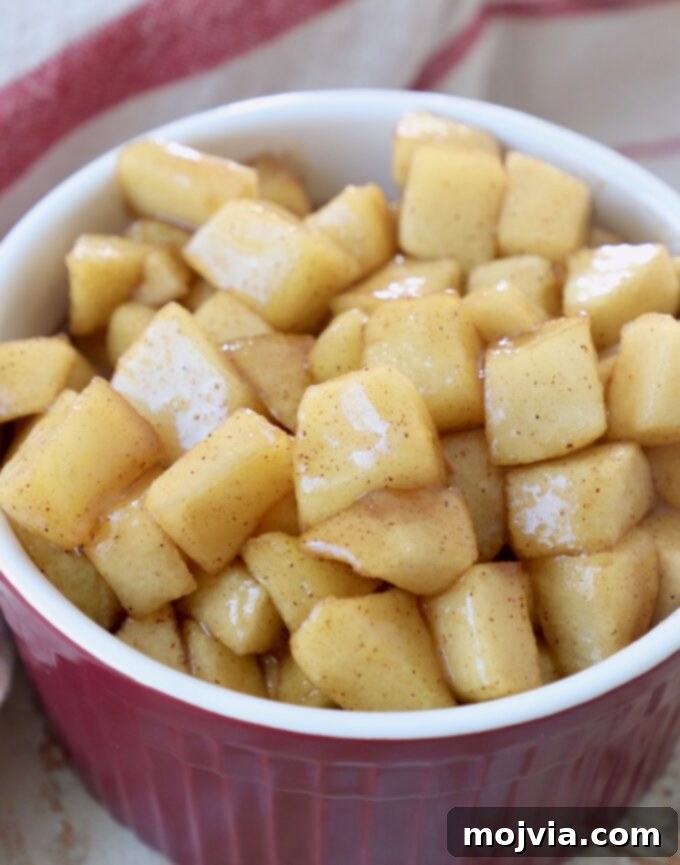
While classic apple pie often calls for sliced apples, this versatile filling is equally delicious and functional with diced apples. Instead of thinly slicing the apples, you can simply dice them into even-sized cubes. Follow the exact same instructions as you would for sliced apples, ensuring the pieces are uniform for consistent cooking. This diced version is particularly fantastic for applications where you desire a chunkier texture, such as in apple pie ice cream, oatmeal, or parfaits, offering delightful bursts of apple flavor in every bite.
Creative Ways to Enjoy Your Homemade Apple Pie Filling
This effortless apple pie filling recipe is incredibly versatile and can be used far beyond traditional pies. Its rich flavor and perfect consistency make it a stellar addition to a wide array of sweet treats. Here are some inspiring ideas and recipes to get you started, including the timeless classic apple pie:
- Apple Danish: Transform your brunch or dessert spread with this simple 5-ingredient recipe. The warm, spiced apple filling nestled in flaky pastry is an absolute dream.
- Apple Pie Ice Cream: Experience the joy of homemade ice cream without any special equipment! This no-churn recipe combined with your fresh apple filling creates a dessert that tastes just like a slice of pie a la mode.
- Classic Apple Pie: For a quintessential dessert, simply line a 9-inch pie plate with your favorite pie crust. Pour the cooled apple pie filling into the crust. Bake the pie on a rack in the lower half of a preheated 450°F oven for 10 minutes. Then, reduce the oven temperature to 350°F and continue baking for approximately 45 minutes, or until the crust turns a beautiful golden brown and the filling is bubbly. For those aiming to create an impressive lattice pie crust on top, consult my Mom’s Famous Cherry Pie recipe for detailed step-by-step photos and instructions.
- Hand Pies and Cakes: This filling is ideal for individual hand pies, offering a portable and delightful treat. It also makes an exquisite and moist filling for layer cakes or cupcakes, adding a burst of autumnal flavor.
- Elegant Ice Cream Topping: Spoon this warm or cool apple pie filling generously over your favorite ice cream. It pairs magnificently with Vanilla Old Fashioned Ice Cream or this decadent no-churn Salted Caramel Ice Cream for an elevated dessert experience.
- Apple Dessert Tacos: A fun and unique dessert! Roll up some apple pie filling in small flour tortillas. Brush the tops with melted butter, then sprinkle generously with cinnamon sugar. Bake at 425°F for 12-15 minutes until golden and crispy for a sweet, unexpected delight.
- Festive Fall Parfaits: Create a charming and delicious parfait by layering Greek yogurt, apple pie filling, and your favorite crunchy granola. It’s a perfect blend of creamy, fruity, and crunchy textures.
- Morning Oatmeal Boost: Start your day with a comforting and flavorful breakfast. Stir a generous spoonful of this apple pie filling into your instant oatmeal or prepare delicious Overnight Oats, transforming a simple meal into a delightful experience.
- Crisps or Crumbles (Skip the Bottom Crust!): If you love the filling but want a quicker, less fuss dessert, skip the bottom crust entirely and bake this filling with a delicious crumble topping. This pumpkin spice crumble topping from the linked recipe is an especially delicious complement to this apple pie filling.
- Brunch Delights: Elevate your brunch spread by serving apple pie filling as a luscious topping for pancakes, waffles, French toast, and crepes. For an extra special treat, pair it with Sweet Potato Pancakes or Cornflake Crusted French Toast.
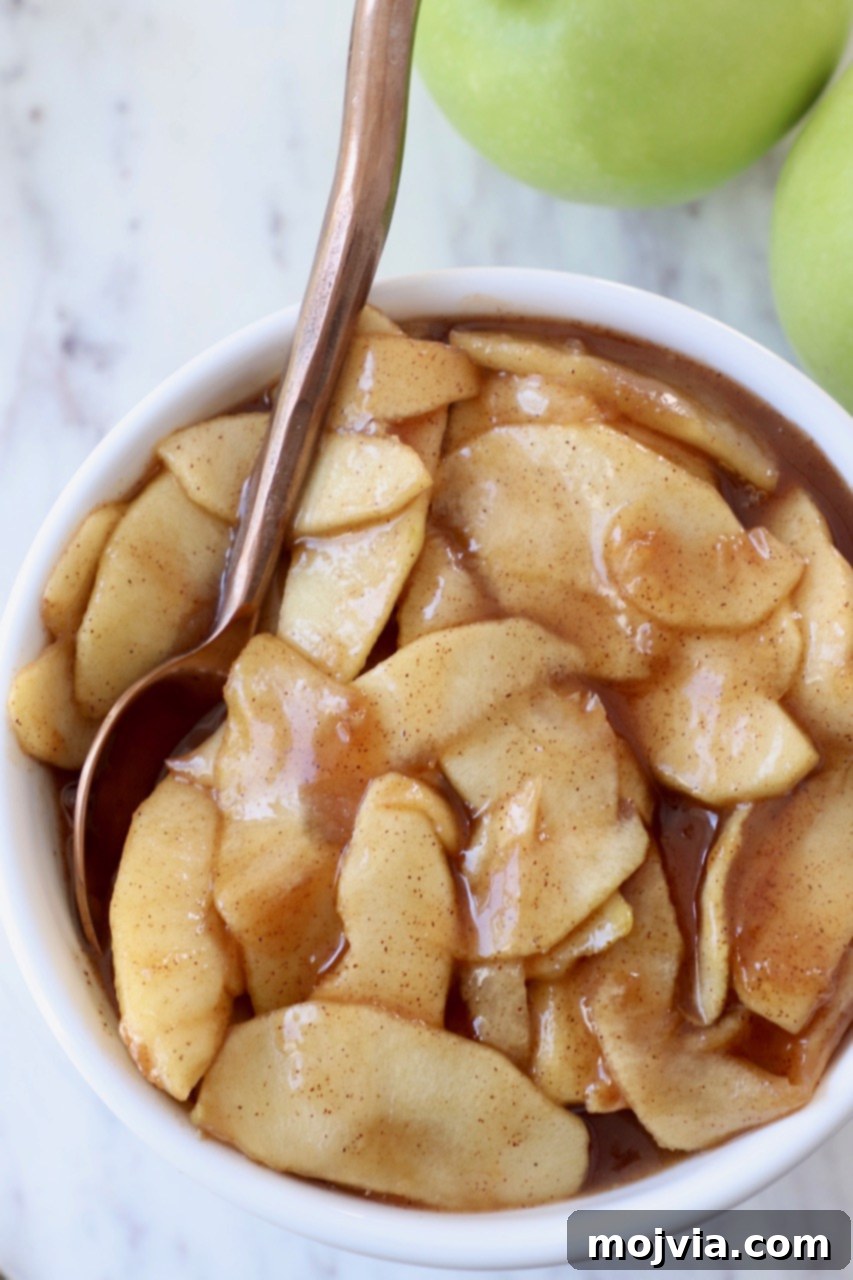
Expert Recipe Tips for the Best Apple Pie Filling
Achieving a consistently perfect apple pie filling is easy with a few insider tips. These suggestions will help you streamline the preparation process and customize your filling to truly shine:
- Efficient Apple Preparation: Peeling, coring, and slicing apples can be the most time-consuming part. For maximum efficiency, consider using an all-in-one tool like an Apple Peeler Corer Slicer. Alternatively, standard kitchen tools work just as well: a vegetable peeler for the skin, slicing the apple in half top-to-bottom, and then using a sharp knife to remove the core. Fun fact: melon ballers are surprisingly effective for cleanly scooping out the core! Once cored, place the flat side down and cut into your desired slices or cubes.
- Preparing Apples Ahead of Time: If you need to prepare your apples in advance, you can prevent browning by tossing the peeled and sliced/diced apples with a little lemon juice. About a tablespoon per 4-5 apples should suffice. Store them in an airtight container in the refrigerator until you’re ready to cook the filling, usually within 24 hours.
- Vegan Modification: Easily adapt this recipe to be vegan-friendly by substituting the unsalted butter with your preferred plant-based butter substitute. Ensure your chosen substitute is suitable for cooking and baking for best results.
- Understanding Thickening Dynamics: It’s important to always remember that the filling will thicken significantly more as it cools. Don’t be alarmed if it seems a little thinner than expected right off the heat. This natural cooling process is crucial for achieving the perfect set consistency.
- Customizing Flavor Profiles: One of the greatest advantages of homemade filling is the ability to adjust flavors. While cinnamon offers a classic and delightful aroma, don’t hesitate to experiment with other warm spices. A pinch of nutmeg, a dash of ground cloves, or a hint of allspice can add wonderful complexity and a deeper autumnal character to your apple pie filling. A tiny splash of vanilla extract at the end of cooking can also elevate the overall taste.
Storage Options for Freshness and Convenience
Planning ahead or have leftovers? This homemade apple pie filling stores wonderfully, making it perfect for meal prep or quick desserts down the line. Proper storage ensures its delicious flavor and texture are preserved.
- To Store in the Refrigerator: Allow the prepared apple pie filling to cool completely to room temperature. Transfer it to an airtight container and store it in the refrigerator for up to 7 days. This makes it ideal for preparing a batch ahead of a holiday or a busy week.
- To Freeze for Longer Preservation: For extended storage, the filling can be frozen. Once completely cooled, transfer the filling to a freezer-safe container, such as a sturdy zipper-lock bag (pressed flat to remove air) or a mason jar (leaving about an inch of headspace to account for expansion). It can be stored in the freezer for up to 3 months. When you’re ready to use it, simply transfer the frozen filling from the freezer to the refrigerator 24 hours before you plan to use it, allowing it to thaw gradually.
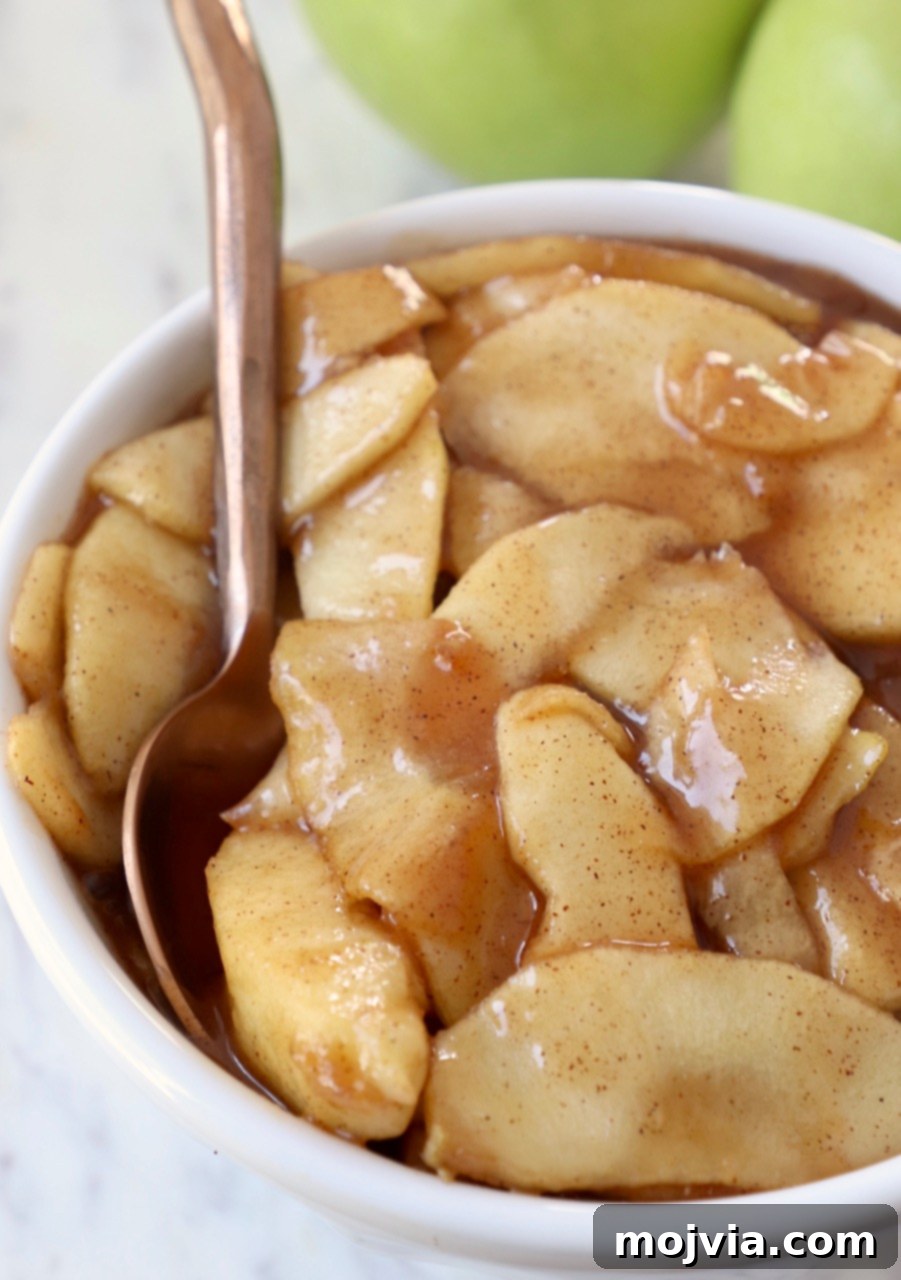
Discover More Delectable Apple Recipes
If you’ve fallen in love with the versatility and flavor of apples, you’re in luck! Apples are a star ingredient in a multitude of sweet and savory dishes. Explore these popular recipe ideas that beautifully showcase the humble apple, perfect for any season or occasion:
Pin Recipe
4.84 stars (6 ratings)
Homemade Apple Pie Filling
The ultimate homemade Apple Pie Filling recipe delivers perfect sweetness and rich apple flavor. Ideal for pies, cakes, ice cream, or danishes. Skip canned versions for this fresh, easy recipe, ready in just 15 minutes!
Servings: 20 ounces
Prep Time: 5 mins
Cook Time: 10 mins
Total Time: 15 mins
Author: Whitney Bond
Course: Dessert
Cuisine: American
Video
Ingredients
- 4 granny smith apples, or honey crisp apples
- 2 tablespoons unsalted butter
- ¼ cup granulated sugar
- ¼ cup brown sugar
- 1 teaspoon ground cinnamon
- 3 tablespoons apple juice, or water
- 1 tablespoon cornstarch, or all-purpose flour
- 1 tablespoon apple juice, or water
Instructions
- Peel, core, and dice or slice the apples.
- Melt butter in a large skillet on the stove over medium heat.
- Stir in the apples, granulated sugar, brown sugar, ground cinnamon and 3 tablespoons apple juice.
- Cover and cook for 4-6 minutes or until the apples are slightly softened.
- In a small dish combine 1 tablespoon cornstarch and 1 tablespoon apple juice to create a slurry.
- Add the slurry to the pan while stirring. Allow the mixture to bubble and continue to cook for 3-5 minutes, or until the apples are soft and the filling is thickened.
- Let the apple pie filling cool completely before using it in a recipe. Always remember that the filling will thicken more once it is cool.
Notes
- Apples: While I recommend Granny Smith apples for this recipe, you could also use Pink Lady, Honeycrisp, Fuji, Golden Delicious, or Braeburn apples.
- Classic Apple Pie: To make a classic apple pie, line a 9-inch pie plate with your favorite pie crust. Pour the apple pie filling into the pie crust. Place the pie on a rack in the lower half of a preheated 450°F oven for 10 minutes. Reduce the heat on the oven to 350°F and bake for 45 minutes, or until the crust is golden brown. To make a lattice pie crust on top of the pie, refer to my Mom’s Famous Cherry Pie recipe for step-by-step photos and instructions.
Nutrition Facts
- Calories: 52 kcal (3%)
- Carbohydrates: 11g (4%)
- Protein: 0.1g
- Fat: 1g (2%)
- Saturated Fat: 1g (5%)
- Polyunsaturated Fat: 0.04g
- Monounsaturated Fat: 0.3g
- Trans Fat: 0.05g
- Cholesterol: 3mg (1%)
- Sodium: 1mg
- Potassium: 46mg (1%)
- Fiber: 1g (4%)
- Sugar: 9g (10%)
- Vitamin A: 55mg (1%)
- Vitamin C: 2mg (2%)
- Calcium: 6mg (1%)
- Iron: 0.1mg (1%)
Did you make this recipe?
Tag @WhitneyBond on Instagram and hashtag it #WBRecipes!