
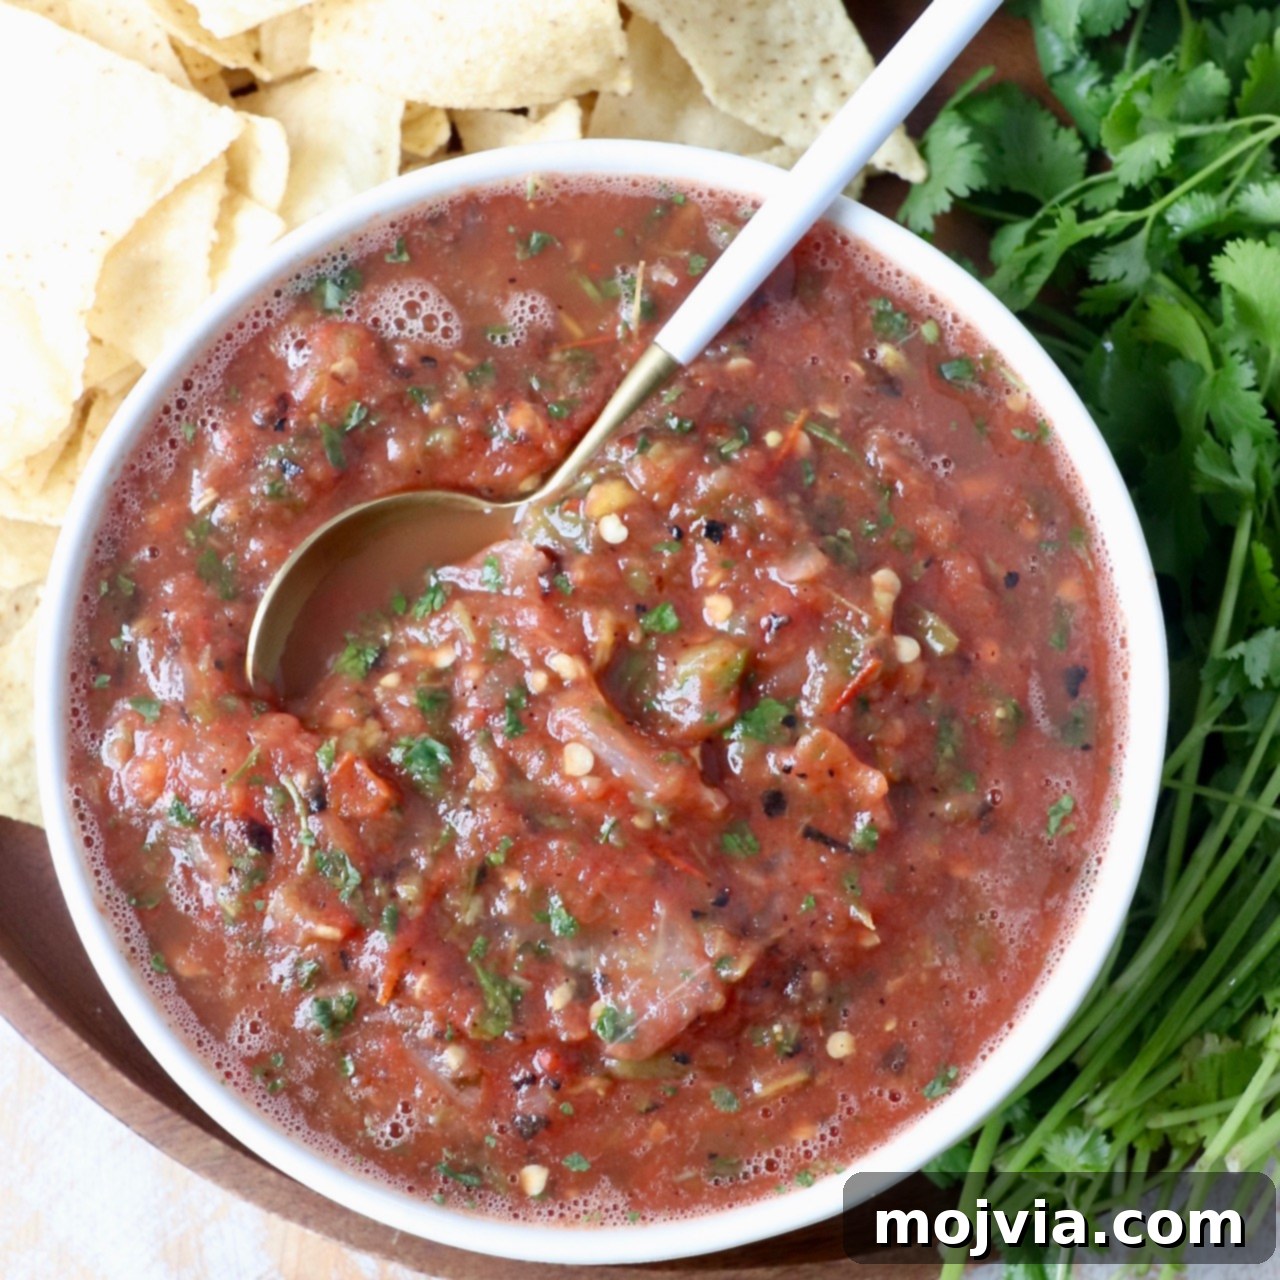
Unleash the vibrant flavors of Mexico right in your kitchen with this incredibly easy recipe for restaurant-quality homemade salsa. In just 10 minutes, you can create a sensational dip that rivals your favorite taqueria’s best. This recipe masterfully combines the smoky depth of oven-blackened fresh tomatoes, peppers, and onions with the bright zest of fresh cilantro, lime juice, and a touch of salt. The result is an authentic Mexican salsa that is not only packed with incredible flavor but also remarkably simple to make, proving that the best culinary experiences can indeed be found at home.
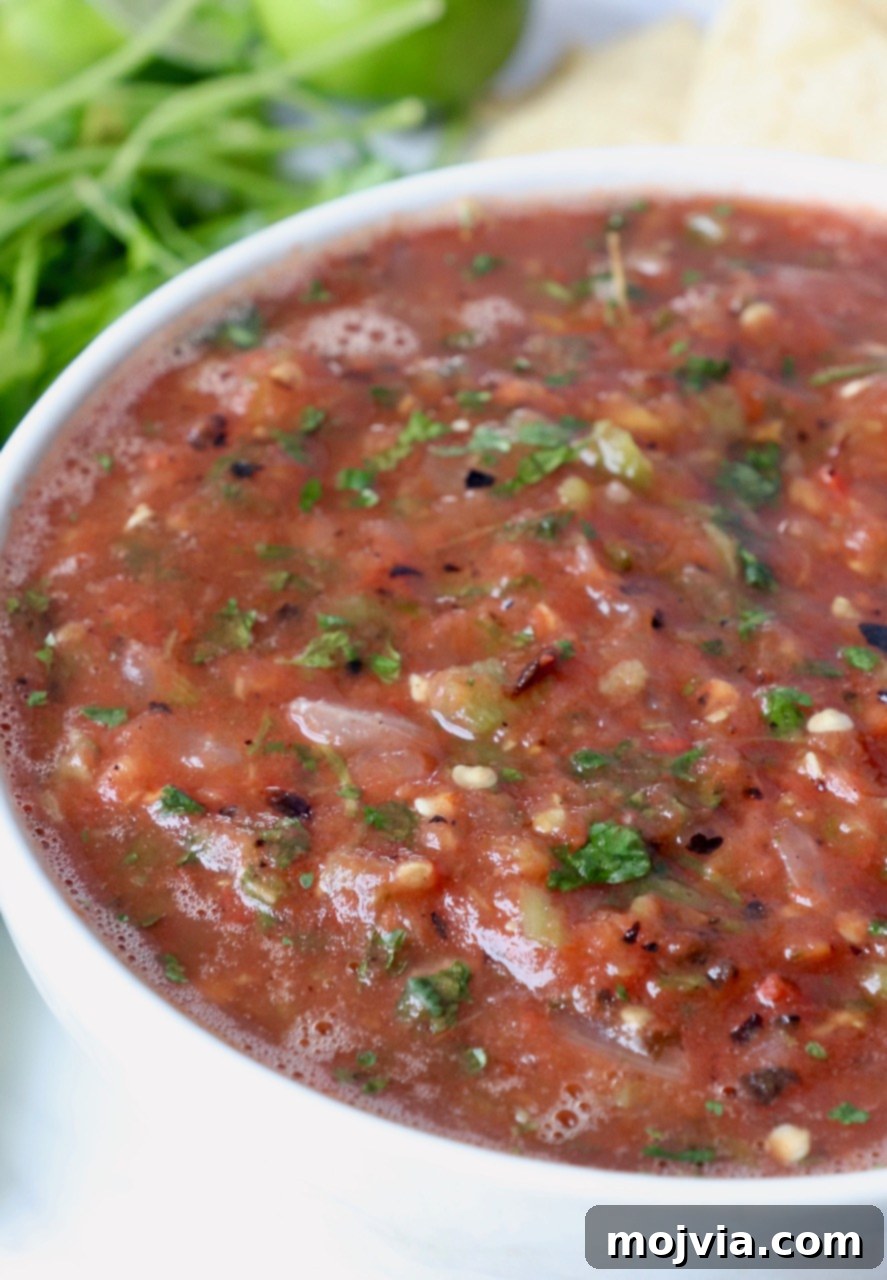
Table of Contents
- The Secret to Restaurant-Quality Salsa
- Why This Homemade Salsa Stands Out
- Essential Ingredients for Perfect Salsa
- Step-by-Step Guide to Your 10-Minute Salsa
- Frequently Asked Questions About Homemade Salsa
- Creative Ways to Serve Your Fresh Salsa
- Explore More Salsa Creations
There’s an undeniable magic that happens when you settle into your favorite Mexican restaurant, eagerly anticipating the arrival of a generous bowl of crispy tortilla chips and an accompanying dish of vibrant, freshly made salsa. That quintessential flavor—a perfect harmony of smoky char, tangy lime, and a hint of spice—is what truly defines a memorable Mexican culinary experience. The good news is, you no longer need to leave your home to recreate that exact, beloved restaurant-style moment. This recipe brings that authentic taste directly to your table, effortlessly.
The Secret to Restaurant-Quality Salsa: A Family Recipe Revealed
Years ago, amidst the hustle and bustle of a major home remodel, I was incredibly fortunate to receive a truly special gift: our contractor graciously shared his family’s secret recipe for taco shop salsa. This wasn’t just any recipe; it was a simple yet profoundly flavorful method that unlocked the secret to that authentic restaurant taste we all know and cherish. The key lies in the careful charring of fresh vegetables. This technique imparts a delightful smokiness from the roasted tomatoes, a gentle warmth from the perfectly charred peppers, and an incredible depth of flavor from all the fresh, high-quality ingredients.
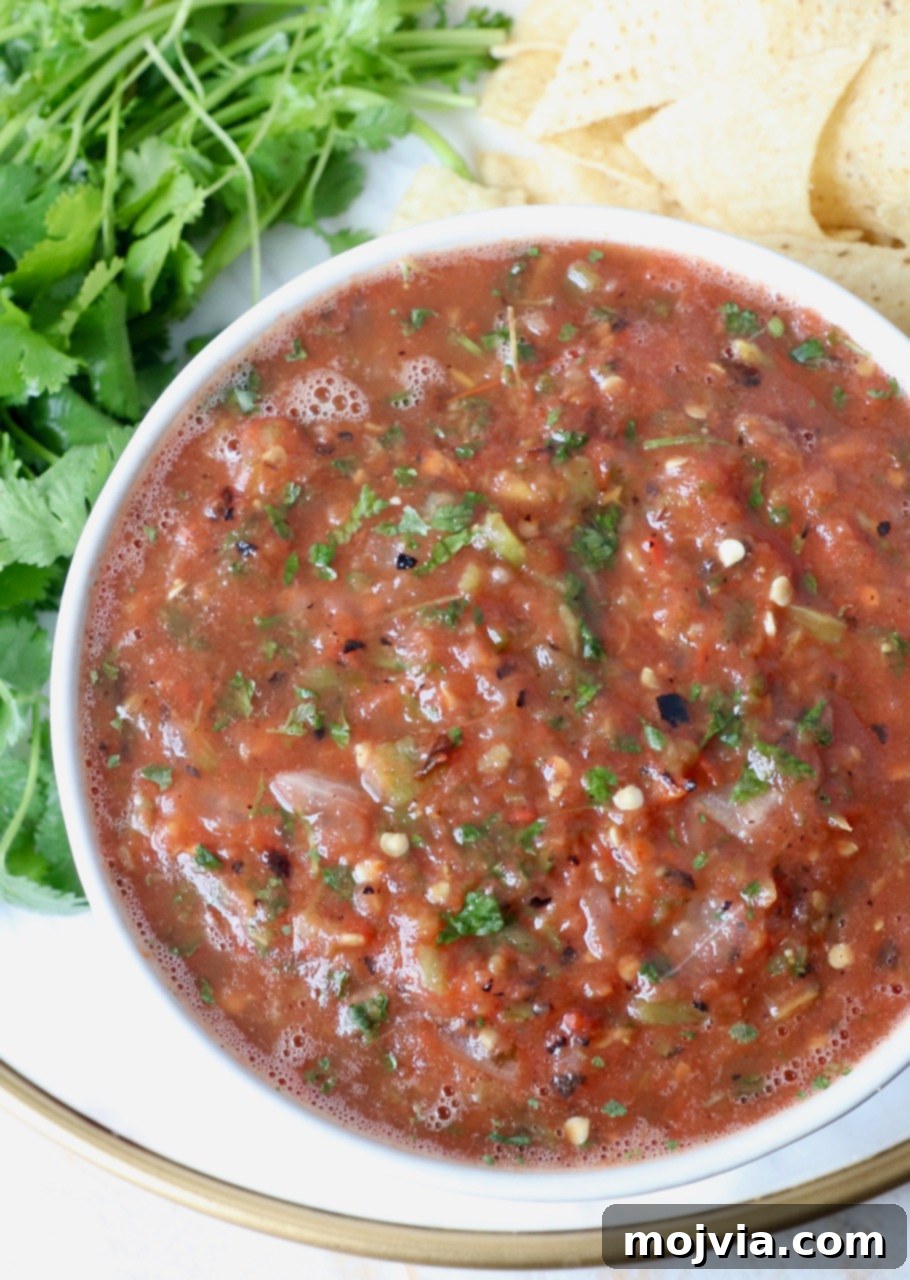
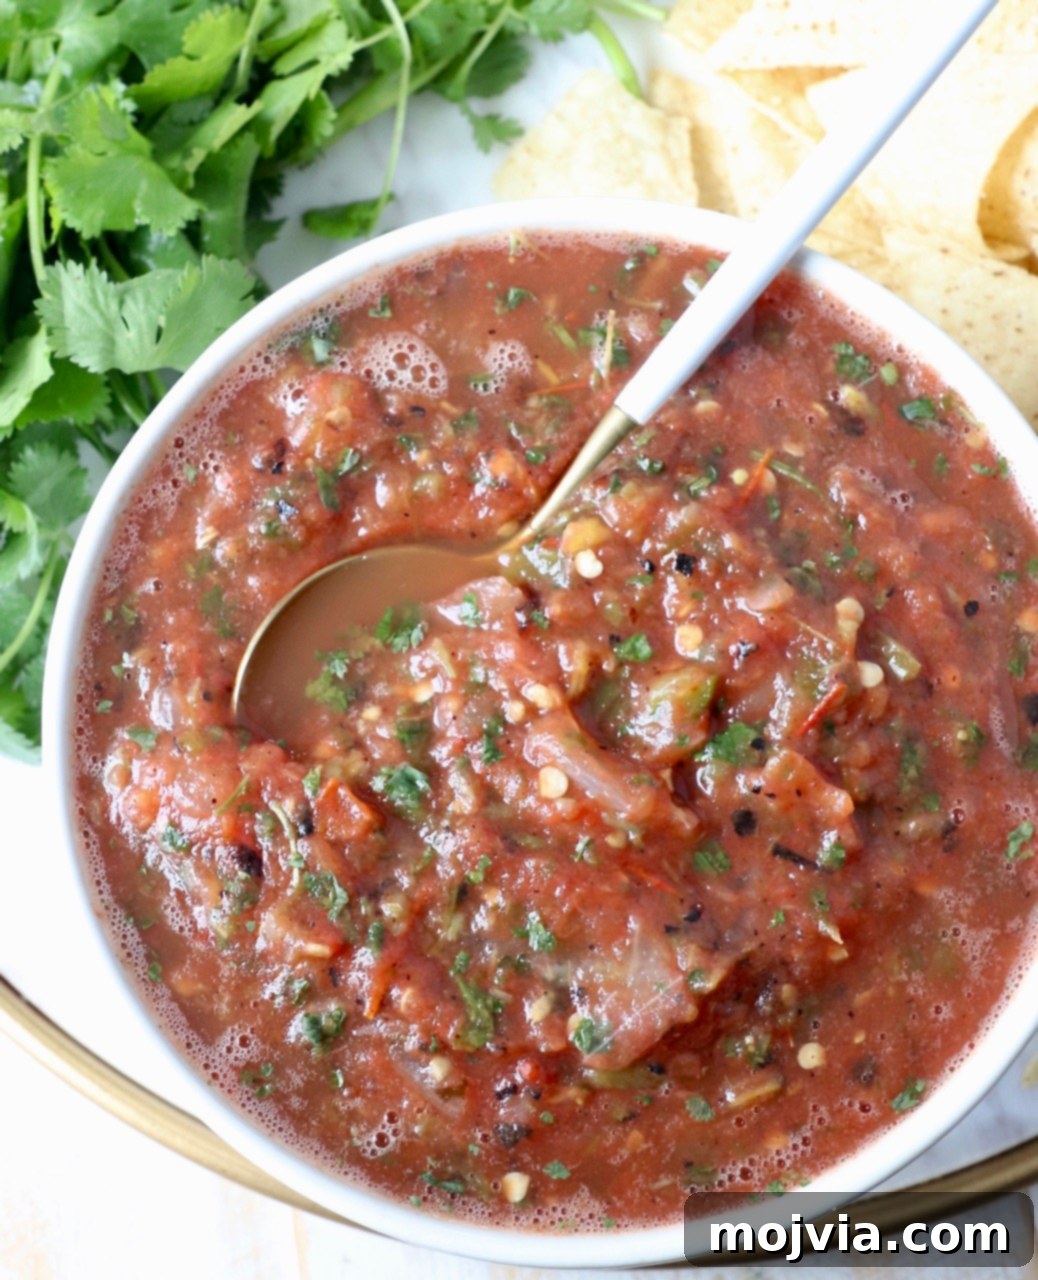
This salsa is wonderfully balanced, offering a slightly chunky texture that holds up beautifully on a chip, an irresistible smoky undertone, and a hint of spice that awakens the palate without overwhelming it. Once you experience the superior taste and texture of this homemade version, the thought of purchasing pre-packaged salsa from the grocery store will become a distant memory. This recipe makes it incredibly easy to create a salsa that’s fresh, vibrant, and bursting with character, setting a new standard for your homemade Mexican dishes.
Why This Homemade Salsa Stands Out: Flavor, Speed, and Versatility
You’ll be astonished by how effortlessly you can whip up your very own homemade salsa in a mere 10 minutes. This recipe is designed for maximum flavor with minimal effort, making it an ideal choice for busy weeknights or impromptu gatherings. Whether you’re seeking the perfect accompaniment for a platter of loaded nachos, a fresh and zesty topping for your favorite tacos, or simply a delicious dip to enjoy with tortilla chips while savoring a refreshing margarita, this easy blender salsa recipe promises to deliver. Its fresh, bold, and satisfying taste is guaranteed to become a household favorite.
For years now, this particular recipe has been our undisputed go-to. It’s a staple in our regular meal rotation, almost a sacred tradition for every “Taco Tuesday” at our house. Its consistent popularity and incredible versatility speak volumes about its deliciousness and the sheer convenience it offers. Get ready to transform your Mexican-inspired meals and elevate your snacking game with a salsa that’s truly a cut above the rest!
Essential Ingredients for Perfect Salsa
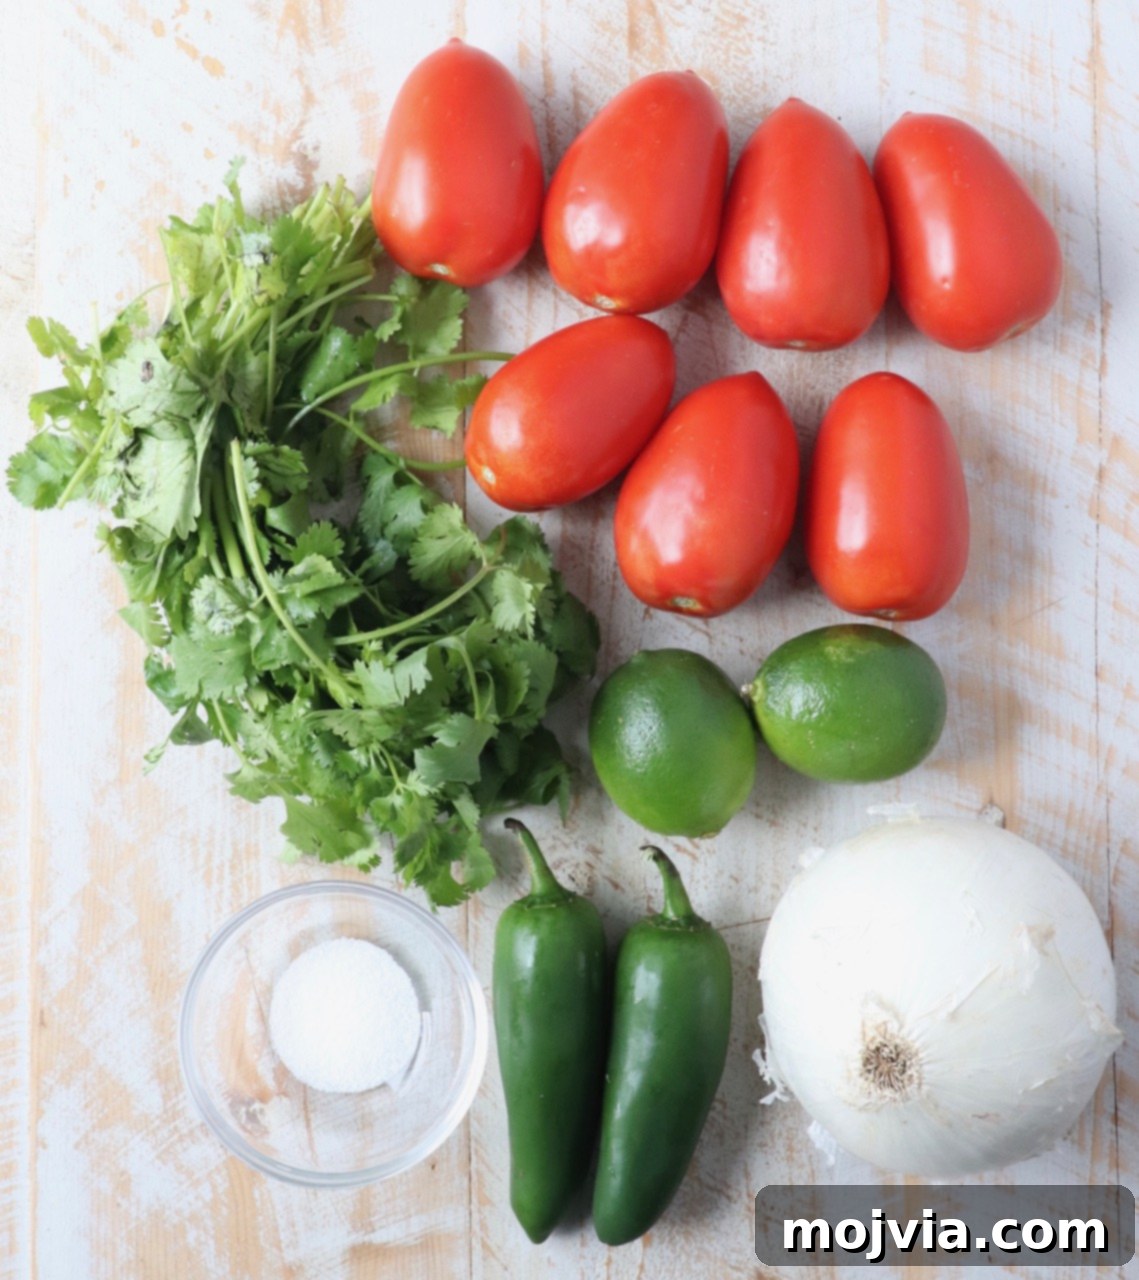
Crafting exceptional salsa begins with selecting the freshest, highest-quality ingredients. Each component plays a vital role in building the layered flavors that make this recipe truly special.
- Roma Tomatoes: For an ideal restaurant-style salsa, firm, ripe Roma tomatoes are essential. Their meaty texture and lower water content make them perfect for charring, concentrating their natural sweetness and creating a rich, smoky base. Avoid overly soft or mushy tomatoes, as they won’t roast properly and can lead to a watery salsa.
- Jalapeños: Two medium jalapeños typically provide a mild to medium heat, which mellows slightly during the roasting process, adding a lovely smoky pepper flavor. If you prefer a spicier salsa, feel free to add more jalapeños, or incorporate 1-2 serrano peppers for an extra fiery kick. For a completely mild version, a green bell pepper, cut into large strips and roasted, makes an excellent, flavorful substitute without the heat. Customize the spice level to suit your palate!
- White Onion: White onion is the traditional choice for authentic Mexican salsa due to its crisp texture and sharp, pungent flavor that softens and sweetens beautifully once roasted. While white onions are highly recommended for their classic taste, yellow or red onions can be used if necessary, though they may impart a slightly different flavor profile. Ensure the onion is cut into sturdy quarters for even charring.
- Fresh Cilantro: The vibrant, herbaceous freshness of cilantro is indispensable for this salsa, providing a bright counterpoint to the roasted vegetables. Don’t worry about removing all the stems; the thinner, more tender parts of the stems are packed with flavor and will blend seamlessly into the salsa. Simply trim off any particularly thick or woody stems.
- Lime Juice: Always opt for freshly squeezed lime juice for this recipe. Its bright, acidic tang is crucial for balancing the richness of the roasted ingredients and adding an essential zesty finish that elevates the overall flavor profile. Bottled lime juice simply cannot replicate the vibrant taste of fresh citrus.
- Salt: Salt is a critical flavor enhancer, bringing all the ingredients into harmony. Start with 1 ½ teaspoons, then taste and adjust to your preference. Remember that individual sensitivity to salt varies, so feel free to add an additional ¼ teaspoon at a time, blending and tasting until the seasoning is perfect for you. A good quality sea salt or kosher salt is recommended.
Step-by-Step Guide to Your 10-Minute Salsa
Follow these simple instructions to achieve perfect, restaurant-quality salsa in a flash:
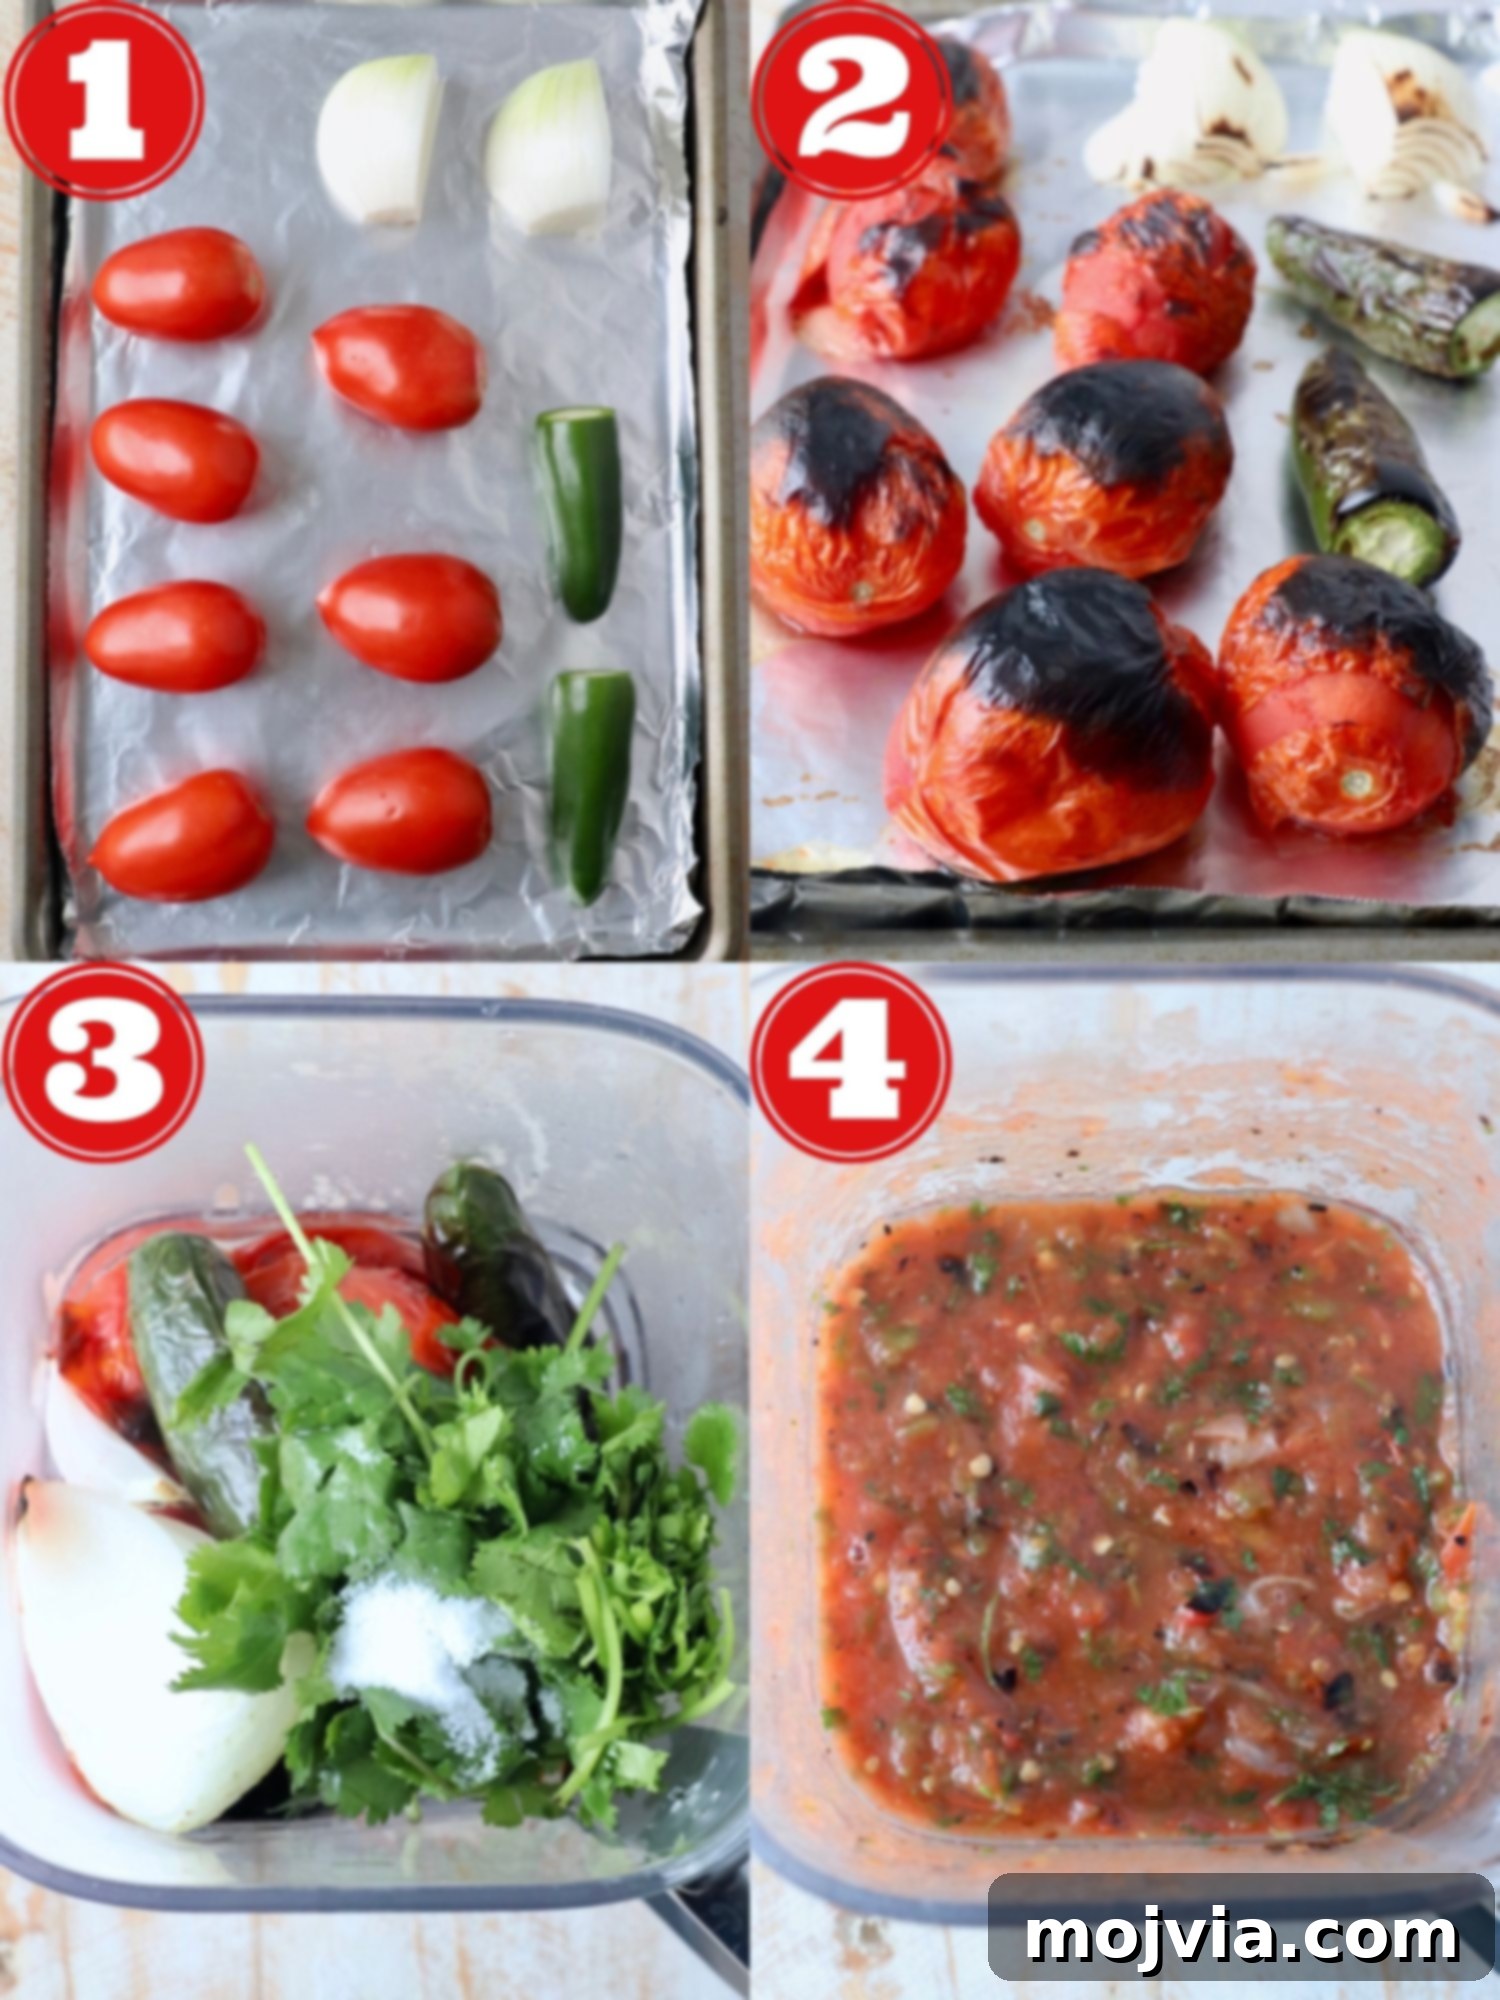
- Prepare for Broiling: Begin by preheating your oven’s broiler to its highest setting. This intense, direct heat is fundamental for quickly charring the vegetables and developing that coveted smoky flavor. Adjust one oven rack so it sits approximately 4-6 inches directly below the broiler’s heat source. This distance is crucial for proper charring without burning. On most ovens, this corresponds to the second rack position from the top. Arrange the whole Roma tomatoes, the prepared peppers (with stems removed), and the two white onion quarters evenly on a baking sheet lined with aluminum foil. The foil will not only prevent sticking but also make for effortless cleanup.
- First Broiling Pass and Flip: Carefully slide the baking sheet, laden with your vegetables, into the oven and position it directly under the broiler. Allow them to broil for 2-3 minutes. During this time, observe closely as the skins of the tomatoes and peppers should begin to blacken, blister, and bubble, indicating a beautiful char forming. The onion quarters should also show signs of browning and caramelization. Once this stage is reached, remove the baking sheet from the oven. Using sturdy tongs, meticulously flip each tomato, pepper, and onion quarter to expose their uncharred sides. Return the baking sheet to the broiler for another 2-3 minutes, continuing to monitor constantly, until the newly exposed surfaces are also perfectly blackened and bubbling. Achieving an even char on all sides is key for maximizing flavor depth.
- Pro Tip for Broiling: Always maintain a vigilant watch over food cooking under the broiler. Broiler intensities can vary significantly between ovens, and vegetables can quickly transition from perfectly charred to unpleasantly burned in a matter of seconds. Over-broiling can cause tomatoes to burst and peppers to develop an overly bitter taste. Your constant attention is the best guarantee of success.
- Transfer to Blender and Add Fresh Ingredients: As soon as the tomatoes, peppers, and onions emerge from the oven, immediately transfer them from the hot baking sheet into your blender or food processor. There is no need to wait for them to cool down; blending them while still warm helps to release and meld their rich, roasted flavors more effectively. Once the charred vegetables are in the blender, add the vibrant fresh cilantro, the bright, freshly squeezed lime juice, and the initial 1 ½ teaspoons of salt. Ensure all ingredients are nestled securely, ready for processing.
- Pulse to Desired Consistency: Secure the lid on your blender or food processor and begin to pulse. Aim for 10-15 quick pulses. The objective is to achieve a slightly chunky salsa, not a completely smooth puree. Avoid simply turning the blender on low and letting it run, as this can easily result in an overly thin and watery salsa, detracting from the desired texture. The number of pulses will directly influence the final chunkiness of your salsa; pulse fewer times for a more rustic, chunky texture, and slightly more for a finer, yet still textured, consistency.
- Pro Tip for Tasting and Adjusting: Once the salsa appears to have reached your preferred level of chunkiness, carefully remove the lid. The ultimate test is to dip a tortilla chip into the warm salsa and taste. This allows you to assess both the texture and the seasoning. If you desire a slightly less chunky consistency, give it a few more quick pulses. For seasoning, if more salt is needed, add it gradually—about ¼ teaspoon at a time—blending briefly after each addition and re-tasting. It is far easier to add salt than to correct an overly salty dish, so proceed with caution. In our experience, 1 ½ teaspoons typically hits the sweet spot!
You have the wonderful option to enjoy this incredible salsa immediately while it’s still warm, savoring the fresh-from-the-oven flavors. Alternatively, you can allow it to cool to room temperature or transfer it to the refrigerator to chill before serving, which many find refreshing. Interestingly, our contractor shared that many Mexican families traditionally enjoy their homemade salsa warm or at room temperature, right after it’s prepared. The common practice of serving restaurant salsa cold is primarily due to food safety regulations, requiring it to be made ahead of time and refrigerated. However, experiencing it warm truly unlocks another dimension of flavor.
I genuinely adore this salsa and often find myself pouring it directly from the blender into a bowl, eagerly digging in while it’s still warm. It’s an instant favorite! Any leftover salsa should be transferred to an airtight container and stored in the refrigerator to maintain its freshness and flavor.
Frequently Asked Questions About Homemade Salsa
Here are answers to some common questions about making and enjoying this delicious homemade salsa:
- How can I adjust the spice level? The heat from peppers can vary, but with two jalapeños, this salsa tends to be on the milder side. For those craving more heat, a fantastic way to spice it up is to roast 1-3 serrano peppers (stems removed) alongside the jalapeños and tomatoes. Remember, the more serrano peppers you add, the spicier your salsa will become! Alternatively, you can stir in 1 teaspoon of ground cayenne pepper with the salt before blending for a quick heat boost.
- What is the shelf life of homemade salsa in the refrigerator? When stored in an airtight container in the refrigerator, this fresh homemade salsa will retain its delicious quality and freshness for up to 1 week.
- Is it possible to freeze homemade salsa? Absolutely! This salsa freezes beautifully. Transfer it to an airtight container, such as a mason jar, ensuring you leave at least 1 inch of headspace to allow for expansion during freezing. Properly stored, it can be kept in the freezer for up to 4 months, allowing you to enjoy fresh salsa year-round.
- Can this recipe be adapted to make salsa verde? Yes, you can easily transform this recipe into a vibrant salsa verde! Simply substitute the Roma tomatoes with an equal amount of tomatillos. Be sure to remove their papery husks and rinse them thoroughly before placing them on the baking sheet with the onion and peppers for roasting.
- Is this salsa suitable for vegan and gluten-free diets? Yes, this homemade salsa recipe is naturally both vegan and gluten-free, making it a wonderful and inclusive option for a variety of dietary preferences.
- Can I make this salsa without a blender or food processor? You certainly can! After the tomatoes, peppers, and onions have been perfectly roasted under the broiler, transfer them to a large cutting board. Use a sharp knife to finely chop all the roasted vegetables. Then, transfer them to a bowl, add the finely chopped fresh cilantro, lime juice, and salt, and mix everything thoroughly by hand. It will still be incredibly flavorful!
- Is grilling an option for roasting the vegetables instead of broiling? Absolutely! If you happen to have your grill fired up for dishes like carne asada or grilled shrimp, tossing the Roma tomatoes, peppers, and onions directly onto the grill grates is an excellent way to achieve an even deeper smoky flavor for this salsa. The char from the grill adds another layer of deliciousness.
Creative Ways to Serve Your Fresh Salsa
This versatile homemade salsa is far more than just a dip for chips. Its fresh, bold flavors make it a perfect accompaniment to a wide array of dishes, transforming ordinary meals into extraordinary culinary experiences. Here are some of our favorite ways to enjoy it:
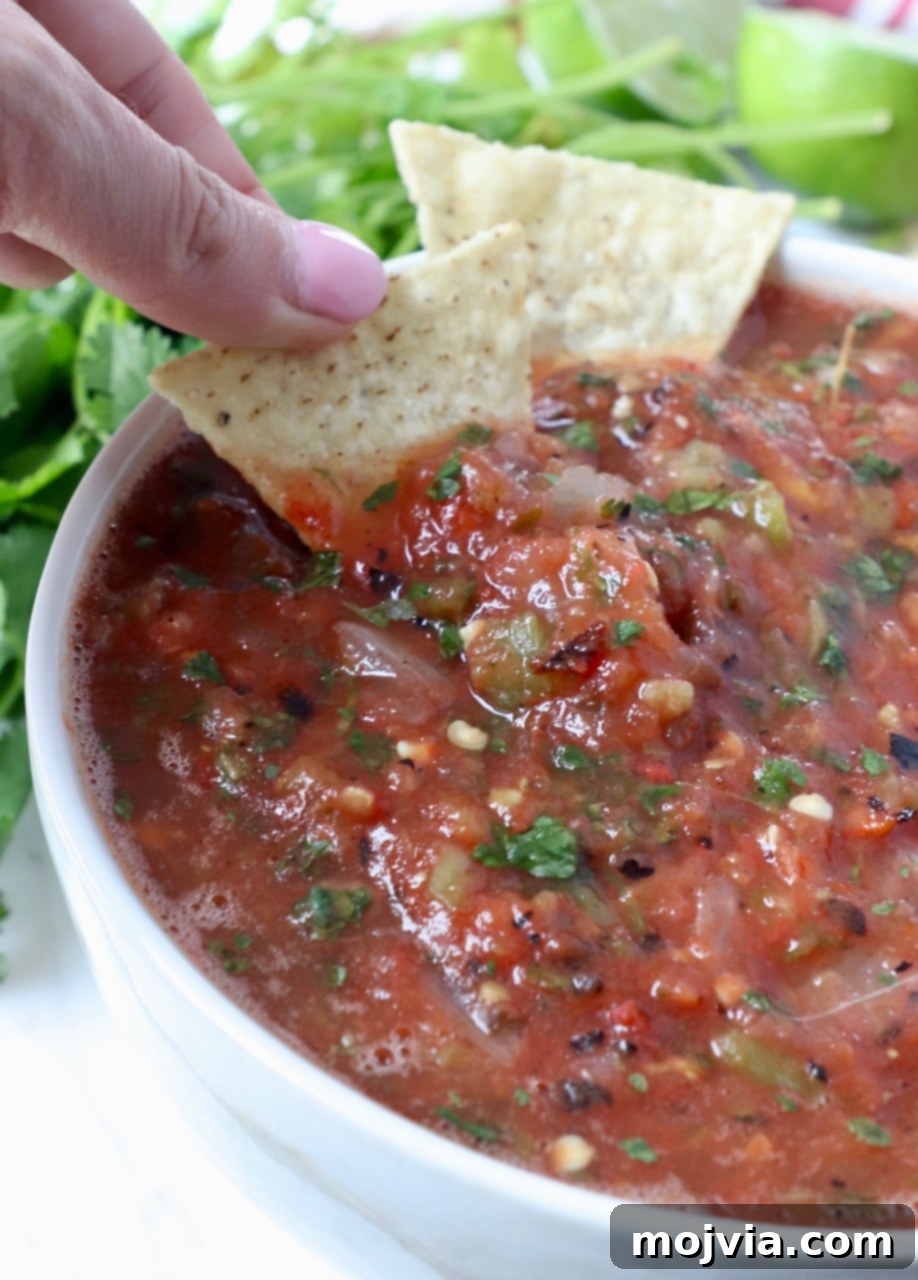
- Classic Chip Dip: The most iconic pairing! Serve with a generous bowl of crispy tortilla chips for an unbeatable snack or appetizer. Elevate your happy hour by pairing it with a refreshing Watermelon Margarita or a crisp Paloma.
- Nacho Topping: Spoon generously over your favorite nachos. It’s a fantastic addition to The Ultimate Pulled Pork Nachos, adds freshness to Low Carb Nachos, or perfectly complements easy Crock Pot Chicken Nachos.
- Taco Enhancer: A must-have topping for any taco night! Brighten up Pulled Pork Tacos, add a zesty kick to Shredded Beef Tacos, or bring fresh flavor to Pressure Cooker Chicken Tacos.
- Breakfast Burrito Companion: One of my absolute favorite ways to enjoy this salsa is alongside epic Breakfast Burritos. The fresh, tangy notes perfectly cut through the richness of eggs and other fillings.
- Part of a Dip Bar: Hosting a party? Create an impressive dip bar! This homemade salsa pairs beautifully alongside creamy Green Chili Chorizo Queso Dip and satisfying Cheesy Baked Taco Dip.
- Side for Taco Crescent Rolls: For a fun and unique twist on Taco Tuesday, serve this salsa as a fresh side to savory Taco Crescent Rolls.
- Chilaquiles Topping: Whether you’re a fan of Chilaquiles Verdes or prefer Chilaquiles Rojos, a dollop of this fresh salsa on top adds a delicious and authentic touch to this traditional Mexican breakfast dish.
- Quesadilla Dip: Elevate your quesadilla experience! It’s a perfect dip for a flavorful Soy Chorizo Quesadilla on Meatless Monday, or a hearty Steak Quesadilla any day of the week.
- In Burrito Bowls: Integrate this vibrant salsa into your favorite burrito bowls for an explosion of fresh flavor. It’s an excellent addition to a wholesome Vegan Burrito Bowl or a savory Shrimp Taco Bowl.
Explore More Salsa Creations
If you’ve fallen in love with the fresh, homemade taste of this incredible recipe, you’re in luck! There’s a whole world of delicious salsa variations waiting to be explored. Perfect for your next happy hour, party spread, or an adventurous Taco Tuesday, these additional homemade salsa recipes promise to keep your palate excited and your guests impressed:
Print Recipe
Pin Recipe
Rate this Recipe
10 Minute Homemade Salsa
3
cups
10
10
Whitney Bond
Appetizer, Sauce, Side Dish, Snack
Mexican
Video Tutorial
Watch our step-by-step video tutorial to perfect your homemade salsa!
Video Name: 10 Minute Homemade Salsa (Uploaded: 2023-02-16)
Ingredients
- 1 ½ pounds roma tomatoes
- 2 jalapenos, stems removed
- ½ white onion, cut into quarters
- ½ cup fresh cilantro, packed (both leaves and tender stems are fine)
- 2 tablespoons freshly squeezed lime juice
- 1 ½ teaspoons salt
Instructions
-
Preheat your oven’s broiler to high. Position one oven rack 4-6 inches below the heat source to ensure optimal charring.
-
Arrange the whole tomatoes, jalapeños (with stems removed), and onion quarters evenly on a baking sheet lined with aluminum foil.
-
Place the baking sheet under the preheated broiler for 2-3 minutes, or until the skins of the tomatoes and peppers are visibly blackened, blistered, and bubbling.
-
Remove the baking sheet from the oven, carefully flip all the tomatoes, jalapeños, and onion pieces. Return to the broiler for an additional 2-3 minutes, or until the new sides are also blackened and bubbling. Always watch closely to prevent burning.
-
Immediately transfer the hot, roasted tomatoes, jalapeños, and onion into a blender or food processor. Add the fresh cilantro, freshly squeezed lime juice, and salt.
-
Pulse the blender or food processor 10-15 times. Avoid continuous blending; short pulses ensure a chunky texture. Adjust the number of pulses to achieve your desired level of chunkiness—fewer pulses for a coarser salsa, more for a slightly smoother one.
-
Serve the salsa immediately while it’s warm, or transfer it to the refrigerator to chill for 30-60 minutes before serving.
Notes
- Nutritional Information: The provided nutritional data is calculated for 1 cup of salsa. This recipe yields approximately 3 cups in total.
- For a Spicier Salsa: If you desire a significant kick, consider roasting 1-3 serrano peppers (with stems removed) alongside the jalapeños and tomatoes. The more serranos, the hotter the salsa will be! Alternatively, stirring in 1 teaspoon of ground cayenne pepper with the salt before blending can also increase the heat.
- Blender-Free Method: If you don’t have a blender or food processor, you can still make this delicious salsa. After roasting the tomatoes, peppers, and onions, transfer them to a large cutting board. Finely chop them with a sharp knife, then place them in a bowl. Stir in the finely chopped fresh cilantro, lime juice, and salt until well combined.
- Dietary Information: This authentic homemade salsa recipe is naturally suitable for both vegan and gluten-free diets.
- Refrigeration: Store any leftover salsa in an airtight container in the refrigerator for up to 1 week to maintain its freshness and flavor.
- Freezing Instructions: To extend its shelf life, this salsa can be frozen. Transfer it to an airtight container, such as a mason jar, ensuring you leave at least 1 inch of space at the top to allow for expansion. It can be stored in the freezer for up to 4 months.
Nutrition Facts (per 1 cup serving)
Carbohydrates 12g (4%)
Protein 2g (4%)
Fat 1g (2%)
Saturated Fat 1g (5%)
Polyunsaturated Fat 1g
Monounsaturated Fat 1g
Sodium 1177mg (49%)
Potassium 613mg (18%)
Fiber 3g (12%)
Sugar 7g (8%)
Vitamin A 2175mg (44%)
Vitamin C 47mg (57%)
Calcium 32mg (3%)
Iron 1mg (6%)
Did you make this recipe?
Tag @WhitneyBond on Instagram and hashtag it #WBRecipes!