
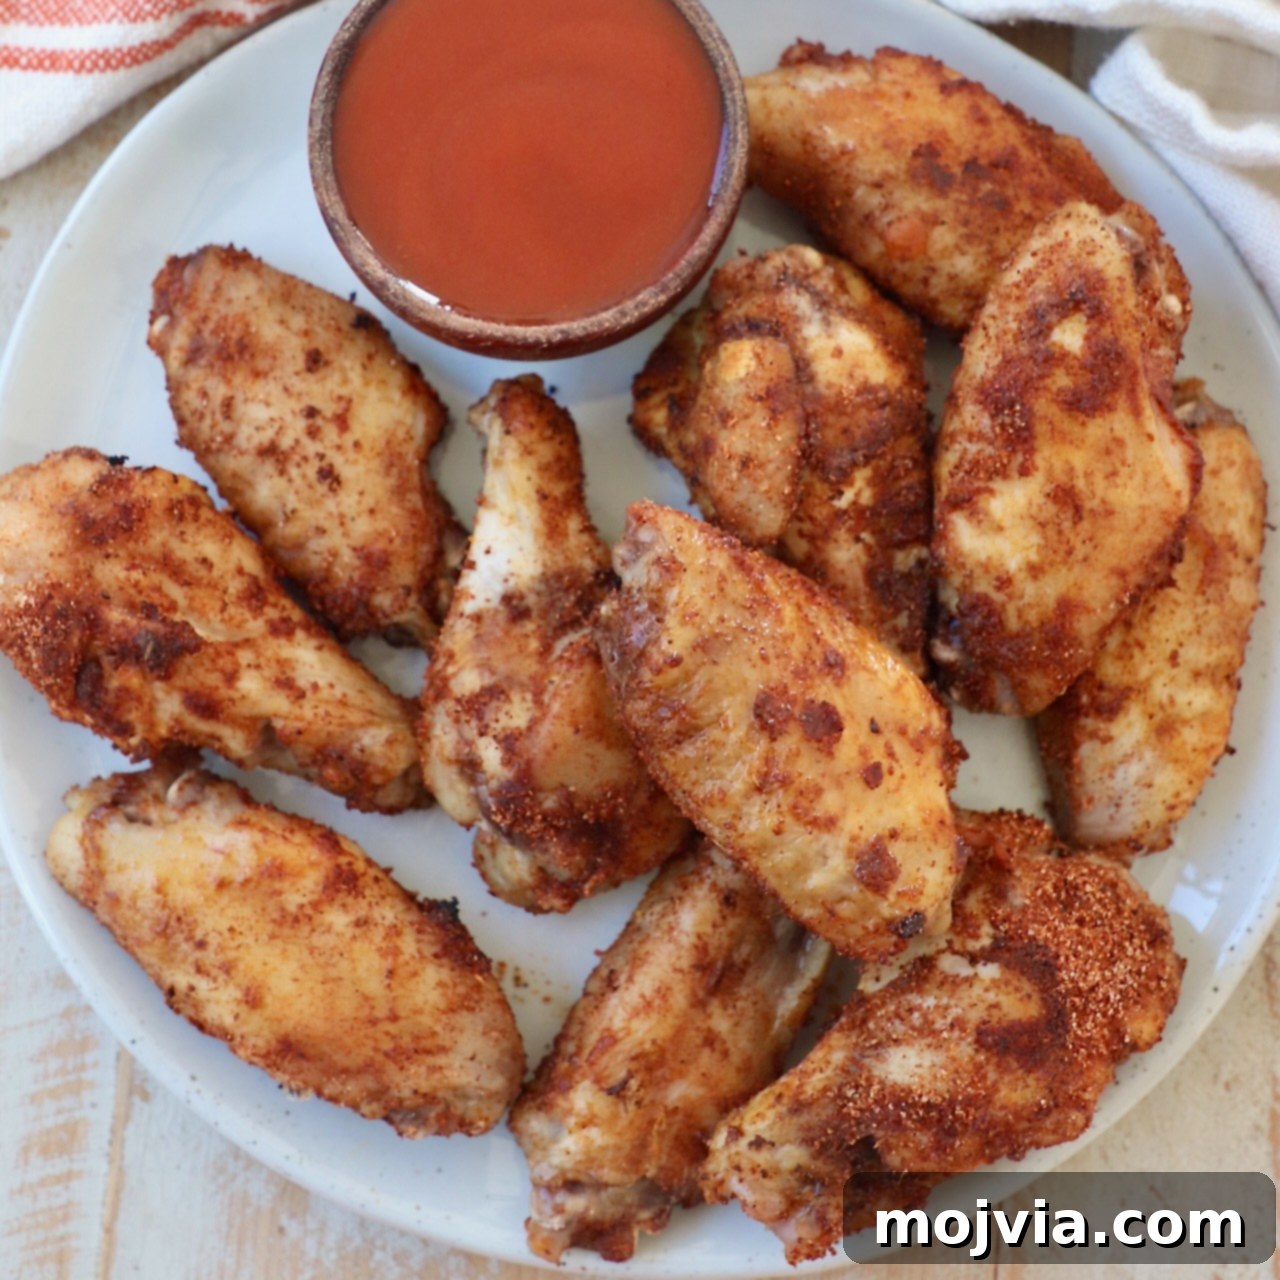
Unlock the Secret to Perfectly Tender & Crispy Sous Vide Chicken Wings
Imagine sinking your teeth into a chicken wing that’s unbelievably juicy and tender on the inside, yet boasts an irresistibly crispy skin on the outside. This culinary dream is now a delicious reality with the power of sous vide cooking. Say goodbye to dry, unevenly cooked wings and hello to the ultimate wing experience. This comprehensive guide will walk you through creating restaurant-quality Sous Vide Chicken Wings that are destined to become your go-to recipe for game nights, parties, or simply a delicious snack. We’ll show you how to achieve that coveted fall-off-the-bone tenderness and the perfect crispy finish, all with remarkable ease and consistency.
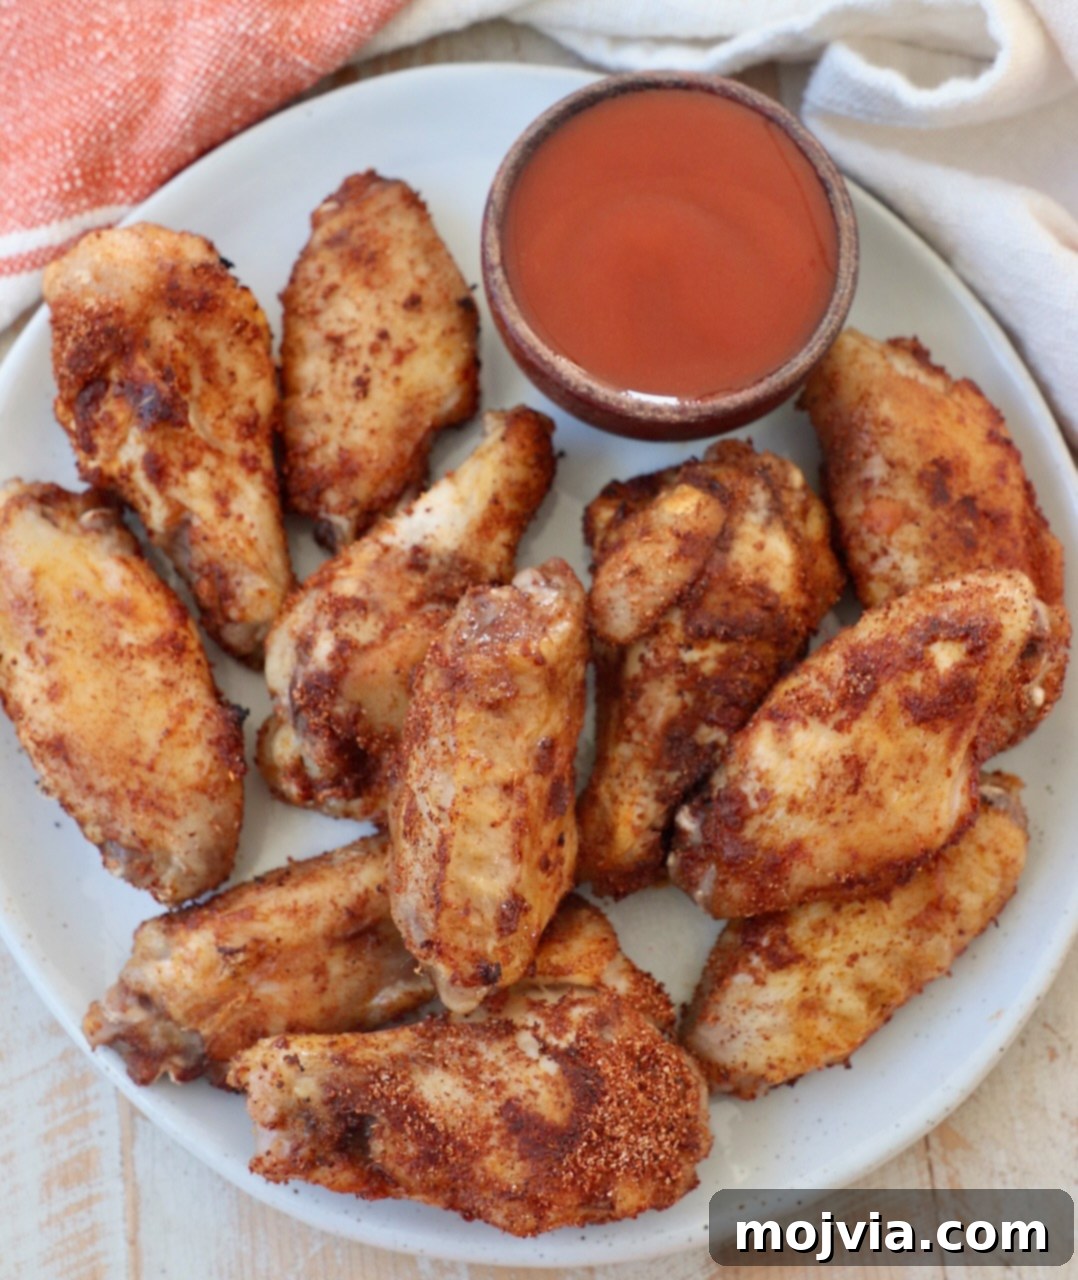
Table of Contents
- Why Sous Vide is Perfect for Chicken Wings
- Essential Ingredients for Sous Vide Chicken Wings
- Step-by-Step Guide to Sous Vide Chicken Wings
- Recipe Tips for Flawless Sous Vide Wings
- What to Serve With Your Sous Vide Wings
- Tools You Will Need
- Explore More Sous Vide Recipes
Why Sous Vide is Perfect for Chicken Wings
The sous vide method revolutionizes chicken wing preparation by providing unparalleled control over the cooking process. Unlike traditional methods that can often lead to dry spots or unevenly cooked meat, sous vide ensures every part of the wing reaches the exact desired temperature, resulting in consistently tender and moist meat from edge to edge. This precision means your wings will be perfectly cooked through, without any guesswork.
One of the most remarkable benefits of using a sous vide for chicken wings is the ability to cook them directly from frozen. This convenience is a game-changer for busy households or spontaneous cravings. Simply vacuum-seal dozens of wings at a time and store them in your freezer. When the mood for wings strikes, they can go straight from the freezer into the sous vide bath, requiring no additional cooking time. This versatility makes sous vide an invaluable tool for meal prep and entertaining, allowing you to have delicious, ready-to-finish wings on hand at all times.
While sous vide delivers incredible tenderness, it’s important to note that a crispy skin requires a final step. After the precise water bath, a quick finish in an air fryer or under the oven broiler (or even a deep fryer or grill) transforms the skin into that delightful, crunchy texture we all love. This two-stage process — slow cooking for tenderness, then quick finishing for crispiness — is the secret to the ultimate chicken wing.
Beyond texture, sous vide also excels at flavor infusion. By cooking the wings in a sealed bag with your chosen seasonings, the flavors are locked in and permeate the meat more deeply than with other cooking methods. The versatility doesn’t stop there; these wings are fantastic whether tossed in a vibrant sauce like classic buffalo, or enjoyed dry with a flavorful rub. Our recommended chicken wing seasoning is so robust, you might find them equally delicious without any sauce at all!
Essential Ingredients for Sous Vide Chicken Wings
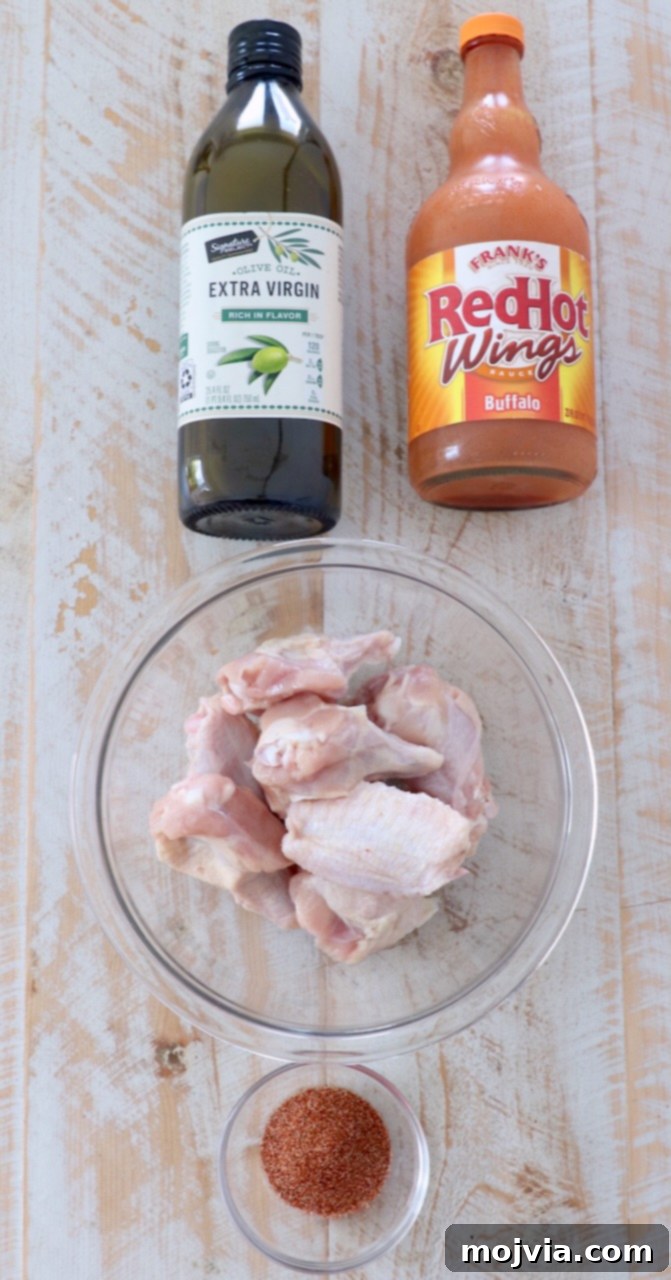
Crafting the perfect sous vide chicken wing starts with selecting quality ingredients. Here’s what you’ll need, along with some helpful insights:
- Chicken Wings: For convenience and consistent results, we highly recommend purchasing “party wings.” These are typically pre-separated into drumettes (the mini drumsticks) and wingettes or “flats” (the middle, flatter section), making prep work much quicker. If you opt for whole chicken wings, you’ll need to separate them yourself at the joint. The wing tips, which consist mostly of cartilage, bone, and skin, can be discarded or saved in the freezer to enrich homemade chicken stock later.
- Salt: A fundamental seasoning that enhances the natural flavor of the chicken. We use it to lightly season the wings before vacuum sealing, allowing it to penetrate the meat during the sous vide process.
- Olive Oil: A light drizzle of olive oil (or another neutral-flavored oil such as canola, avocado, or vegetable oil) helps the seasoning adhere to the wings and aids in achieving that desired crispiness during the final cooking stage.
- Chicken Wing Seasoning: This is where much of the wing’s delicious character comes from! Our signature blend is incredibly simple to create, featuring six common pantry spices: salt, chili powder, smoked paprika, onion powder, and garlic powder. A touch of cayenne pepper is optional, allowing you to customize the spice level to your preference. Mixing up a larger batch of this seasoning takes only minutes and can be stored in an airtight container for up to six months, ensuring you always have it on hand for your next wing craving.
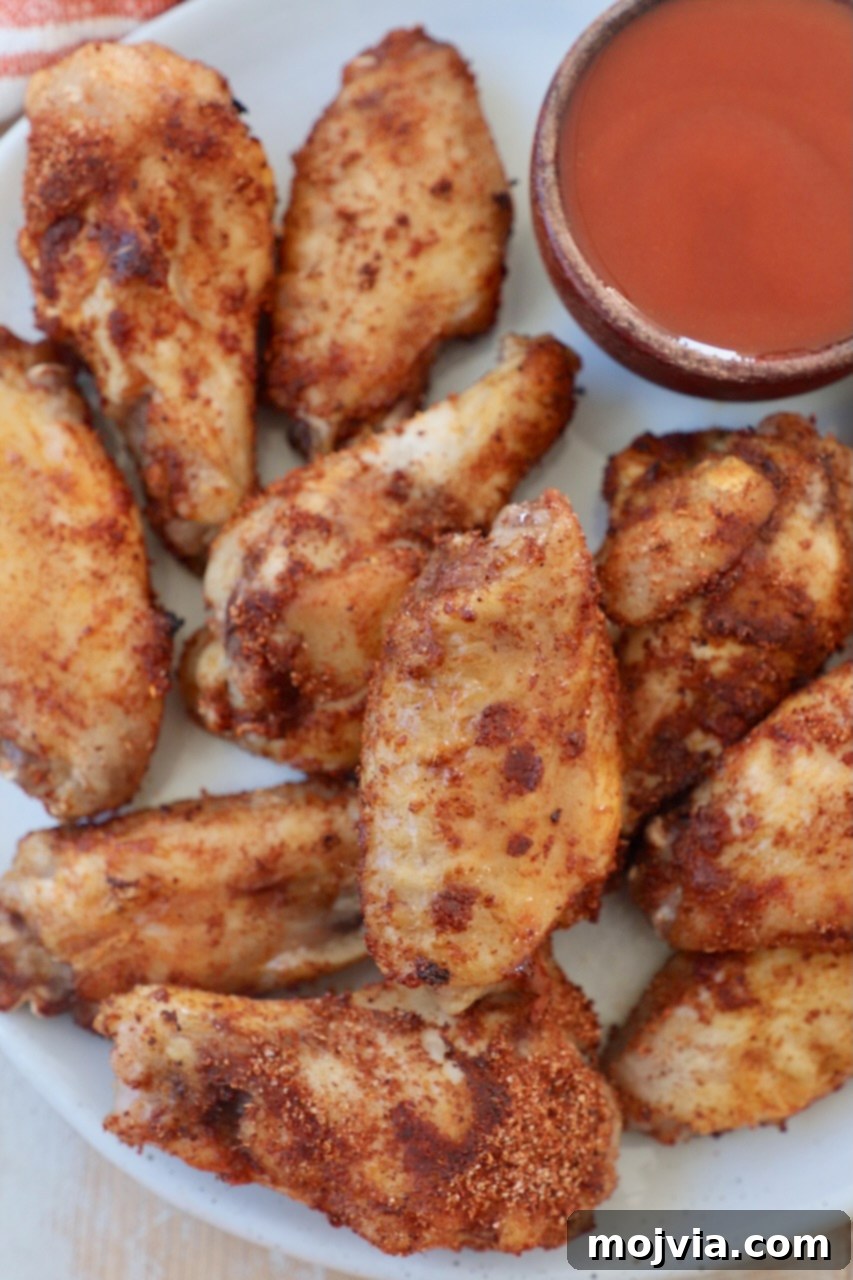
- Buffalo Wing Sauce (Optional): While these sous vide wings are incredibly flavorful on their own, a classic buffalo sauce adds a tangy, spicy kick that many wing enthusiasts adore. You can toss the wings directly in the sauce after finishing, or serve it on the side as a dipping option. Remember, if you’re tossing, make sure the sauce is at room temperature or slightly warm to prevent cooling down your freshly crisped wings.
Step-by-Step Guide to Sous Vide Chicken Wings
Follow these detailed instructions to create perfectly tender and crispy sous vide chicken wings at home. For exact quantities and a printable version, refer to the recipe card at the bottom of this post.
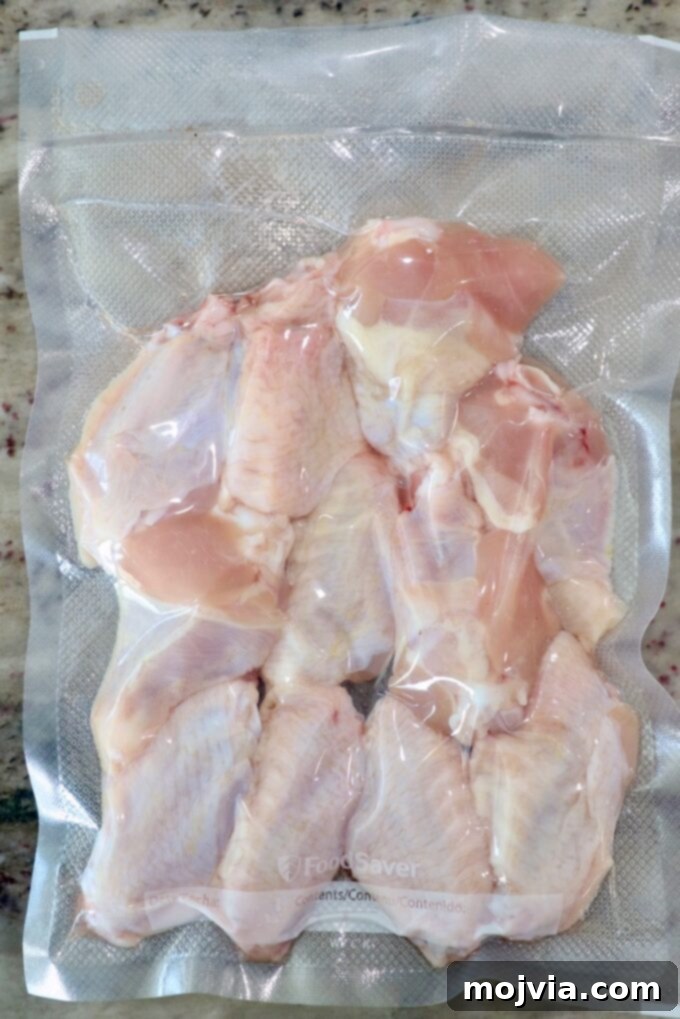
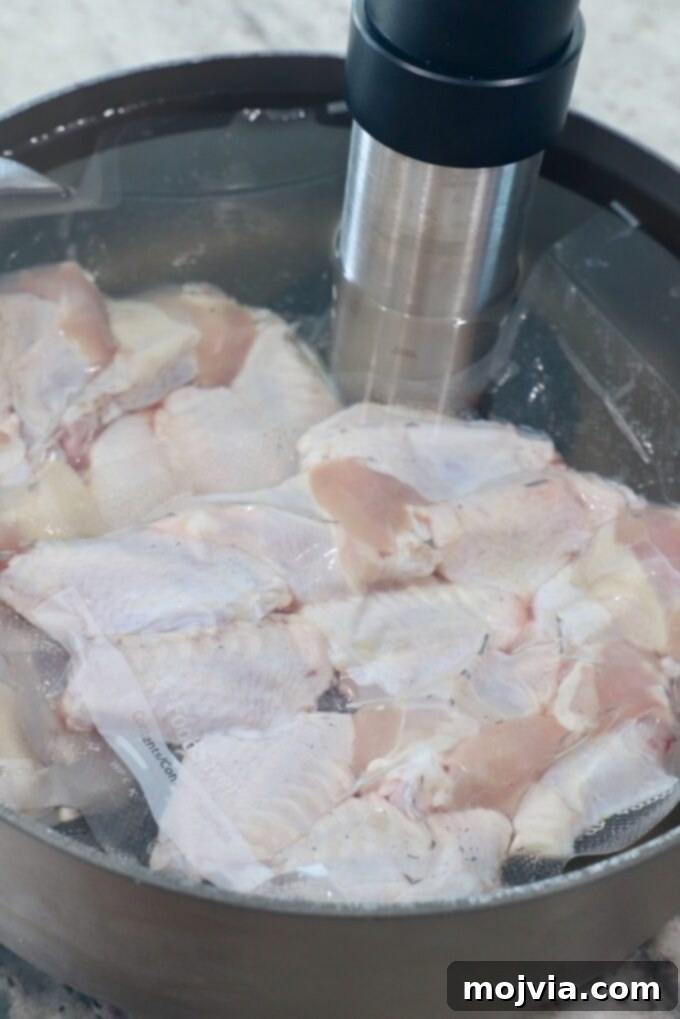
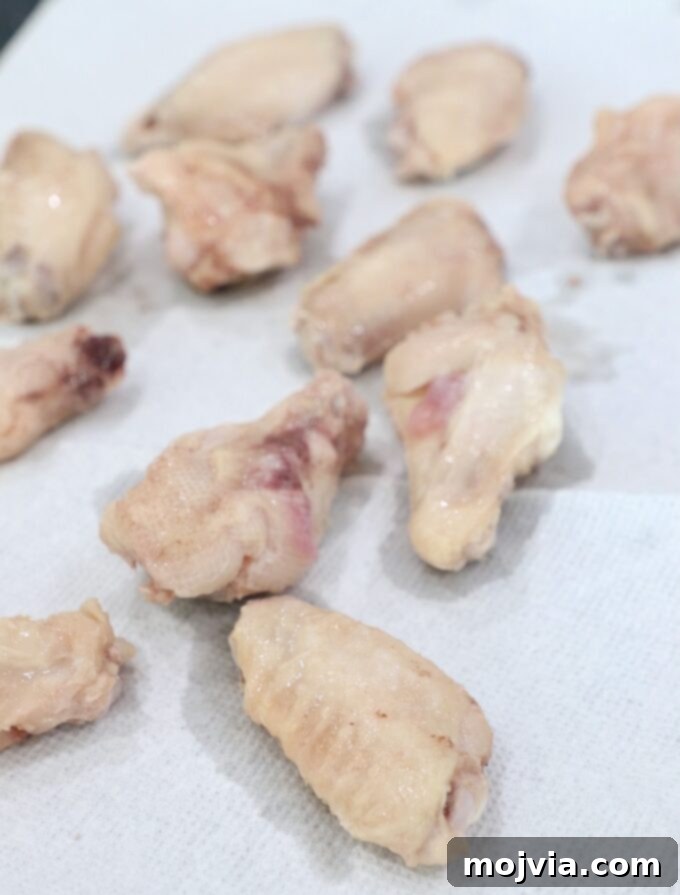
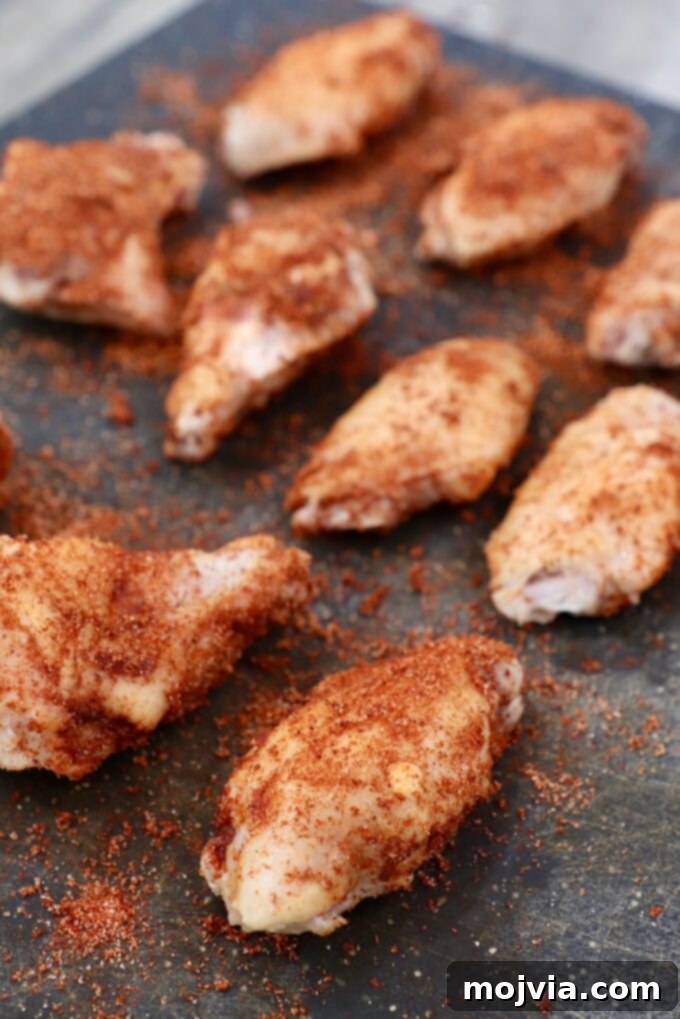
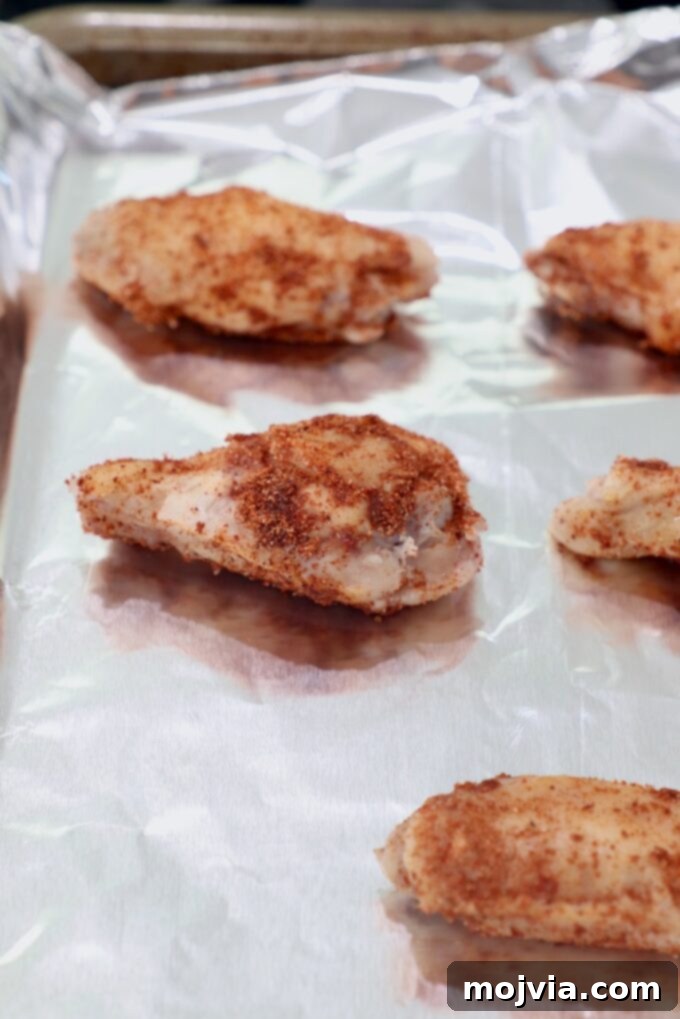
- Prepare and Vacuum Seal the Chicken Wings: Take one pound of chicken wings (approximately one dozen, ideally “party wings”) and place them into a quart-sized vacuum sealer bag. Season the wings lightly with salt. Using a vacuum sealer, remove all the air from the bag and seal it completely. A tight seal is crucial for effective sous vide cooking.
- No Vacuum Sealer? No Problem! If you don’t own a vacuum sealer, you can use the “water displacement method” with a freezer-safe zipper bag (quart size works well). Place the chicken wings and salt into the zipper bag. Slowly submerge the bag into a large pot of water, leaving just about an inch of the top of the bag open. The water pressure will naturally push the air out from around the food. Once most of the air is expelled, carefully seal the bag closed before it is fully submerged.
- Initiate the Sous Vide Bath: Fill a large pot or a dedicated sous vide container with water. Place the vacuum-sealed bags of wings into the water bath. Ensure the wings are fully submerged for even cooking; if they float, you may need to weigh them down with a plate or use a rack. Attach your sous vide circulator to the pot and set the temperature precisely to 160°F (71°C). Set a timer for 2 hours. This temperature and time are optimal for achieving tender, juicy wings without overcooking.
- Thoroughly Dry the Wings: Once the 2 hours are up, carefully remove the bags from the water bath. Snip open the bags and use kitchen tongs to transfer the cooked wings onto a layer of paper towels. It is absolutely critical to dry the wings completely by patting them on all sides with additional paper towels. Removing all surface moisture is the secret to achieving a super crispy skin in the next step.
- Season the Wings for Flavor: Transfer the thoroughly dried chicken wings to a clean cutting board or a large bowl. Drizzle a light, even layer of olive oil over all the wings, then gently rub the oil into the skin to ensure full coverage. Next, sprinkle the chicken wing seasoning generously and evenly over the wings. Rub the seasoning into every surface of the wings until they are completely coated. This step not only adds incredible flavor but also helps with the crisping process.
- Finish for Ultimate Crispiness: Although the wings are fully cooked after their sous vide bath, they won’t have a crispy skin until they undergo a quick high-heat finish. You have several excellent options for this:
- Oven Broiling Method: Arrange the seasoned wings in a single layer on a foil-lined baking sheet. Preheat your oven broiler to high. Place the baking sheet under the broiler for approximately 3 minutes, then flip the wings and broil for another 2-3 minutes on the other side. Keep a close eye on them to prevent burning, as broilers can vary in intensity.
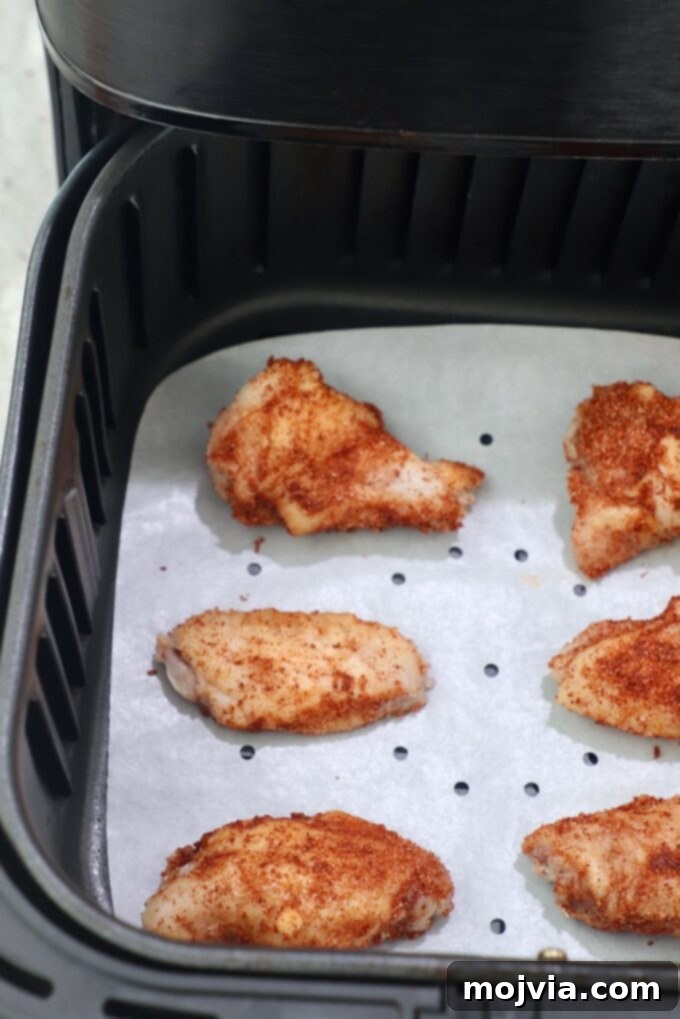
- Air Fryer Method: Place the seasoned wings in an air fryer basket in an even layer. Crucially, ensure there is ample space around each wing for air to circulate freely; this is essential for optimal crisping. For a 5.8-quart air fryer, you can typically fit 9-12 wings with proper spacing. Cook the wings at 400°F (200°C) for 3 minutes, then flip them and cook for an additional 3 minutes at 400°F (200°C).
- Other Finishing Options: You can also achieve a crispy finish by deep-frying the wings for 3-4 minutes until golden, pan-frying them over medium-high heat for 3 minutes per side, or grilling them on a preheated medium-high grill (around 400°F/200°C) for 3 minutes per side.
- Sauce and Serve (Optional): Once the wings have achieved their desired crispiness from your chosen finishing method, they are ready to be enjoyed! You can serve them immediately as is, or toss them in your favorite wing sauce — like classic buffalo sauce — for an added layer of flavor. If saucing, transfer the hot wings to a large bowl, pour in your sauce (we recommend about 1/4 cup of sauce per pound of wings), and use tongs to toss them until they are thoroughly coated. A vital tip: ensure your sauce is at room temperature or slightly warm. Tossing hot wings in cold sauce will rapidly cool them down and compromise their crispy texture. Serve immediately with your favorite dipping sauces.
Recipe Tips for Flawless Sous Vide Wings
- Cook in Batches for a Crowd: The beauty of sous vide is its scalability. You can easily cook dozens of wings at once; your only limitation is the size of your water bath container. A 26-quart container, for instance, can comfortably hold up to 20 dozen wings, making sous vide an excellent choice for large gatherings or parties.
- From Frozen to Feast: There’s no need to thaw your wings before sous vide cooking. Chicken wings will cook perfectly from frozen in 2 hours at 160°F (71°C), providing incredible convenience and flexibility.
- Ziploc Bag Safety: Rest assured, Ziploc bags are safe for sous vide cooking. Modern Ziploc bags are BPA-free, meaning no harmful chemicals will leach into your food. They are also designed to withstand temperatures up to 195°F (90°C), well above the typical 130°-160°F (54°-71°C) range used for most meats, including chicken wings.
- The Golden Rule of Crispiness: Dry, Dry, Dry! We cannot overstate the importance of thoroughly drying your wings after the sous vide bath. Any residual moisture on the skin will steam rather than crisp, preventing that desirable crunchy texture. Take the extra time to pat them completely dry with paper towels on all sides before applying seasoning and finishing.
- Dietary Considerations: This recipe, using the specified ingredients, is naturally dairy-free and gluten-free. To keep it dairy-free when serving with dips, opt for classic buffalo sauce or a dairy-free avocado ranch. Additionally, these wings are low-carb and keto-friendly, with each wing containing only approximately 0.1 net carbs, making them a perfect snack or appetizer for those following a ketogenic diet.
- Storage and Reheating: Store any leftover finished (air-fried or broiled) chicken wings in an airtight container in the refrigerator for up to 3 days. For best results, reheat them in an air fryer at 400°F (200°C) for about 4 minutes to restore their crispiness. For maximum juiciness and flavor, toss reheated wings in a fresh batch of warm buffalo sauce.
- Experiment with Sauces: While buffalo sauce is a classic, don’t hesitate to get creative with your wing sauces! These versatile sous vide wings pair wonderfully with a variety of flavors, including tangy BBQ sauce, your favorite hot sauce, creamy garlic parmesan sauce, zesty lemon pepper sauce, or even a sweet and savory General Tso’s sauce.
What to Serve With Your Sous Vide Wings
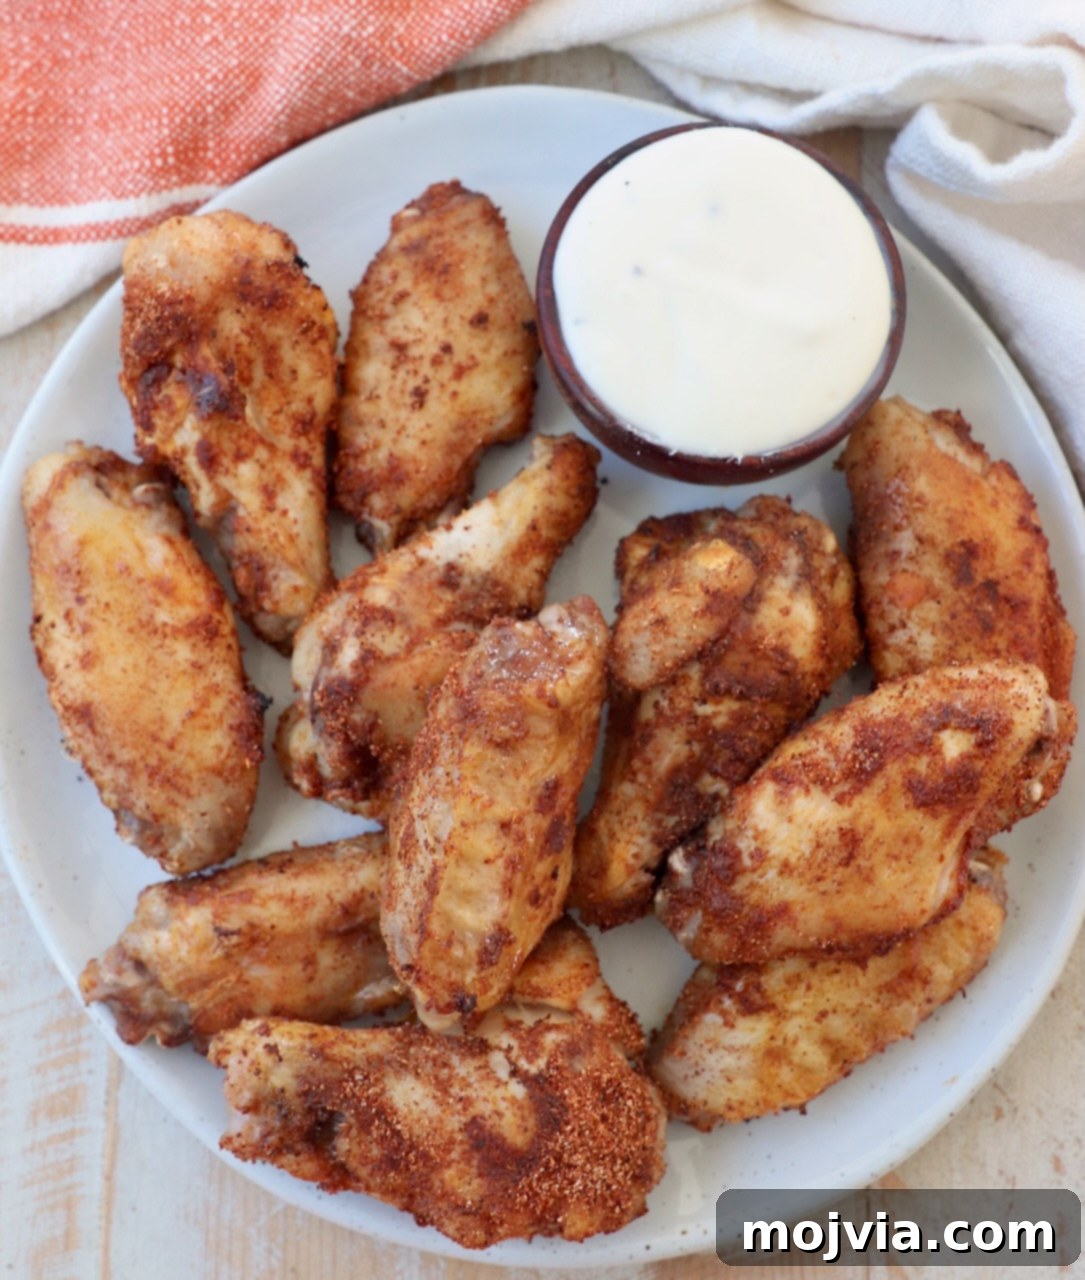
Sous vide chicken wings are incredibly versatile, making them a fantastic standalone snack, a party appetizer, or the star of a hearty meal. Classic pairings include crisp carrot and celery sticks, often accompanied by creamy blue cheese or ranch dressing for dipping. But why stop there? Elevate your wing experience by making them part of an “epic game day spread” or a fun family dinner. Consider serving them alongside:
- Buffalo Chicken Dip: A perfect companion that doubles down on the buffalo flavor.
- 7 Layer Dip: A vibrant and satisfying dip that offers a medley of textures and flavors.
- Pepperoni Pizza Rolls: Fun, savory bites that are always a crowd-pleaser.
- Taco Crescent Rolls: A creative and delicious twist on classic taco flavors.
- Jalapeno Poppers: Spicy, cheesy, and irresistible — the ideal contrast to tender wings.
- Roasted Garlic Dip: For those who love a rich, aromatic alternative to traditional ranch or blue cheese.
- Avocado Ranch Dressing: A fresh, creamy, and dairy-free option that complements the wings beautifully.
Tools You Will Need
To successfully execute this sous vide chicken wing recipe, gather these essential kitchen tools:
- Ziploc bags or a vacuum Sealer with vacuum seal bags: For sealing the wings airtight.
- Sous vide immersion circulator: The core tool for precision cooking.
- Large pot or dedicated sous vide container: To hold the water bath.
- Kitchen Tongs: For handling the wings safely and hygienically.
- Cutting board: For seasoning and preparing the wings.
- Paper towels: Crucial for drying the wings thoroughly.
- For finishing (choose one):
- Air fryer: For a quick and efficient crispy finish.
- Baking sheet (foil-lined) and oven broiler: For a classic crispy broiled finish.
- Large mixing bowl: For tossing wings with sauce (optional).
Explore More Sous Vide Recipes
Ready to fully embrace the precision and convenience of sous vide cooking? Once you’ve mastered these incredible chicken wings, you’ll discover a whole new world of culinary possibilities. Expand your sous vide repertoire with these equally delicious and foolproof recipes:
- Sous Vide Tri Tip: Achieve perfectly cooked, tender beef every time.
- Sous Vide Egg Bites: Recreate your favorite coffee shop breakfast at home.
- Chipotle Apple Pork Loin: Juicy, flavorful pork with minimal effort.
- Sous Vide Sliders: The secret to consistently perfect mini burgers.
- Sous Vide Steak: Attain steakhouse-quality tenderness and doneness effortlessly.

Print Recipe
Pin Recipe
Rate this Recipe
Sous Vide Chicken Wings
Ingredients
- 1 pound chicken wings, party wings – separated drums and flats
- 1 teaspoon salt
- 1 tablespoon olive oil
- 1 tablespoon chicken wing seasoning, click link for recipe
- ¼ cup buffalo sauce, optional – for tossing with the wings
Instructions
-
Add the chicken wings to a quart-sized vacuum sealer bag. Season the chicken wings with salt. Vacuum seal the bag closed, using a vacuum sealer.
-
If you don’t have a vacuum sealer, you can use a quart size freezer-safe zipper bag and the water displacement method. To do so, you’ll need to place each bag with chicken wings in it almost all of the way under water, leaving just about an inch of the top of the bag open, the water will press out all of the air around the food in the bag, you can then seal the bag closed.
-
Place the vacuum sealed bags of wings in a large pot, or container, filled with water. If properly sealed, the chicken wings should sink in the water. You want to make sure that the wings are completely submerged in the water for proper sous vide cooking.
-
Attach a sous vide to the pot and set the temperature to 160°F. Set a timer for 2 hours.
-
After 2 hours, remove the bags of wings from the pot of water. Cut the bags open and use tongs to remove the wings.
-
Place them on paper towels and dry them completely by patting them dry on all sides with paper towels.
-
Place the dry chicken wings on a cutting board. Drizzle a light layer of olive oil over the chicken wings and rub the oil into the wings.
-
Sprinkle the wings evenly with the chicken wing seasoning (click link for the recipe). Rub it onto all sides of the chicken wings until they’re fully covered in the seasoning.
-
While the wings are fully cooked when removed from the sous vide bags, they won’t have a crispy skin, unless they’re finished in an air fryer or in the oven.
-
To finish the wings in the oven, place them in a single layer on a foil-lined baking sheet. Preheat the oven broiler to high. Place the wings under the broiler for 3 minutes, flip and broil for another 2-3 minutes on the other side.
-
To finish the wings in an air fryer, place them in an air fryer basket in an even layer. It’s very important that each wing has space around it, so that the air can circulate around the wings and get them crispy. Cook the wings for 3 minutes at 400°F, flip and cook for an additional 3 minutes at 400°F.
-
Remove from the oven or air fryer, and either serve the wings immediately, or immediately toss them in your favorite wing sauce.
-
Serve immediately with blue cheese or ranch dressing for dipping.
Notes
- If tossing the wings in sauce, make sure the buffalo sauce is room temperature or warm. If you toss the cooked wings in cold sauce, it will cool down the wings.
- Using the sous vide, you can cook dozens of wings at a time. The only limitation is the size of container that you’re using to cook the wings. I have this 26 quart container, which I purchased mainly for making ribs and larger pieces of meat, but it can hold up to 20 dozen wings. That’s a lot of wings! If you’re making wings for a crowd, the sous vide is a great option.
- You can sous vide chicken wings from frozen. There’s no need to add additional cooking time, the wings will cook fully from frozen in 2 hours in the sous vide at 160°F.
- Ziploc bags are safe to use in a sous vide. They do not contain BPA so you do not have to worry about the chemical leaking into your food. Ziploc bags will not soften until 195°F. Most meats cook in the sous vide between 130°-160°F.
- This recipe is dairy free and gluten free, using the ingredients shown above. Dip the wings in buffalo sauce or dairy-free avocado ranch to keep them dairy free.
- This recipe is also low carb and keto-friendly. Each wing contains only .1 net carbs, making it the perfect keto snack or appetizer!
- Store leftover air fried chicken wings in the fridge for up to 3 days. Reheat them in the air fryer at 400°F for 4 minutes. I recommend tossing reheated wings in buffalo sauce for maximum juicy, saucy flavor.