
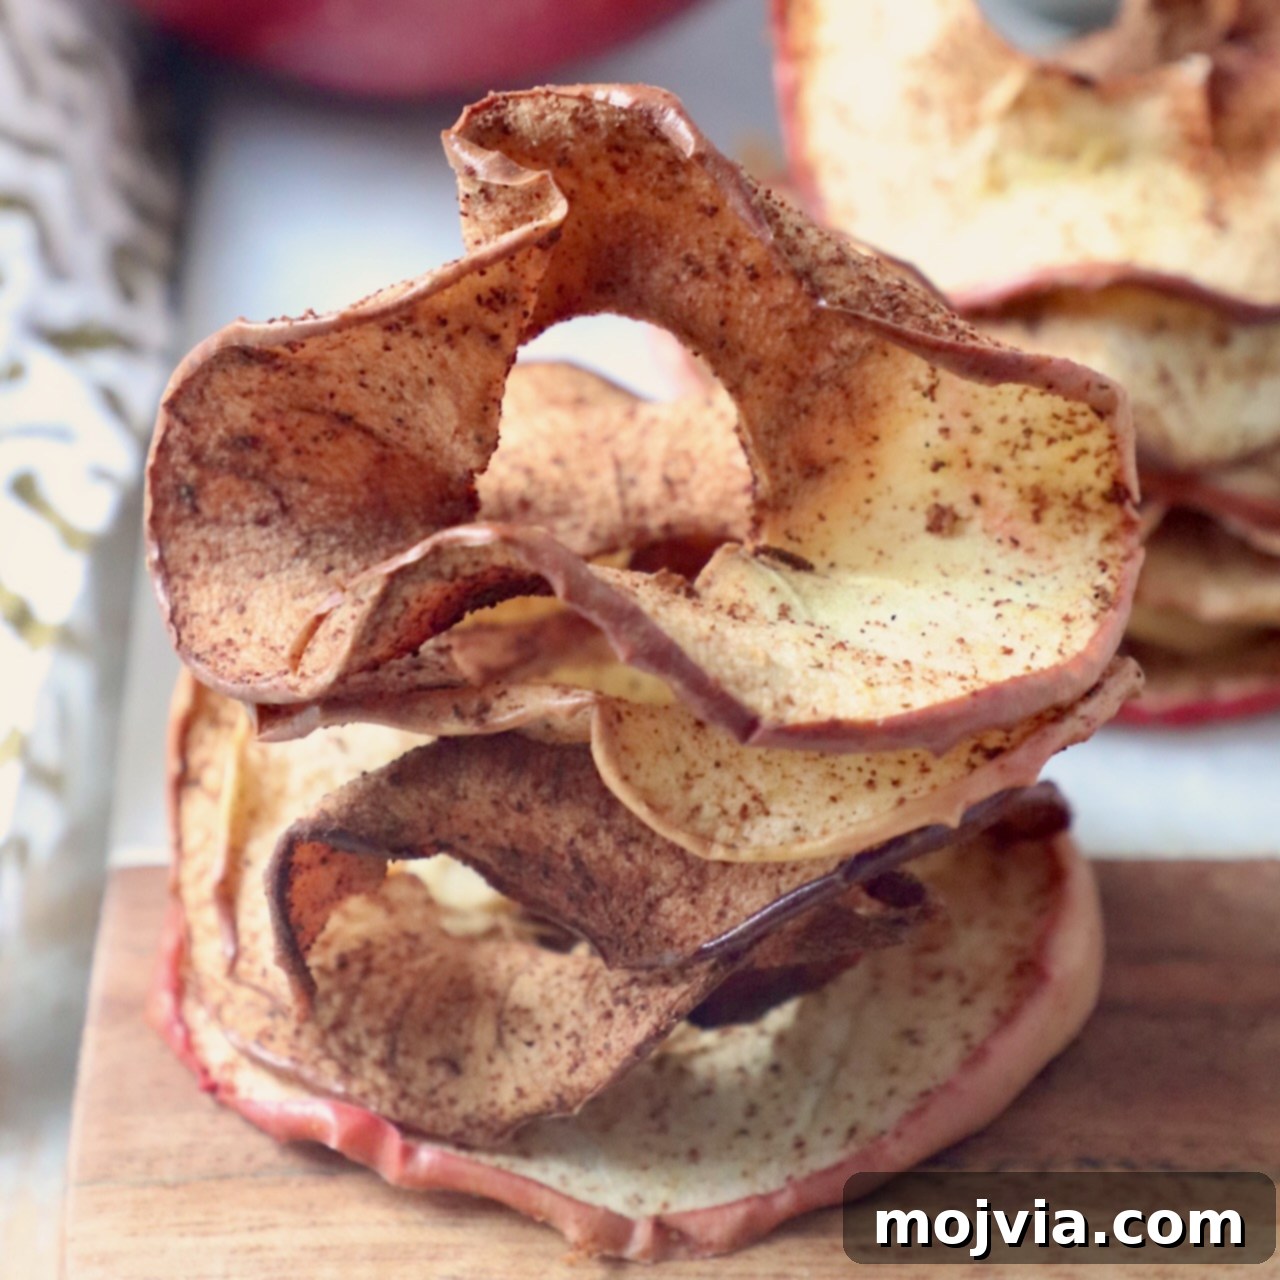
Homemade Apple Chips: Your Guide to a Crispy, Healthy Snack
Apple chips are a delightful, naturally sweet, and incredibly healthy snack that you can easily make with just two core ingredients: fresh apples and a sprinkle of cinnamon. Forget store-bought versions laden with added sugars and preservatives; this comprehensive guide will teach you how to master the art of homemade apple chips using either your oven or air fryer, providing you with perfect, crispy results every time.
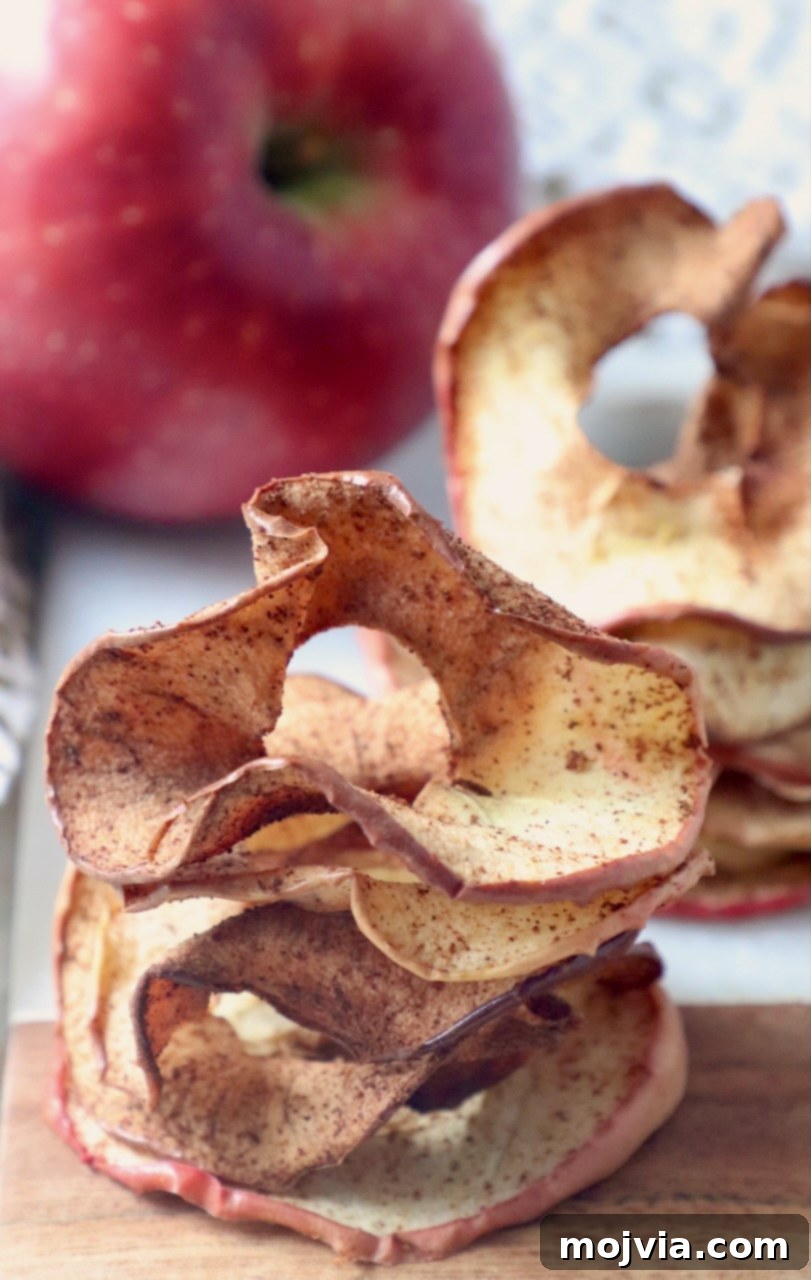
Craving a satisfyingly crispy and crunchy treat without the guilt? Look no further than these baked apple chips. They offer a delicate touch of natural sweetness, making them an ideal alternative to processed snacks. This healthy, gluten-free, and naturally vegan snack requires no special dehydrator, demanding only minimal prep time from your busy schedule.
Making a generous batch in your oven is perfect for ensuring you have a healthy supply of midday snacks throughout the week. They also make a fantastic crispy addition to various salads, adding texture and a hint of fruity flavor. However, if you’re in the mood for just a small, quick snack, or a delightful topping for your morning granola or an evening salad, **the air fryer method is an absolute game-changer**. Its speed and efficiency are unparalleled, delivering perfectly crispy apple chips in a fraction of the time.
The air fryer truly excels at transforming apple slices into wonderfully crisp chips in as little as 21 minutes. This fast and effective technique has quickly become **the preferred way for many to enjoy freshly made, homemade apple chips!**
Table of Contents
- Why Make Homemade Apple Chips?
- Ingredients for Perfect Apple Chips
- Essential Equipment
- Oven-Baked Apple Chips: Step-by-Step Guide
- Air Fryer Apple Chips: Quick & Easy
- Expert Tips and Tricks for Crispy Apple Chips
- Creative Ways to Use Your Homemade Apple Chips
- Frequently Asked Questions (FAQ)
- More Kitchen Tutorials
Why Make Homemade Apple Chips?
There are countless reasons to ditch store-bought alternatives and embrace the simplicity and goodness of homemade apple chips. Firstly, you have complete control over the ingredients, ensuring no artificial preservatives, excessive sugars, or unhealthy oils make their way into your snack. This makes them a fantastic choice for those adhering to specific dietary needs, such as gluten-free or low-sugar diets.
Beyond ingredient control, homemade apple chips are incredibly cost-effective. Apples are readily available and affordable, especially when in season, making this snack a budget-friendly option for families. Furthermore, the process of making them is a rewarding culinary experience, filling your home with the warm, inviting aroma of baked apples and cinnamon.
From a nutritional standpoint, apple chips retain many of the benefits of fresh apples, offering dietary fiber, vitamins (like Vitamin C), and antioxidants. They provide a satisfying crunch that can curb cravings for less healthy fried snacks, making them an excellent choice for mindful eating and a balanced lifestyle. Whether you’re a health enthusiast, a busy parent, or simply someone who appreciates delicious, natural food, homemade apple chips are a wholesome delight.
Ingredients for Perfect Apple Chips
The beauty of this recipe lies in its simplicity, requiring only two staple ingredients. The quality of these ingredients, however, can significantly impact the final taste and texture of your apple chips.
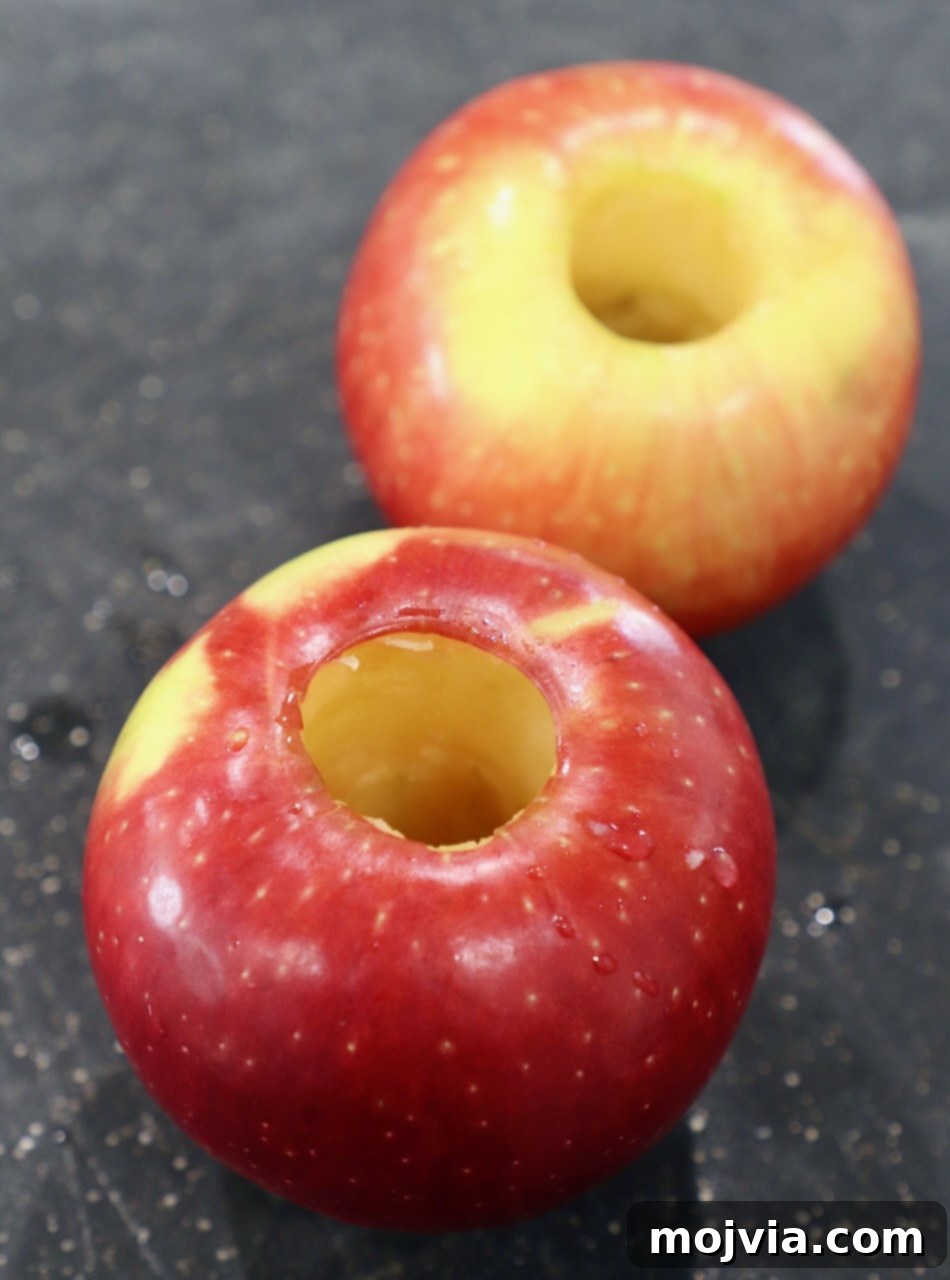
- Apples: The foundation of your chips! For the best results, choose two crisp apples that are naturally sweet. Varieties like Honeycrisp, Pink Lady, Fuji, Gala, or Cosmic Crisp are highly recommended due to their firm texture and delightful flavor profile that intensifies when baked. If you prefer a tart flavor, don’t hesitate to experiment with Granny Smith apples, which also crisp up beautifully. It’s best to avoid apples with a grainy or mealy texture, such as Red Delicious, as they tend to become mushy rather than crispy when cooked.
- Ground Cinnamon: A light dusting of ground cinnamon is the perfect aromatic complement to the natural sweetness of the apples. It adds a warm, comforting spice that elevates the flavor without overpowering it. While cinnamon is a classic choice, don’t be afraid to explore other spice combinations as outlined in the “Tips and Tricks” section.
Choosing the Right Apples: A Closer Look
Selecting the correct apple variety is crucial for achieving optimal crispness and flavor. Sweet apples like Honeycrisp and Fuji have a high sugar content which caramelizes slightly during baking, enhancing their flavor and contributing to a lovely golden-brown finish. Their firm flesh also holds up well to the long, slow cooking process. Tart apples like Granny Smith, on the other hand, offer a tangy counterpoint that can be very refreshing. Whichever you choose, ensure your apples are fresh and firm, free of soft spots or bruises, for the best possible outcome.
Essential Equipment
While minimal, having the right tools can make the process even easier:
- Mandolin Slicer (Recommended): For uniformly thin slices, a mandolin is invaluable. Consistency in thickness is key to even baking and maximum crispness. Set it to 1/8 inch for ideal results. If you don’t have one, a very sharp chef’s knife and a steady hand will also work.
- Baking Sheets: For oven baking, you’ll need one or two large baking sheets to ensure apple slices can be laid in a single layer without overlapping.
- Parchment Paper or Silicone Baking Mat: Absolutely essential for preventing sticking and making cleanup a breeze.
- Cooling Rack: Crucial for allowing the chips to fully crisp up after baking. Good airflow is vital.
- Air Fryer: If opting for the air fryer method, ensure your model has sufficient space for a single layer of apple slices.
Oven-Baked Apple Chips: Step-by-Step Guide
Making apple chips in the oven is the perfect method for preparing larger batches, especially when you have a bit more time on your hands. The low and slow baking process gently dehydrates the apples, resulting in uniformly crisp and flavorful chips.
- Preheat Oven: Begin by preheating your oven to a low temperature of 200°F (95°C). This low heat is essential for slow dehydration without burning the apples.
- Prepare Apples: Wash and core your apples thoroughly. Using a mandolin slicer or a very sharp knife, carefully slice the apples into uniform 1/8-inch thick rounds. Consistency in thickness is critical for even cooking and achieving the desired crispness. Thinner slices will yield crunchier chips.
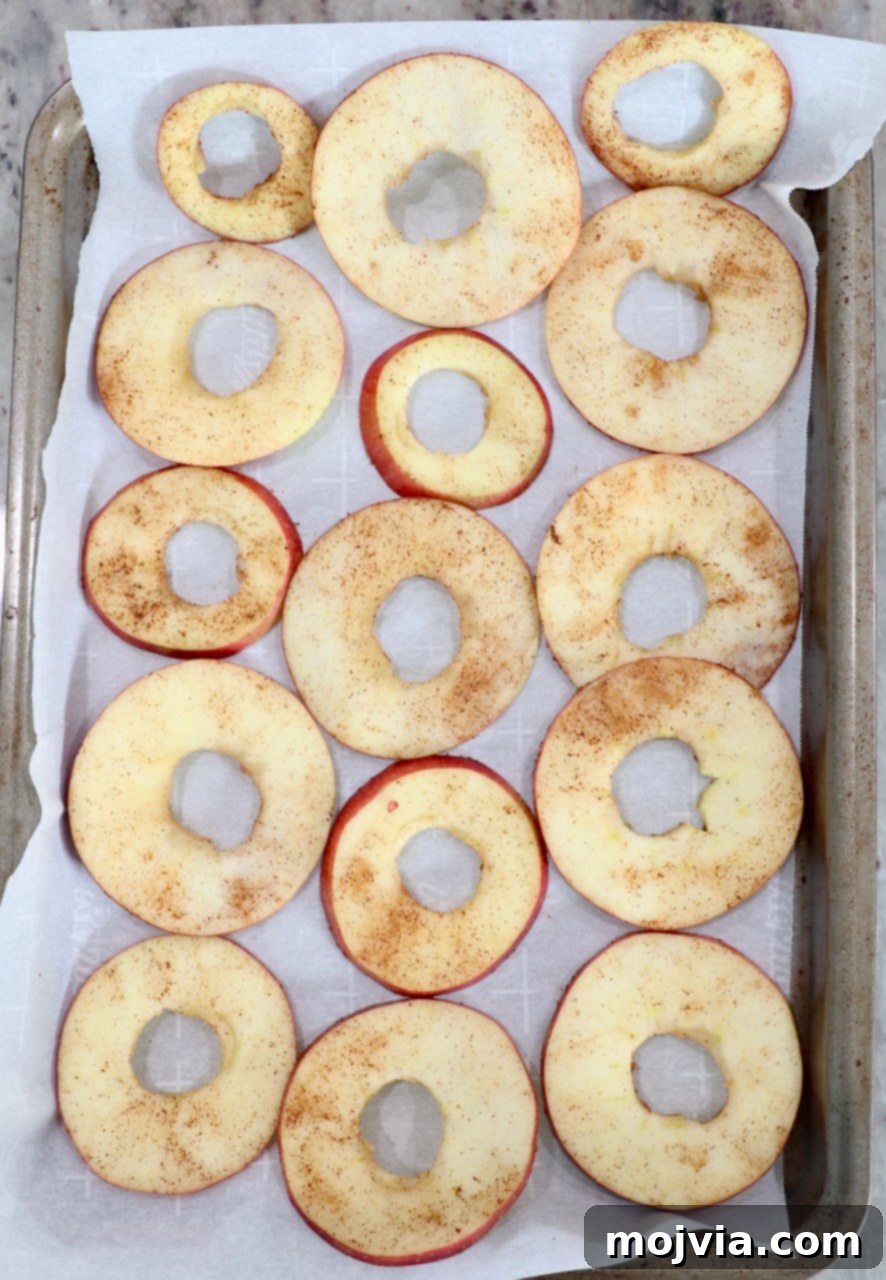
- Season: Lay the apple slices out in a single layer on a large baking sheet lined with parchment paper or a silicone baking mat. Gently sprinkle ground cinnamon evenly over all the apple slices. You can use a fine-mesh sieve for a more even distribution.
- Bake: Place the baking sheet in the preheated oven and bake for a total of 3 hours. It’s crucial to flip the apple slices halfway through the baking time (around 1.5 hours) to ensure even drying and crisping on both sides.
- Cool: Once baked, remove the apple slices from the oven and immediately transfer them to a wire cooling rack. Allow them to cool completely for at least 10 minutes, or even longer. This cooling period is not just for safety; it’s a critical step during which the apple chips will continue to crisp up as they lose residual moisture. Do not skip this step!
Air Fryer Apple Chips: Quick & Easy
The air fryer offers a fantastic, much faster alternative for making apple chips, perfect for when you need a quick snack or desire fresh, hot chips on demand. While you might not be able to cook as many at once compared to the oven, the convenience and speed are unbeatable. Plus, let’s be honest, apple chips are truly at their best when they’re warm and wonderfully crispy, fresh from the air fryer!
- Prepare Apples: As with the oven method, wash, core, and thinly slice your apples into uniform 1/8-inch rounds using a mandolin or a sharp knife. Uniformity is key for consistent results.
- Season: Sprinkle the ground cinnamon evenly over the apple slices. You can gently toss them in a bowl to ensure all slices are coated.
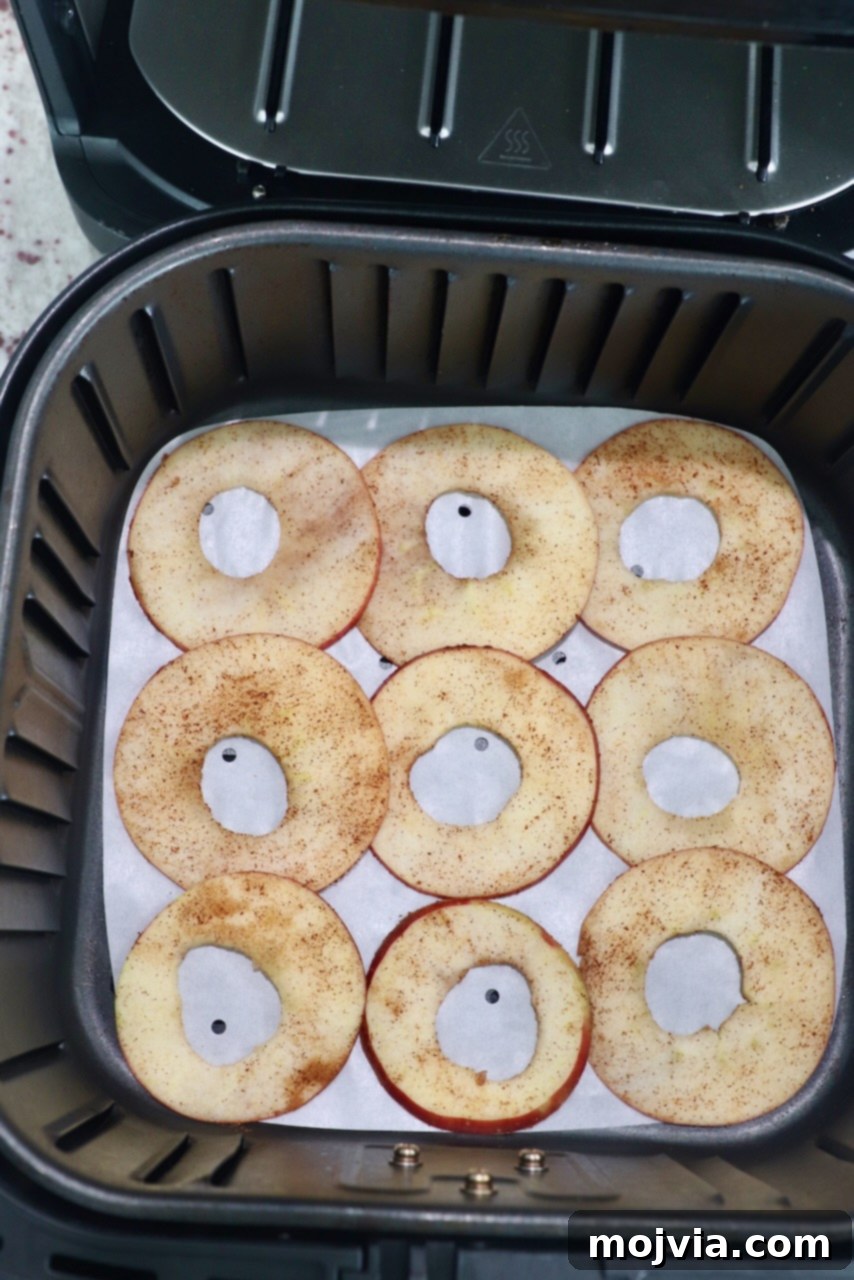
- Arrange in Air Fryer: Arrange the seasoned apple slices in a single, even layer within the air fryer basket. It’s vital not to overlap them, as proper air circulation is essential for crisping. Depending on the size of your apples and air fryer, you’ll likely only fit about 9-12 slices at a time. For example, a 5.8-quart air fryer can typically accommodate about 9 slices in its basket per batch.
- Air Fry: Set your air fryer to 300°F (150°C) and air fry for a total of 21 minutes. To ensure even cooking and crispness, remember to flip the apple slices every 7 minutes during this time.
- Cool: Once the air frying is complete, carefully remove the apple slices from the air fryer and transfer them immediately to a wire cooling rack. Allow them to cool for 10 minutes. Just like with oven-baked chips, they will continue to crisp up significantly during this cooling period, so patience is key!
Expert Tips and Tricks for Crispy Apple Chips
Achieving perfectly crispy apple chips is an art, and these tips will help you master it:
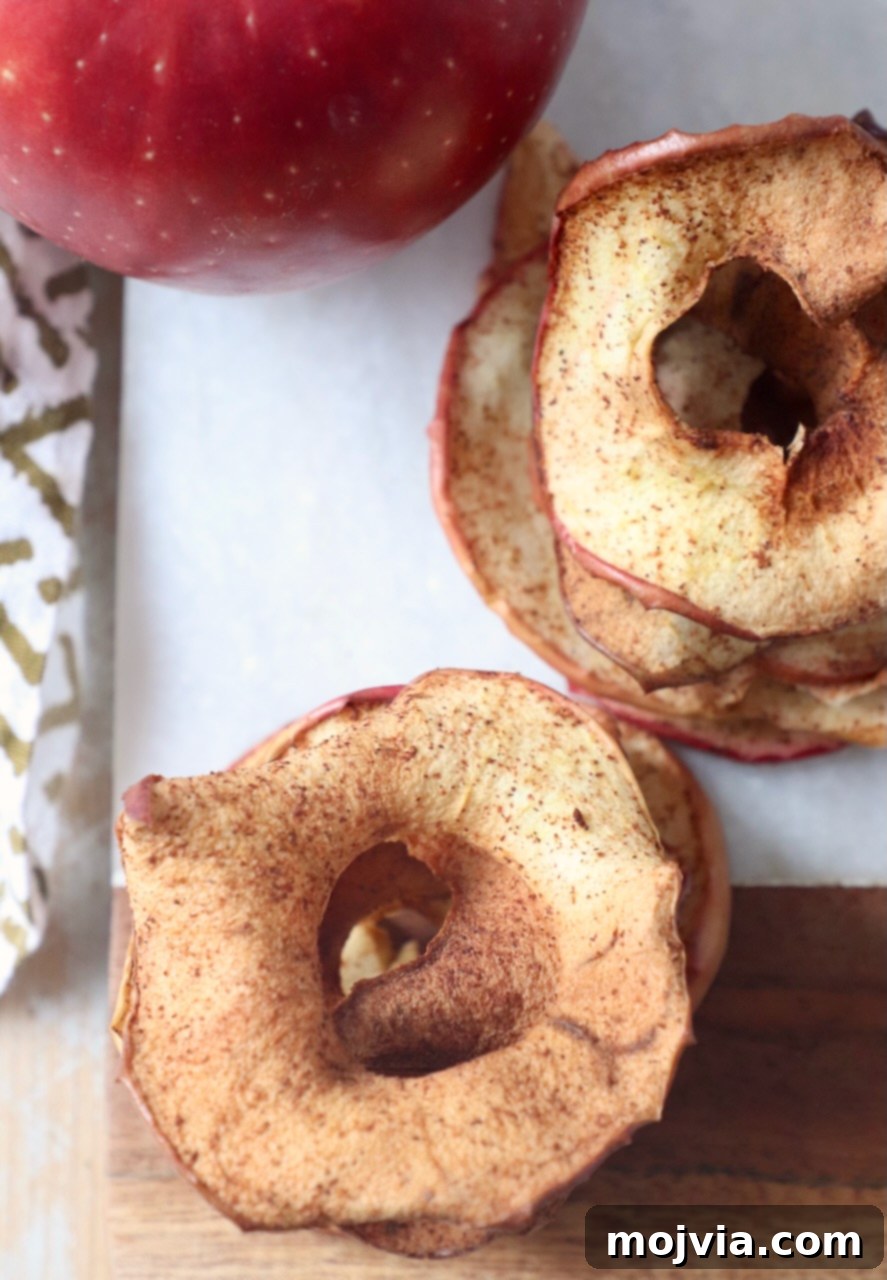
- Storage for Maximum Crispness: Store your homemade apple chips in a sealed, airtight container at room temperature for up to 1 week. However, for the absolute best texture and flavor, enjoy them as soon as possible! The longer they sit, the more likely they are to absorb moisture from the air and soften. If they do soften slightly, a quick reheat in the oven or air fryer for a few minutes can often bring back their crispness.
- Experiment with Seasonings: While cinnamon and apple are a classic pairing, don’t be afraid to get creative! You can also enjoy them plain for pure apple flavor. Other delicious seasoning ideas include a light sprinkle of sugar (brown sugar or maple sugar work beautifully), nutmeg, cloves, allspice, or ginger. For a festive twist, try using a homemade pumpkin pie spice blend. If you’re feeling adventurous, a tiny pinch of cayenne pepper can add a surprising and delightful warmth.
- Slice Thickness Matters: This is perhaps the most critical factor influencing the cook time and final level of crispiness. Thinner slices (1/8-inch or less) will result in much crispier chips and will bake faster. Thicker slices, conversely, will take longer to cook and may retain a chewier, more apple-like texture rather than a full crisp. Aim for consistency!
- Avoid Overcrowding: Whether you’re using a baking sheet in the oven or the basket of your air fryer, never overcrowd your apple slices. Proper air circulation is paramount for dehydration and crisping. Each apple slice needs direct exposure to the heat and circulating air to dry out effectively. If crowded, the chips will steam rather than crisp.
- Always Line Your Baking Surface: To prevent sticking and make cleanup effortless, always use parchment paper or a silicone baking mat to line your baking sheets. For air fryers, check your model’s recommendations, but typically parchment paper designed for air fryers can be used.
- The Cooling Rack is Non-Negotiable: After baking or air frying, do not skip transferring the apple chips to a wire cooling rack! This allows air to circulate around all sides of the chips, preventing condensation and ensuring they reach their maximum crispy potential as they cool. Placing them directly on a solid surface will trap moisture and make them soft.
- To Lemon Juice or Not to Lemon Juice? Some recipes suggest tossing apple slices in lemon juice before baking to prevent browning. While lemon juice can help maintain the apples’ color, I’ve found it to be largely unnecessary if you plan to cook them immediately after slicing. The baking process itself often changes the color, and the cinnamon provides a lovely finish. If you’re slicing apples significantly ahead of time, a quick dip in diluted lemon juice can be helpful.
Creative Ways to Use Your Homemade Apple Chips
While these delicious homemade apple chips are fantastic for snacking on their own, their versatility extends far beyond! Incorporate them into various meals, from breakfast to lunch and dinner, to add a unique crunch and natural sweetness. Here are some delightful ways to use your crispy creations:
- Salad Topper: Elevate any salad with a handful of crunchy apple chips. They add a wonderful texture and a hint of fruitiness. Try them with a copycat Panera’s Fuji Apple Chicken Salad, or a Healthy Cobb Salad. They pair exceptionally well with salads featuring nuts, cheese, or grilled chicken.
- Sweet Dips: Replace traditional crackers or cookies with apple chips when enjoying your favorite sweet dips. Their sturdy nature makes them perfect for scooping. They would taste fantastic with Salted Caramel Baked Brie, a decadent Slow Cooked Chocolate Dip, a creamy Cream Cheese Dip, or even Smoked Cream Cheese for an interesting sweet-savory combination.
- Oatmeal & Porridge: Add a lovely texture and flavor contrast by scattering apple chips on top of your morning oatmeal, overnight oats (like these protein bowls), or other hot cereals. They soften slightly as they absorb some moisture, becoming wonderfully chewy.
- Granola & Yogurt Parfaits: If you enjoy making your own homemade granola, these apple chips would make an excellent, wholesome addition. Alternatively, layer them into yogurt parfaits with store-bought granola, Greek yogurt, and fresh berries for a truly satisfying breakfast or dessert.
- Nut Butter Spreads: For a quick, protein-packed snack, smooth on your favorite nut butter such as creamy peanut butter or almond butter onto the apple chips. For an extra sweet treat, cookie butter or even a fruit spread would also taste delightful.
- Grazing Boards & Charcuterie: Elevate any cheese or charcuterie board by artfully arranging a few of these beautiful apple chips. Their natural sweetness and satisfying crunch complement various cheeses, cured meats, and other accompaniments, adding a fresh, vibrant element to your spread.
- Dessert Garnish: Crush some apple chips and sprinkle them over ice cream, puddings, or baked goods like apple pie or crumble for an extra layer of texture and apple flavor.
Frequently Asked Questions (FAQ)
Do I need to peel the apples before making chips?
No, peeling is not necessary! The apple peel adds a nice texture and contributes to the nutritional value (fiber!). Just make sure to wash the apples thoroughly before slicing.
My apple chips aren’t crispy enough, what went wrong?
Several factors can lead to less-than-crispy chips:
- Too thick slices: Ensure uniform 1/8-inch thickness.
- Overcrowding: Slices need space for air circulation.
- Insufficient cooking time: They need to dry out fully. Extend cooking time if needed.
- Skipping the cooling rack: This is essential for final crisping.
Can I add other spices besides cinnamon?
Absolutely! Nutmeg, ground ginger, allspice, pumpkin pie spice, or even a tiny pinch of cardamom can be delicious. You can also mix a bit of sugar (granulated, brown, or maple) with your spices for added sweetness.
How long do homemade apple chips last?
Stored in an airtight container at room temperature, they typically remain crisp for up to 5-7 days. For optimal crispness, consume them within 2-3 days.
Can I use a food dehydrator for apple chips?
Yes, absolutely! While this guide focuses on oven and air fryer methods, a food dehydrator is an excellent tool for making apple chips. Follow your dehydrator’s instructions for apple slices, typically at a low temperature for several hours (often 6-12 hours), until they are brittle and crisp.
More Kitchen Tutorials
Don’t miss these other quick and easy kitchen how-to guides to expand your culinary skills!
- How To Shred Brussels Sprouts
- How To Hard Boil Eggs
- 3 Ways – How To Cook Sweet Potatoes
- How To Make Roasted Red Peppers
- How To Sauté Mushrooms

Apple Chips
Apple chips are a delightful, healthy snack made simply with two ingredients: apples and cinnamon. This recipe guides you through making homemade apple chips in either the oven or air fryer.
Servings: 24 apple chips
Prep Time: 10 mins
Cook Time: 2 hrs
Total Time: 2 hrs 10 mins
Author: Whitney Bond
Course: Snack
Cuisine: American
Ingredients
- 2 apples, (Recommended: Honeycrisp, Pink Lady, Fuji, Gala or Cosmic Crisp for best results)
- ¼ teaspoon ground cinnamon
Instructions
Oven Baked Apple Chips
- Preheat your oven to 200°F (95°C).
- Wash and core the apples, then thinly slice them into 1/8-inch rounds using a mandolin or a sharp knife.
- Lay the apple slices flat, ensuring no overlapping, on a baking sheet lined with parchment paper.
- Evenly sprinkle the ground cinnamon over all the apple slices.
- Bake for 3 hours, flipping the apple slices halfway through the cooking time.
- Remove the apple slices from the oven and transfer them to a cooling rack to cool for 10 minutes. This step is crucial for them to become fully crisp.
Air Fryer Apple Chips
- Wash and core the apples, then thinly slice them into 1/8-inch rounds using a mandolin or a sharp knife.
- Evenly sprinkle the ground cinnamon over all the apple slices.
- Place the apple slices in an even, single layer in your air fryer basket. Avoid overcrowding; depending on your air fryer size, you’ll likely fit 9-12 slices per batch.
- Air fry at 300°F (150°C) for 21 minutes, making sure to flip the slices every 7 minutes for even crisping.
- Remove the apple slices from the air fryer and transfer them to a cooling rack to cool for 10 minutes, allowing them to achieve maximum crispness.
Notes
- Store apple chips in a sealed airtight container at room temperature for up to 1 week. For the best crispness, enjoy them as soon as possible!
- The thickness of the apple slices will directly impact cook time and crispiness. Thinner slices will be crispier and cook faster; thicker slices will take longer and may remain slightly chewier.
- Do not overcrowd the baking sheet or air fryer basket. Proper airflow around each slice is essential for uniform crisping.
- Always use parchment paper or a silicone baking mat to line your baking sheet to prevent sticking.
- Do not skip cooling the apple chips on a cooling rack! This allows them to fully dehydrate and become perfectly crisp.
Nutrition Facts
(Per serving, based on 24 servings)
- Calories: 8 kcal
- Carbohydrates: 2g (1%)
- Protein: 0.04g
- Fat: 0.03g
- Sodium: 0.2mg
- Potassium: 16mg
- Fiber: 0.4g (2%)
- Sugar: 2g (2%)
- Vitamin A: 8mg
- Vitamin C: 1mg (1%)
- Calcium: 1mg
- Iron: 0.02mg
Did you make this recipe? We’d love to see it! Tag @WhitneyBond on Instagram and use the hashtag #WBRecipes to share your delicious creations!