
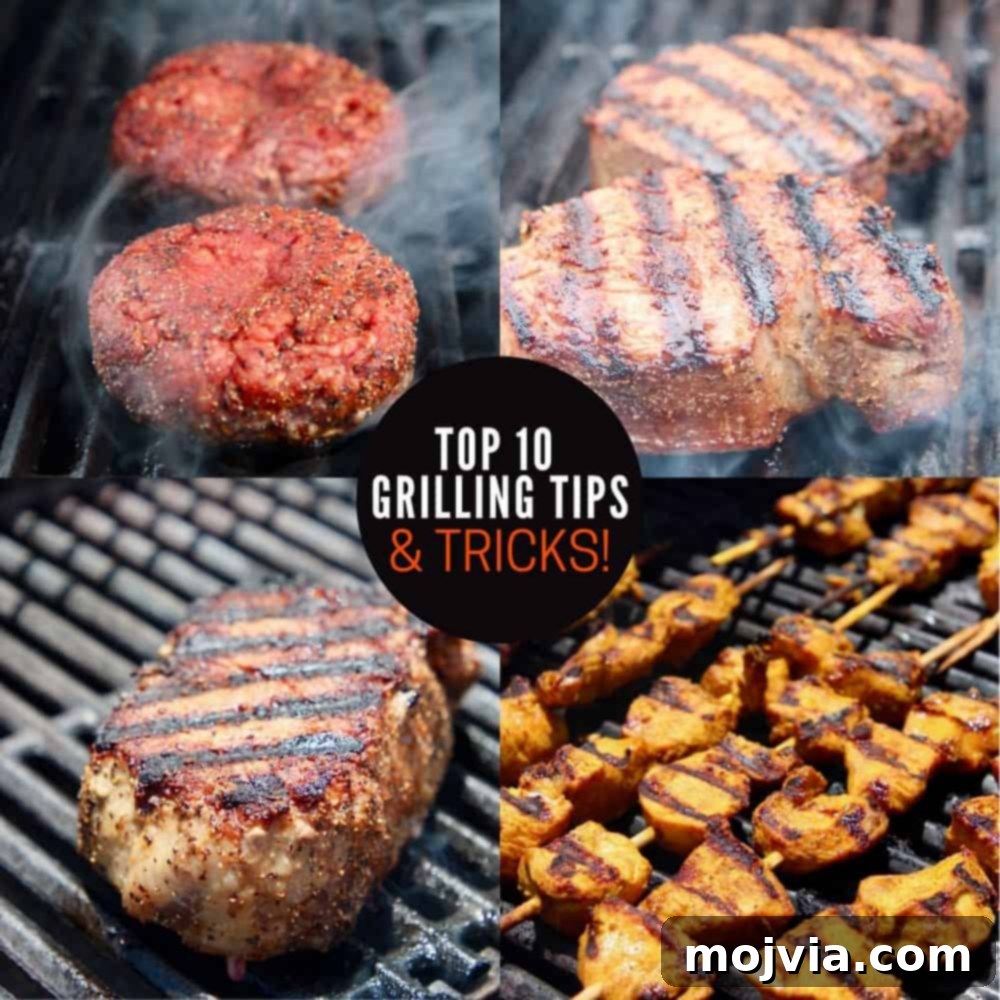
Ready to unlock your inner grill master this summer? This comprehensive guide reveals the top 10 essential grilling tips and tricks that will transform your outdoor cooking from ordinary to extraordinary. Whether you’re aiming for perfectly seared steaks, succulent chicken, or irresistibly juicy burgers, following these expert techniques will equip you with the knowledge to create mouth-watering meals every time you fire up the grill. Say goodbye to dry, unevenly cooked food and hello to grilling perfection!
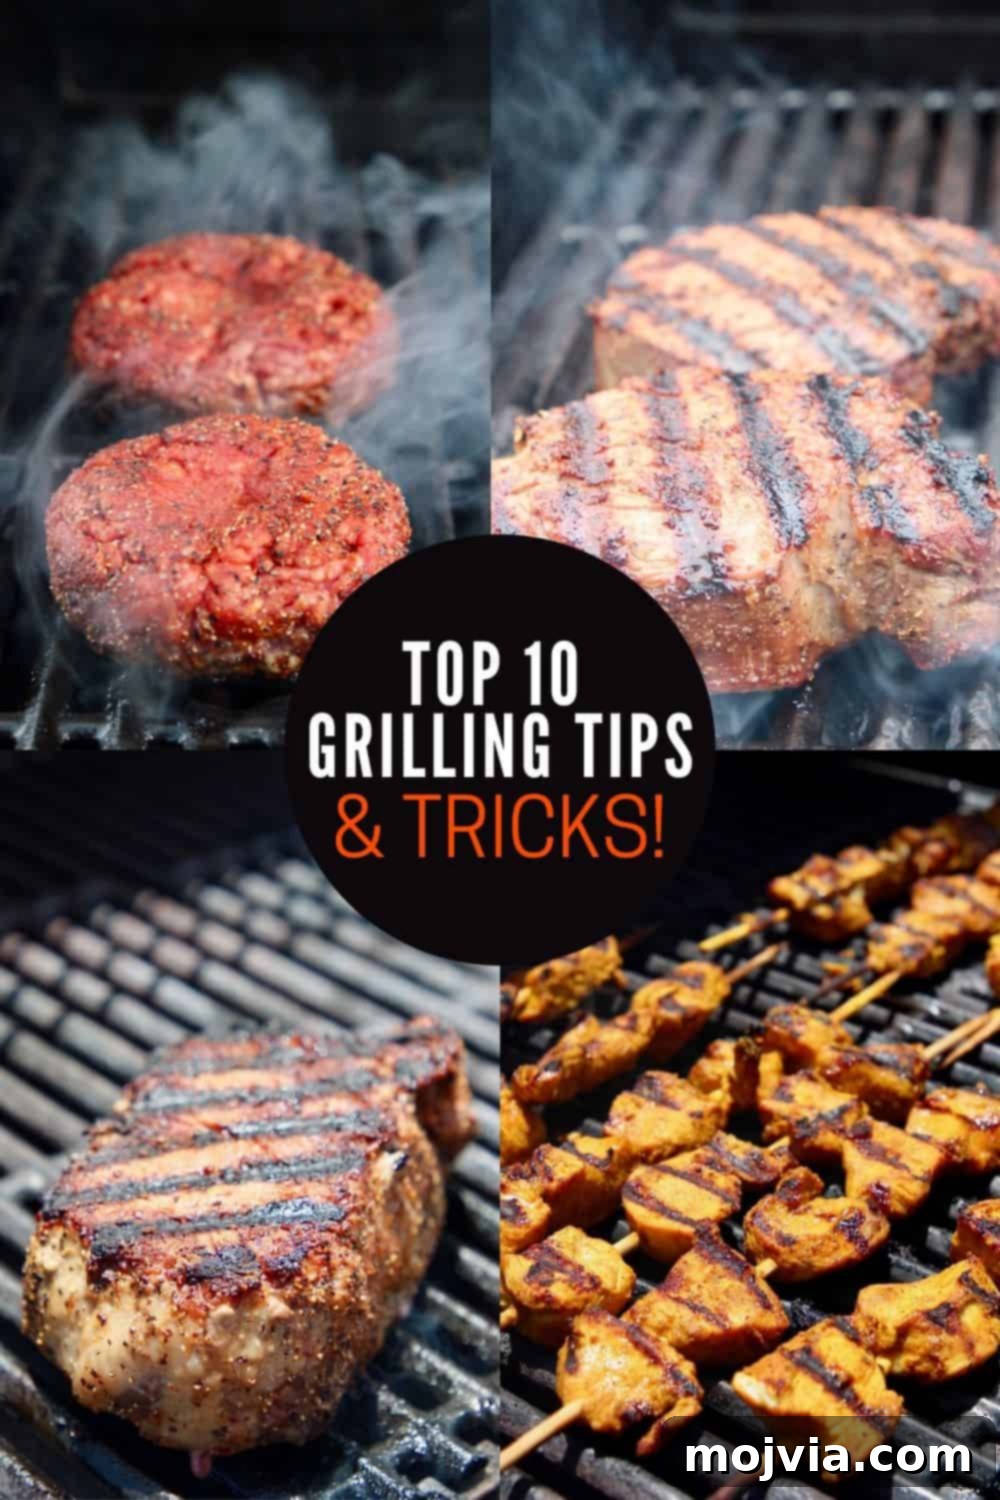
Table of Contents: Your Guide to Grilling Mastery
- Grilling 101 Video Tutorial
- Top 10 Essential Grilling Tips
- 1. Preheat Your Grill to Perfection
- 2. Begin with a Spotless Grill
- 3. Properly Oil Your Grill Grates
- 4. Practice Patience: Resist Moving Food and Opening the Lid
- 5. Employ an Instant-Read Meat Thermometer for Accuracy
- 6. Always Rest Your Meat Post-Grilling
- 7. Adhere to Critical Food Safety Guidelines
- 8. Maximize Efficiency with a Grill Basket
- 9. Master Direct vs. Indirect Heat Grilling
- 10. Apply Sauces Towards the End of Grilling
- Bonus Grilling Wisdom!
- Further Grilling Resources
- Questions and Comments
Grilling is more than just cooking; it’s an age-old tradition, a culinary art form that connects us to our primal roots. From the dawn of civilization, humans have harnessed the power of fire to transform raw ingredients into delicious, nourishing meals. While modern grills offer advanced features, the core principle remains timeless: achieving that perfect balance of smoky flavor, crispy exterior, and tender, juicy interior. Whether you’re using a classic charcoal grill or a convenient gas grill, mastering these techniques will elevate your outdoor cooking experience.
This comprehensive grilling guide is designed to empower both novice grillers and seasoned BBQ enthusiasts. We’ll delve into essential tips, clever tricks, and practical hacks that will significantly improve your grilling results. Prepare to impress your family and friends with perfectly cooked meats and vegetables, making you the undisputed grill master of every gathering. Get ready to transform your backyard into a gourmet outdoor kitchen!
Grilling 101: Watch Our Expert Video Tutorial
Top 10 Essential Grilling Tips for Every Home Chef
1. Preheat Your Grill to Perfection
The foundation of successful grilling begins with a properly preheated grill. Placing food onto a hot grill is crucial for several reasons. Firstly, it creates that desirable “sear” – a caramelized crust on the exterior of your food. This reaction, known as the Maillard reaction, not only adds incredible flavor and texture but also locks in the natural juices, ensuring your meat remains tender and succulent. Secondly, a hot grill prevents food from sticking to the grates, making flipping and removal much easier. Lastly, and most importantly, high heat is essential for food safety, quickly killing surface bacteria.
Always preheat your grill with the lid closed. This allows the heat to build up quickly and evenly, reaching your desired temperature efficiently. Depending on your grill type (gas or charcoal) and the target temperature, this process typically takes 10-15 minutes. Plan ahead to ensure your grill is ready when you are. Knowing the right temperature for different foods is key to achieving optimal results:
- Low Heat: Ideal for delicate items or slow cooking, maintaining a temperature between 250-300°F (120-150°C).
- Medium Heat: Perfect for thicker cuts of poultry or pork, aiming for 300-350°F (150-175°C).
- Medium-High Heat: Excellent for most burgers, sausages, and many vegetables, at 350-400°F (175-200°C).
- High Heat: Essential for searing steaks, chops, and thin cuts, reaching 400-450°F (200-230°C).
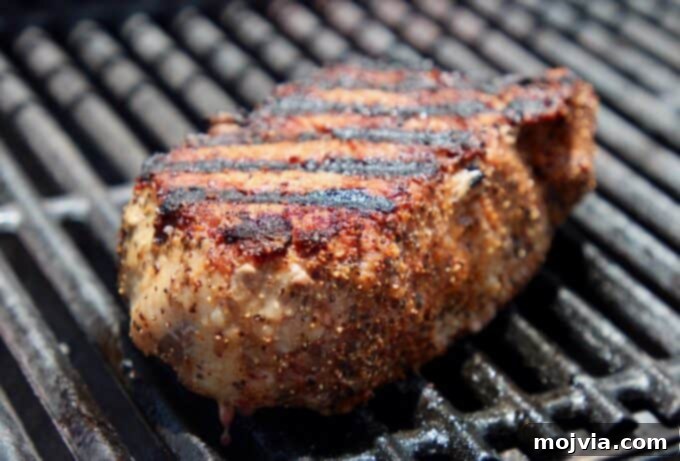
2. Begin with a Spotless Grill
A clean grill is not just about aesthetics; it’s fundamental to both flavor and functionality. Leftover food particles from previous grilling sessions can impart unwanted flavors to your fresh ingredients, masking the true taste of your culinary creations. More importantly, residual food debris can cause sticking, making it difficult to turn your food and potentially tearing apart delicate items.
The best time to clean your grill is when it’s hot. The high heat makes burnt-on bits much easier to scrape off. Invest in a sturdy grill brush and use it immediately after you’ve finished cooking, while the grates are still hot. For optimal maintenance and to prevent build-up, make it a habit to give your grates a quick brush down after every use, right before turning off the heat.
No grill brush on hand? No problem! Here’s a handy hack: crumple up a piece of aluminum foil into a tight ball. Using tongs to protect your hands from the heat, scrub the hot grates with the foil ball. It works remarkably well to dislodge stubborn residue, leaving your grill clean and ready for its next culinary adventure.
3. Properly Oil Your Grill Grates
Even with a clean, hot grill, oiling the grates provides an extra layer of protection against sticking, especially for leaner meats and delicate fish. However, directly spraying cooking spray onto a hot grill can be dangerous, leading to hazardous flare-ups. Instead, adopt a safer and more effective method: pour a small amount of high-smoke-point oil (like canola, vegetable, or grapeseed oil) onto a paper towel. Then, using long-handled tongs, carefully rub the oiled paper towel over the hot grill grates. This evenly coats the surface without the risk of an open flame.
If you prefer to avoid direct oiling, or if you’re grilling very delicate items that tend to flake, consider placing a piece of non-stick, grill-safe foil directly on the grates. You can cook your food on the foil, and rest assured, your food will still develop those appealing grill marks and acquire that signature smoky flavor.
For an intriguing and natural non-stick solution, try this clever grill hack: simply cut a potato in half and rub the cut side of the potato vigorously over the hot grill grates. The starch released from the potato creates a natural non-stick surface, making this an eco-friendly and effective alternative.
4. Practice Patience: Resist Moving Food and Opening the Lid
One of the most common mistakes in grilling is constant fussing with the food. Most items, especially meats, only need to be flipped once during the entire cooking process. Repeatedly moving food around the grill not only interferes with the development of that perfect sear and attractive grill marks but also leads to uneven cooking and significantly extends the overall cooking time. Trust the process; let the grill do its work.
Equally important is keeping the grill lid closed. Think of your grill as an oven; every time you lift the lid, precious heat escapes. This results in temperature fluctuations, slows down cooking, and can dry out your food. A closed lid ensures that the internal temperature remains consistent, which is vital for searing, cooking food thoroughly, and keeping it moist. It also helps to prevent sudden flare-ups by limiting the oxygen supply inside the grill. So, after placing your food and giving it that single flip, resist the urge to peek and let the magic happen under the lid.
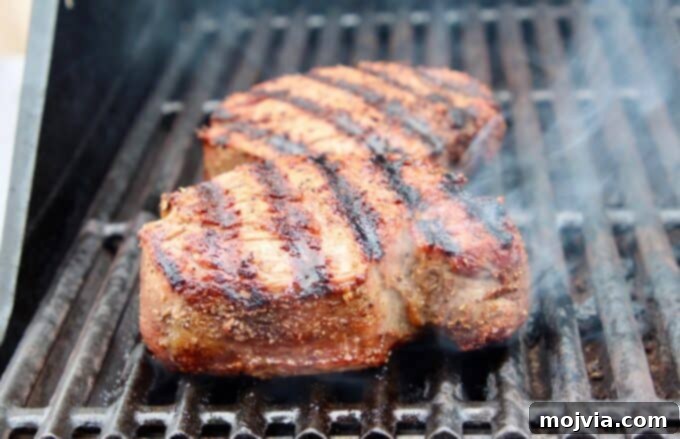
5. Employ an Instant-Read Meat Thermometer for Accuracy
Guessing doneness is a gamble that can lead to either undercooked, potentially unsafe food or overcooked, dry results. An instant-read meat thermometer is your most invaluable tool for grilling with confidence. It allows you to accurately measure the internal temperature of your food, ensuring it reaches both a safe cooking temperature and your desired level of doneness. Insert the thermometer into the thickest part of the meat, avoiding bone, for the most accurate reading.
Always prioritize food safety. Here are the minimum safe internal temperatures for common grilled foods, as recommended by food safety authorities:
- Rare Beef: 125°F (52°C)
- Medium-Rare Beef: 130-135°F (54-57°C)
- Medium Beef: 135-140°F (57-60°C)
- Medium-Well Beef: 140-150°F (60-65°C)
- Well-Done Beef: 160°F (71°C)
- Ground Beef Burgers: 160°F (71°C)
- Pork (Chops, Roasts, Tenderloin): 145°F (63°C)
- Chicken (All parts): 165°F (74°C)
It’s crucial to remember the concept of “carryover cooking.” After you remove meat from the grill, its internal temperature will continue to rise by another 5-10 degrees Fahrenheit. Factor this into your cooking plan; for instance, if you’re aiming for a final temperature of 135°F for medium-rare beef, remove it from the grill at around 130°F. This small adjustment ensures your meat achieves perfect doneness without becoming overcooked while it rests.
6. Always Rest Your Meat Post-Grilling
The waiting period after grilling can be agonizing, but it is perhaps the single most critical step for a truly juicy and tender piece of meat. As meat cooks, the muscle fibers contract, pushing the internal juices towards the center. If you cut into the meat immediately after removing it from the grill, these juices will rush out, leaving you with a dry, less flavorful result.
Resting the meat allows these contracted muscle fibers to relax and reabsorb the juices, redistributing them evenly throughout the entire cut. This process significantly enhances both the tenderness and flavor of your grilled masterpiece. The resting time varies depending on the size and thickness of the meat:
- Smaller cuts (e.g., individual steaks, chicken breasts, burgers): 5-10 minutes.
- Larger roasts (e.g., tri-tip, whole chickens): 10-20 minutes, or even longer for very large cuts.
To keep your meat warm while it rests and the juices redistribute, lightly tent it with aluminum foil. This holds in the heat without trapping too much steam, which could soften the delicious crust you’ve worked so hard to achieve. Patience truly pays off in the pursuit of perfectly grilled, succulent meat.
7. Adhere to Critical Food Safety Guidelines
Food safety is paramount when grilling to prevent foodborne illnesses. One of the most important principles is preventing cross-contamination. Always use separate cutting boards, plates, and utensils for raw meats and cooked foods. For instance, never place cooked burgers back on the same plate that held raw burger patties.
When marinating meats, always keep them refrigerated. Marinating at room temperature allows bacteria to multiply rapidly. If you plan to use any of the marinade as a basting sauce or serve it alongside your cooked meat, it must first be brought to a rolling boil for at least one minute. This step effectively kills any bacteria that may have transferred from the raw meat. Alternatively, set aside a portion of fresh marinade before adding it to raw meat to use later as a safe basting or serving sauce. Simple precautions ensure a safe and enjoyable grilling experience for everyone.
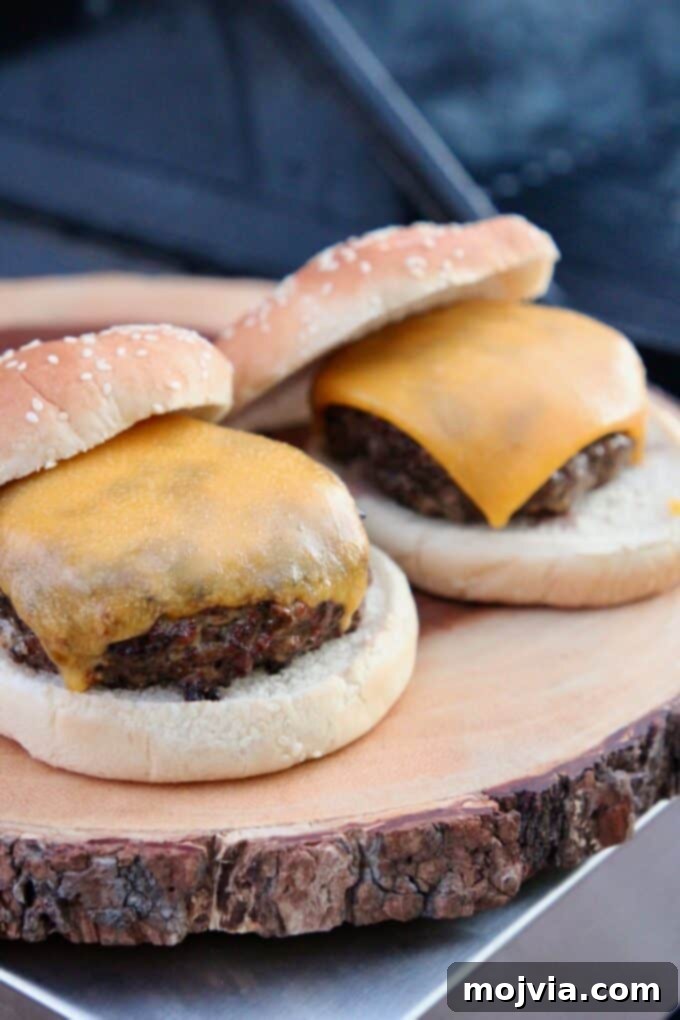
8. Maximize Efficiency with a Grill Basket
Grill baskets are an unsung hero of outdoor cooking, especially when dealing with smaller or more delicate items that might otherwise slip through the grates or cause frustrating flare-ups. These perforated metal containers are incredibly versatile, perfect for grilling chopped vegetables (like bell peppers, onions, zucchini), small fruits (like peaches or pineapple chunks), shrimp, or even small fish fillets.
Using a grill basket ensures even cooking and prevents pieces from falling into the fire, saving you from lost food and tedious cleanup. If your ingredients haven’t already been tossed in oil or a marinade, remember to grease the grill basket itself before adding the food. A light coating of oil will prevent sticking and help achieve a nice char without tearing. Grill baskets allow you to shake and stir ingredients for consistent cooking, expanding your grilling repertoire beyond just large cuts of meat.
9. Master Direct vs. Indirect Heat Grilling
Understanding the difference between direct and indirect heat is fundamental to advanced grilling techniques and achieving perfectly cooked results for a variety of foods. This knowledge allows you to control the cooking environment and prevent common grilling mishaps.
Direct Heat Grilling: This involves cooking food directly over the heat source (coals or lit burners). It’s best for smaller, thinner cuts of meat and foods that cook quickly, typically in 20 minutes or less. Think steaks (New York Strip), burgers, hot dogs, chicken breasts, and vegetables that you want to char quickly. The high, direct heat creates a beautiful sear and develops rich flavor rapidly.
Indirect Heat Grilling: This method is similar to oven roasting, where the food is cooked away from the direct heat source. It’s ideal for larger, thicker cuts of meat or anything that requires longer cooking times (over 20 minutes) to cook through without burning the exterior. Examples include whole chickens, roasts, ribs, briskets, and even delicate fish or whole vegetables that need slow, even cooking.
Setting Up Indirect Heat:
- On a Gas Grill: Light one or more burners on one side of the grill, leaving the burners directly under your food unlit. Your food will cook on the unlit side.
- On a Charcoal Grill: Arrange the hot coals to one side of the grill, creating a “hot zone,” and place your food on the opposite side where there are no coals.
For indirect grilling, aim for a consistent internal grill temperature of around 350°F (175°C). It’s critically important to avoid opening the grill lid too frequently when cooking indirectly. Each time the lid is lifted, the internal temperature drops significantly, extending cooking times and potentially drying out your food due to drastic temperature fluctuations. Try to limit opening the lid to only once or twice throughout the entire cooking process to maintain a stable, gentle cooking environment.
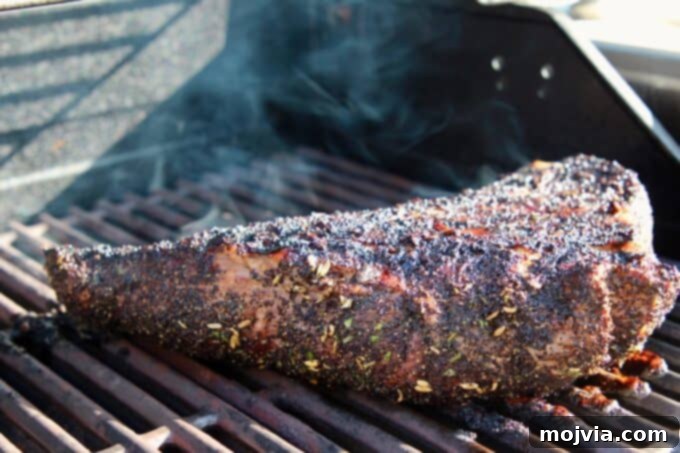
10. Apply Sauces Towards the End of Grilling
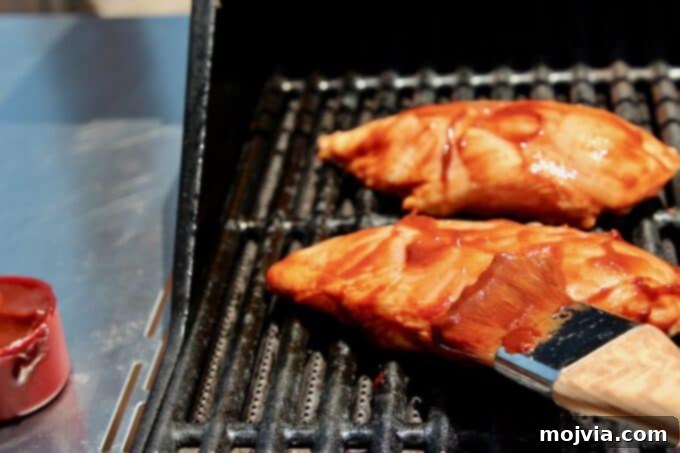
While a beautifully glazed piece of meat can be incredibly appealing, timing is everything when it comes to applying sauces, glazes, or BBQ rubs, especially those containing sugar. Sugary sauces tend to burn quickly and easily over direct heat, turning your delicious meal into a charred, sticky mess that adheres stubbornly to the grill grates.
To prevent burning and sticking, always add your sauces or glazes towards the very end of the grilling process. Here’s a general guideline:
- For foods with a total cooking time of 30 minutes or less: Apply the sauce in the last 5-10 minutes of cooking. This allows the sauce to caramelize slightly and develop flavor without burning.
- For foods with a total cooking time exceeding 30 minutes: Apply the sauce in the last 10-15 minutes of cooking. This longer duration provides enough time for the flavors to meld and the glaze to set without scorching.
This strategy ensures that your meat develops a rich, savory crust first, and then acquires that sweet, tangy, or spicy finish from your chosen sauce, creating a harmonious balance of flavors and textures.
Bonus Grilling Wisdom!
- Never Flatten Meat with a Spatula: This common mistake, often seen with burgers, forces out all the delicious, flavorful juices from the center of the meat. The result? A dry, tough, and less flavorful finished product. Resist the urge to press down on your patties or steaks; let them cook undisturbed to retain their natural moisture and tenderness.
- Avoid Grilling Cold Foods: Pulling meat straight from the refrigerator and placing it on a hot grill can lead to uneven cooking. The exterior will cook much faster than the icy cold interior. Instead, allow your meat to sit at room temperature for at least 30 minutes before grilling. This brief rest helps the meat come to a more even temperature, ensuring it cooks more uniformly and tenderly. For very large roasts, this tempering period might need to be longer.
With these essential tips and bonus hacks, you are now well-equipped to conquer your grill and create unforgettable culinary experiences. It’s time to put your newfound knowledge into practice and discover the joy of perfectly grilled food. Below, you’ll find some of our favorite easy and delicious recipes to get you started on your journey to becoming a true grill master!
Easy Grill Recipes
Further Grilling Resources and Expert Guides
To further enhance your grilling expertise, explore these additional resources covering various aspects of BBQ and grill maintenance:
- How To Grill Steak Perfectly Every Time
- Mastering the Art of Starting a Charcoal Grill
- Essential Steps to Seasoning Your New Gas Grill
- Comprehensive Guide to Cleaning Your Charcoal Grill
- A Deep Dive into Cleaning Your Gas Grill
Questions and Comments: Join the Grilling Conversation!
We hope these grilling tips and tricks ignite your passion for outdoor cooking and help you achieve delicious results. Did you discover a new favorite technique, or perhaps refine an old one? Have you put these tips to the test with a new chicken, steak, or vegetable recipe? We’d love to hear about your grilling adventures!
If you still have lingering questions about grilling temperatures, food preparation, or any other BBQ-related topic, please don’t hesitate to comment below. Share your insights, challenges, and successes with our community. Your experiences and questions help us all become better grill masters!