
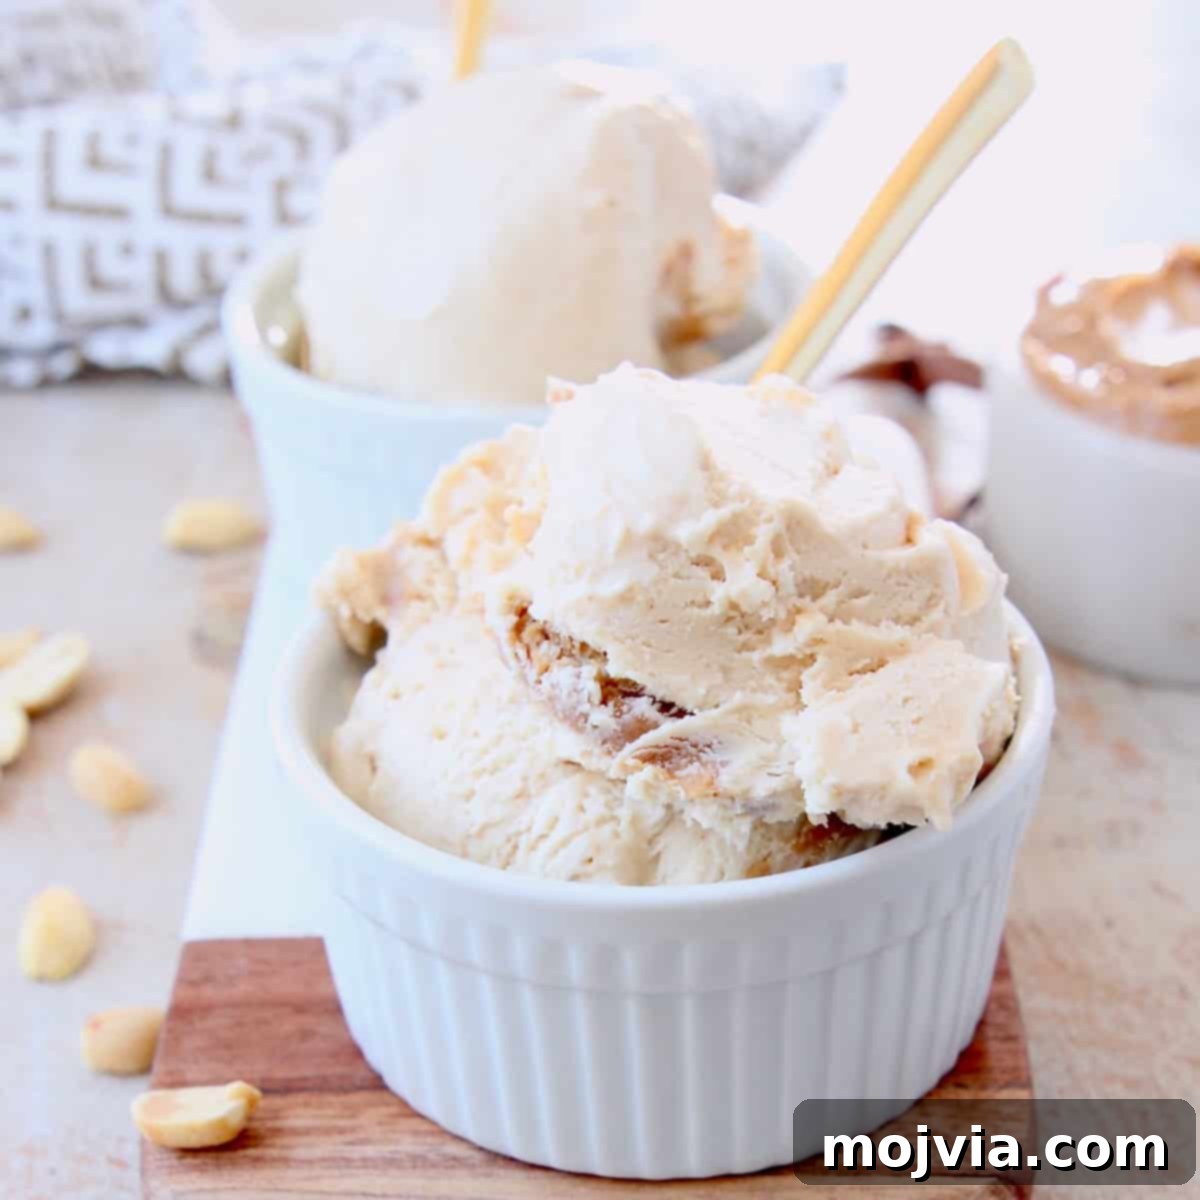
Indulge in the ultimate frozen delight without the need for an expensive ice cream maker! This comprehensive guide reveals how to create the BEST No-Churn Peanut Butter Ice Cream you’ve ever tasted. Our incredibly easy recipe lets you whip up this homemade treat in just 10 minutes of active prep time, followed by a few hours in the freezer. Prepare yourself for an exceptionally creamy texture, generously laced with an irresistible extra peanut butter swirl throughout. It’s a game-changer for any dessert lover!
Looking to fill your freezer with more delicious, simple frozen desserts? Don’t miss these other fantastic no-churn ice cream recipes: discover the richness of Homemade Chocolate Ice Cream, the fresh taste of Strawberry Ice Cream, and the gourmet delight of Salted Caramel Ice Cream!
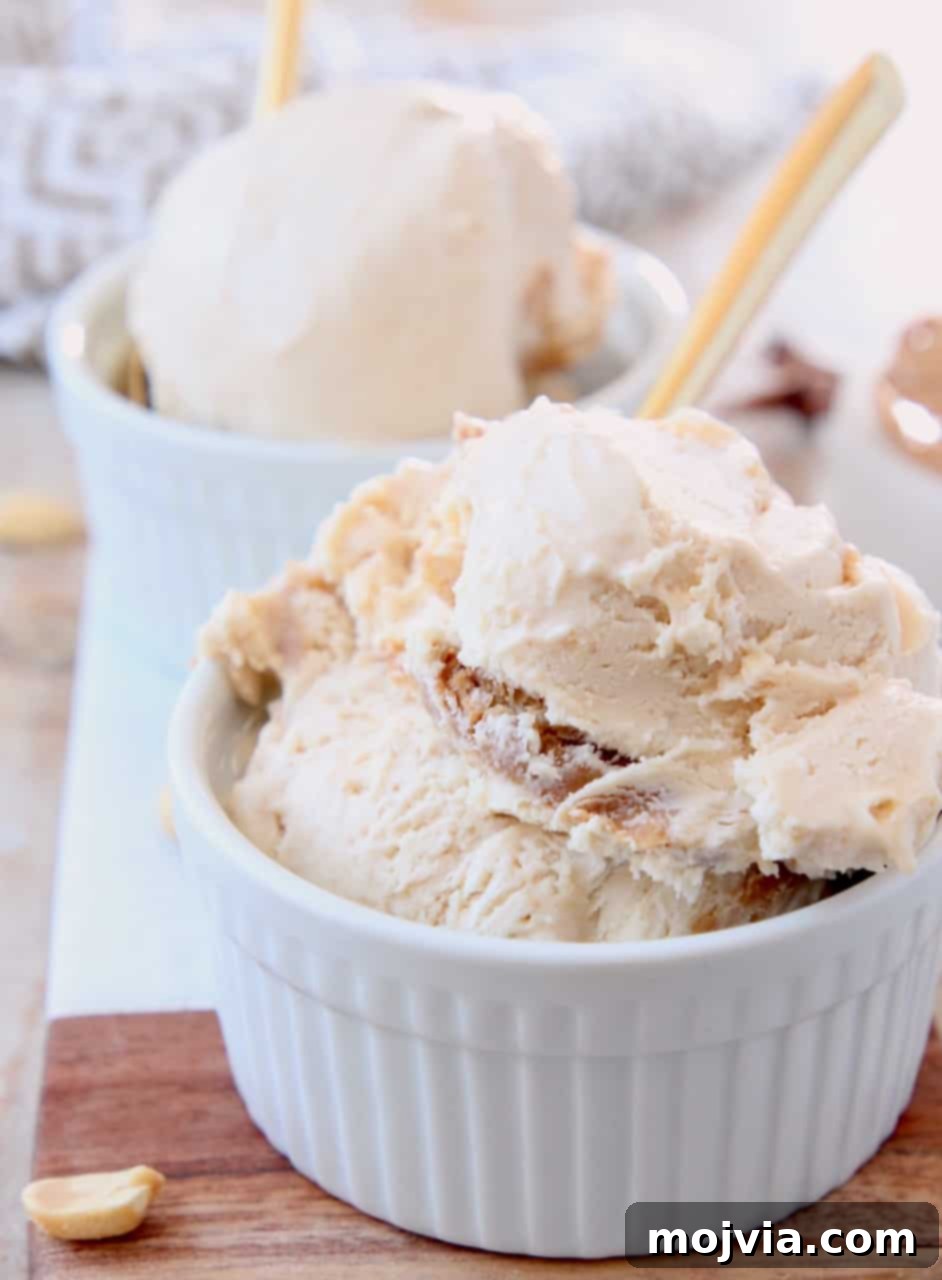
The Ultimate No-Churn Peanut Butter Ice Cream Recipe
As a devoted admirer of all things peanut butter, I can confidently say that if peanut butter ice cream appears on a dessert menu, it’s my absolute first choice. The sheer delight of its rich, nutty flavor combined with a cool, creamy texture is simply unparalleled. For years, I believed such a treat was reserved for specialized ice cream parlors or required cumbersome, expensive equipment. Oh, how wrong I was!
The revelation came in the summer of 2017 when I ventured into making my very first no-churn ice cream. It was a revelation! The simplicity of creating luxurious, homemade ice cream without an ice cream machine was instantly captivating. With a mere 10 minutes of hands-on preparation, you can transform a few simple ingredients into a decadent dessert, ready to freeze. Just a few hours later, you’re rewarded with scoops of unbelievably rich and creamy ice cream.
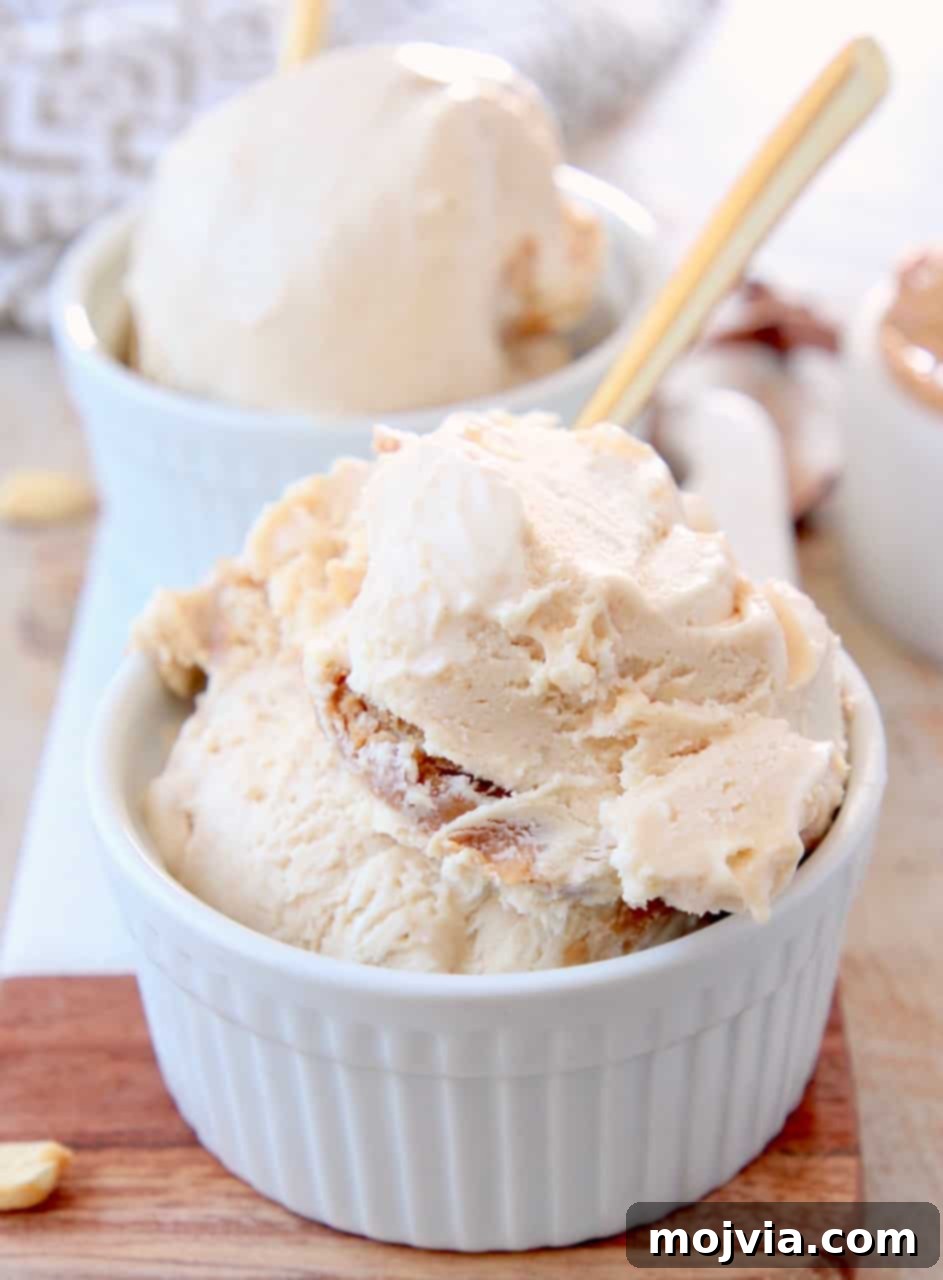
Seriously, prepare for what might just be the creamiest ice cream experience of your life! What truly sets this particular recipe apart, and what I consider the absolute key to an outstanding peanut butter ice cream, is the glorious swirl of peanut butter woven throughout every spoonful. This isn’t just a peanut butter-flavored base; it’s an immersive journey into peanut butter bliss.
To achieve this extraordinary depth of flavor and visual appeal, we don’t just infuse the ice cream base with creamy peanut butter. We take it a step further by swirling in additional melted peanut butter. This creates those stunning, ribbon-like patterns that you might expect to find in a gourmet ice cream shop. The best part? You can easily replicate this sophisticated technique right in your own kitchen, bringing a touch of artisanal quality to your homemade frozen treats. My taste-tester, Kurt, declared this the best Peanut Butter Ice Cream he’d ever had, and I wholeheartedly agree! For all you fellow peanut butter enthusiasts, this is truly a must-try easy ice cream recipe that will redefine your dessert game.
Table of Contents
- How to Make Homemade Peanut Butter Ice Cream
- Essential Tips for Perfect No-Churn Ice Cream
- Storage: How Long Does Homemade Ice Cream Last?
- Customizing Your Peanut Butter Ice Cream: Mix-Ins & Toppings
- More Irresistible Frozen Sweet Treats to Explore
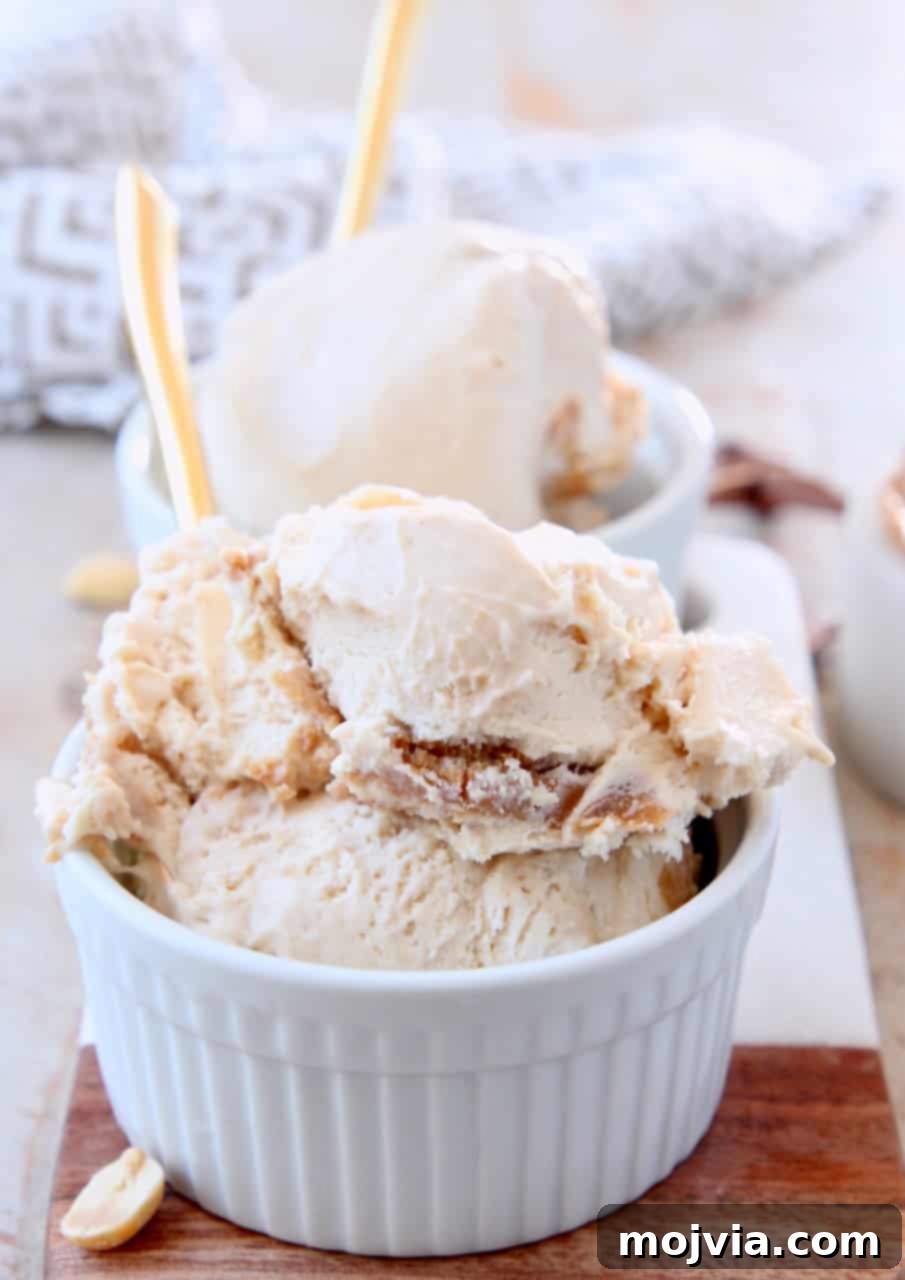
How to Make Homemade Peanut Butter Ice Cream (No Machine Needed!)
Creating this rich and creamy homemade peanut butter ice cream without a machine is surprisingly straightforward, requiring just a few basic ingredients and 6 simple steps. You’ll be amazed at how quickly you can achieve such a decadent result.
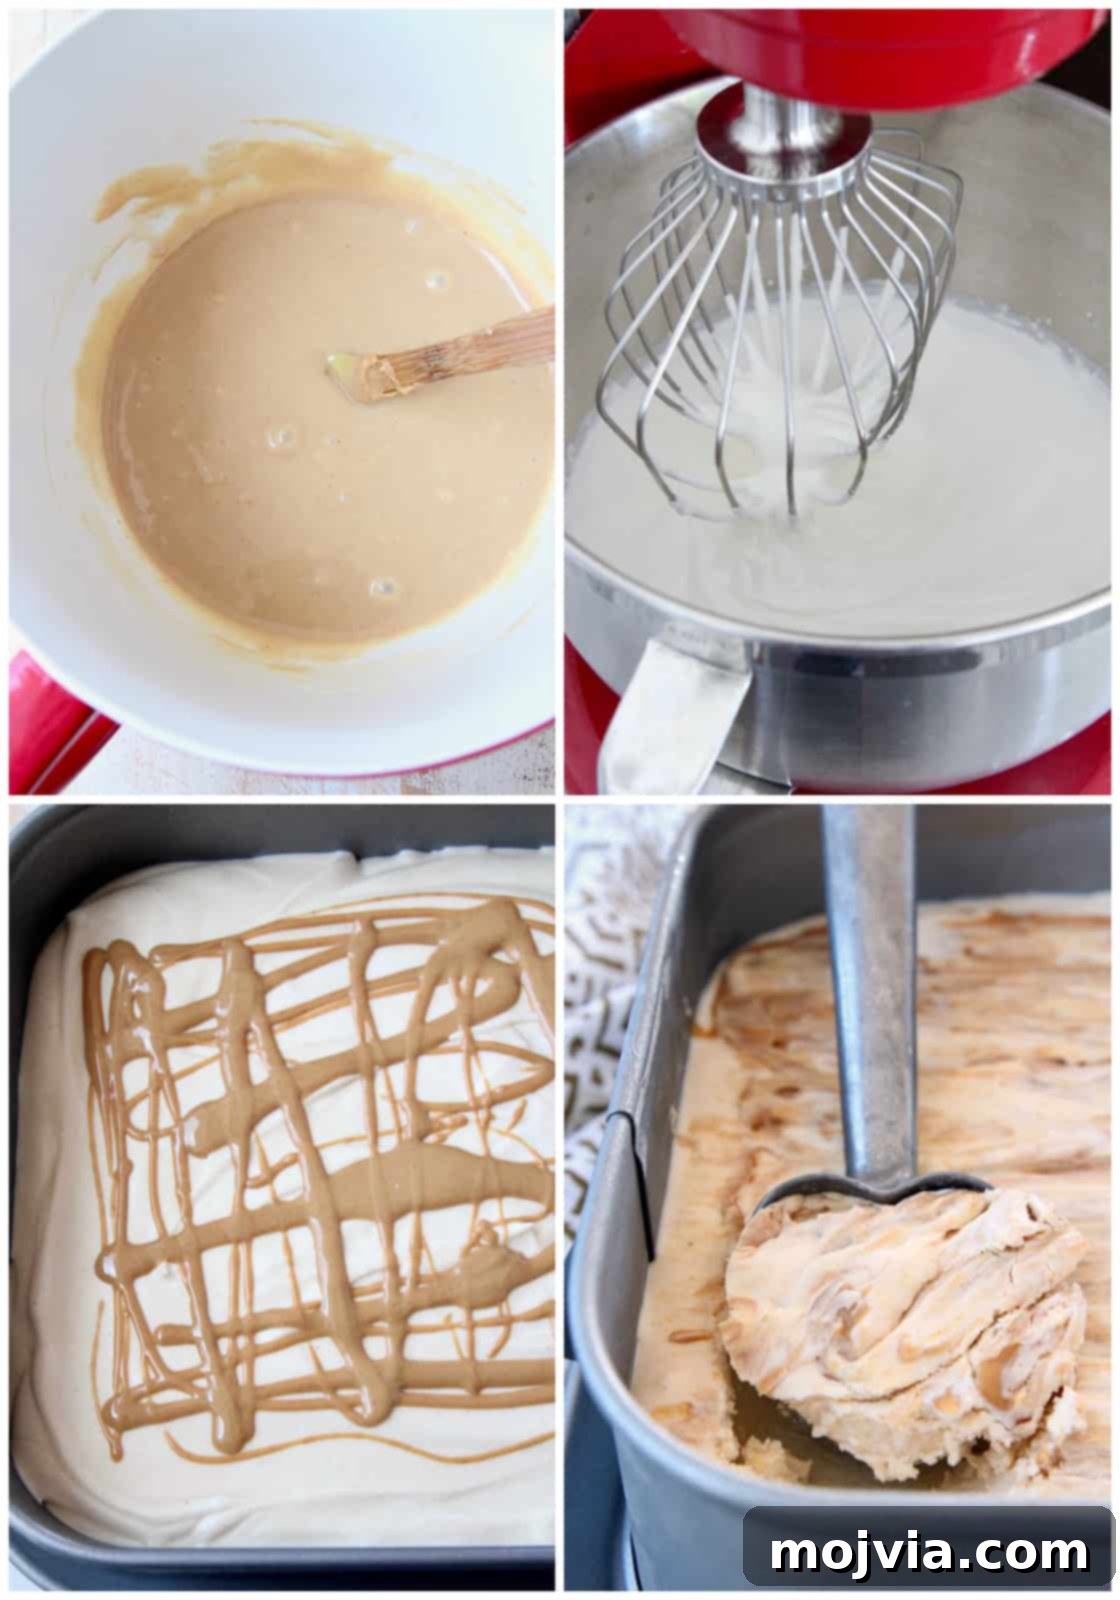
- In a spacious mixing bowl, combine a can of sweetened condensed milk with a portion of the creamy peanut butter, vanilla extract, and a pinch of salt. Whisk these ingredients together until they are smoothly integrated and set the mixture aside. This forms the rich, flavorful base of your ice cream.
- Next, turn your attention to the heavy cream. Using either a stand mixer with a whisk attachment or a reliable electric hand mixer, whip the cold heavy cream on medium-high speed. Continue whipping until firm peaks beautifully form. This means when you lift the whisk, the cream holds its shape without drooping.
- Pro Tip: If you don’t have an electric mixer, don’t despair! You can absolutely hand-whip the heavy cream. It requires a bit of arm strength but yields equally fantastic results and an excellent workout!
- Gently fold the reserved sweetened condensed milk and peanut butter mixture into the whipped cream. Use a rubber spatula and a delicate hand, mixing just until the two components are fully combined. Be careful not to deflate the air you’ve whipped into the cream, as this air is crucial for the ice cream’s light and airy texture.
- Prepare the signature peanut butter swirl. Melt an additional 1/2 cup of creamy peanut butter in the microwave for approximately 60 seconds, or until it’s smooth and pourable. Stir it well, then set it aside to cool slightly to prevent it from melting your ice cream base.
- Pour half of your ice cream base into a 2-quart container (a metal loaf pan or similar works wonderfully). Drizzle half of the slightly cooled melted peanut butter over the surface. Use a spoon or a knife to gently swirl the peanut butter into the ice cream mixture, creating beautiful marbling. Repeat this process with the remaining ice cream base and the rest of the melted peanut butter, ensuring generous swirls throughout.
- Cover the container tightly with plastic wrap or an airtight lid to prevent ice crystals from forming. Place it in the freezer for a minimum of 5 hours, though overnight freezing is often ideal for the best set and texture.
Essential Tips for Perfect No-Churn Peanut Butter Ice Cream
- Choose the Right Freezing Container: For optimal and faster freezing, a metal container is preferable. Metal conducts cold more efficiently than glass or plastic, helping your ice cream set quicker. However, if you don’t have a metal pan, don’t worry! A glass loaf pan or a durable plastic container will also work perfectly well.
- Pre-Chill for Speed: To give your ice cream a head start on freezing, place the empty container you plan to use into the freezer for at least 30 minutes before adding the ice cream mixture. A cold container helps accelerate the initial freezing process, contributing to a smoother final texture.
- Smart Storage Solutions: Once your homemade peanut butter ice cream is fully frozen and firm, you might want to transfer it to specialized storage containers. I personally love storing my batches in these glass containers. This recipe yields approximately half a gallon, which fits perfectly into two of these containers. Their airtight lids are essential for keeping out air and preventing dreaded freezer burn, ensuring your ice cream stays fresh and delicious for weeks.
- Patience is Key for Freezing: Do NOT skimp on the freezing time. It’s crucial to freeze the ice cream for AT LEAST 5 hours. Any less, and the center may not be fully set, resulting in a slushy rather than firm texture. Overnight freezing often yields the very best results.
- Respect the Recipe, No Substitutions: The magic of this no-churn recipe lies in the precise combination of heavy cream and sweetened condensed milk. These two ingredients work synergistically to create the rich, creamy texture without the need for an ice cream maker. Substituting either ingredient (e.g., using half-and-half instead of heavy cream, or reducing the condensed milk) can significantly alter the final taste, texture, and ability to set properly. Stick to the ingredients listed for guaranteed success.
- The Wet Scoop Secret: For effortlessly perfect scoops every time, always use a wet ice cream scoop. This little trick, which I learned during my first job at a frozen custard shop, prevents the ice cream from sticking to the scoop, allowing it to slide smoothly into your bowl. Simply run your scoop under hot water for a few seconds before each use.
- Don’t Overmix the Whipped Cream: While firm peaks are desired, be careful not to over-whip the heavy cream. Over-whipped cream can become grainy or separate, affecting the ice cream’s texture. Stop whipping as soon as the peaks hold their shape.
- Gentle Folding Technique: When combining the peanut butter mixture with the whipped cream, use a gentle folding motion with your rubber spatula. This technique helps to incorporate the ingredients without knocking out the air you’ve worked so hard to whip into the cream, preserving the light and airy texture.
Storage: How Long Will Homemade Peanut Butter Ice Cream Last in the Freezer?
When properly stored in airtight containers, your homemade no-churn peanut butter ice cream can last for several months in the freezer. The key is to ensure that the containers are sealed tightly to prevent any air from reaching the ice cream. Exposure to air is the primary cause of freezer burn, which can lead to ice crystals forming and a less desirable texture. Enjoy your delicious creation at your leisure!
Customizing Your Peanut Butter Ice Cream: Mix-Ins & Toppings
Absolutely! This no-churn peanut butter ice cream recipe is incredibly versatile and lends itself beautifully to customization with your favorite mix-ins. After you’ve gently folded the sweetened condensed milk and peanut butter mixture into the whipped cream, before the final freeze, is the perfect time to incorporate additional ingredients.
You can add anywhere from 1/2 cup to 1 1/2 cups of chopped peanut butter cups, mini chocolate chips, or crushed Oreos. Feel free to get creative and combine ingredients for a truly unique treat. Imagine Peanut Butter Ice Cream with both Oreos and Peanut Butter Cups – a combination too good to resist!
If you’re craving a luscious chocolate swirl in addition to the peanut butter, simply drizzle in about 1/2 cup of chocolate syrup along with the melted peanut butter before swirling it into the ice cream. The possibilities for personalizing this easy ice cream recipe are endless, allowing you to create your perfect frozen dessert.
Serving Suggestions for Your Homemade Peanut Butter Ice Cream
This rich and creamy peanut butter ice cream is fantastic on its own, but it also pairs wonderfully with various desserts and toppings. Serve a scoop (or two!) alongside a warm fudgy brownie, a freshly baked chocolate chip cookie, or a slice of apple pie for an unforgettable treat. Top it with extra whipped cream, a sprinkle of chopped peanuts, a drizzle of hot fudge, or even more melted peanut butter for an extra indulgent experience. The options are limitless!
More Irresistible Frozen Sweet Treats to Explore
If you’ve fallen in love with the simplicity and deliciousness of no-churn desserts, you’re in luck! There’s a whole world of easy frozen treats waiting for you to discover. Expand your repertoire with these other fantastic recipes that promise to cool you down and satisfy your sweet tooth:
- No Churn Homemade Chocolate Ice Cream: A classic favorite, made effortlessly creamy.
- Frozen Strawberry Cheesecake Bars: A refreshing and decadent dessert perfect for summer.
- Mini Ice Cream Cakes: Individual portions of pure bliss, ideal for parties or a special treat.
- No Churn Moose Tracks Ice Cream: A fun and flavor-packed option with chocolate and peanut butter cups.
- Reese’s Peanut Butter Cup No Bake Cheesecake Bars: For the ultimate peanut butter cup enthusiast, no baking required!
- No Churn Salted Caramel Ice Cream: A sophisticated blend of sweet and salty.
- No Churn Cherry Garcia Ice Cream: A fruity and chocolatey delight inspired by a beloved flavor.
FAQ: Can I use natural peanut butter in this recipe?
While you might be tempted to use natural peanut butter for its healthier profile, it’s generally not recommended for this specific no-churn recipe. Natural peanut butter tends to separate and can create a grainier texture in the final ice cream, and its oil content can affect the overall consistency. For the creamiest, most reliable results, stick to a classic creamy peanut butter that doesn’t separate, like Jif or Skippy.
FAQ: Can I use low-fat cream or half-and-half?
Unfortunately, no. This no-churn ice cream recipe relies heavily on the high fat content of heavy cream (also known as whipping cream) to create its rich, airy, and creamy texture without an ice cream maker. Low-fat cream or half-and-half will not whip up properly and will result in a much icier, less satisfying dessert. Stick to full-fat heavy cream for the best outcome.
Print Recipe
Pin Recipe
★
★
★
★
Rate this Recipe
No Churn Peanut Butter Ice Cream
Ingredients
- 14 oz can sweetened condensed milk
- 1 cup creamy peanut butter, divided
- 2 tsp vanilla extract
- ¼ tsp salt
- 2 cups heavy cream, cold
Instructions
-
In a large bowl, whisk together the condensed milk, ½ cup peanut butter, vanilla extract and salt. Set aside.
-
Melt the remaining ½ cup peanut butter in the microwave for one minute. Stir and set aside to cool slightly.
-
Whip the cold heavy cream with a stand mixer or electric hand mixer on medium-high speed until firm peaks form, about 3 minutes.
-
Gently fold the condensed milk and peanut butter mixture into the whipped cream using a rubber spatula until just combined. Be careful not to deflate the whipped cream.
-
Pour half of the mixture into a 2-quart container (preferably metal).
-
Drizzle half of the slightly cooled melted peanut butter over the ice cream. Use a small spoon or knife to gently swirl it into the ice cream. Pour the remaining ice cream mixture into the container, then drizzle the rest of the melted peanut butter on top and swirl again.
-
Cover the container tightly with plastic wrap or an airtight lid.
-
Freeze for at least 5 hours, or overnight, until firm.
Notes
- This recipe makes approximately 1/2 gallon of delicious, homemade ice cream.
- For the best texture and to prevent freezer burn, store your ice cream in an airtight container in the freezer for up to several months.
- For even faster freezing, consider placing your empty container in the freezer for 30 minutes before adding the ice cream mixture.
- Do not substitute heavy cream with lower-fat dairy products, as this will prevent the ice cream from achieving the desired creamy texture without a machine.