
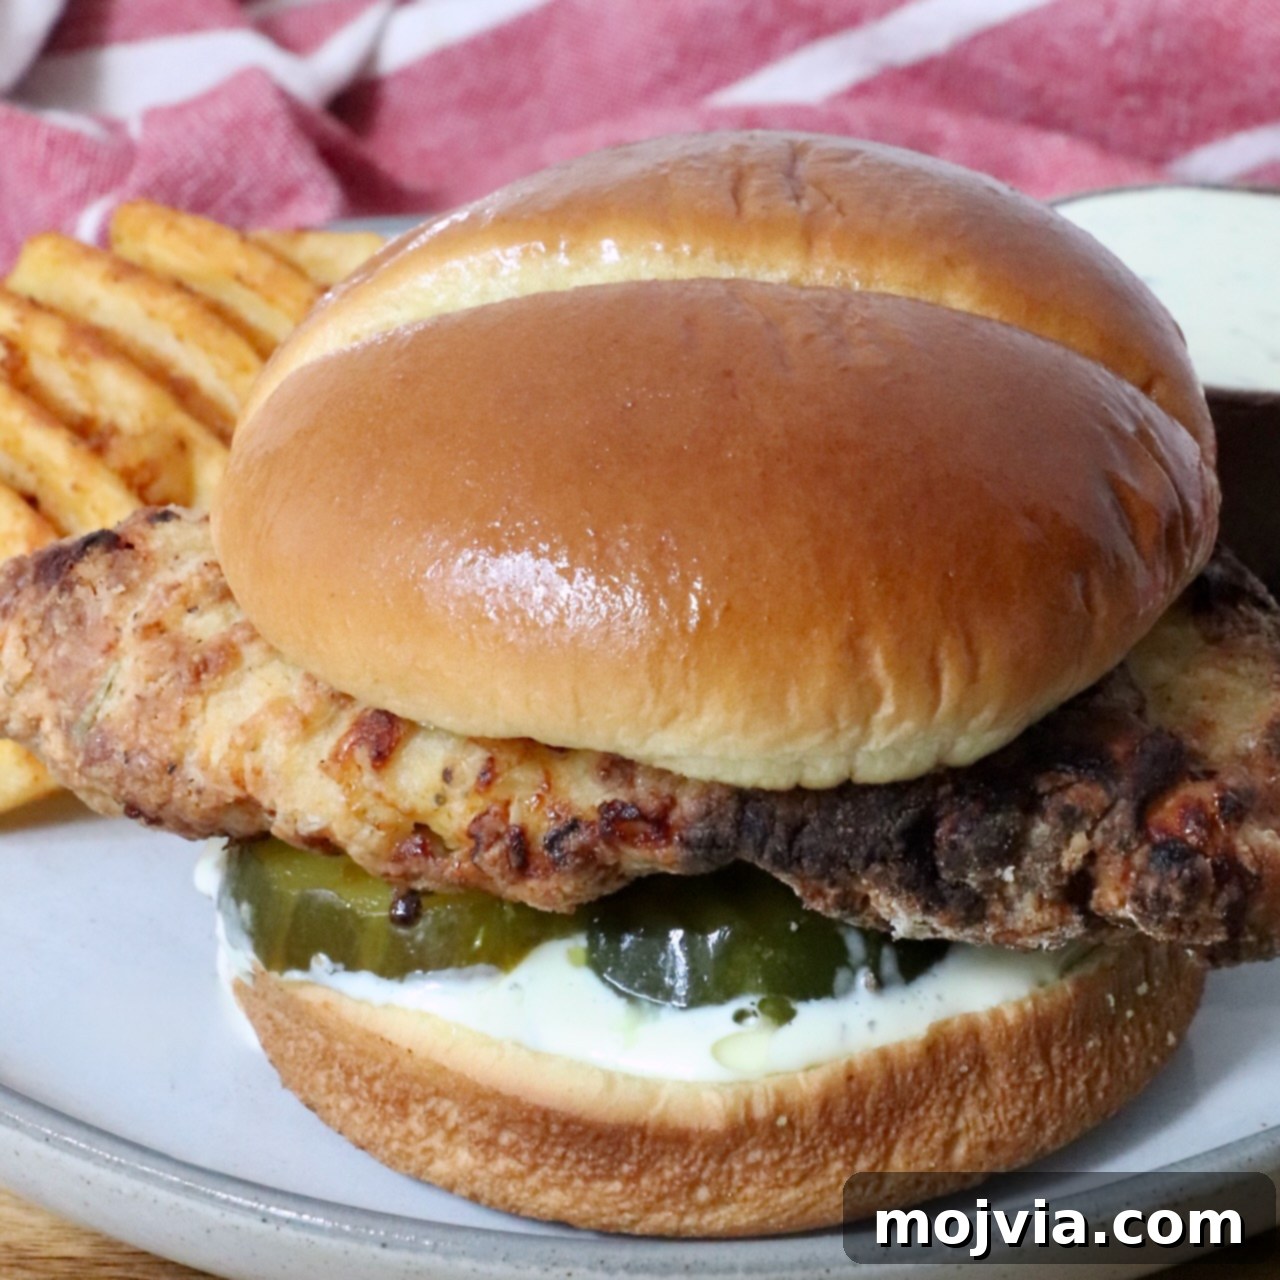
Welcome to the ultimate guide for crafting an irresistible Air Fryer Chicken Sandwich right in your own kitchen! Forget the drive-thru lines and Sunday cravings; this homemade version brings the iconic taste of your favorite crispy chicken sandwich straight to your table. Imagine perfectly tender, juicy chicken, infused with a savory buttermilk pickle brine, then air-fried to a golden, crispy perfection without the excessive oil of deep frying. This isn’t just a recipe; it’s a culinary journey to recreate restaurant-quality flavor with surprising ease and a lighter touch.
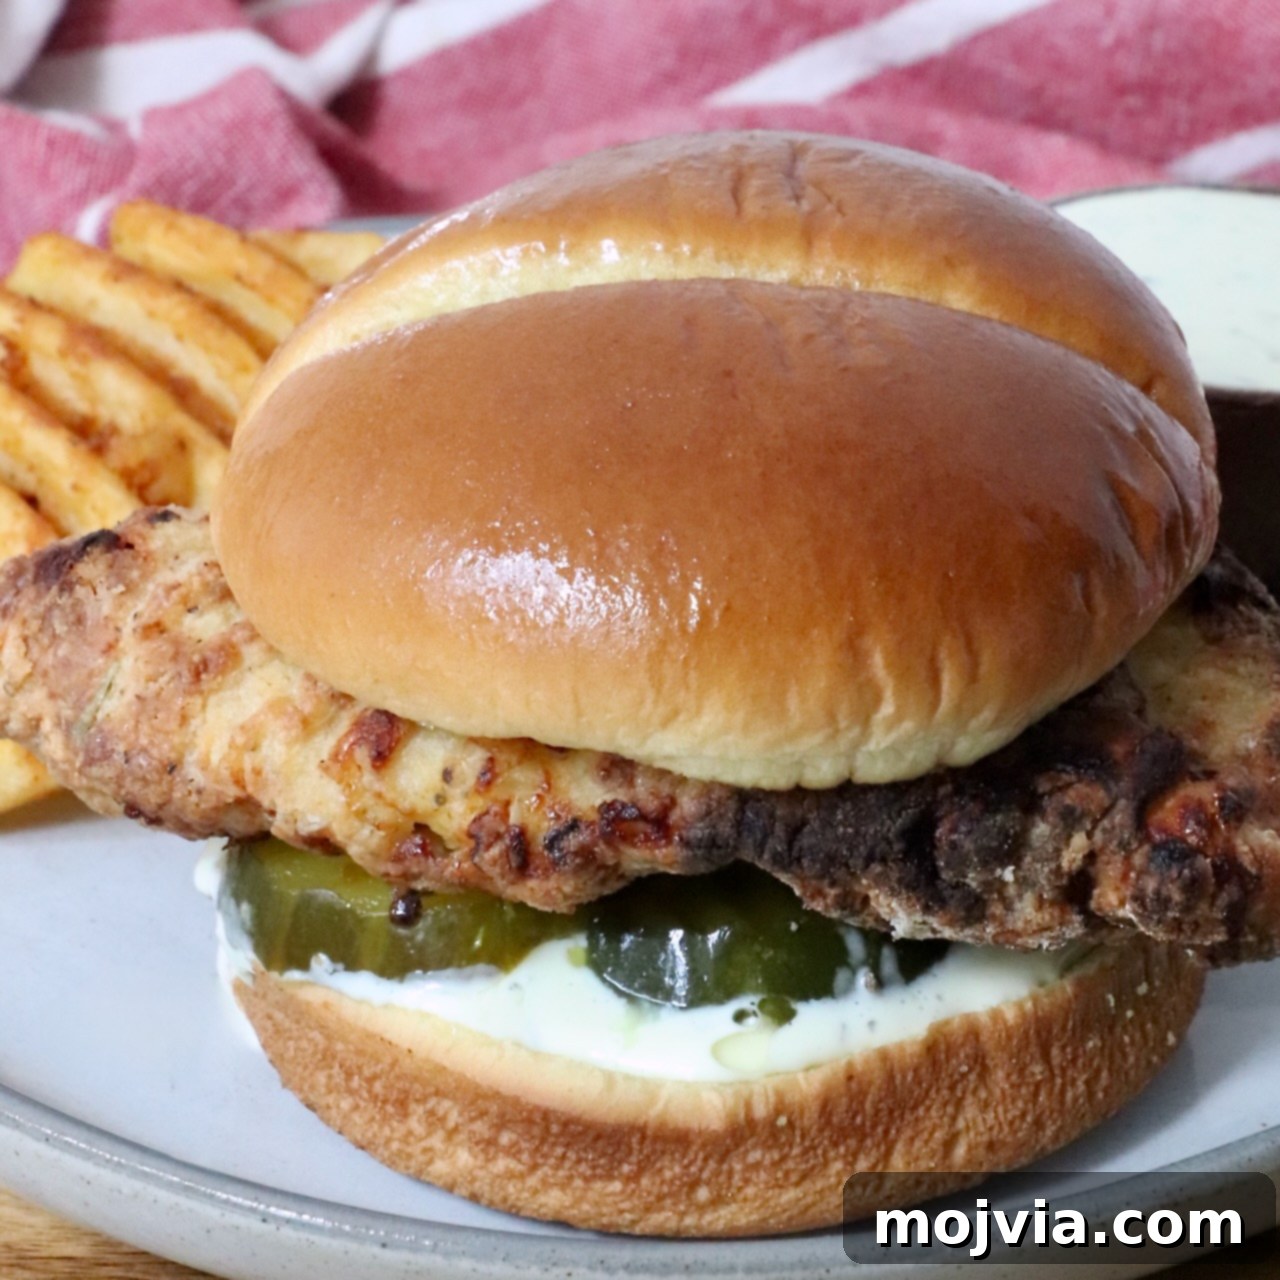
Unlock the Secret to a Perfect Chick-fil-A Style Air Fryer Chicken Sandwich
There’s a reason the crispy chicken sandwich holds a special place in many hearts, and for my husband, it’s the legendary Chick-fil-A original. My mission was clear: develop an air fryer chicken sandwich recipe that not only rivaled the restaurant favorite but could even surpass it in flavor and texture, all from the comfort of home. This wasn’t a quick task; it involved extensive testing, tweaking, and a little bit of culinary magic to get it just right.
Throughout my journey, I discovered invaluable tips and tricks that I’m excited to share with you. These insights are designed to guide you through every step, ensuring your homemade crispy chicken sandwich is nothing short of spectacular. Prepare for that first bite to transport you directly to your fondest Chick-fil-A memories!
This recipe is an absolute game-changer, especially when:
- You desire a perfectly crispy chicken sandwich that feels genuinely lighter because it’s air-fried, offering a healthier alternative to traditional deep-frying without compromising on crunch.
- You want to save money. This recipe allows you to create four incredible chicken sandwiches for roughly the price of just one from a fast-food establishment.
- That unmistakable craving for Chick-fil-A strikes on a Sunday, or any day their doors are closed! Now, you have the power to satisfy it anytime.
Why Choose the Air Fryer for Your Chicken Sandwich?
The air fryer has revolutionized home cooking, and for crispy chicken, it’s an unparalleled tool. Unlike deep frying, which submerges food in oil, the air fryer circulates hot air, creating a convection effect that crisps the breading beautifully while keeping the inside moist and tender. This method significantly reduces the amount of oil needed, resulting in a less greasy, lighter sandwich that still delivers that satisfying crunch. It’s faster than oven baking and requires minimal cleanup compared to traditional frying. Plus, the precise temperature control ensures even cooking and consistent results every time.
Essential Ingredients for an Authentic Flavor
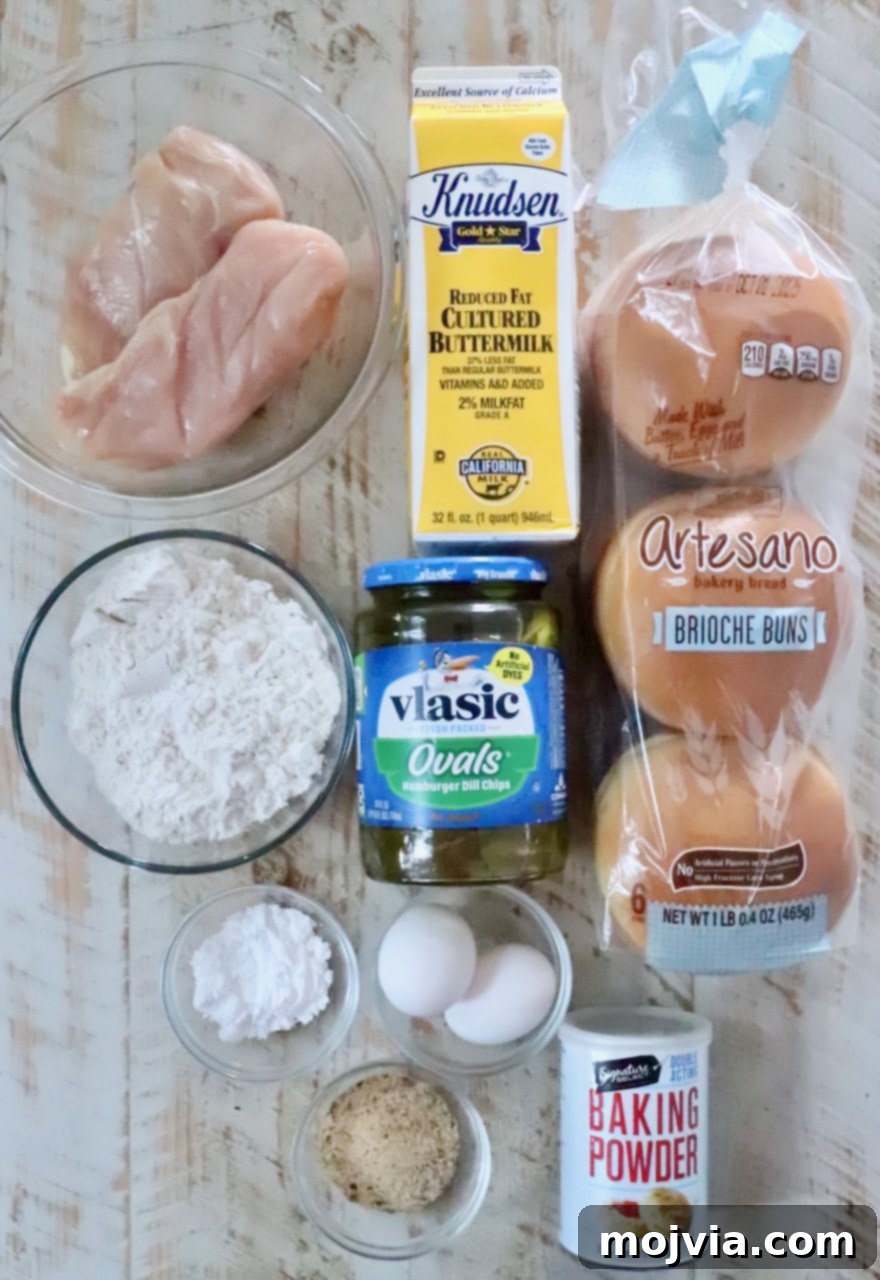
A great sandwich starts with great ingredients. The image above provides a helpful visual for your shopping list, showcasing all the components needed for this extraordinary air fryer chicken sandwich. Below, I’ll offer detailed insights and specific notes on certain ingredients to ensure you achieve the best possible flavor and texture. For the complete list with precise measurements, please refer to the recipe card at the bottom of this article.
- Dill Pickle Juice: You’ll need one full cup of this brining gold. You can easily pour this from a new jar of dill pickles. However, my preferred method is to save the juice after I’ve enjoyed all the pickles from a jar. This leftover brine is packed with concentrated flavor, perfect for tenderizing and infusing your chicken with that signature tang.
- Buttermilk: This ingredient is absolutely non-negotiable for achieving truly tender and moist chicken. Its mild acidity works wonders in breaking down the chicken fibers during the brining process, resulting in incredibly succulent bites. Beyond tenderization, buttermilk adds a rich depth of flavor and, due to its thicker consistency, helps the breading adhere flawlessly to the chicken, creating that perfectly crisp exterior.
- Homemade Chicken Seasoning: While store-bought options can work, nothing beats the fresh, vibrant flavor of a homemade seasoning blend. My custom mix is specifically designed to elevate the flour dredge, taking just 5 minutes to combine from pantry staples. It creates a robust flavor profile that perfectly complements the brined chicken. In a pinch, a simple blend of garlic powder, onion powder, salt, and black pepper will still provide excellent results.
- Boneless, Skinless Chicken Breasts: Opt for high-quality chicken breasts. Pounding them to an even thickness is crucial for uniform cooking and ensuring every bite is tender.
- All-Purpose Flour, Powdered Sugar, and Baking Powder: This combination forms the backbone of our crispy coating. The flour provides the structure, the powdered sugar adds a subtle sweetness and helps with browning, and the baking powder contributes to that desirable light, airy crispness.
- Brioche Buns: While any hamburger bun will work, brioche buns offer a superior experience. Their rich, slightly sweet, and buttery flavor perfectly complements the savory chicken, and their soft texture provides a delightful contrast to the crispy exterior.
Step-by-Step Instructions: Crafting Your Crispy Chicken Masterpiece
To ensure a seamless cooking experience, I’ve provided step-by-step photos below. These visuals are designed to make following this recipe incredibly easy, even for novice cooks. For the full, detailed recipe instructions and precise measurements, please scroll down to the recipe card at the very bottom of this post.
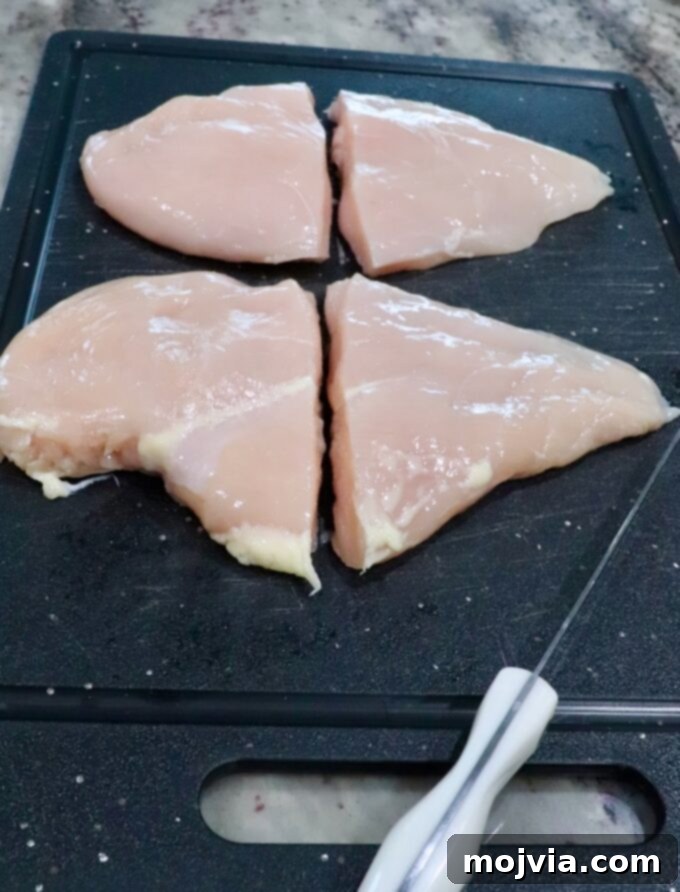
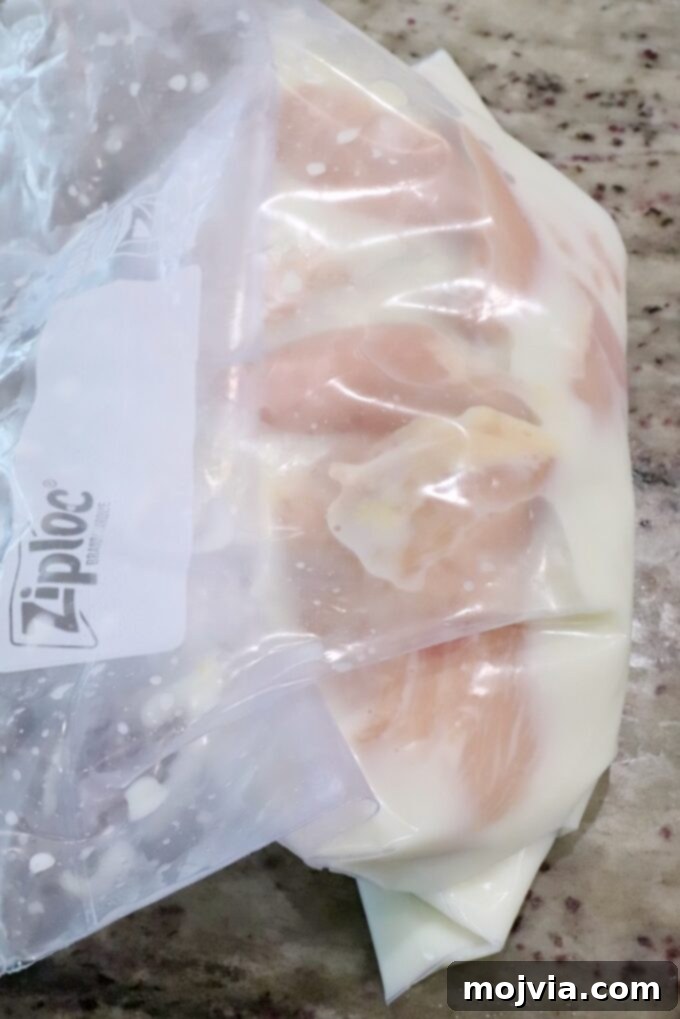
1. Prepare and Brine the Chicken: The Foundation of Flavor
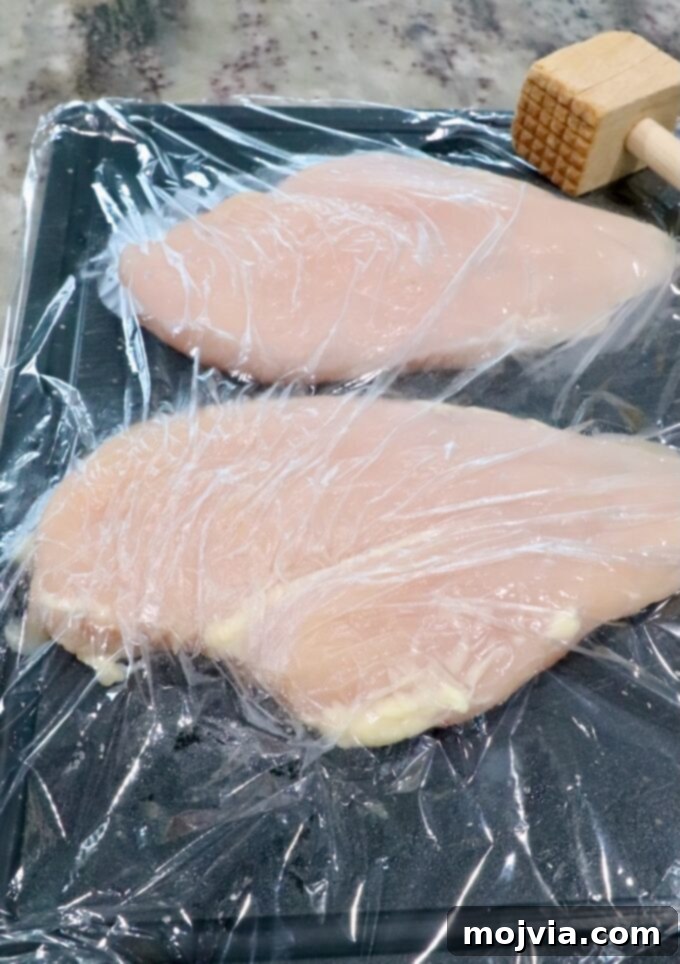
Begin by placing two boneless, skinless chicken breasts on a clean cutting board. Cover them with plastic wrap. Using a meat tenderizer or a rolling pin, gently but firmly pound the chicken breasts until they are uniformly 1/2 inch thick. This step is crucial for even cooking and tender results.
Next, slice each pounded chicken breast in half horizontally, yielding a total of four chicken pieces suitable for sandwiches.
Transfer the prepared chicken pieces into a large, sealable zipper bag. Pour in the dill pickle juice and buttermilk, ensuring the chicken is fully submerged in this flavorful brine. Seal the bag, pressing out any excess air, and refrigerate to brine overnight. A minimum of 12 hours, and up to 24 hours, is ideal for the chicken to absorb maximum flavor and achieve ultimate tenderness.
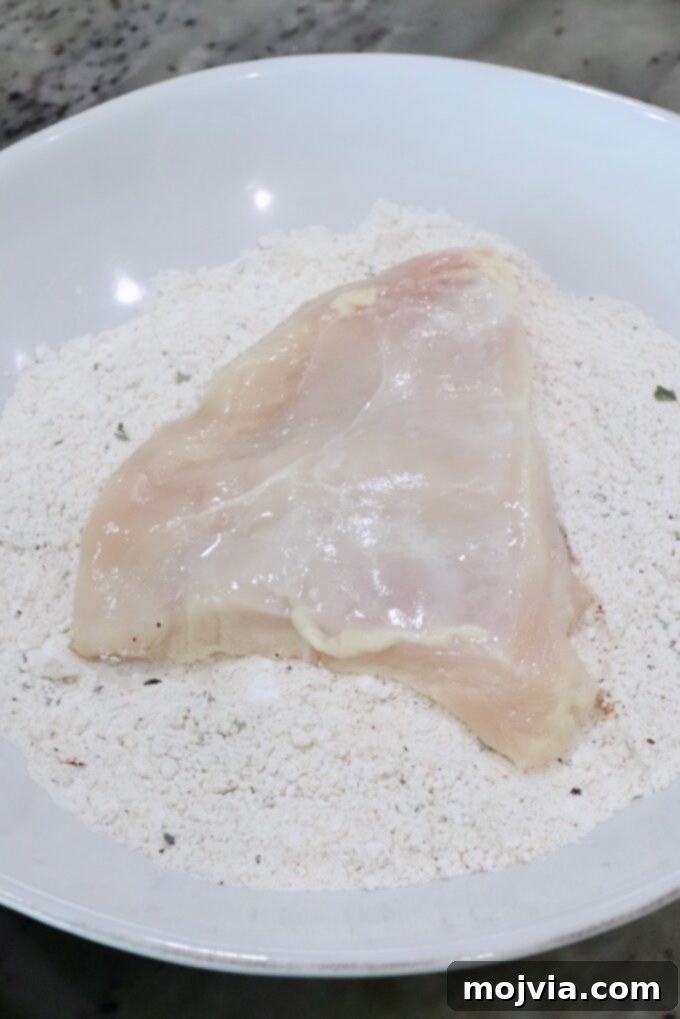
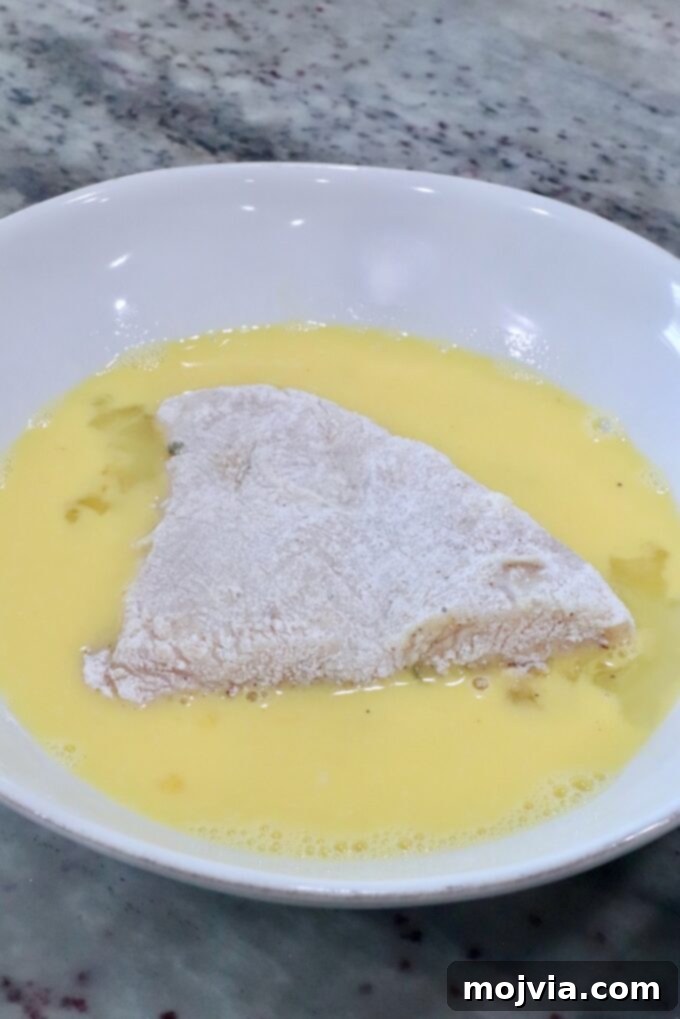
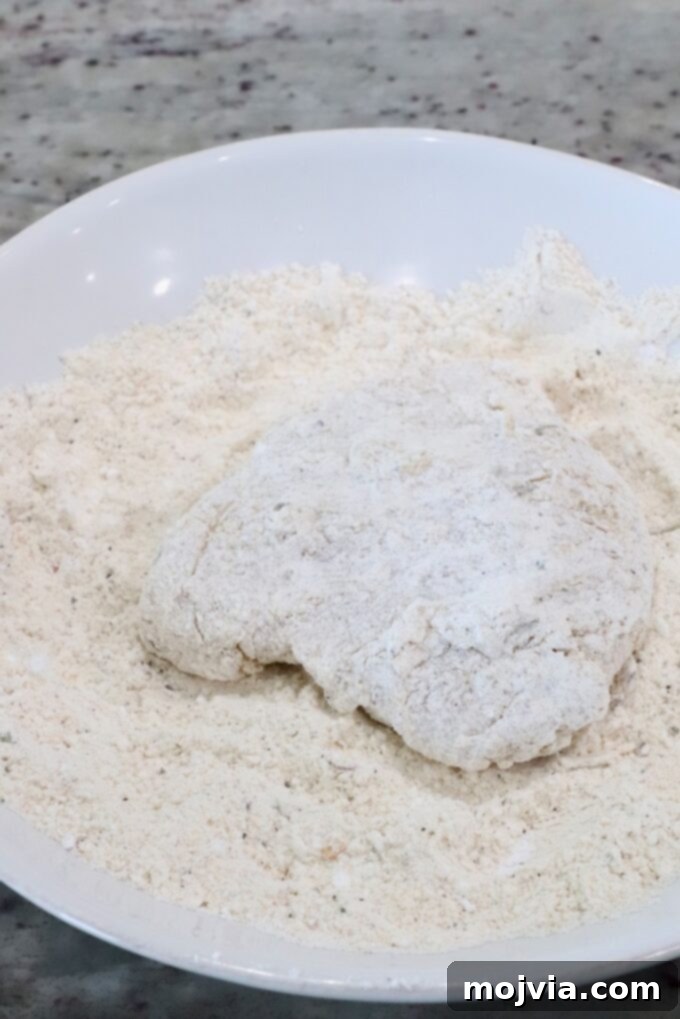
2. Bread the Chicken: Achieving That Signature Crispy Coating
After the chicken has completed its 12-24 hour brining period, it’s time to prepare the breading station. First, spoon two tablespoons of the brining liquid into a shallow bowl. Whisk two large eggs into this liquid until well combined. This unique egg wash, infused with brine, adds an extra layer of flavor and helps the breading adhere even better.
Carefully remove the chicken from the remaining brine, discarding any excess liquid. Pat each piece of chicken thoroughly dry with paper towels. This step is critical for ensuring a crispy coating, as moisture can lead to a soggy breading.
In a separate shallow bowl, combine the all-purpose flour, chicken seasoning, powdered sugar, and baking powder. Whisk these dry ingredients together until they are evenly distributed.
Now, it’s time to bread the chicken. Take one piece of chicken at a time and first dip it generously into the seasoned flour mixture, ensuring it’s fully coated. Shake off any excess flour. Next, dip the flour-coated chicken into the egg mixture, allowing any extra to drip off. Finally, return the chicken to the flour mixture for a second coating. Press gently to ensure the breading fully adheres. Repeat this double-dredging process for all chicken pieces, creating a thick, crunchy crust that will turn golden in the air fryer.
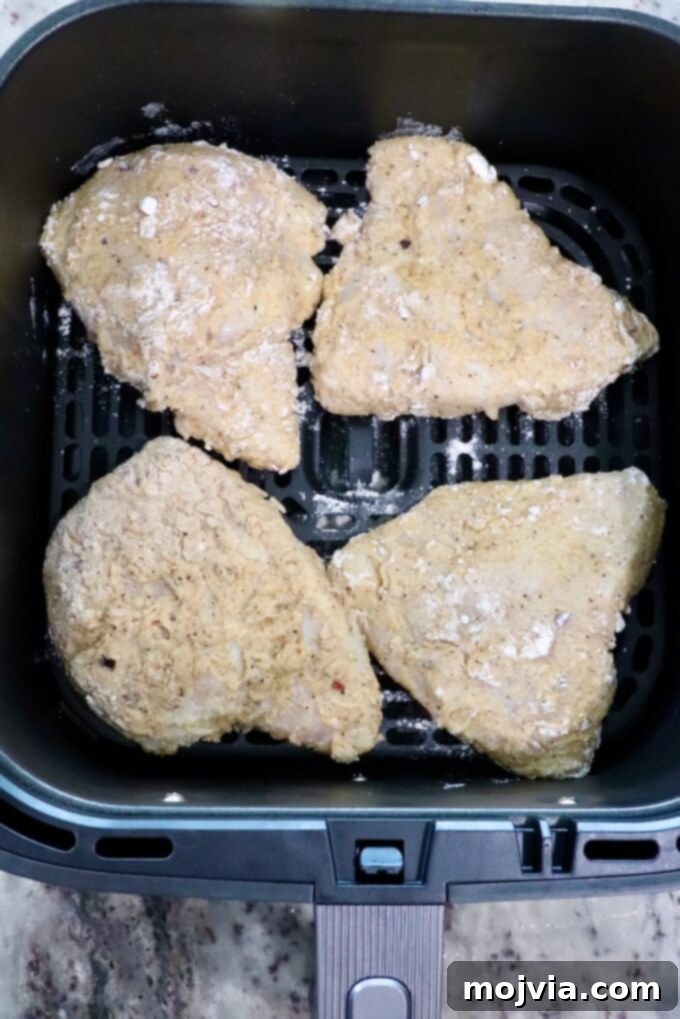
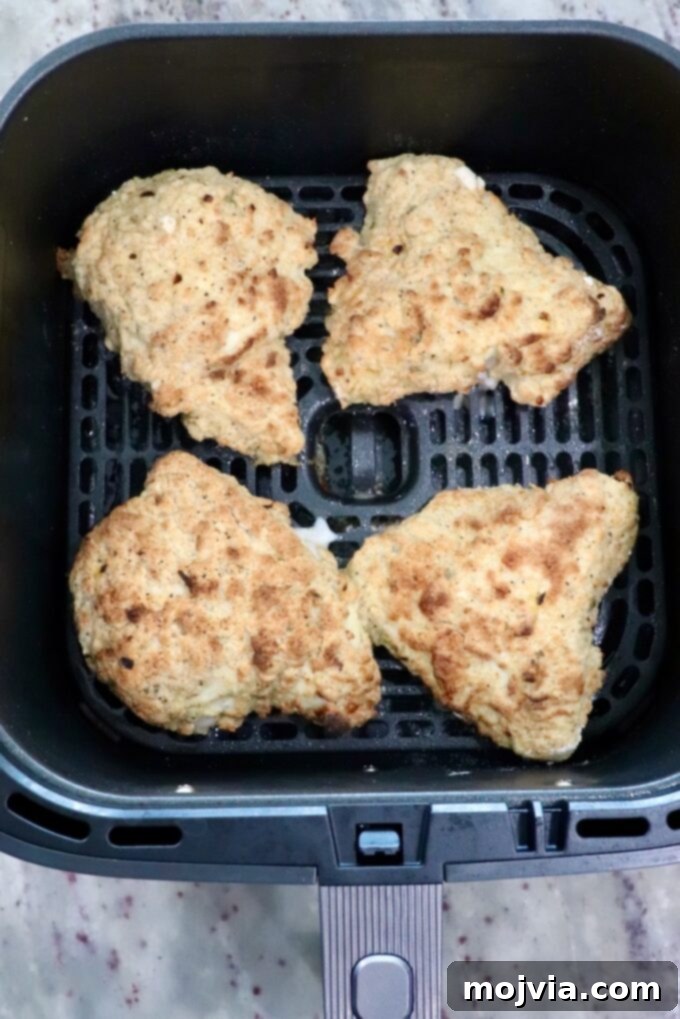
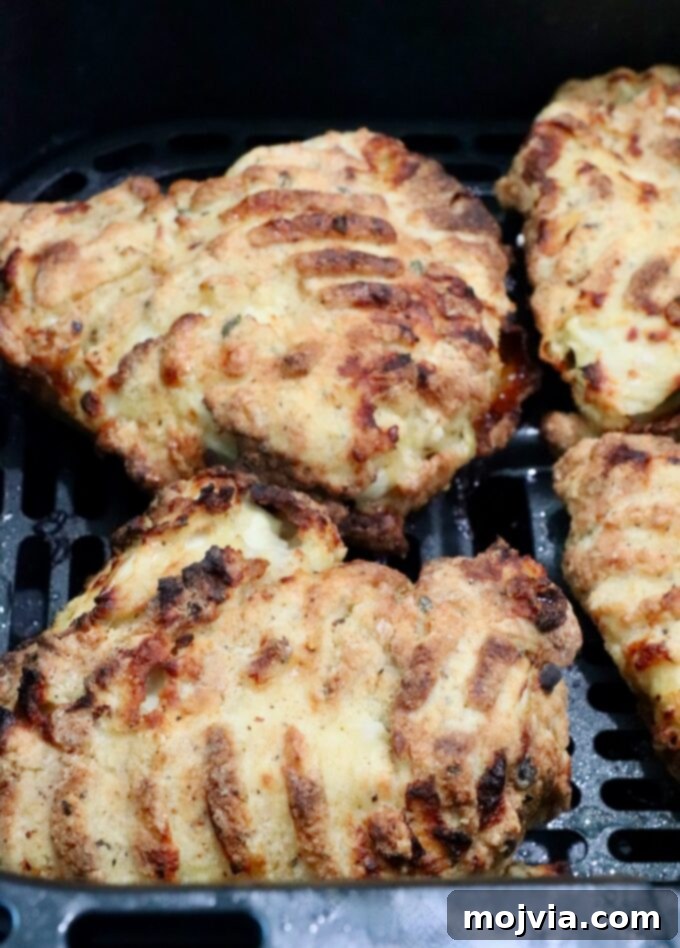
3. Air Fry the Chicken and Assemble Your Sandwiches: The Grand Finale
Preheat your air fryer to 400°F (200°C). Once it’s heated, liberally spray the air fryer basket with cooking spray. This prevents sticking and ensures your breading stays intact.
Carefully place the breaded chicken pieces in a single layer in the oiled air fryer basket. Ensure there is ample space around each piece for proper air circulation, which is essential for even crisping. Lightly spray the top of the chicken with cooking spray as well. This extra mist of oil will help achieve a beautiful golden-brown crust.
Air fry for 8-10 minutes. At the halfway point, open the air fryer, and using tongs, gently flip each piece of chicken. Continue to air fry for another 8-10 minutes, or until the chicken is golden brown, cooked through, and reaches an internal temperature of 165°F (74°C). The cooking time may vary slightly depending on the thickness of your chicken and your specific air fryer model.
Once the chicken is perfectly air-fried, remove it from the basket. Now, prepare your buns! Lightly spray the inside of each brioche bun with cooking spray. You can toast them in a skillet on the stove until golden, or for convenience, place them in the air fryer at 400°F (200°C) for just 2-3 minutes until lightly golden and warmed.
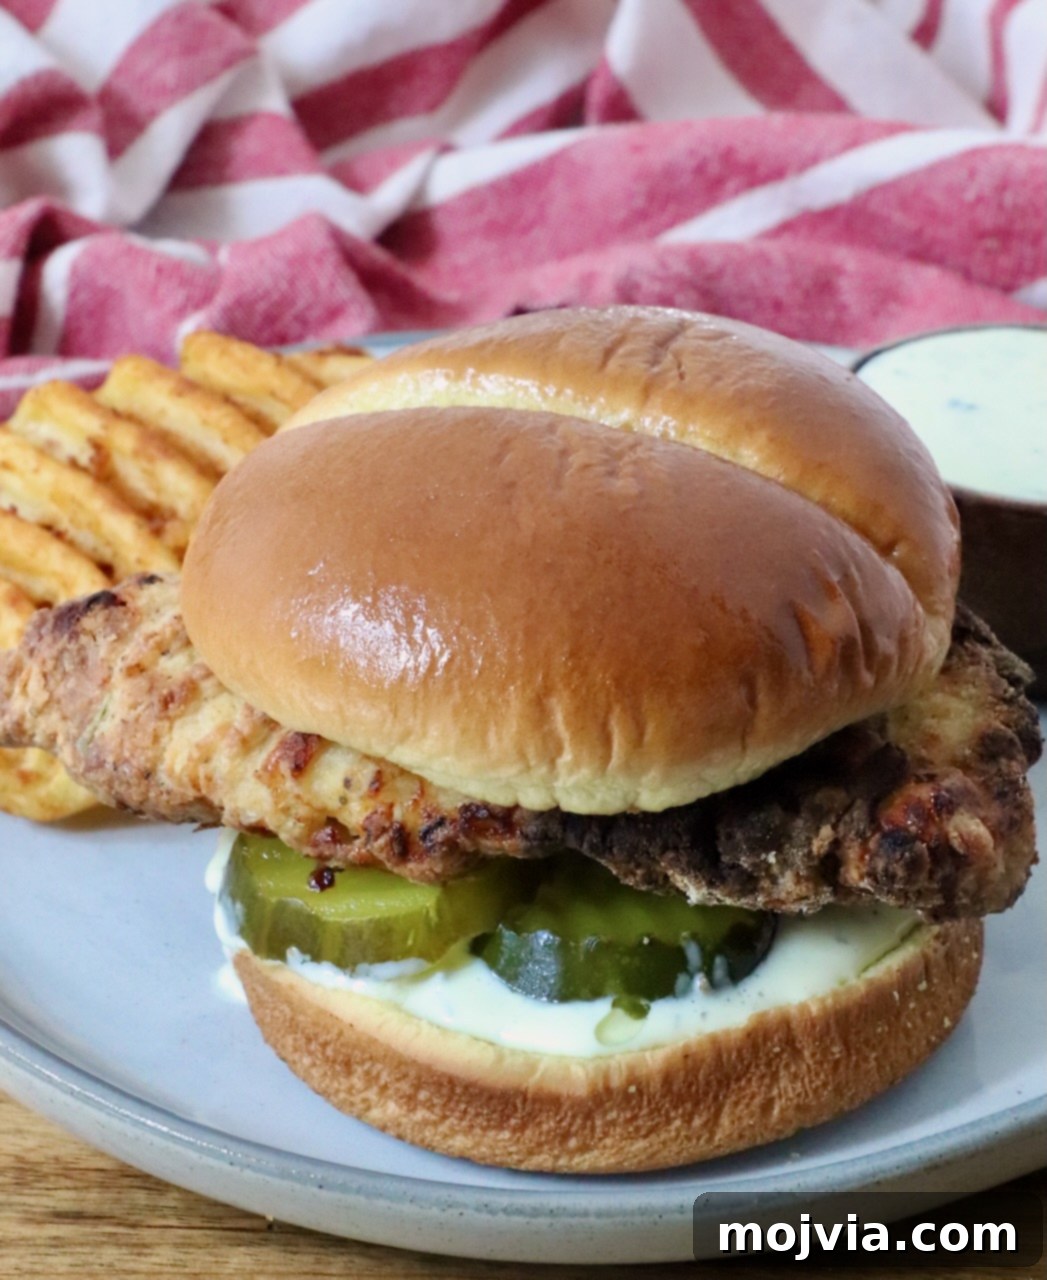
Finally, it’s time to assemble your masterpiece! Customize your sandwiches to your heart’s content. My husband prefers a classic approach, simply adding plenty of crisp dill pickle slices. I, however, enjoy both pickles and a generous drizzle of my homemade dill pickle ranch dressing. Other popular additions include classic Chick-fil-A sauce, fresh lettuce, sliced tomatoes, or even a slice of cheese. The world of chicken sandwich toppings is truly your oyster!
Tips for Maximizing Crispy Perfection
- Don’t Overcrowd the Basket: Air circulation is key to crispiness. If you have a smaller air fryer, cook the chicken in batches to ensure each piece gets enough space.
- Even Thickness: Pounding the chicken to an even 1/2 inch thickness isn’t just for tenderness; it also ensures the chicken cooks evenly, preventing dry spots or undercooked centers.
- Plenty of Spray: Don’t be shy with the cooking spray! A light, even coating before and after flipping helps the breading achieve that beautiful golden-brown color and irresistible crunch.
- Internal Temperature Check: For food safety and optimal juiciness, always check the internal temperature of the thickest part of the chicken with a meat thermometer. It should reach 165°F (74°C).
Perfect Pairings: What to Serve with Your Crispy Chicken Sandwiches
To truly complete the Chick-fil-A experience at home, serving the right side dishes is essential. My personal preference, and a crowd-pleaser, is air-fried frozen waffle fries. I season them generously with my homemade fry seasoning for an authentic taste that complements the chicken sandwich perfectly.
If you’re lucky enough to own two air fryers, like I do, you can cook the fries simultaneously with the chicken, making meal prep a breeze. If not, don’t worry! You can easily bake your waffle fries in the oven while your air fryer is busy making the chicken. Other fantastic side options include a fresh coleslaw, sweet potato fries, a simple green salad, or even a classic mac and cheese for ultimate comfort food indulgence.
Beyond Waffle Fries: Creative Side Dish Ideas
- Tangy Coleslaw: The creamy, crunchy texture and tangy dressing of a classic coleslaw provide a refreshing contrast to the rich chicken.
- Sweet Potato Fries: For a slightly healthier and sweeter alternative to regular fries, sweet potato fries are a fantastic choice.
- Side Salad: A light, crisp green salad with a vinaigrette dressing can balance the richness of the sandwich and add freshness to your meal.
- Macaroni and Cheese: Indulge in comfort with a side of creamy, cheesy macaroni.
- Fresh Fruit Salad: A vibrant fruit salad offers a sweet and healthy counterbalance.
Insider Secrets: What I Learned While Perfecting This Recipe
Developing this Chick-fil-A copycat air fryer chicken sandwich involved a lot of trial and error, but every iteration taught me something crucial. Here are the key takeaways and insights that will help you achieve perfection on your first attempt:
- Always spray the air fryer basket (and the chicken!) with cooking spray before frying. This might seem obvious, but it’s a critical step that cannot be skipped. If you neglect to adequately spray the air fryer basket before adding your breaded chicken, it will inevitably stick, and the beautifully crispy breading you worked so hard to create will tragically pull off when you attempt to flip it. A light mist on the chicken itself also promotes even browning.
- The amount of flour and seasoning blend is crucial for flavor and texture. Through countless adjustments, I fine-tuned the flour mixture until I achieved the perfect balance. Since all the savory seasonings are incorporated into the flour dredge, it’s essential not to waste any. My final recipe uses precisely the right amount of flour, combined with an increased quantity of chicken seasoning, to infuse the breading with truly exceptional flavor that stands out.
- Don’t underestimate the power of pickle juice in the brine. My initial attempts used less pickle juice, and while good, they lacked that distinctive Chick-fil-A tang. Increasing the amount of pickle juice in the buttermilk brine proved to be the game-changer, delivering the signature zesty, savory flavor profile that makes the original so beloved. This ingredient is fundamental to recreating that authentic taste at home.
- A long brining time is non-negotiable for juicy, tender, and flavorful chicken. Yes, this recipe requires a bit of planning, as the chicken needs to brine for at least 12 hours (and up to 24 hours). I experimented with shorter brining times, and the difference was stark. Without a sufficiently long brine, the chicken simply won’t achieve the same level of juiciness, tenderness, or depth of flavor. This overnight step is truly worth the wait, transforming ordinary chicken breasts into incredibly succulent sandwich fillings.

Print Recipe
Pin Recipe
Rate this Recipe
Air Fryer Crispy Chicken Sandwich (Chick-fil-A Copycat)
Ingredients
Chicken Brine
- 1 cup dill pickle juice
- ½ cup buttermilk
- 1 ½ pounds boneless skinless chicken breasts
Chicken Batter
- 2 eggs
- ⅔ cup all-purpose flour
- 3 tablespoons chicken seasoning
- 1 tablespoon powdered sugar
- 1 teaspoon baking powder
For the Sandwiches
- 4 hamburger buns, I recommend brioche buns
- ½ cup dill pickle slices
Equipment
-
Air Fryer
Instructions
-
Pound the chicken breasts to ½ inch thickness using a meat tenderizer or rolling pin, then cut each piece of chicken in half horizontally.
-
Add the chicken to a large zipper bag. Add the pickle juice and buttermilk. Brine overnight (between 12-24 hours).
-
In a shallow bowl, whisk two eggs together and add 2 tablespoons of the pickle/buttermilk brine.
-
Remove the chicken from the brine and discard the remaining brine. Use paper towels to pat the chicken completely dry.
-
In another shallow bowl, combine the flour, chicken seasoning, powdered sugar and baking powder.
-
Dip the chicken in the flour mixture, then into the eggs, then back into the flour mixture.
-
Preheat an air fryer to 400°F (200°C). Spray the air fryer with cooking spray.
-
Add the chicken to the air fryer, making sure there’s room around each piece of chicken for air to flow. Spray with cooking spray.
-
Air fry for 8-10 minutes. Open the air fryer, use tongs to gently flip the chicken, and air fry for another 8-10 minutes, or until golden brown and cooked through (internal temperature 165°F/74°C).
-
Toast the buns in the air fryer for 2-3 minutes at 400°F (200°C), or until lightly golden.
Notes
- Seasoning Substitute: If you don’t have the ingredients for the homemade chicken seasoning, you can simply substitute in 1 tablespoon garlic powder, 1 tablespoon onion powder, 2 teaspoons salt, and 1 teaspoon black pepper for a delicious alternative.
- Storing & Reheating: Leftover air-fried chicken can be stored in an airtight container in the fridge for up to 5 days. To reheat, place it back in the air fryer at 400°F (200°C) for 5-6 minutes until hot and crispy.
- Make it Spicy: To transform this into a spicy chicken sandwich, add 1-2 teaspoons of your favorite hot sauce to the egg mixture, and include ½ teaspoon of cayenne pepper (or more, to taste) to the flour mixture.
- Meal Prep Tip: You can prepare and bread the chicken ahead of time. Store the breaded chicken on a parchment-lined plate, covered, in the refrigerator for a few hours before air frying.