
Gluten-Free Sweet and Sour Chicken (PF Chang’s Copycat in 29 Minutes!)
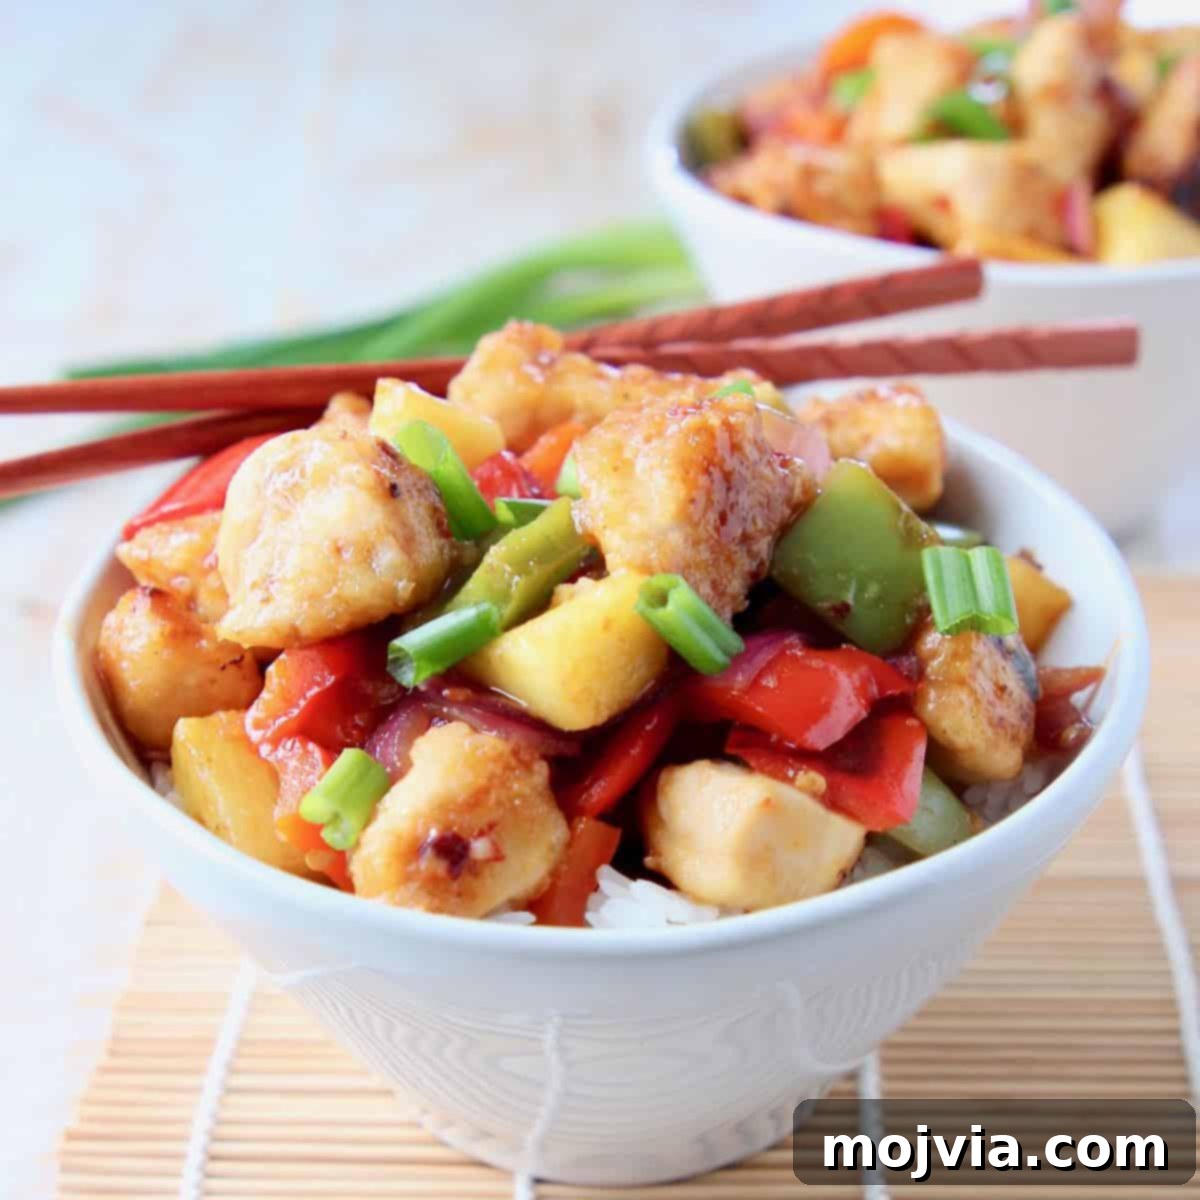
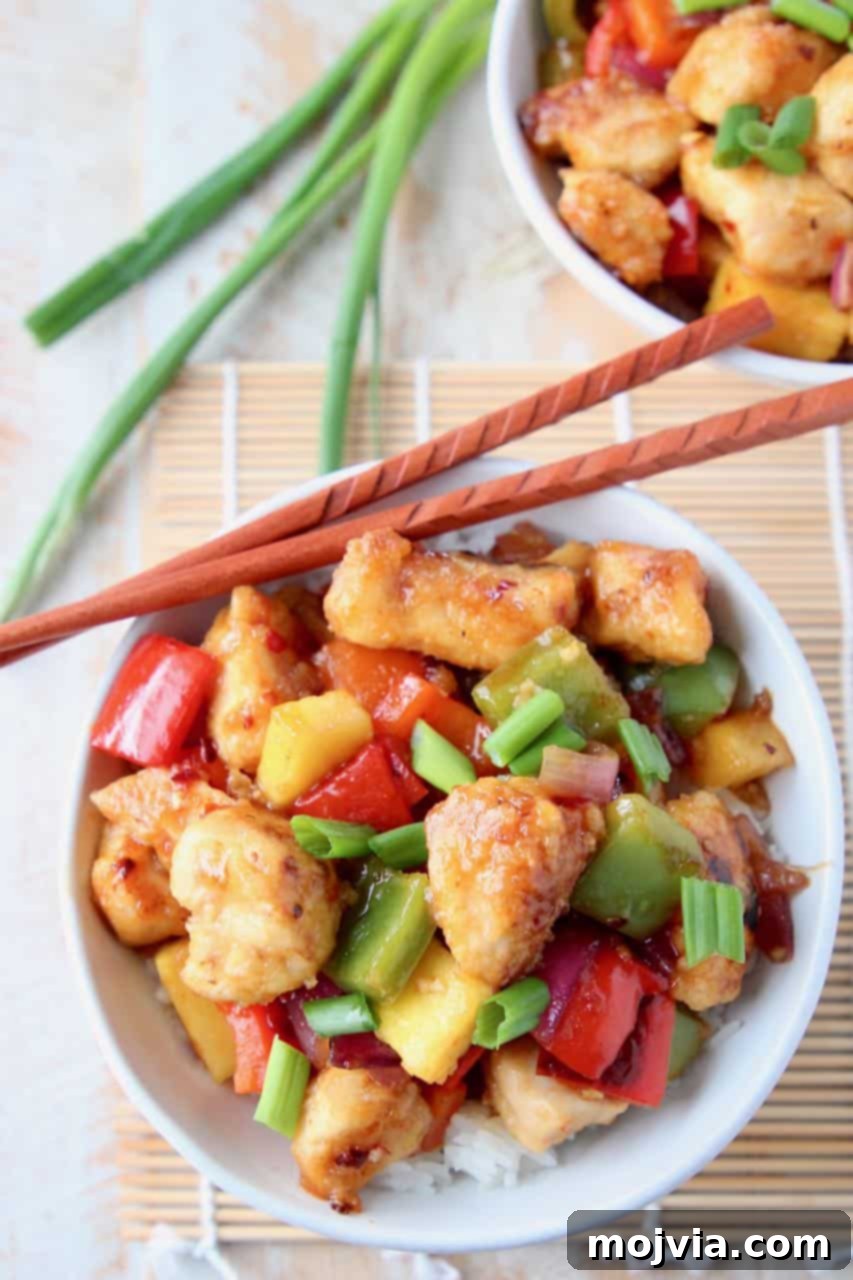
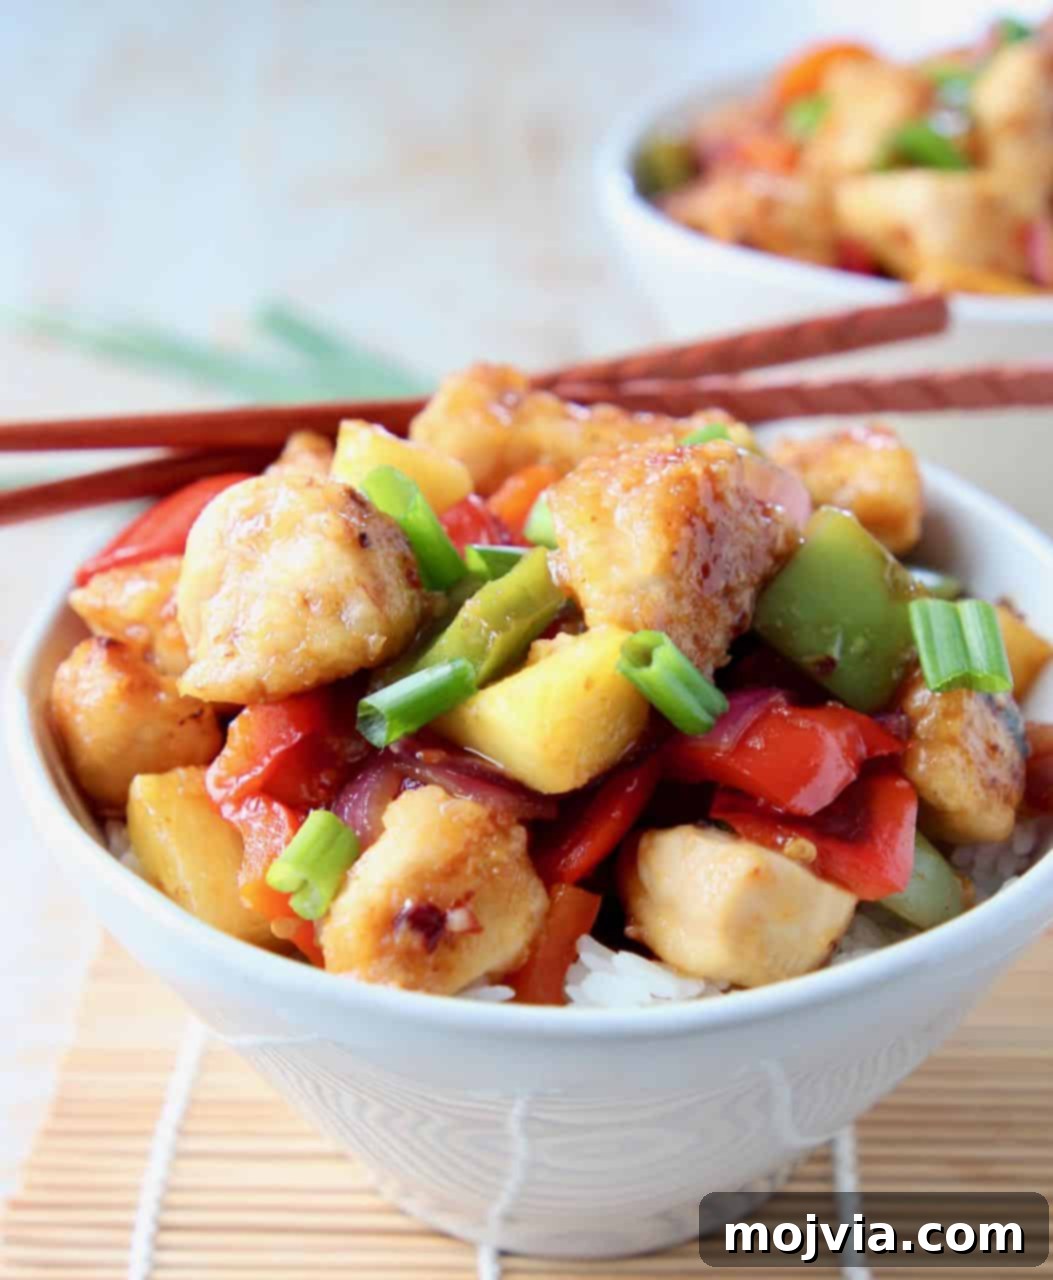
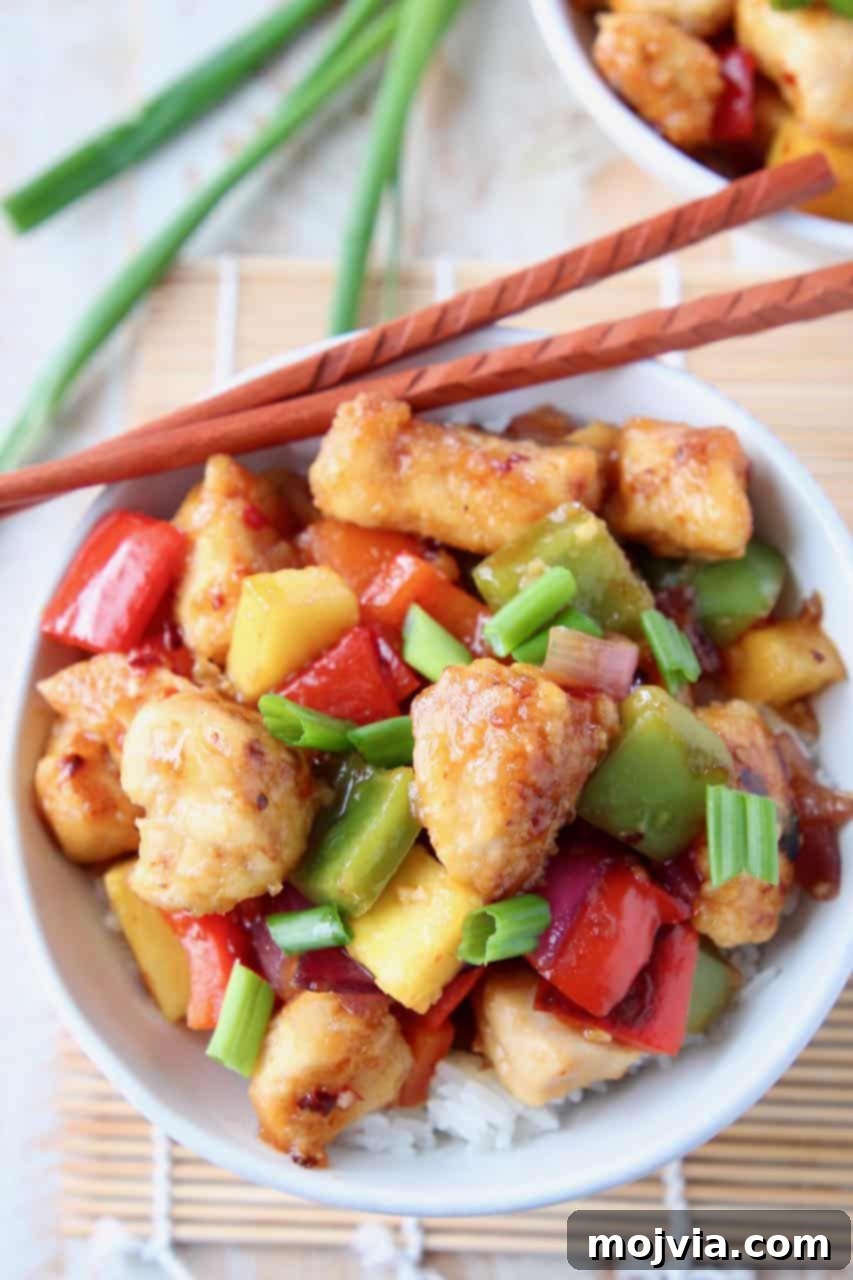
Experience the irresistible taste of PF Chang’s classic Sweet and Sour Chicken right in your own kitchen with this incredible gluten-free copycat recipe! Designed for speed and flavor, you can whip up this mouth-watering dish in just 29 minutes. Tender chicken pieces, crisp bell peppers, and juicy pineapple chunks are stir-fried to perfection and coated in a vibrant, homemade sweet and sour sauce. It’s an epic Chinese-inspired meal that’s perfect served over steaming rice or nestled in fresh lettuce wraps for a lighter option.
If you’re a fan of my popular Gluten Free Chinese Honey Chicken or crave the zest of my Gluten Free Orange Chicken, then prepare to fall in love all over again with this Sweet and Sour Chicken recipe! Its balanced flavors and quick preparation make it an instant family favorite.
My Journey to the Perfect Homemade Sweet and Sour Chicken
My culinary adventure with Chinese cuisine began not in an exotic far-off land, but in the familiar setting of a PF Chang’s restaurant. Growing up in a small town in Oklahoma, international flavors weren’t readily accessible, so my first encounter with Chinese food was a truly memorable experience. The dish that captured my heart and palate from that very first bite? The classic Sweet and Sour Chicken. It was a revelation – a perfect blend of tangy and sweet, with tender chicken and vibrant vegetables.
That initial spark led to a lifelong passion for Asian flavors and, eventually, a quest to recreate my favorite Chinese dishes at home. Over the years, I’ve discovered that many popular Chinese restaurant recipes are surprisingly easy to make from scratch. Not only do homemade versions offer a lighter, often healthier alternative, but they also allow for complete control over ingredients, making them ideal for those with dietary preferences like a gluten-free diet.
Since then, I’ve successfully transformed many beloved Chinese takeout staples into simpler, more wholesome homemade meals. Some of my proudest creations include:
- Kung Pao Beef – featuring my secret technique for incredibly tender beef!
- Gluten-Free General Tso’s Chicken – a flavorful dish that comes together in just 20 minutes!
- Healthy Turkey Lettuce Wraps – another PF Chang’s inspiration, lightened up with extra-lean ground turkey.
- Grilled Vegetable Lo Mein – a satisfying 29-minute noodle bowl, perfect for a hearty weeknight dinner!
Among all these delicious recipes, this Sweet and Sour Chicken holds a special place. It’s the dish that ignited my love for Chinese food, and now, it’s a recipe I turn to whenever I crave that perfect balance of flavors and textures. It’s incredibly fast to prepare – just 29 minutes from start to finish – and consistently receives rave reviews from everyone who tries it. Whether I serve it atop a bed of fluffy rice or in fresh, crisp lettuce wraps, the sweet and sour chicken truly steals the show every time.
Why Go Gluten-Free with Your Favorite Chinese Dishes?
For many, enjoying Chinese takeout can be a challenge due to gluten sensitivities or celiac disease. Traditional soy sauce, breading, and certain sauces often contain wheat. However, crafting your favorite Chinese chicken recipes at home allows you to easily substitute gluten-containing ingredients without sacrificing flavor. With readily available gluten-free soy sauce (tamari) and cornstarch, you can enjoy all the classic tastes you love, safely and deliciously. This recipe specifically uses gluten-free ingredients to ensure everyone can indulge in this beloved dish.
Mastering Homemade Sweet and Sour Chicken: A Step-by-Step Guide
1. Crafting the Perfect Sweet and Sour Sauce
The heart of any great sweet and sour chicken dish lies in its sauce. My recipe delivers a vibrant, perfectly balanced sauce that hits all the right notes – sweet, tangy, and a touch savory with a hint of spice. Preparing it is incredibly simple:
- In a small bowl, combine granulated sugar, gluten-free soy sauce, ketchup, white wine vinegar, sweet chili sauce, and honey. These ingredients form the sweet and tangy base.
- Next, add the aromatic elements: red pepper flakes for a gentle warmth, freshly grated ginger for its zesty kick, crushed garlic cloves for depth, and pineapple juice, which not only adds sweetness but also helps tenderize the chicken.
- Whisk all these ingredients together until thoroughly combined. This ensures an even distribution of flavors. Set this magical concoction aside – it’s ready to transform your chicken and vegetables!
Chef’s Tip! This sweet and sour sauce is so delicious, you’ll want to have it on hand! Consider doubling the sauce recipe. It keeps beautifully in the fridge for 7-10 days, making it incredibly convenient for quick weeknight meals. Trust me, you’ll be craving this dish again next week!
2. Preparing and Battering the Chicken for Crispy Perfection
The secret to tender, flavorful chicken that perfectly absorbs the sauce is in the battering process. This gluten-free coating provides a delicate crispness that’s truly satisfying.
- Begin by placing one whisked egg in a shallow dish. This will act as the binder for your dry coating.
- In a separate shallow dish, combine cornstarch and brown sugar. The cornstarch creates the crisp texture, while a touch of brown sugar adds a subtle sweetness and helps with browning. Stir these well to ensure an even blend.
- Carefully coat your cubed chicken breast pieces. First, dip each piece in the whisked egg, ensuring it’s fully covered. Then, lightly coat the chicken in the cornstarch and brown sugar mixture. When battering, a handy trick is to use one hand for the wet ingredients (the egg) and the other for the dry ingredients (the cornstarch). This prevents your hands from becoming a clumpy mess and ensures a smooth, even coating on the chicken.
- Once battered, place the chicken pieces on a clean cutting board or plate, ready for cooking.
3. Stir-Frying the Veggies and Chicken to Flavorful Finish
This final stage brings all the components together, infusing the chicken and vegetables with the rich, tangy sauce.
- Heat olive oil in a large skillet or wok over medium-high heat. Ensure the oil is hot but not smoking, indicating it’s ready for stir-frying.
- Carefully add the battered chicken pieces to the hot oil. Avoid overcrowding the pan; cook in batches if necessary to ensure even browning.
- Cook the chicken for 4-5 minutes, turning occasionally, until all sides are lightly browned and the chicken is mostly cooked through. It doesn’t need to be fully cooked at this stage, as it will simmer in the sauce.
- Remove the browned chicken from the skillet and set it aside, leaving any residual oil in the pan.
- Add the diced bell peppers (green and red for color and flavor) and onions to the same skillet. Sauté them for 3-4 minutes until they begin to soften slightly but still retain a pleasant crunch.
- Return the cooked chicken to the skillet, along with the pineapple chunks. I prefer using fresh diced pineapple for its bright, natural sweetness, but canned pineapple chunks (drained) work just as well and are a convenient alternative.
- Pour the previously prepared sweet and sour sauce evenly over the chicken, vegetables, and pineapple.
- Toss everything gently to ensure all ingredients are thoroughly coated in the luscious sauce.
- Reduce the heat to a simmer, cover the skillet, and cook for an additional 10 minutes. This allows the flavors to meld, the chicken to finish cooking through, and the sauce to thicken slightly. Serve immediately for the best flavor and texture!
Creative Ways to Serve Your Sweet and Sour Chicken
This versatile Sweet and Sour Chicken recipe pairs beautifully with a variety of sides, allowing you to customize your meal based on your preferences or dietary needs. Here are some of my favorite ways to enjoy it:
- Classic Rice Bed: The most traditional and satisfying way to serve this dish is over a bed of fluffy white, brown, or jasmine rice. Start cooking your rice on the stove, in a rice cooker, or in an Instant Pot while you prepare the chicken, ensuring everything is ready at the same time for a perfectly coordinated meal.
- Delicious Rice Noodle Bowl: For a delightful change of texture, boil 8 ounces of rice noodles according to package directions (usually 3-4 minutes). Once cooked and drained, toss the warm noodles directly with the sweet and sour chicken and sauce. This transforms the meal into a hearty and flavorful noodle bowl, perfect for slurping!
- Light and Crisp Lettuce Wraps: Looking for a lower-carb or lighter option? Scoop the sweet and sour chicken into crisp leaves of iceberg, butter, or romaine lettuce. The coolness and crunch of the lettuce perfectly complement the warm, flavorful chicken, creating a refreshing and satisfying meal.
- Healthy Zucchini Noodles: For an extra boost of vegetables and a significantly lighter meal, serve your sweet and sour chicken over spiralized zucchini noodles. Simply sauté the zucchini noodles for a few minutes until tender-crisp, then top with the chicken. It’s an excellent way to enjoy your favorite flavors while keeping things wholesome.
- Steamed Vegetables: Enhance your meal with a side of steamed broccoli, snap peas, or carrots. Their natural sweetness and crisp texture are a wonderful contrast to the rich sweet and sour sauce.
Tips for Success and Customization
- Perfect Chicken Texture: Ensure your oil is hot enough before adding the chicken to get a good sear and crispy crust. Don’t overcrowd the pan, as this can lower the oil temperature and lead to steamed, not crispy, chicken.
- Sauce Thickness: If you prefer a thicker sauce, you can create a cornstarch slurry (1 tsp cornstarch mixed with 1 tsp cold water) and stir it into the simmering sauce during the last few minutes of cooking until it reaches your desired consistency.
- Spice Level: Adjust the red pepper flakes to your preference. For more heat, add an extra pinch; for a milder version, omit them entirely.
- Vegetable Variations: Feel free to experiment with other stir-fry friendly vegetables like carrots, snow peas, water chestnuts, or baby corn. Add them alongside the bell peppers and onions.
- Protein Alternatives: While chicken is traditional, this sauce also works wonderfully with shrimp, pork, or even firm tofu for a vegetarian option. Adjust cooking times accordingly.
Storage and Reheating
Leftover Sweet and Sour Chicken is just as delicious the next day! Store any cooled leftovers in an airtight container in the refrigerator for up to 3-4 days. To reheat, gently warm in a skillet over medium heat or in the microwave until heated through. You might want to add a splash of water or chicken broth to loosen the sauce if it has thickened too much.
Explore More Easy Chinese Chicken Recipes
If you loved this gluten-free sweet and sour chicken, you’re in for a treat! Discover more fantastic and easy-to-make Chinese chicken recipes that are sure to become new family favorites. Dive into these fan favorites and expand your homemade Asian cuisine repertoire:
- Chicken Potsticker Stir Fry
- 20 Minute Kung Pao Chicken
- Sweet and Sour Chicken Fried Rice
- Easy Chicken Lo Mein
- Gluten Free Chinese Honey Chicken
Each of these recipes brings authentic flavors and simple preparation to your kitchen, proving that delicious, gluten-free Chinese food is well within reach for any home cook!

Print
Pin
Rate this Recipe
Gluten Free Sweet and Sour Chicken
4
servings
29 minutes
29 minutes
Whitney Bond
Main Course
Chinese
Ingredients
For the Sweet and Sour Sauce:
- ¼ cup granulated sugar
- 2 tablespoons gluten free soy sauce (tamari)
- 2 tablespoons ketchup
- 1 tablespoon white wine vinegar
- 1 tablespoon sweet chili sauce
- 1 tablespoon honey
- 1 teaspoon red pepper flakes
- 1 tablespoon fresh ginger, grated
- 2 cloves garlic, crushed
- ¼ cup pineapple juice
For the Chicken:
- 1 egg, whisked
- ½ cup cornstarch
- 2 tablespoons brown sugar
- 1 pound boneless, skinless chicken breasts, sliced into cubes
For the Stir-fry:
- 3 tablespoons olive oil
- 1 cup onion, large dice
- ½ green bell pepper, large dice
- ½ red bell pepper, large dice
- ½ cup pineapple chunks, fresh or canned
Instructions
-
Whisk the granulated sugar, gluten free soy sauce, ketchup, white wine vinegar, sweet chili sauce, honey, red pepper flakes, ginger, garlic and pineapple juice together in a small bowl, set aside.
-
Place the whisked egg in a shallow dish.
-
In another shallow dish, add the corn starch and brown sugar and stir to combine.
-
Coat the cubes of chicken in the whisked egg, then lightly coat them in the cornstarch mixture. Set the battered chicken aside on a clean cutting board.
-
Heat the olive oil in a large skillet on the stove over medium-high heat.
-
Once the oil is hot, add the battered chicken pieces. Cook the chicken for 4-5 minutes, or until all sides are lightly browned.
-
Remove the chicken from the skillet and set aside.
-
Add the onions and diced bell peppers to the skillet, cook for 3-4 minutes.
-
Add the chicken back to the skillet, along with the pineapple chunks.
-
Pour the prepared sweet and sour sauce over the chicken. Toss to cover the chicken and vegetables in sauce.
-
Cover and reduce the heat to medium-low, cook for 10 minutes. Serve immediately.
Notes
Nutrition Facts
Calories 463kcal (23%)
Carbohydrates 55g (18%)
Protein 28g (56%)
Fat 15g (23%)
Saturated Fat 2g (10%)
Cholesterol 113mg (38%)
Sodium 776mg (32%)
Potassium 659mg (19%)
Fiber 2g (8%)
Sugar 35g (39%)
Vitamin A 816mg (16%)
Vitamin C 40mg (48%)
Calcium 33mg (3%)
Iron 1mg (6%)
Did you make this recipe?
Tag @WhitneyBond on Instagram and hashtag it #WBRecipes!