
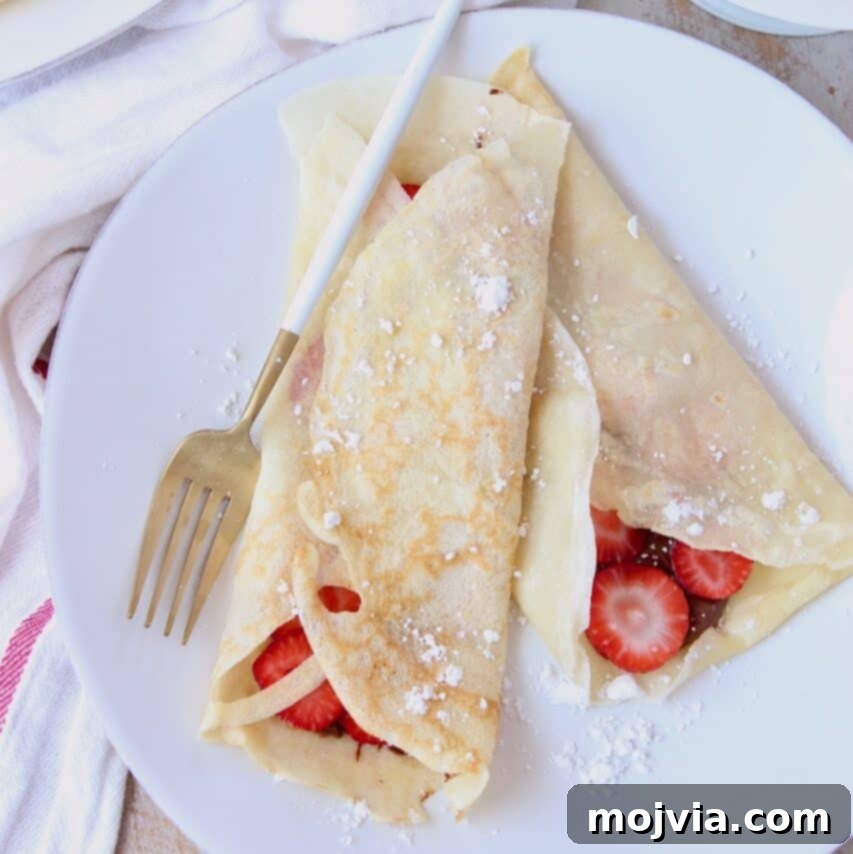
Discover the secret to making perfect French Crepes effortlessly every single time! This comprehensive guide provides an easy-to-follow recipe, expert tips, and a wealth of inspiration with over 15 incredible filling ideas. Whether you crave the sweetness of Nutella and strawberry or the savory delight of ham and cheese, prepare to master the art of homemade crepes and transform your breakfast, brunch, or dessert experience. Dive into the world of delicate, thin crepes that are surprisingly simple to create in your own kitchen!
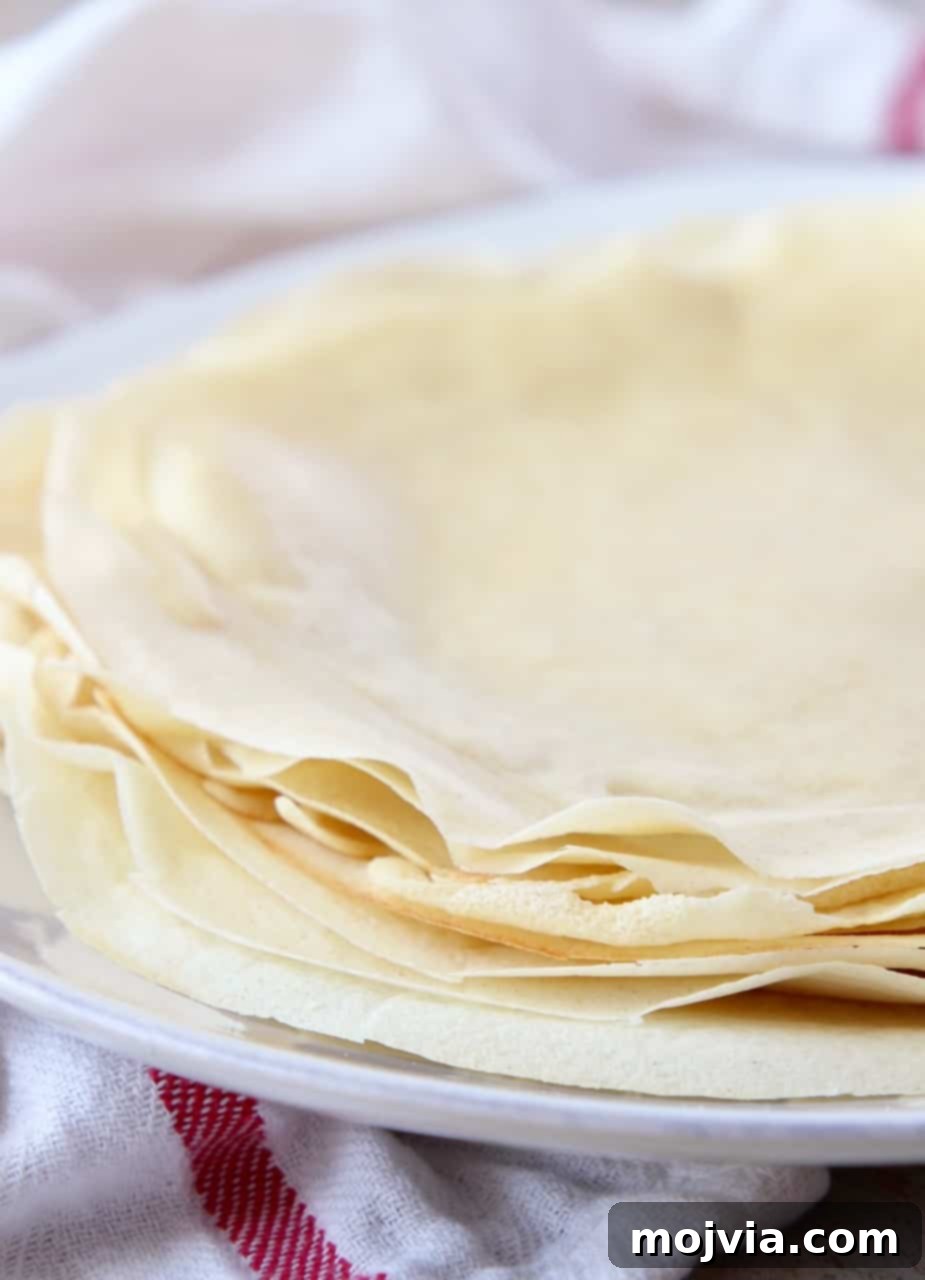
Table of contents
- The Allure of French Crepes
- Essential Ingredients for Crepes
- Step-by-Step Guide to Crepe Perfection
- Expert Tips and Tricks for Flawless Crepes
- Frequently Asked Questions About Crepes
- Crepe Filling Ideas: Sweet and Savory
- The Ultimate Crepe Recipe Card
- More Delightful Breakfast Recipes
The Allure of French Crepes: From Intimidation to Mastery
Crepes, the quintessential French delicacy, evoke images of charming Parisian cafes and bustling street vendors. These incredibly thin pancakes are celebrated worldwide for their delicate texture and immense versatility. For many home cooks, however, the idea of making crepes from scratch can seem daunting. I understand that feeling perfectly. Before my unforgettable trip to France in 2018, I had only attempted crepes a couple of times – once for a Father’s Day brunch in 2012 and another time with my high school French club.
The apprehension was real: would the batter be stubbornly lumpy? Could I achieve that characteristic paper-thinness? And how exactly do you manage to flip such a delicate creation without tearing it? These questions often held me back. But upon returning from France, armed with a souvenir crepe pan and a newfound inspiration, I decided it was time to conquer my crepe fears and perfect my own recipe. After countless batches and a bit of trial and error, I’m thrilled to share all the insights and techniques I’ve gathered to help you create flawless French crepes in your own kitchen.
The good news? You absolutely do not need a special pan imported from France to achieve these culinary masterpieces. A standard 10-inch nonstick skillet will work beautifully, proving that authentic French flavors are well within reach, no matter your kitchen setup. This guide is designed to demystify the crepe-making process, turning what might seem like a complex task into a simple, enjoyable cooking adventure.
Essential Ingredients for Crepes: Simple Yet Significant
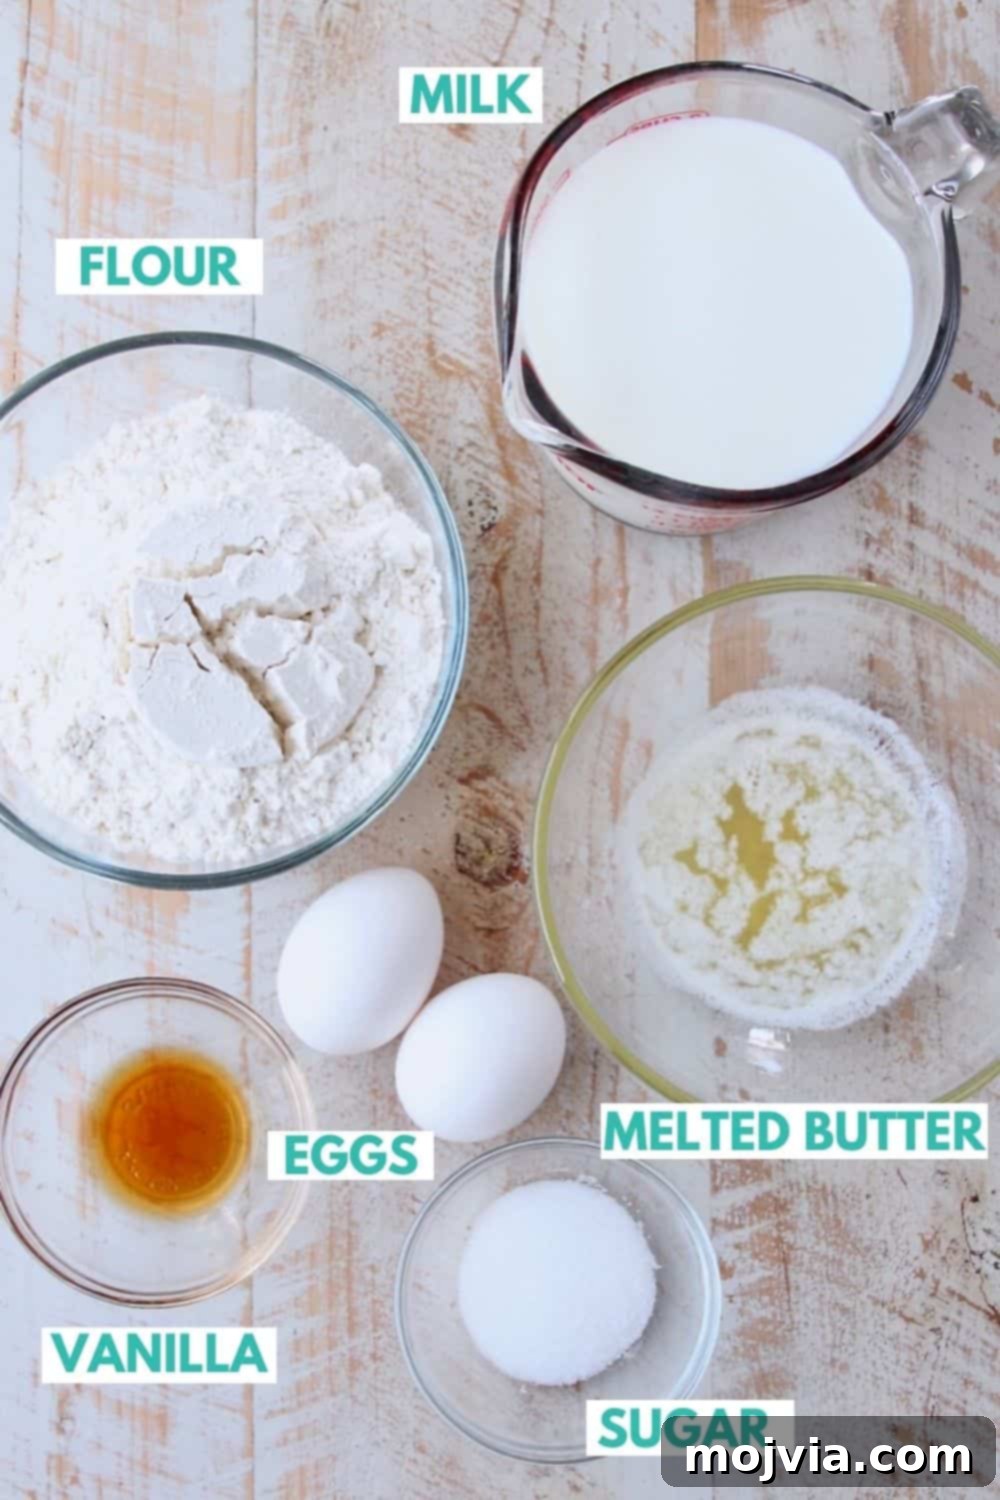
Crafting the perfect crepe batter requires only a handful of common pantry staples. The beauty of this recipe lies in the quality and balance of these simple components, each playing a crucial role in achieving that signature thin, tender, and slightly chewy texture. Here’s what you’ll need, along with a brief explanation of why each ingredient is important:
- All-Purpose Flour: This forms the structure of your crepes. Using all-purpose flour ensures a light yet sturdy consistency that holds together well when cooked and flipped.
- Granulated Sugar: A touch of sugar enhances the flavor, contributing to the delicate sweetness that complements both sweet and savory fillings. It also aids in browning, giving your crepes a beautiful golden hue.
- 2% Milk: Milk is vital for achieving the correct batter consistency. The fat content in 2% milk adds richness and helps create a tender crepe, while its liquid nature ensures a thin, spreadable batter. You can experiment with whole milk for a richer flavor or a non-dairy alternative if preferred.
- Large Eggs: Eggs act as a binder, providing structure and elasticity to the batter. They contribute to the crepe’s delicate texture and ensure it doesn’t tear easily during cooking.
- Vanilla Extract: A splash of vanilla extract infuses the crepes with a warm, inviting aroma and a subtle depth of flavor, making them irresistible, especially for sweet applications.
- Unsalted Butter (Melted): Butter adds richness and a beautiful, silky mouthfeel. Melting it first allows for even distribution throughout the batter, preventing clumps and ensuring a smooth, luxurious texture.
- Nonstick Cooking Spray: Essential for preventing sticking and ensuring easy flipping. A quick spray between each crepe guarantees a smooth release from the pan.
Beyond the ingredients, having the right tools can make the process even smoother. While a dedicated crepe pan with its low sides is ideal for easy flipping, a good quality 10-inch nonstick skillet will also yield excellent results. A sturdy, thin spatula is your best friend for loosening and turning those delicate crepes. And to achieve that perfectly smooth, lump-free batter, a blender like a NutriBullet or any standard kitchen blender is indispensable.
Step-by-Step Guide to Crepe Perfection
Making crepes at home is a rewarding experience that, with the right technique, can be surprisingly straightforward. Follow these steps meticulously to achieve consistently perfect, golden-brown crepes.
- Prepare the Batter: The Foundation of Flawless Crepes.
- Begin by combining all your wet and dry ingredients: all-purpose flour, granulated sugar, 2% milk, large eggs, vanilla extract, and melted unsalted butter.
- Pour all these ingredients into your blender.
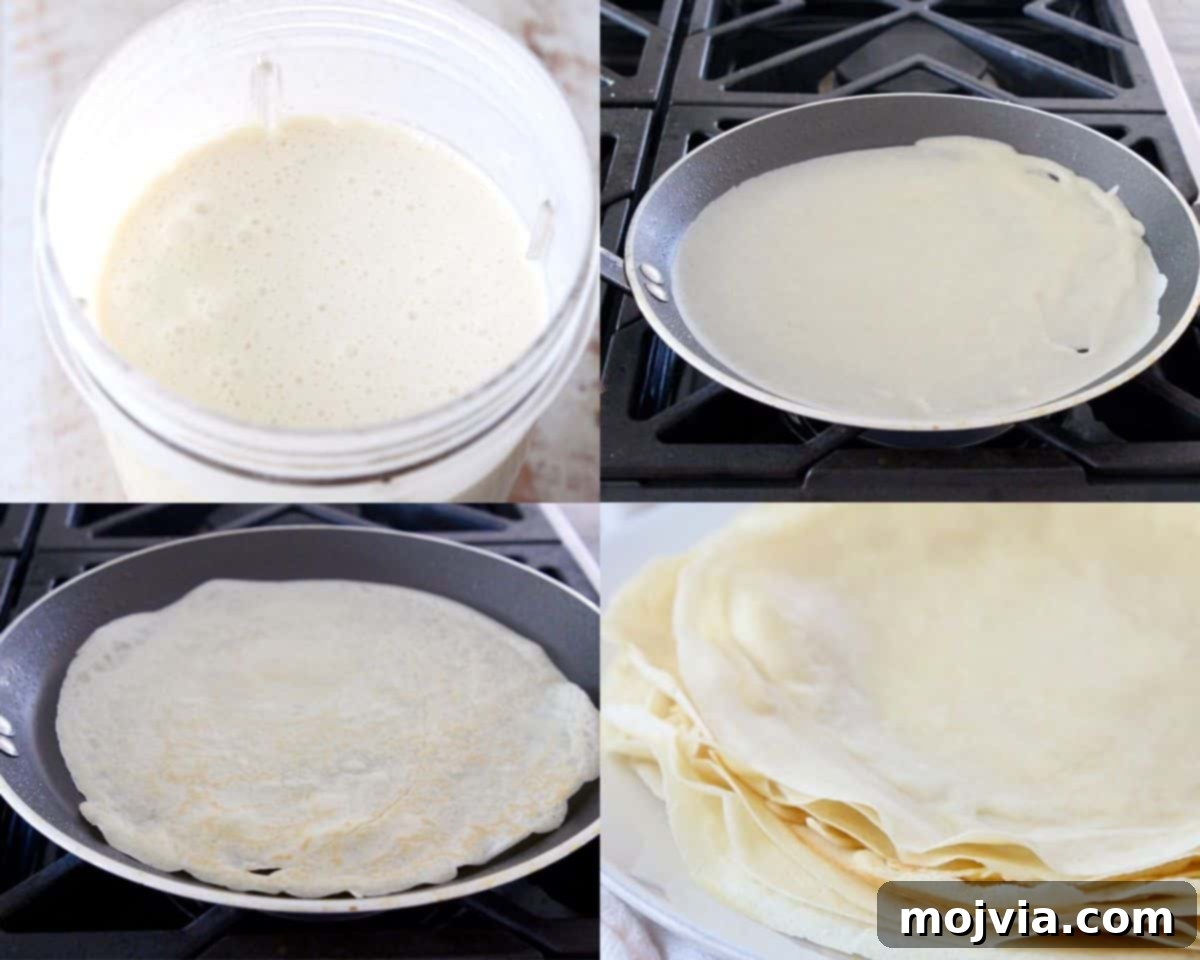
- Pulse the mixture for about 10 seconds, or until the batter is completely smooth and free of any lumps. Blending is key to achieving a silky consistency that cooks evenly and prevents tearing.
- Once blended, transfer the batter to a bowl or pitcher, cover it, and place it in the refrigerator. Allow the batter to rest for at least one hour. This crucial resting period allows the flour to fully hydrate and the gluten to relax, which results in more pliable crepes that are less likely to tear during cooking.
- Cook the Crepes: The Art of the Thin Pancake.
- After the batter has rested, heat a 10-inch nonstick skillet or a dedicated crepe pan over medium-high heat on your stove. It’s important to ensure the pan is adequately hot, but not smoking. A good test is to flick a drop of water onto the pan; if it sizzles and evaporates immediately, it’s ready.
- Lightly spray the hot pan with nonstick cooking spray. This step is vital for ensuring your crepe doesn’t stick.
- Once the pan is hot, pour 1/4 cup of the rested batter directly into the center of the skillet.
- Immediately lift the skillet by its handle and gently tilt and swirl it in a circular motion. This action spreads the batter thinly and evenly across the entire bottom of the pan. Aim for a delicate, consistent layer.
- Cook the first side for 1-2 minutes. You’ll know it’s ready to flip when the edges start to crisp and pull away slightly from the pan, and the surface appears set and dry.
- Carefully slide a thin spatula under the edges of the crepe to loosen it, then swiftly flip the crepe over.
- Cook the second side for an additional 30-60 seconds, or until it achieves a light golden-brown color.
- Remove the cooked crepe from the skillet and place it on a plate.
- Repeat and Enjoy: Building Your Stack of Delicacy.
- Continue this process, ensuring you spray the pan lightly with cooking spray between each crepe, until all the batter is used. This recipe typically yields about 16 beautiful, thin crepes.
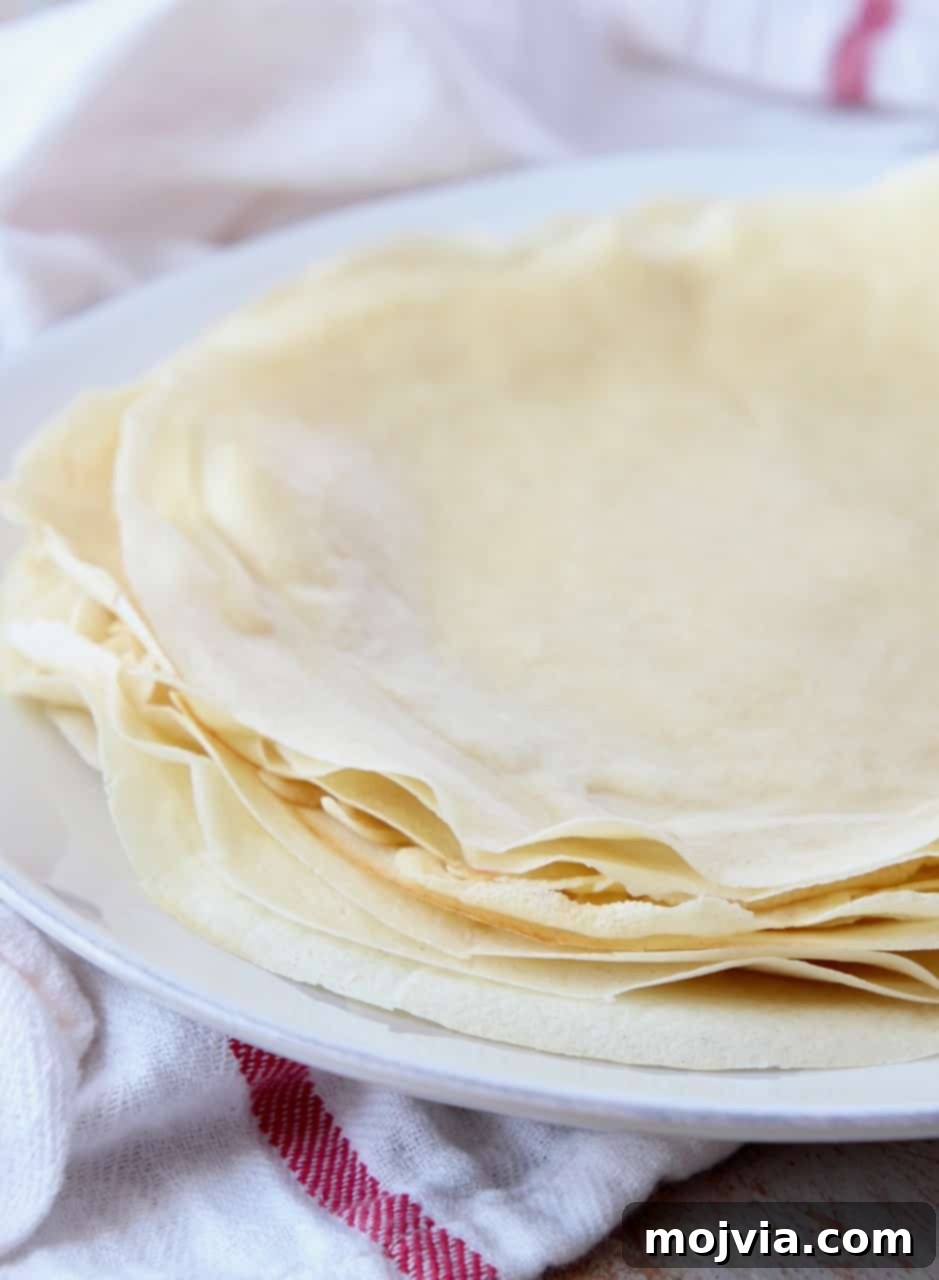
- As you cook each crepe, stack them on a plate and cover them with a clean kitchen towel. This keeps the crepes warm and pliable while you finish cooking the rest, preventing them from drying out.
With these detailed steps, you’re well on your way to enjoying homemade crepes that rival those found in the finest French bistros!
Expert Tips and Tricks for Flawless Crepes
Achieving consistently perfect French crepes is less about magic and more about mastering a few key techniques. These expert tips and tricks, honed through countless batches, will elevate your crepe-making skills from good to extraordinary, ensuring delicate, flavorful results every time.
- Always Blend the Crepe Batter for Silky Smoothness: This is arguably the most crucial step for achieving that signature thin, delicate crepe. Blending ensures all ingredients are thoroughly combined and, more importantly, eliminates any lumps of flour. A smooth batter is essential for spreading thinly and evenly in the pan, preventing thick, uneven spots that cook inconsistently or tear.
- The Essential Batter Refrigeration for Pliable Crepes: Don’t skip this step! I learned this invaluable tip from culinary expert Alton Brown, and it truly makes a difference. Refrigerating the batter for at least an hour (or even overnight) allows the flour to fully hydrate and the gluten strands to relax. This relaxation is key; it prevents the crepes from being tough and significantly reduces their likelihood of tearing during the cooking and flipping process. It also gives any air bubbles introduced during blending time to subside, resulting in a finer, more consistent texture.
- Consistent Pan Preparation: Spray Between Each Crepe: To guarantee that each crepe releases easily from the pan and flips without resistance, it’s vital to lightly spray your pan with nonstick cooking spray before pouring in each new batch of batter. Even with a high-quality nonstick pan, a quick spray acts as an insurance policy, ensuring smooth operation and preventing frustrating sticking.
- Measure Precisely: Use a 1/4 Cup for Uniform Thinness: I’ve found that a 1/4 cup measuring cup holds the ideal amount of batter for a single thin crepe in a 10-inch pan. Using a consistent measurement ensures that each crepe is uniformly thin and cooks evenly. This precision helps you achieve that delicate, airy texture that is the hallmark of a perfect French crepe.
- Keep Cooked Crepes Warm and Pliable: Making crepes one by one can be time-consuming. To prevent your already cooked crepes from cooling down and becoming stiff while you finish the batch, stack them on a plate as they come off the pan. Immediately cover the stack with a clean kitchen towel. The residual heat from the crepes will create a warm, steamy environment under the towel, keeping them soft, warm, and ready for filling.
- The First Crepe is Always a Test: Don’t be discouraged if your very first crepe isn’t perfect. Consider it a “test crepe.” It helps you gauge if your pan is at the correct temperature and if your batter consistency is just right. Often, the pan needs a moment to fully adjust to the heat, or you might need a slight tweak in your swirling technique. The first one is for learning; the rest will be for enjoying!
By incorporating these simple yet effective tips into your crepe-making routine, you’ll soon be churning out beautifully delicate and delicious crepes like a seasoned pro.
Frequently Asked Questions About Crepes
Even with the most straightforward recipes, a few common questions often arise. Here are answers to frequently asked questions about making, storing, and enjoying your homemade French crepes.
- How long will crepe batter stay good in the refrigerator?
One of the fantastic advantages of this crepe recipe is its make-ahead potential. The prepared batter can be stored safely in an airtight container in the refrigerator for up to 3 days. This means you can whip up the batter on a Friday and enjoy fresh crepes all weekend long! For smaller households, like ours, you can easily use half the batter on the day you make it and save the remainder for another delicious batch within those 3 days, yielding 8 fresh crepes later.
- Can leftover crepes be frozen? How do I do it?
Absolutely! Crepes freeze beautifully, making them an excellent candidate for meal prep. To freeze leftover crepes, first, allow them to cool completely. Then, stack them with a sheet of parchment paper placed between each individual crepe. This prevents them from sticking together and makes it easy to grab just one or two when you need them. Transfer the entire stack into a freezer-safe bag or an airtight container. Frozen crepes will maintain their quality for up to 2 months. To defrost, simply place the bag or container in the refrigerator for about 24 hours before you plan to use them.
- How can I reheat crepes for optimal enjoyment?
Reheating crepes is straightforward and helps them regain their delicate texture. I recommend placing individual crepes in a dry skillet (no oil needed!) over medium heat on your stove. Heat each side for approximately 60 seconds. This method gently warms them through without making them rubbery or overly crispy, preserving their tender quality.
- Should I omit the sugar and vanilla in the batter if I’m making savory crepes?
The beauty of this base crepe recipe is its inherent versatility. The amount of granulated sugar and vanilla extract in this batter is intentionally minimal, designed to complement both sweet and savory fillings without overwhelming either. Therefore, you do not strictly need to remove them when planning to make savory crepes. I frequently use this exact batter for both types of fillings and have never found them to be too sweet for savory combinations. However, if you prefer a completely neutral base, you are welcome to slightly reduce or even omit the sugar and vanilla, though I find it unnecessary for a delightful experience.
- What if my crepes are tearing?
Tearing is usually a sign that the batter might be too thin, the pan isn’t properly greased, or the crepe isn’t cooked enough before flipping. Ensure your batter has rested (this strengthens the gluten). Also, make sure you’re spraying the pan between each crepe. If they’re still tearing, try cooking the first side for an extra 15-30 seconds to allow it to firm up more before attempting to flip.
- My crepes are too thick, what should I do?
Thick crepes often mean you’re using too much batter or not swirling the pan quickly enough. Double-check your 1/4 cup measurement. When you pour the batter, immediately lift and aggressively swirl the pan in a circular motion to spread the batter as thinly as possible. If the batter itself seems too thick even after resting, you can add a tablespoon or two of milk to thin it slightly, blending briefly until combined.
With these answers, you’re now equipped to handle common crepe conundrums and enjoy your homemade creations with confidence!
Crepe Filling Ideas: Sweet and Savory Delights
The true magic of French crepes lies in their incredible versatility, serving as the perfect canvas for an endless array of fillings. While I initially loved them simply with cinnamon and sugar, my adventures in France opened my eyes to the vast possibilities of both sweet and savory combinations. From a decadent dessert to a hearty breakfast, a light brunch, or a satisfying lunch, crepes can adapt to any meal or craving. Here are 15 inspiring filling ideas to spark your culinary imagination, ranging from classic combinations to gourmet pairings:
Sweet Crepe Filling Ideas:
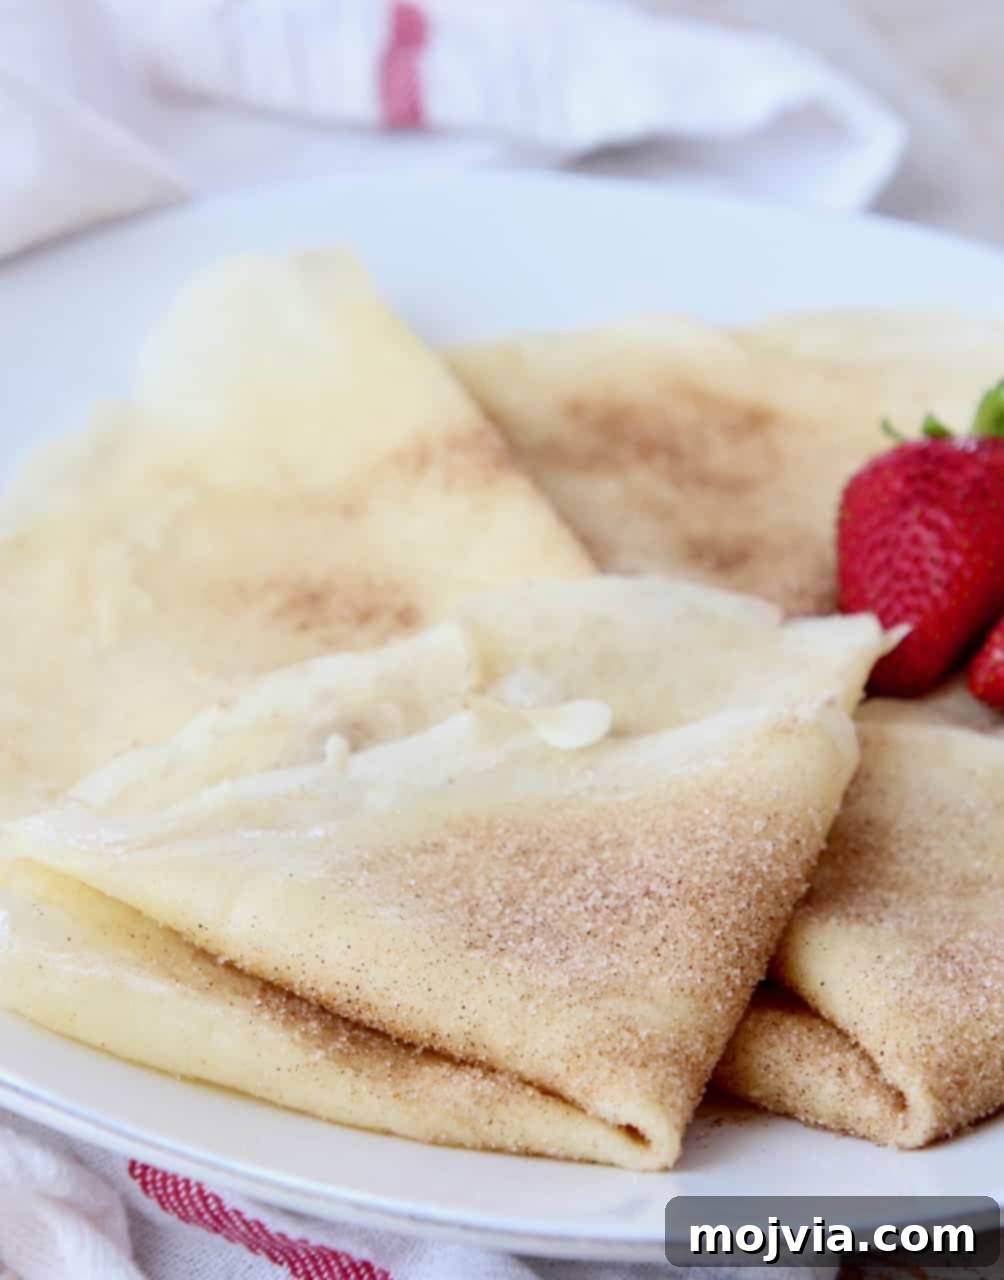
- Classic Cinnamon Sugar: A timeless favorite. Combine 1 tablespoon of granulated sugar with 1 teaspoon of ground cinnamon in a small bowl. After each crepe comes off the pan, spread a thin layer of softened butter over it, then generously sprinkle with the cinnamon sugar mixture. Fold into quarters or roll up for a simple, comforting treat.
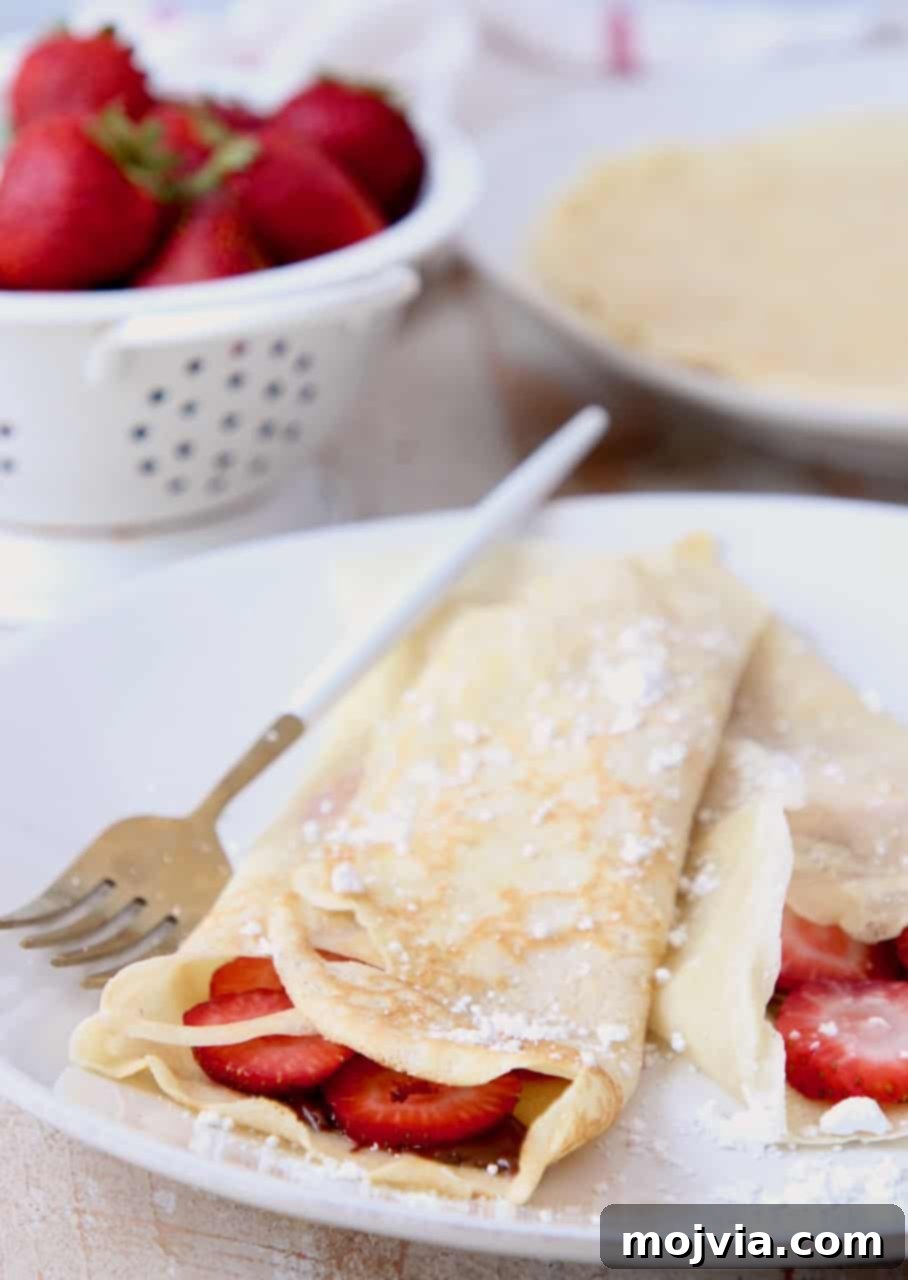
- Nutella Strawberry: My absolute personal favorite! Spread 2-3 tablespoons of creamy Nutella evenly across the middle of the crepe, then top with 1-2 sliced fresh strawberries. For an extra touch of elegance and sweetness, a light dusting of powdered sugar makes this a dessert masterpiece.
- Berries & Cream Dream: Spoon 2-3 tablespoons of rich whipped cream into the center, then pile high with your favorite fresh berries – think vibrant strawberries, plump blueberries, or tangy raspberries. For an even more decadent experience, substitute fresh berries with luscious blueberry pie filling or sweet strawberry pie filling.
- Peanut Butter Banana: A hearty and satisfying option. Spread 2-3 tablespoons of creamy or crunchy peanut butter in the middle, then arrange fresh banana slices from half a banana on top. A drizzle of honey is optional for added sweetness.
- Chocolate Strawberry: A luxurious pairing. Add 2-3 sliced fresh strawberries to the center, then drizzle generously with 1 tablespoon of rich chocolate syrup. Elevate it further with an optional dusting of powdered sugar or a dollop of whipped cream.
- Brie & Jam Elegance: A sophisticated sweet and savory blend. Spread 2 ounces of softened brie cheese across the crepe, then top with 1-2 tablespoons of your favorite jam – strawberry, fig, or blackberry work wonderfully. The creamy cheese and sweet jam create an exquisite balance.
- Lemon Ricotta Sunshine: A light and zesty option. Spread 2-3 tablespoons of creamy ricotta cheese in the middle, then top with 1 tablespoon of bright lemon curd. A dusting of powdered sugar adds a delicate finish.
- Caramel Apple Delight: A comforting, autumnal classic. Place half a sliced apple (thinly sliced and lightly sautéed if you prefer it softer) in the middle, then drizzle generously with warm caramel sauce. A sprinkle of cinnamon is a lovely addition.
- Peaches & Cream Bliss: A taste of summer. Place 1 peeled and sliced fresh peach in the middle, then top with 1 tablespoon of crème fraîche or whipped cream. A hint of almond extract in the cream can add a delightful twist.
Savory Crepe Filling Ideas:
- Ham & Swiss Classic: A savory brunch staple. While the crepe is still in the pan, lay 2-3 slices of deli ham in the middle, then top with 2 thin slices of Swiss cheese. Allow the cheese to melt slightly over the ham before carefully removing the crepe from the pan.
- Goat Cheese Honey Apple Walnuts: A sophisticated and flavorful combination. Spread 2-3 tablespoons of tangy goat cheese in the middle. Top with 4-5 thin slices of crisp apple, 1 tablespoon of chopped walnuts for crunch, and a drizzle of golden honey to balance the flavors.
- Caprese Crepe (Tomato Mozzarella): Fresh and vibrant. With the crepe still in the pan, place 3 slices of ripe tomato in the middle, then top with 3 thin slices of fresh mozzarella cheese. Allow the mozzarella to melt slightly over the tomatoes. For a true Caprese experience, add fresh basil leaves before folding.
- Goat Cheese Spinach Sun-Dried Tomato: A Mediterranean-inspired delight. Spread 2-3 tablespoons of creamy goat cheese in the middle of the crepe. Top with 4-5 tender baby spinach leaves and 1 tablespoon of chopped sun-dried tomatoes for a burst of concentrated flavor.
- Smoked Salmon & Cream Cheese: An elegant and satisfying choice. Spread 2-3 tablespoons of rich cream cheese in the middle, then layer with 3-4 slices of delicate smoked salmon. Optional additions include 3-4 baby spinach leaves or a teaspoon of briny capers for an extra layer of flavor.
- Monte Cristo Crepe: A decadent and hearty option. While the crepe is still in the pan, place 2-3 slices of ham in the middle, then top with 2 thin slices of Gruyere cheese. Once the cheese has melted slightly, remove it from the pan. Top with 1 tablespoon of sweet raspberry preserves and a light dusting of powdered sugar for the classic Monte Cristo touch.
Feel free to mix and match these ideas, or invent your own unique fillings. The possibilities are truly endless when it comes to transforming a simple crepe into a culinary masterpiece for any time of day.
The Ultimate Crepe Recipe Card

Print Recipe | Pin Recipe
Classic French Crepes
It’s easy to make perfect French Crepes every time with a few simple tips & tricks! This recipe yields delicate, versatile crepes perfect for any filling.
Servings: 16 crepes
Prep Time: 5 mins
Refrigerating Time: 1 hr
Total Time: 40 mins (includes resting, active cooking time for 16 crepes is about 30 mins)
Author: Whitney Bond
Course: Breakfast, Brunch, Dessert
Cuisine: French
Ingredients
- 1 ½ cups all-purpose flour
- 1 tablespoon granulated sugar
- 2 cups 2% milk
- 2 large eggs
- 1 teaspoon vanilla extract
- 2 tablespoons unsalted butter, melted
- Nonstick cooking spray
Instructions
- Add the flour, sugar, milk, eggs, vanilla extract, and melted butter to a blender.
- Pulse for 10 seconds, or until all of the ingredients are combined and no lumps remain, creating a perfectly smooth batter.
- Place the crepe batter in the refrigerator for one hour to allow it to rest and the gluten to relax.
- Heat a 10-inch nonstick skillet or a dedicated crepe pan over medium-high heat. Ensure the pan is hot enough but not smoking.
- Lightly spray the skillet with nonstick cooking spray before cooking each crepe.
- When the skillet is hot, pour ¼ cup of batter into the middle of the skillet.
- Immediately lift the skillet by the handle and turn it in a circular motion to thinly spread the batter evenly across the entire surface of the skillet.
- After 1-2 minutes, when the edges begin to crisp and the surface looks set, place a thin spatula under the edges of the crepe to loosen it up, then swiftly flip.
- Cook for an additional 30-60 seconds on the second side, until lightly golden.
- Remove the cooked crepe from the skillet and stack it on a plate.
- Repeat steps 5-10 above, spraying the pan between each crepe, until all of the batter is gone.
Notes
- Spray the pan! Always spray the pan lightly with cooking spray after making each crepe to ensure easy release.
- Keep them warm! As you cook crepes one by one, stack the finished ones on a plate and cover them with a clean towel to keep them warm and pliable.
- Refrigerating the batter: The batter is best when rested for at least an hour, and it will stay good in the refrigerator for up to 3 days. Feel free to prepare it ahead of time.
- Freezing leftovers: Cooled, cooked crepes can be frozen for up to 2 months. Place parchment paper between each crepe before stacking and transferring to a freezer-safe bag. Defrost in the refrigerator for 24 hours.
- Reheating crepes: To reheat, place individual crepes in a dry skillet over medium heat for about 60 seconds per side until warmed through.
Nutrition Facts
Calories: 81 kcal (4%)
Carbohydrates: 11g (4%)
Protein: 3g (6%)
Fat: 3g (5%)
Saturated Fat: 1g (5%)
Cholesterol: 27mg (9%)
Sodium: 22mg (1%)
Potassium: 61mg (2%)
Fiber: 1g (4%)
Sugar: 2g (2%)
Vitamin A: 104mg (2%)
Vitamin C: 1mg (1%)
Calcium: 40mg (4%)
Iron: 1mg (6%)
Did you make this recipe? Tag @WhitneyBond on Instagram and hashtag it #WBRecipes!
More Delightful Breakfast Recipes
While French crepes are incredibly versatile and can be enjoyed for breakfast, lunch, or even dessert, they hold a special place as a beloved breakfast staple in many homes, including ours. If you’re constantly seeking fresh and delicious ways to start your day, or to impress guests at your next brunch gathering, explore these other tested and perfected breakfast recipes. They promise to add variety and flavor to your morning routine, just like our exquisite crepes.