
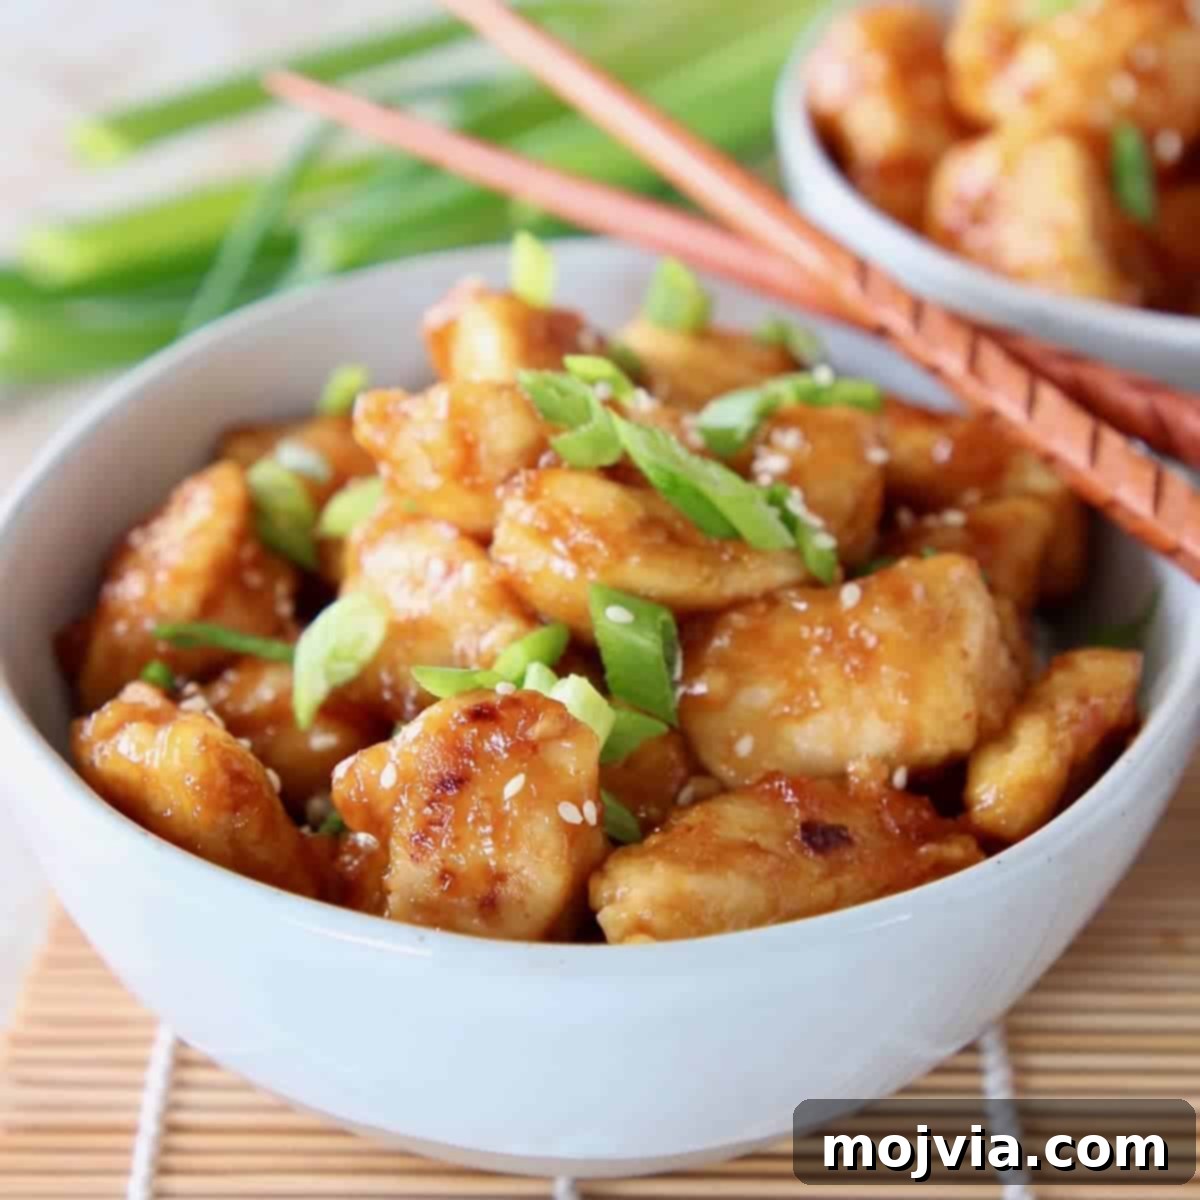
Unlock the secret to the ultimate homemade Orange Chicken – a gluten-free masterpiece that rivals your favorite Chinese takeout! This incredibly easy recipe comes together in under 30 minutes, offering a healthy and undeniably delicious alternative with a vibrant, unforgettable orange sauce. Prepare to elevate your weeknight meals with this culinary delight.
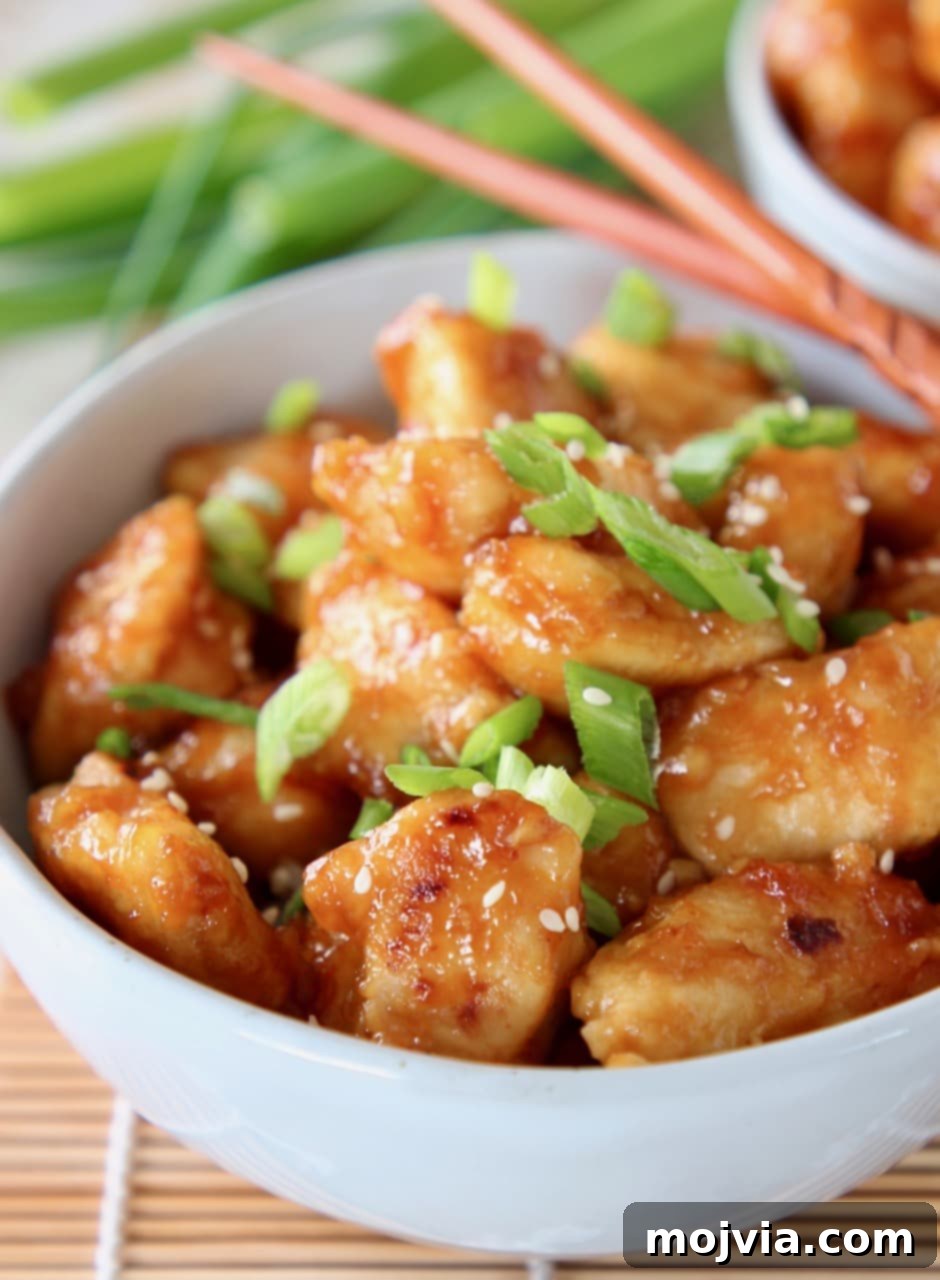
Table of Contents
- The Quest for Gluten-Free Chinese
- Why This Orange Chicken Recipe Stands Out
- Key Ingredients for Perfect Orange Chicken
- Step-by-Step Cooking Guide
- Expert Tips and Tricks for Success
- Storing and Reheating Your Leftovers
- What to Serve With Your Orange Chicken
- More Irresistible Gluten-Free Chinese Recipes
- Orange Chicken Recipe Card
The Quest for Gluten-Free Chinese Takeout at Home
For many years, enjoying classic Chinese dishes felt like a distant dream for those of us navigating a gluten-free lifestyle. My personal journey into crafting gluten-free versions of beloved Chinese staples began with perfecting a mouthwatering Gluten-Free General Tso’s Chicken. While both General Tso’s and Orange Chicken share a similar preparation method, their flavor profiles are distinct. Orange Chicken boasts a delightful sweetness with bright citrus notes and no spice, making it a crowd-pleaser for all ages. In contrast, General Tso’s chicken offers a richer, more savory sauce with a prominent spicy kick. For those who enjoy a milder, honey-infused flavor, my Chinese Honey Chicken provides yet another delicious, gluten-free option, featuring honey as its signature ingredient.
The good news is, you no longer have to forgo your favorite Chinese restaurant flavors. This blog is a treasure trove of authentic-tasting, gluten-free Chinese chicken recipes, ensuring that everyone can enjoy the rich culinary traditions right from their own kitchen, without compromising on taste or dietary needs. This recipe for Orange Chicken is not just gluten-free; it’s designed to be healthier, easier, and ultimately, more satisfying than anything you’d order from a restaurant.
Why This Orange Chicken Recipe Stands Out
What makes this Orange Chicken recipe truly exceptional? It’s a harmonious blend of health-conscious choices and flavor-maximizing techniques. Unlike traditional versions that often involve heavy battering in wheat flour and deep-frying, our recipe takes a lighter, yet equally delicious, approach. We opt for cornstarch as a gluten-free alternative for coating the chicken, which creates a beautifully crisp exterior when stir-fried. The chicken is pan-fried on the stove, significantly reducing the amount of oil used compared to deep-frying, making it a healthier choice without sacrificing that coveted tender-on-the-inside, crispy-on-the-outside texture.
The heart of any great Orange Chicken lies in its sauce, and this recipe features what I confidently call the best homemade orange sauce ever! Crafted with gluten-free soy sauce (tamari), it delivers a perfectly balanced sweet and tangy flavor that coats every piece of chicken gloriously. This careful selection of ingredients and cooking methods results in a dish that is not only suitable for those with gluten sensitivities but also appeals to anyone seeking a fresher, more wholesome alternative to conventional takeout.
This particular recipe holds a special place in my heart, and especially my brother’s, who declares it his absolute favorite creation from the blog. It’s incredibly rewarding to know that a dish so flavorful and satisfying can be whipped up in a mere 29 minutes. Yes, you read that right – under half an hour! This makes it the perfect candidate for a quick, effortless, and unbelievably delicious dinner tonight, proving that healthy, homemade Chinese food is entirely achievable, even on your busiest days.
Key Ingredients for Perfect Orange Chicken
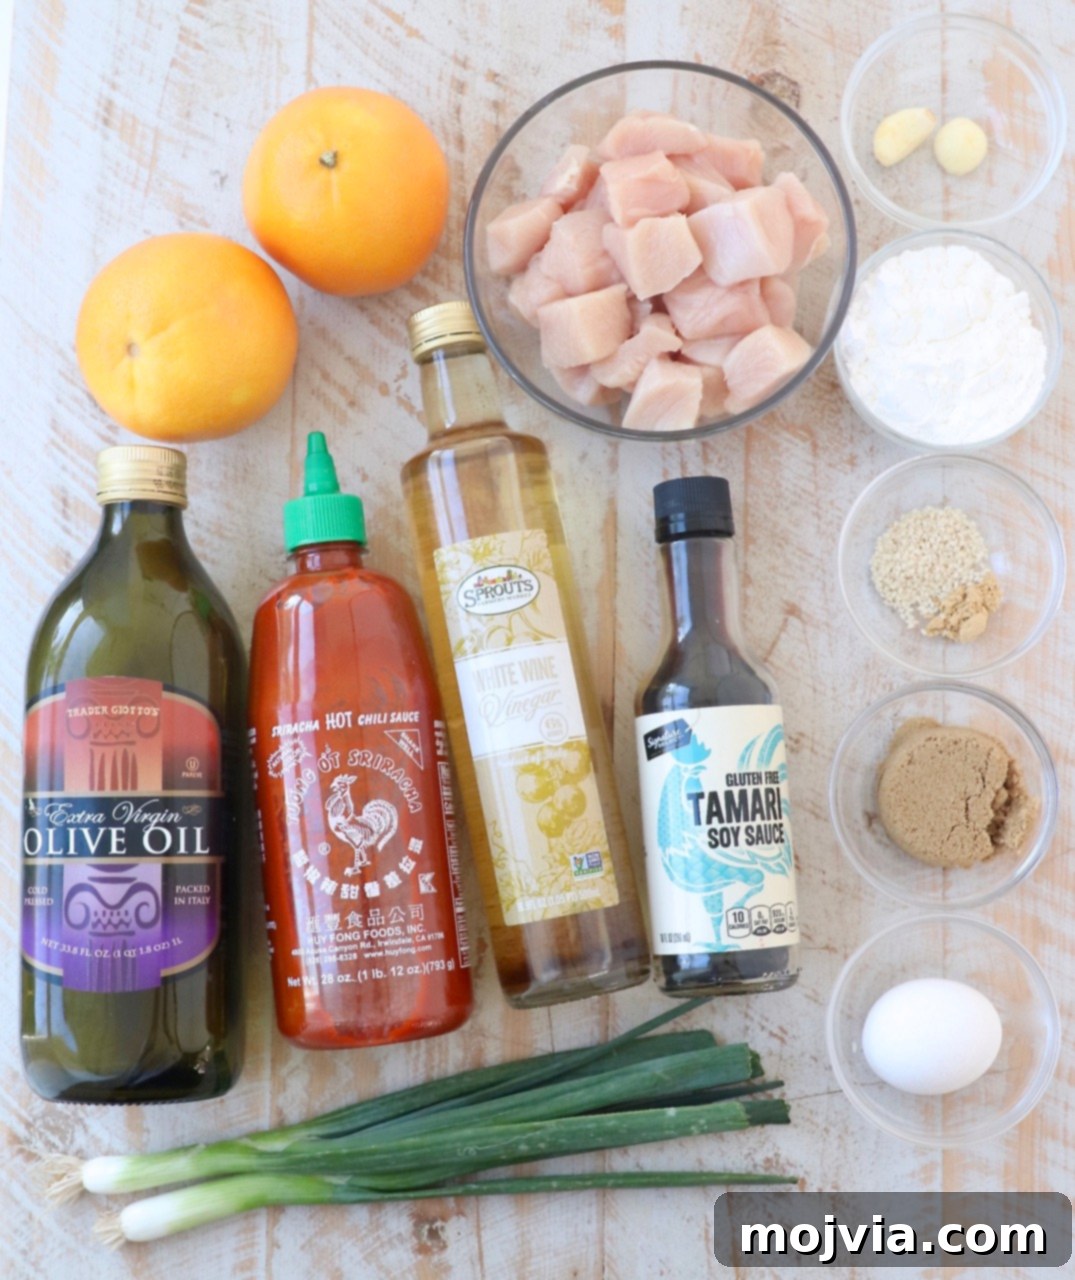
Crafting exceptional orange chicken begins with selecting the right ingredients. Each component plays a vital role in achieving that signature sweet, tangy, and savory profile. Here’s a closer look at what you’ll need:
- Fresh Orange: This is non-negotiable for the sauce! You’ll utilize both the zest and the freshly squeezed juice. The zest provides an intense, aromatic orange essence, while the juice delivers a bright, tangy sweetness. When selecting an orange, look for one with vibrant, unblemished skin since you’ll be zesting it. Organic is a great choice if available.
- White Wine Vinegar: Essential for adding a subtle acidity that brightens the sauce and balances its sweetness. If white wine vinegar isn’t readily available, rice vinegar is an excellent substitute, offering a similar mild tang.
- Gluten-Free Soy Sauce (Tamari): The cornerstone of our gluten-free sauce. Tamari is a Japanese soy sauce variety that is naturally gluten-free and offers a rich, less salty flavor than many traditional soy sauces. Ensure your bottle explicitly states “gluten-free” to maintain the dietary integrity of the dish. If gluten is not a concern, regular soy sauce can be used.
- Sriracha: This hot sauce is crucial for introducing a hint of heat that cuts through the sweetness, creating a more complex and well-rounded flavor. My household prefers a spicier kick, so we often double the recommended amount. Feel free to adjust to your personal preference for a perfect sweet and spicy balance.
- Fresh Garlic: Crushed fresh garlic cloves infuse the sauce with an indispensable pungent aroma and savory depth. While garlic powder can be used in a pinch, fresh garlic offers a superior, more vibrant flavor.
- Ginger: Ground ginger is convenient and works wonderfully in this sauce. However, if you have fresh ginger root on hand, grate it directly into the sauce for an even more potent and fresh ginger zing.
- Brown Sugar: This ingredient is key to achieving the sauce’s characteristic sweetness and contributes to the beautiful caramelization. It’s also incorporated into the chicken batter for an extra layer of flavor and a tender crust.
- Boneless, Skinless Chicken Breasts: Cut into bite-sized pieces, chicken breasts are ideal for their lean protein and quick cooking time. For those who prefer darker meat, boneless, skinless chicken thighs can be used, offering a slightly richer flavor and more moisture.
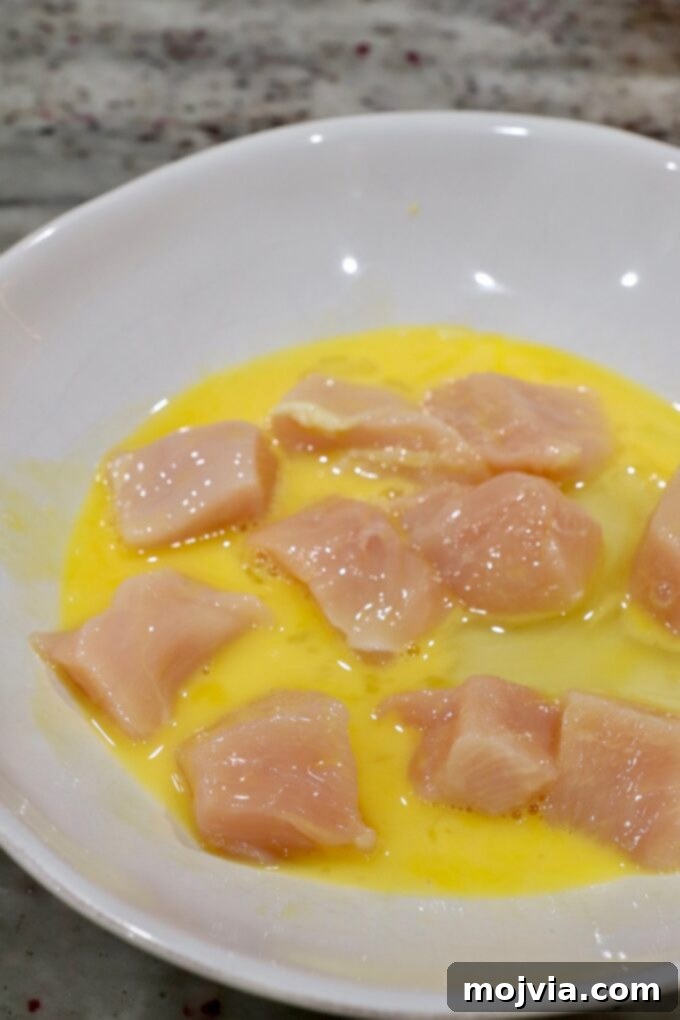
- Egg: Used as a binder, the whisked egg helps the cornstarch adhere to the chicken pieces, creating a protective coating that becomes crispy when cooked.
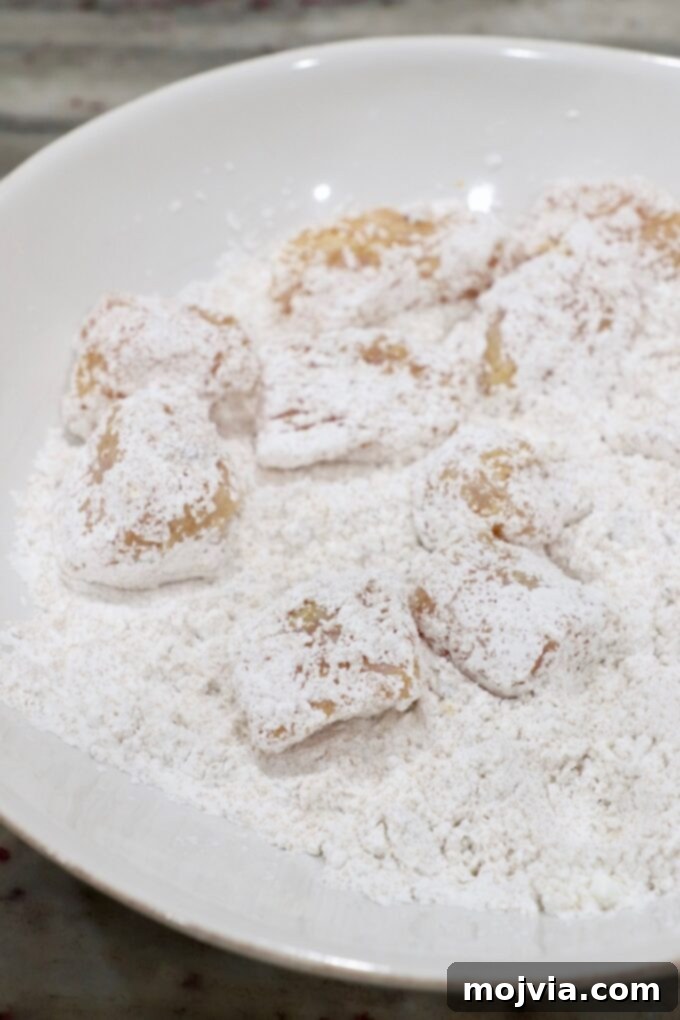
- Cornstarch: This is our gluten-free secret for achieving a crispy coating on the chicken without using traditional flour. It also acts as a thickening agent for the orange sauce, giving it that glossy, clings-to-the-chicken texture.
- Olive Oil: Essential for pan-frying the chicken to a golden crisp. Other high-heat cooking oils like avocado oil, canola oil, or vegetable oil can also be used effectively.
- Green Onions and Sesame Seeds: These are optional but highly recommended garnishes. Diced green onions add a fresh, pungent crunch and a pop of color, while sesame seeds contribute a delicate nutty flavor and appealing texture, elevating the visual and sensory experience of the dish.
Step-by-Step Cooking Guide for Gluten-Free Orange Chicken
Creating this delicious Gluten-Free Orange Chicken is straightforward, even for novice cooks. Follow these detailed steps to achieve perfect results every time. For precise measurements, please refer to the full recipe card at the end of this post.
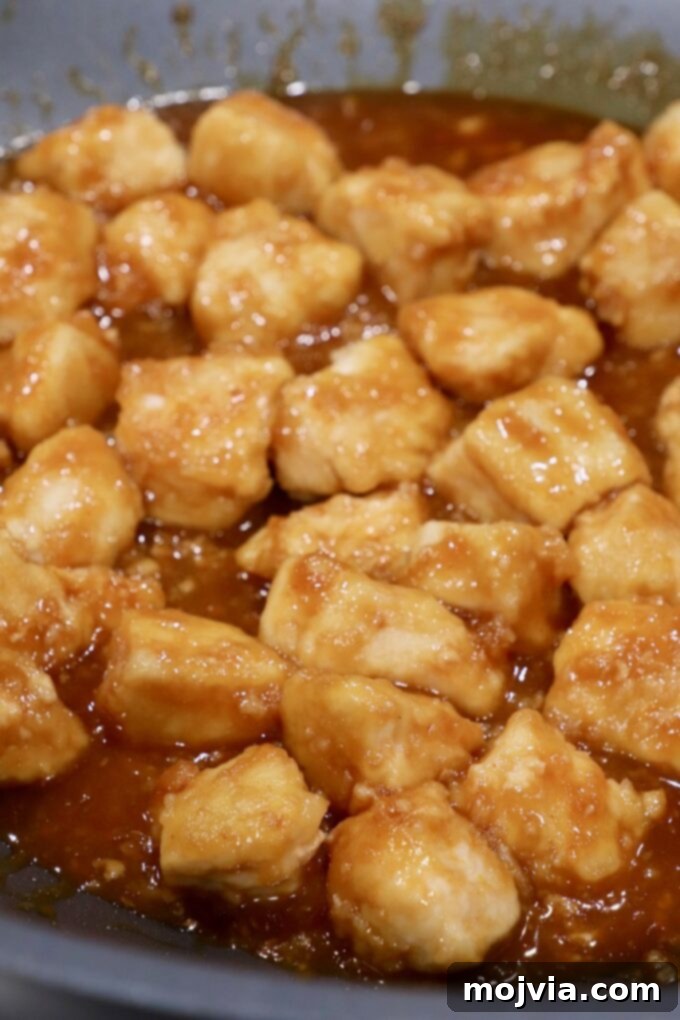
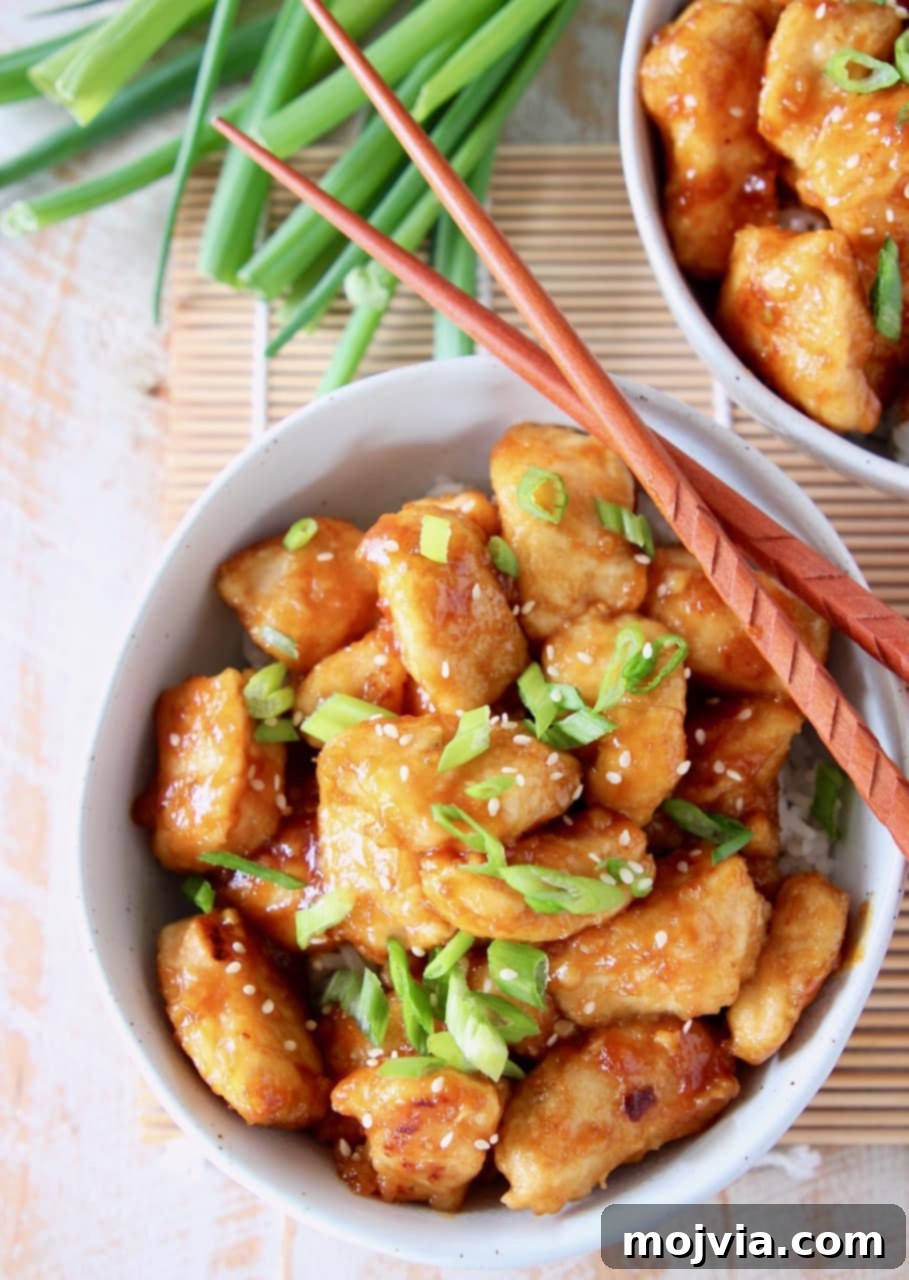
Expert Tips and Tricks for Success
Achieving restaurant-quality Orange Chicken at home is easier than you think with these helpful tips:
- Mastering the Battering Technique: My father taught me a valuable trick when preparing breaded foods like fried chicken: use one hand exclusively for the wet ingredients (the egg mixture) and the other hand for the dry ingredients (the cornstarch mixture). This prevents your hands from becoming caked with a sticky, clumpy batter, making the process much cleaner and more efficient. It ensures a smooth, even coating on every piece of chicken.
- Customizing the Spice Level: If you prefer a spicier Orange Chicken, there are several simple ways to kick up the heat. You can incorporate ½ teaspoon of red pepper flakes directly into the orange sauce during preparation. Alternatively, an additional teaspoon (or even tablespoon, if you’re bold!) of sriracha can be added to the sauce for a more pronounced chili flavor. For a final flourish, sprinkle red chili flakes or drizzle a little extra sriracha over the completed dish just before serving.
- Advance Sauce Preparation for Convenience: The orange sauce is incredibly versatile and can be made ahead of time, significantly streamlining your cooking process. Prepare a larger batch and store it in an airtight container in the refrigerator for up to 7 days. For longer storage, the sauce freezes beautifully for up to 6 months. To defrost, simply transfer it from the freezer to the refrigerator and allow it to thaw for at least 12 hours before use. This makes last-minute weeknight dinners a breeze!
- Exploring the Deep-Fried Option: While this recipe emphasizes stir-frying for a healthier profile, you can certainly deep-fry the chicken for a more traditional, rich texture. To deep-fry, pour about 3 inches of your preferred cooking oil (like vegetable or canola oil) into a large, heavy-bottomed skillet or Dutch oven. Heat the oil over medium-high heat until it reaches approximately 350-375°F (175-190°C). Carefully fry the battered chicken pieces in batches for 2-3 minutes, or until they turn a beautiful golden brown and are cooked through. Once all the chicken is fried, toss it immediately with the warm orange sauce and serve. This method delivers an extra crispy, indulgent result.
Storing and Reheating Your Leftovers
Proper storage and reheating are key to enjoying your delicious Orange Chicken for days to come, ensuring it remains flavorful and enjoyable.
- Storage: Any leftover orange chicken should be transferred to an airtight container and stored in the refrigerator. It will maintain its quality and flavor for up to 5 days, making it perfect for meal prepping or quick lunches.
- Reheating in the Oven (for Crispiness): To revive the chicken’s crispy texture, reheating it in the oven is the best method. Arrange the chicken pieces in an even layer on a baking sheet. Preheat your oven broiler to a low setting. Place the baking sheet under the broiler for just 2-3 minutes, keeping a close eye on it to prevent burning. This quick blast of heat will warm the chicken thoroughly while re-crisping the coating, without making it tough or dry.
- Reheating in the Microwave (for Quickness): For a super quick reheat, place the chicken in a microwave-safe dish and microwave on high for approximately 2 minutes, or until heated through. To add a delightful burst of fresh flavor, squeeze a little fresh orange juice over the chicken immediately after reheating. This helps to revitalize the sauce and provides a zesty lift.
What to Serve With Your Orange Chicken
Orange Chicken is a versatile main course that pairs wonderfully with a variety of side dishes, allowing you to create a complete and satisfying meal. Here are some popular and delicious serving suggestions:
- Classic White Rice: The most traditional accompaniment, fluffy white rice is perfect for soaking up every drop of that incredible orange sauce.
- Low-Carb Options: For a lighter, low-carb meal, consider serving your chicken with Cauliflower Rice, which absorbs flavors beautifully, or serve it in crisp lettuce wraps for a refreshing crunch.
- Steamed Vegetables: Enhance your meal with a healthy serving of steamed vegetables. Snap peas, cauliflower florets, or perfectly steamed broccoli are excellent choices that add color and nutrients.
- Asian-Style Side Dishes: Elevate your dining experience with these flavorful Asian-inspired side dishes:
- Grilled Vegetable Lo Mein: A fantastic option for a heartier meal, packed with fresh vegetables and savory noodles.
- Roasted Asian Vegetables: A simple yet incredibly flavorful side that complements the chicken perfectly.
- Stir Fry Vegetables: Quick to prepare and customizable with your favorite fresh veggies.
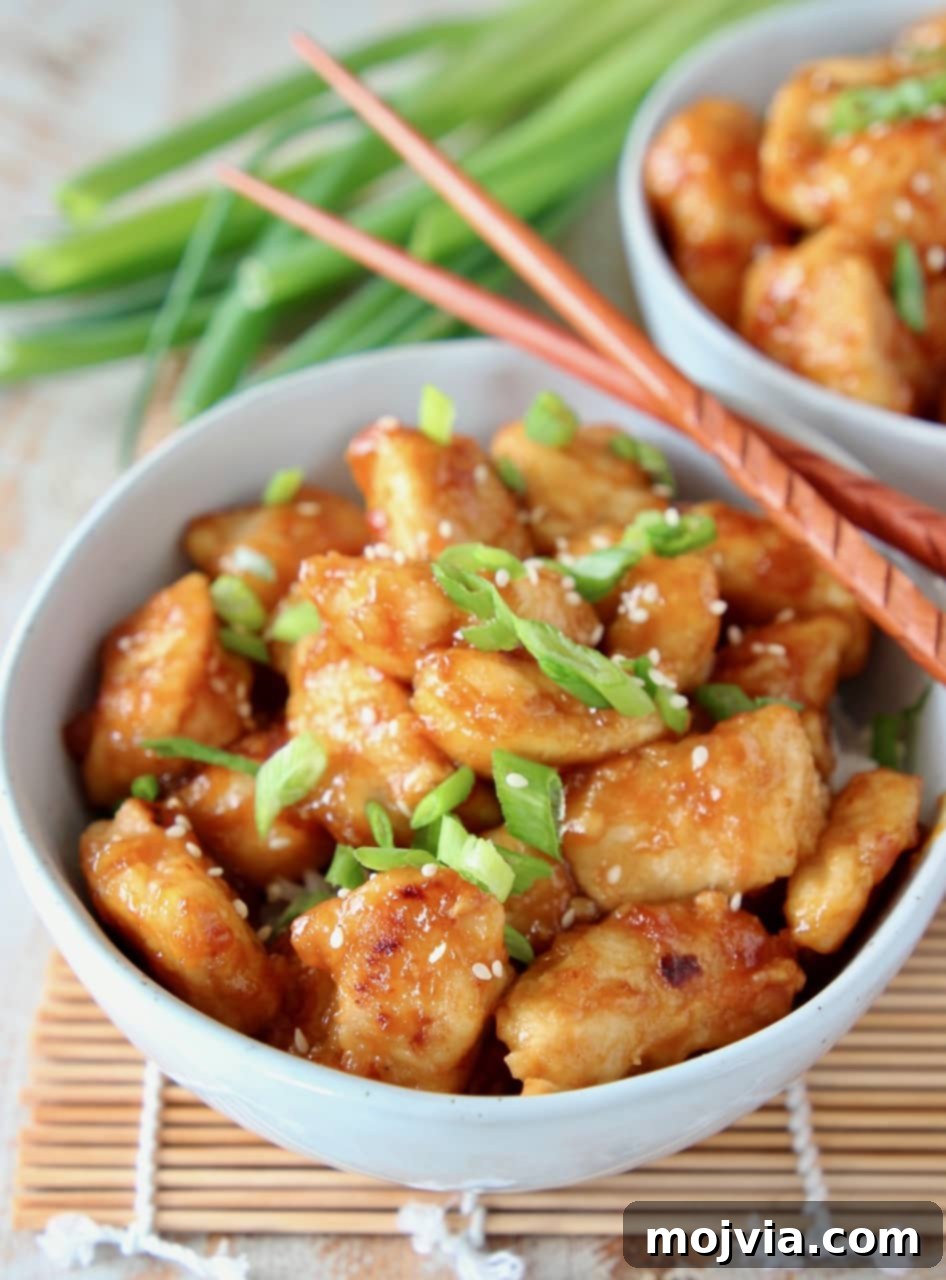
More Irresistible Gluten-Free Chinese Recipes
While many traditional Chinese dishes may contain gluten, there’s no need to miss out on these incredible flavors. With a few smart substitutions and mindful preparation, you can effortlessly create a range of delectable gluten-free Chinese meals right in your own kitchen. Explore these other fantastic recipes from the blog:
- Honey Walnut Shrimp: This popular Chinese dim sum favorite is surprisingly easy to make at home and comes together in just 25 minutes for a truly impressive dish.
- Sweet & Sour Chicken Fried Rice: Why choose when you can have both? This recipe brilliantly combines two beloved Chinese restaurant classics into one sensational, gluten-free meal.
- 20 Minute Kung Pao Chicken: Get ready for a spicy and savory adventure! This easy gluten-free version of Kung Pao Chicken is incredibly flavorful and quick enough for any weeknight.
- Chinese Lettuce Wraps: If you’ve ever enjoyed the famous lettuce wraps from P.F. Chang’s, you’ll adore this healthier, homemade version. It’s packed with flavor and just as satisfying!
- Sriracha Steak Fried Rice: A perfect solution for busy weeknights, this 15-minute, one-pan recipe is a quick, easy, and satisfying gluten-free meal that brings a delightful kick.
- Beef & Broccoli Stir Fry: Recreate this popular Panda Express menu item in your own kitchen. I promise, this homemade version is ten times better, fresher, and more delicious than takeout!
Don’t forget to pin this amazing Gluten-Free Orange Chicken recipe for later so you can easily find it whenever a craving strikes. When you try it, be sure to share your culinary creation on Instagram and tag me @WhitneyBond or use the hashtag #WBRecipes! Your delicious photos inspire me every day.
If you’ve made this recipe and absolutely loved it, please take a moment to rate it 5 stars below! Your feedback helps others discover and enjoy this wonderful dish. ↓
Print Recipe
Pin Recipe
Average Rating: 4.86 stars (14 ratings)
Rate this Recipe
Gluten-Free Orange Chicken
This gluten-free orange chicken is a quick and easy recipe featuring the most delicious sauce, making it a healthy and more flavorful alternative to Chinese restaurant takeout!
2 people
29 mins
29 mins
Whitney Bond
Main Course
Chinese
Ingredients
- ¼ cup fresh squeezed orange juice
- 2 tbsp white wine vinegar
- 2 tbsp gluten free soy sauce (tamari)
- 1 tsp sriracha
- 2 cloves garlic, crushed
- 1 tsp orange zest
- ¼ tsp ground ginger
- ¼ cup brown sugar
- 1 lb boneless, skinless chicken breasts, sliced into large chunks
- 1 egg, whisked
- ½ cup cornstarch
- 2 tbsp brown sugar (for cornstarch mixture)
- 3 tbsp olive oil
- 2 tbsp fresh green onions, chopped – for garnish
- 1 tsp sesame seeds, for garnish
Instructions
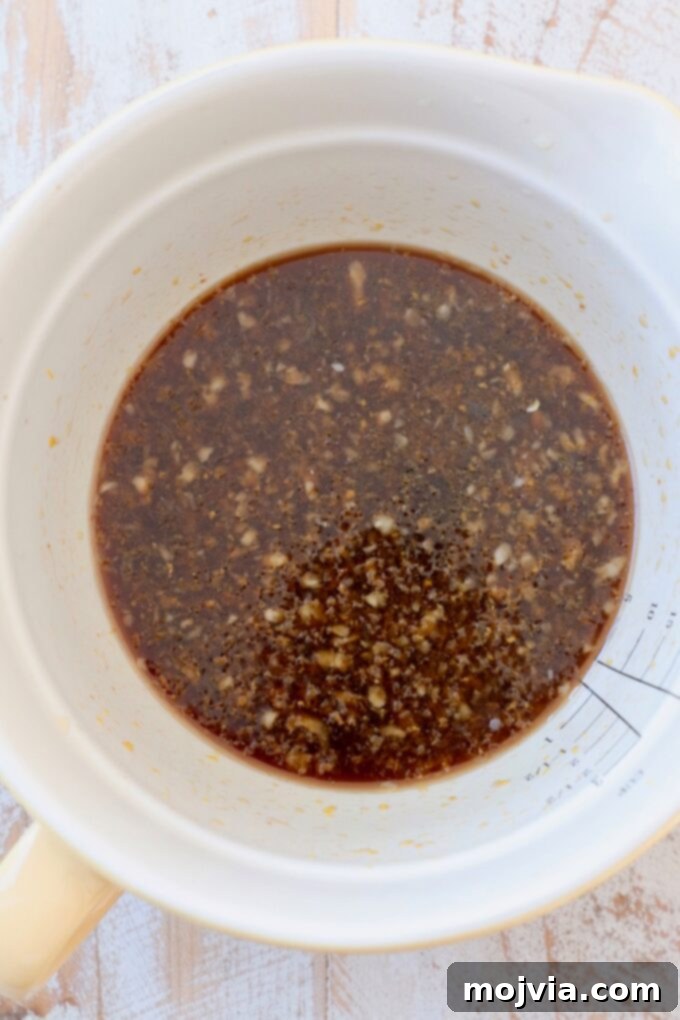
- Prepare the sauce: In a medium bowl, combine fresh orange juice, white wine vinegar, gluten-free soy sauce, sriracha, crushed garlic, orange zest, ground ginger, and ¼ cup brown sugar. Stir well until the sugar dissolves.
- Set the prepared sauce aside.
- Prepare the chicken coating: In one shallow dish, whisk the egg. In another shallow bowl, combine the cornstarch and 2 tbsp brown sugar.
- Batter the chicken: Dip each piece of chicken into the whisked egg, then transfer it to the cornstarch mixture and lightly coat, shaking off any excess. Set aside.
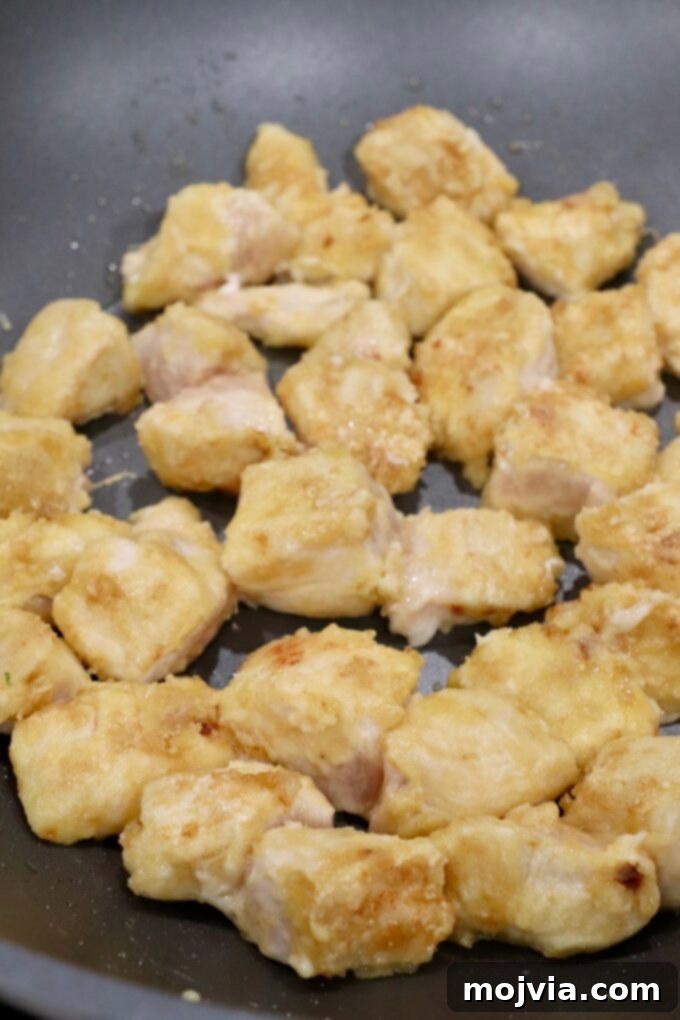
- Heat oil: Add the olive oil to a large skillet or wok over medium-high heat.
- Cook chicken: Once the oil is hot and shimmering, add the breaded chicken pieces (in batches if necessary to avoid overcrowding).
- Stir-fry the chicken for 5-7 minutes, or until it begins to lightly brown and is cooked through.
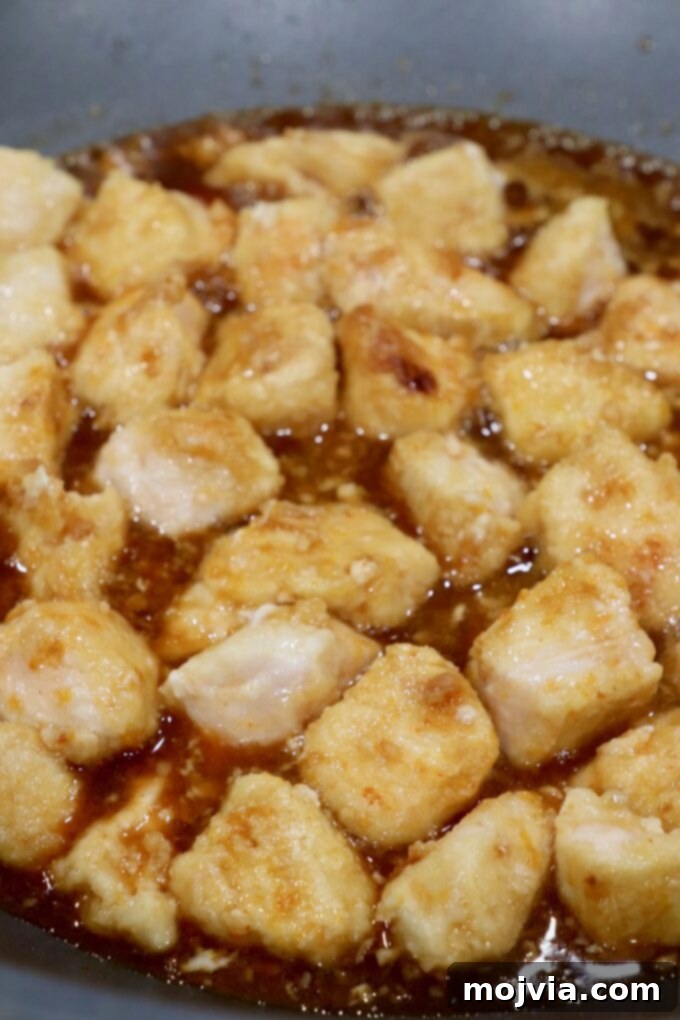
- Add sauce: Pour the prepared orange sauce over the cooked chicken in the skillet.
- Simmer: Reduce the heat to medium-low and cook for an additional 8-10 minutes, stirring occasionally, until the sauce has thickened and coats the chicken beautifully.
- Serve immediately with white rice, cauliflower rice, steamed vegetables, or in lettuce wraps.
- Garnish with chopped green onions and sesame seeds before serving, if desired.
Notes
- This orange chicken recipe is naturally sweet. To introduce some heat, add ½ teaspoon of red pepper flakes or an additional tablespoon of sriracha to the sauce during preparation. For extra spice, garnish the finished dish with red pepper flakes or a drizzle of sriracha.
- To reheat in the microwave: Place desired portion in a microwave-safe dish and microwave for 2 minutes, or until hot.
- To reheat in the oven for crispiness: Arrange chicken in an even layer on a baking sheet. Place under a low broiler in the oven for 2-3 minutes, watching carefully to prevent burning.
Nutrition Facts
Serving Size: 2 servings
- Calories: 789 kcal (39% Daily Value)
- Carbohydrates: 74g (25% Daily Value)
- Protein: 53g (106% Daily Value)
- Fat: 29g (45% Daily Value)
- Saturated Fat: 4g (20% Daily Value)
- Cholesterol: 226mg (75% Daily Value)
- Sodium: 1380mg (58% Daily Value)
- Potassium: 1006mg (29% Daily Value)
- Sugar: 41g (46% Daily Value)
- Vitamin A: 310mg (6% Daily Value)
- Vitamin C: 23.4mg (28% Daily Value)
- Calcium: 72mg (7% Daily Value)
- Iron: 2.3mg (13% Daily Value)
Did you make this recipe?
Tag @WhitneyBond on Instagram and hashtag it #WBRecipes!