
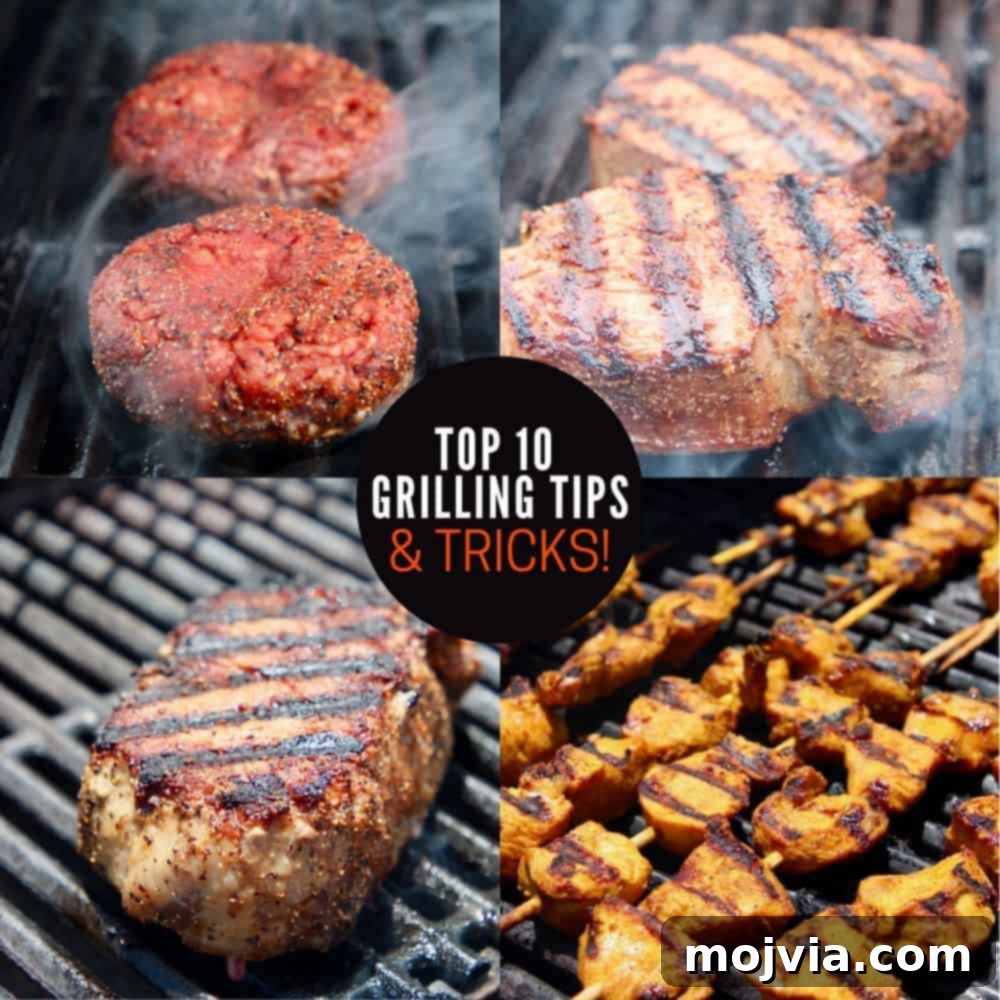
Welcome to the definitive guide for mastering your grill! Whether you’re a novice looking to impress or a seasoned outdoor chef aiming to refine your technique, these 10 essential grilling tips and tricks will transform your backyard cooking experience. Prepare to create unbelievably delicious meals – from perfectly seared steaks and juicy burgers to tender chicken and vibrant vegetables – making you the undisputed grill master of the season!
Table of contents
- Grilling 101 Video Guide
- Mastering the Grill: Top 10 Essential Tips
- 1. Preheat Your Grill Properly
- 2. Always Start with a Spotless Grill
- 3. Lubricate Your Grill Grates for Non-Stick Cooking
- 4. Resist the Urge to Peek and Flip Constantly
- 5. Employ an Instant-Read Thermometer for Perfect Doneness
- 6. Rest Your Meat for Maximum Juiciness
- 7. Practice Impeccable Grilling Food Safety
- 8. Utilize a Grill Basket for Delicate Items
- 9. Understand Direct vs. Indirect Heat Grilling
- 10. Apply Sauces and Glazes at the Right Time
- Bonus Grilling Wisdom!
- Expand Your Grilling Knowledge
- Questions and Comments
Grilling is more than just cooking; it’s an age-old tradition that connects us to the primal joy of preparing food over an open flame. From ancient campfires to modern backyard barbecues, the essence remains the same: transforming raw ingredients into incredibly flavorful meals. The unique char, the smoky aroma, and the succulent interior achieved on a grill are unparalleled by any other cooking method. Whether you’re firing up a gas grill for convenience or tending to charcoal for that classic smoky flavor, mastering these fundamental techniques will elevate your grilling game to an art form.
This comprehensive guide is designed for everyone, from enthusiastic beginners to seasoned grill aficionados. We’ll delve into essential tips, clever tricks, and practical hacks that will help you achieve consistently delicious results. Forget dry chicken or burnt burgers – get ready to serve up perfectly cooked, mouth-watering dishes every time. Let’s ignite your passion for grilling and make you a true master of the flames!
Grilling 101 Video Guide
Mastering the Grill: Top 10 Essential Tips
1. Preheat Your Grill Properly
One of the most crucial steps to successful grilling is ensuring your grill is adequately preheated. A properly hot grill creates the perfect environment for a beautiful sear, known as the Maillard reaction, which locks in juices and develops incredible flavor on the food’s surface. It also prevents food from sticking to the grates and ensures even cooking, contributing significantly to food safety by quickly killing surface bacteria.
Always preheat your grill with the lid closed to allow it to reach and maintain the desired temperature efficiently. Depending on your grill type and the target heat, this process typically takes 10-15 minutes. Plan ahead to ensure your grill is ready when you are. Here’s a general temperature guide:
- Low Heat: Ideal for delicate items or slow cooking, between 250-300°F (120-150°C).
- Medium Heat: Suitable for poultry, pork, and thicker vegetables, between 300-350°F (150-175°C).
- Medium-High Heat: Excellent for most steaks, chops, and burgers, between 350-400°F (175-200°C).
- High Heat: Perfect for searing thin cuts of meat or achieving char marks quickly, between 400-450°F (200-230°C).
2. Always Start with a Spotless Grill
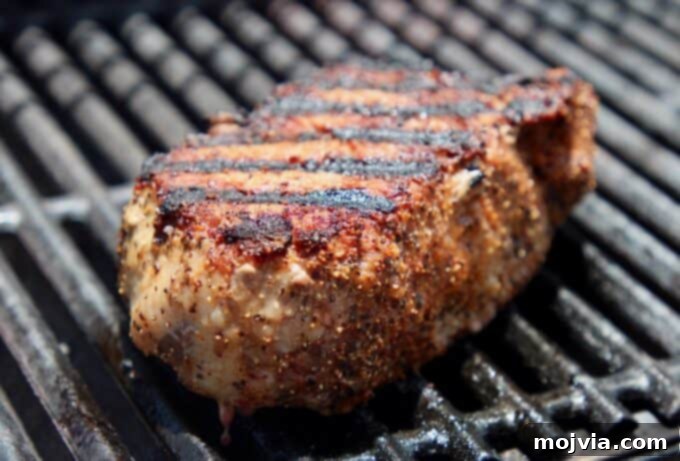
A clean grill is fundamental for outstanding results. Residual food particles from previous grilling sessions can impart unwanted flavors to your fresh ingredients and are a major culprit for food sticking to the grates. Moreover, a buildup of old food debris can create hot spots and uneven cooking.
The best time to clean your grill is when it’s hot. The heat helps to carbonize any leftover bits, making them brittle and much easier to scrape off. Use a sturdy grill brush to scrub the grates thoroughly. For optimal maintenance, make it a habit to give your grill a quick clean immediately after each use, while it’s still warm, before turning off the heat entirely. This proactive approach prevents stubborn buildup.
No grill brush on hand? No problem! A crumpled ball of aluminum foil gripped with tongs makes an excellent impromptu scraper for hot grates. Always use tongs or a long handle to protect your hands from the heat.
3. Lubricate Your Grill Grates for Non-Stick Cooking
Even with a clean, hot grill, lean meats and delicate foods can sometimes stick. Oiling your grill grates creates a protective barrier that minimizes sticking and helps achieve those desirable grill marks. However, caution is key: never spray cooking spray directly onto a hot grill, as it can cause dangerous flare-ups.
Instead, apply a high smoke point oil (like canola, grapeseed, or vegetable oil) safely. Dampen a paper towel with a small amount of oil, then use long-handled tongs to carefully rub the oiled paper towel over the hot grates. This method ensures even coverage and keeps your hands away from the heat.
For an ingenious grill hack that provides a natural non-stick surface, simply cut a potato in half and rub the cut side vigorously over your hot grill grates. The starch released from the potato creates a remarkably effective, natural barrier that prevents food from adhering.
4. Resist the Urge to Peek and Flip Constantly
Patience is a virtue in grilling. Many novice grillers make the mistake of constantly moving food around or lifting the lid to check progress. This habit is detrimental to achieving perfectly cooked results. Most foods, especially meats, only need to be flipped once during the entire cooking process. Excessive turning prevents the development of a beautiful crust and even grill marks, leading to unevenly cooked food and extending the overall cooking time.
Beyond that single flip, keep the grill lid closed. This is vital for several reasons: it maintains a consistent internal temperature, allowing food to cook more efficiently and evenly, and it prevents moisture loss, keeping your food juicy and tender. Furthermore, keeping the lid down limits oxygen flow, which helps to prevent sudden and dangerous flare-ups, especially when grilling fatty meats.
5. Employ an Instant-Read Thermometer for Perfect Doneness
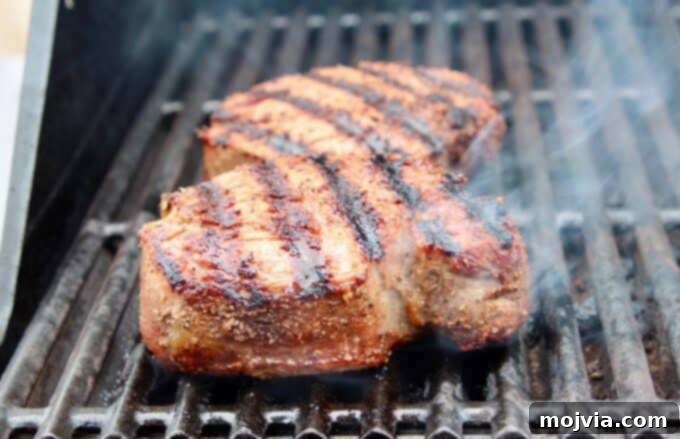
Eliminate guesswork and ensure both food safety and desired doneness by always using an instant-read meat thermometer. This tool is indispensable for any grill master. Insert the thermometer into the thickest part of the meat, avoiding bones, to get an accurate reading. Cooking meat to the correct internal temperature is crucial for preventing foodborne illnesses and achieving optimal texture and flavor.
Here are general safe internal temperatures, though personal preference for doneness (especially for beef) may vary:
- Rare Beef: 125-130°F (52-54°C)
- Medium-Rare Beef: 130-135°F (54-57°C)
- Medium Beef: 135-140°F (57-60°C)
- Well Done Beef: 160°F (71°C)
- Ground Beef Burgers: 160°F (71°C)
- Pork (Chops, Roasts): 145°F (63°C)
- Chicken (All Poultry): 165°F (74°C)
Crucially, remember the principle of “carryover cooking.” Meat continues to cook and its internal temperature will rise by 5-10 degrees after it’s removed from the grill. Factor this in by pulling your meat off the heat a few degrees below your target temperature to prevent overcooking.
6. Rest Your Meat for Maximum Juiciness
Once your meat reaches its target temperature, the impulse is often to slice into it immediately. However, allowing meat to rest after grilling is one of the most critical steps for achieving a juicy, tender result. During cooking, the muscle fibers contract, pushing the precious internal juices towards the center of the meat. If you cut into it too soon, these juices will simply spill out onto your cutting board, leaving you with a dry, less flavorful piece of meat.
Resting allows these muscle fibers to relax and the juices to redistribute evenly throughout the meat, resulting in a significantly more succulent and tender bite. The resting time varies depending on the size and type of meat. Smaller cuts like steaks or chicken breasts typically need 5-10 minutes, while larger roasts or whole chickens may require 15-20 minutes. Tent the meat loosely with aluminum foil while it rests; this helps to retain warmth without steaming the crust.
7. Practice Impeccable Grilling Food Safety
Food safety is paramount when grilling to prevent cross-contamination and ensure a healthy meal. Raw meats can harbor bacteria that can easily spread to cooked foods or fresh produce if not handled properly. Always designate separate cutting boards, plates, and utensils for raw and cooked items. For example, never place cooked burgers back on the same platter that held raw patties.
When marinating, always keep meat refrigerated. If you plan to use any leftover marinade as a basting sauce or serving sauce, it must be brought to a rolling boil for several minutes to kill any bacteria from the raw meat. Otherwise, discard any marinade that has come into contact with uncooked meat. Thorough handwashing with soap and water before and after handling raw meat is also essential.
8. Utilize a Grill Basket for Delicate Items
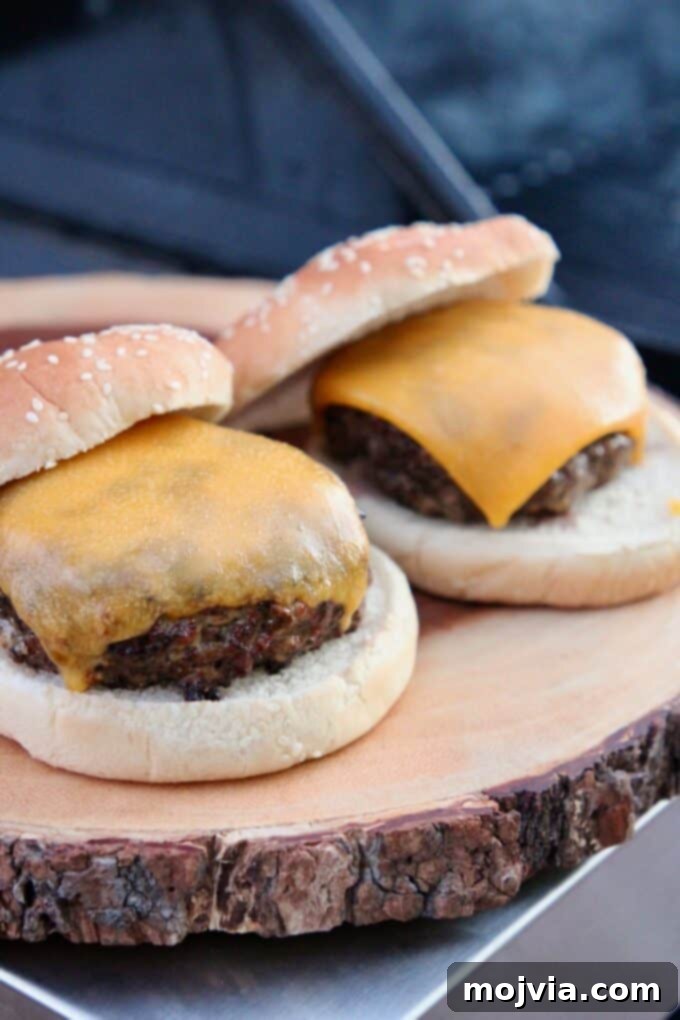
Some foods are simply not designed for direct contact with grill grates. Small, delicate, or finely chopped items like diced vegetables, shrimp, fish, or sliced fruits can easily fall through the grates and become lost or cause flare-ups. This is where a grill basket becomes an indispensable tool.
Grill baskets, often made of perforated metal, provide a flat, contained surface that prevents smaller foods from slipping through while still allowing direct heat and smoky flavors to reach them. They also make it incredibly easy to flip and toss multiple pieces of food at once, ensuring even cooking. Always remember to grease the grill basket before adding your ingredients, especially if they haven’t been tossed in oil beforehand, to prevent sticking and ensure easy cleanup.
9. Understand Direct vs. Indirect Heat Grilling
A fundamental technique that separates amateur grillers from masters is knowing when to use direct heat versus indirect heat. These two methods cater to different types of food and cooking requirements.
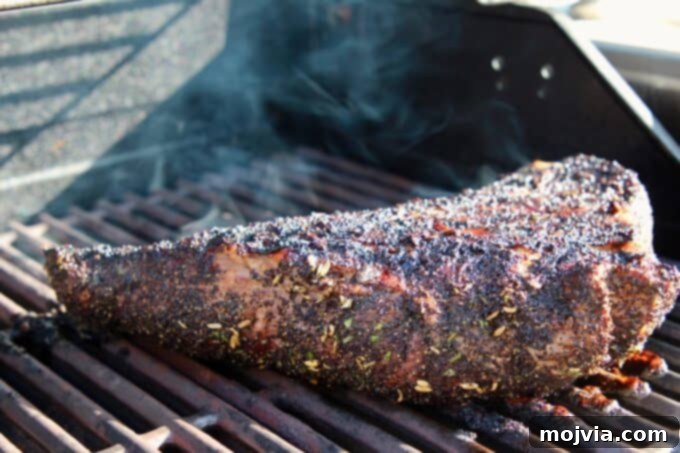
Direct Heat Grilling: This involves cooking food directly over the heat source. It’s ideal for smaller, thinner cuts of meat and quick-cooking items that benefit from high heat and searing. Think steaks, burgers, chicken breasts, and skewers. Foods cooked directly are usually done in 20 minutes or less, achieving a beautiful crust and char marks.
Indirect Heat Grilling: This method is akin to using your grill as an oven. The food is placed away from the direct heat source, allowing it to cook more slowly and gently with circulating hot air. This is perfect for larger cuts of meat (like roasts, ribs, or whole chickens), delicate fish, or anything that takes longer than 20 minutes to cook, preventing the outside from burning before the inside is done. For indirect grilling on a gas grill, you might light burners on one side and place food on the unlit side. For charcoal, you’d arrange coals to one side and place food on the other.
Maintain an indirect grill temperature around 350°F (175°C) for most applications. When cooking indirectly, it’s even more critical to resist opening the lid frequently, as this significantly drops the internal temperature and extends cooking time, potentially drying out your food.
10. Apply Sauces and Glazes at the Right Time
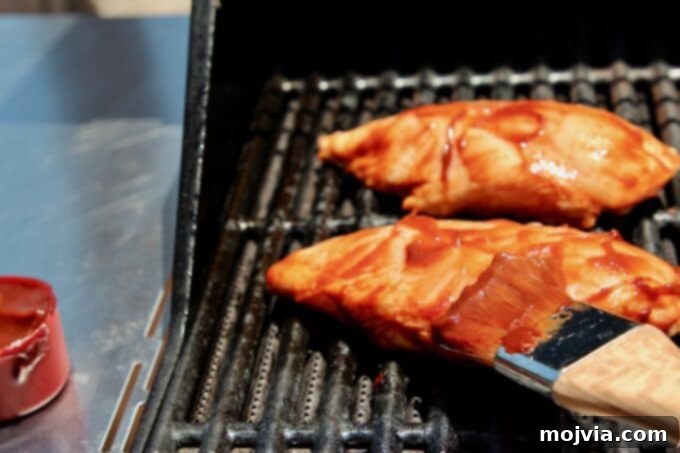
Many delicious grilling recipes involve basting or coating meat with sauces and glazes. However, timing is everything. Most BBQ sauces, glazes, and marinades contain a significant amount of sugar, which can burn very quickly over high heat, creating an unappetizing charred crust and bitter flavor. To achieve a beautiful caramelization without burning, apply these sugary coatings towards the very end of the grilling process.
For foods with a total cooking time of 30 minutes or less, add your sauce in the last 5 minutes of cooking. For larger cuts or items that require more than 30 minutes on the grill, apply the sauce during the final 15-20 minutes. This allows the sauce to caramelize and adhere to the meat, creating a rich, flavorful crust without scorching. This strategic timing ensures maximum flavor and visual appeal, turning your grilled dishes into culinary masterpieces.
Bonus Grilling Wisdom!
- Never Flatten Meat with a Spatula: It’s a common rookie mistake to press down on burgers or steaks with a spatula. Resist this urge! When you flatten meat, you squeeze out all the precious juices and fats that contribute to its flavor and moisture. This results in a drier, less flavorful end product. Let the heat do its work without interference.
- Avoid Grilling Cold Foods Directly from the Fridge: Just like with roasting, allowing meat to come up to room temperature (or at least close to it) for 20-30 minutes before grilling makes a significant difference. Placing very cold meat on a hot grill can cause the outside to cook too quickly or even burn before the interior reaches the desired temperature. It also cools down your grill grates, impacting the overall cooking process and potentially extending cooking times.
With these expert tips and tricks, you are now equipped to conquer your grill and create unforgettable meals. Practice makes perfect, so don’t be afraid to experiment and enjoy the process. To get you started, explore some of our favorite easy and delicious grilling recipes below!
Easy Grill Recipes
Expand Your Grilling Knowledge
- How To Grill Steak Perfectly Every Time
- How to Start a Charcoal Grill
- How to Season a New Gas Grill
- How to Clean a Charcoal Grill
- How to Clean a Gas Grill
Questions and Comments
Did these grilling tips ignite your passion for outdoor cooking? Have you tried a new chicken or steak recipe on the grill using these techniques? We’d love to hear about your experiences and any additional questions you might have. Share your grilling successes and inquiries in the comments section below!