
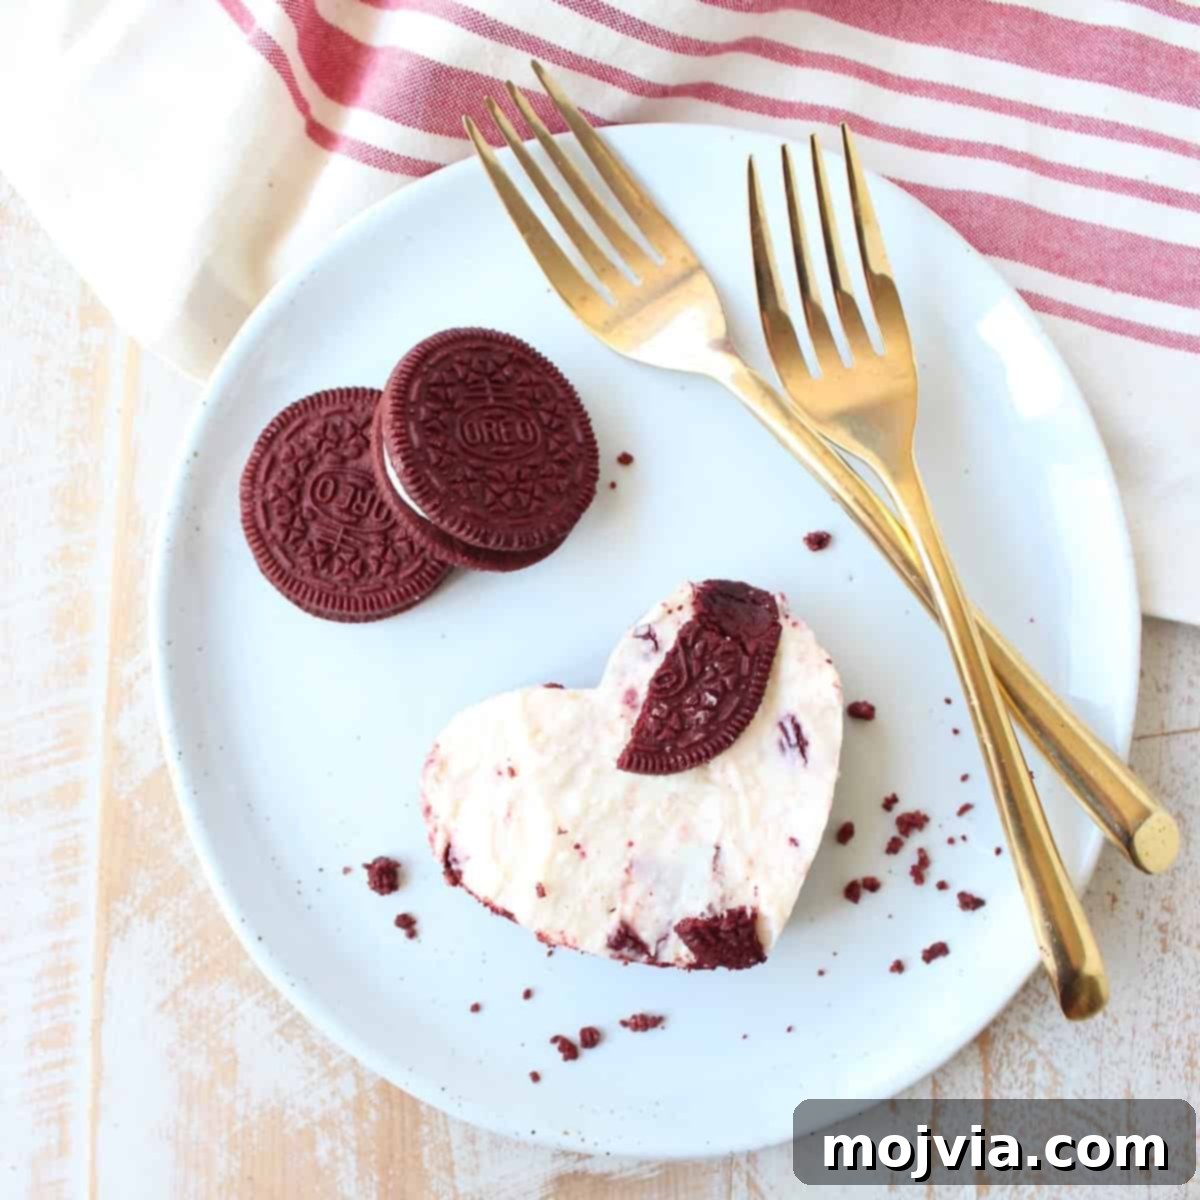
Indulge in these utterly delicious no-bake cheesecake bars, featuring a vibrant Red Velvet Oreo crust and a lusciously creamy filling. Perfectly sweet, delightfully decadent, and effortlessly shaped into adorable hearts, they are the ideal treat for Valentine’s Day or any special occasion!
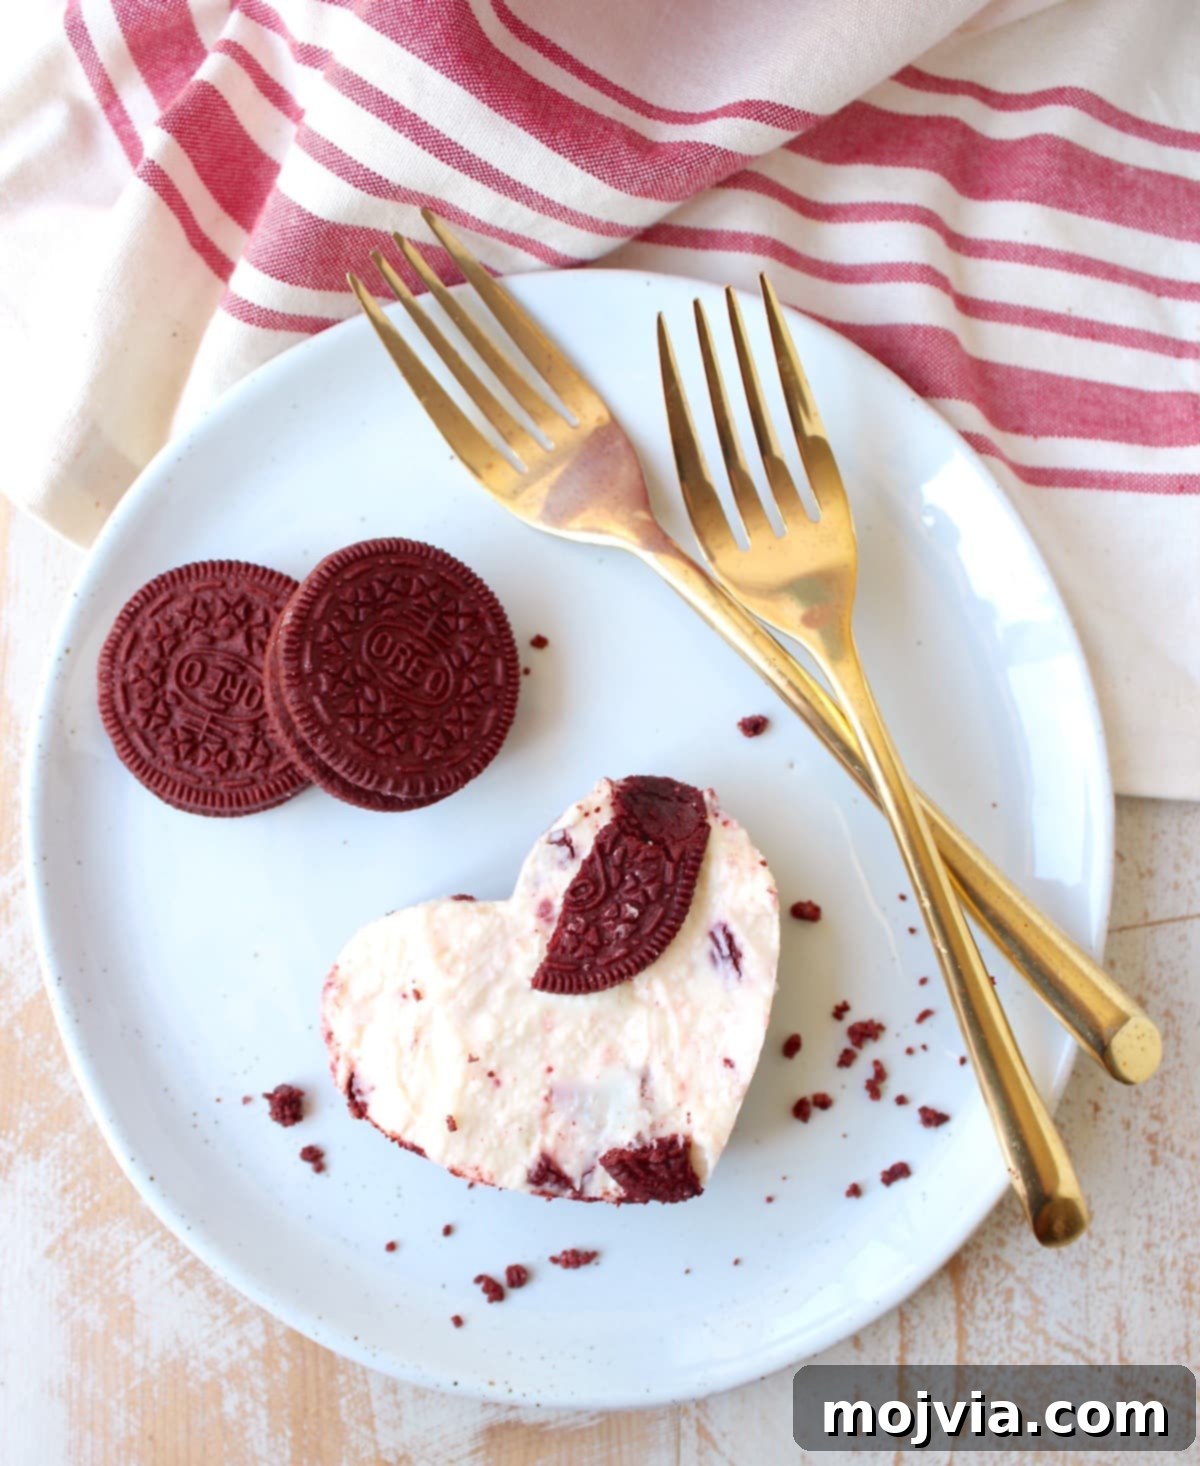
Table of Contents
- Irresistible Red Velvet Oreo Cheesecake Bars
- Why You’ll Love These No-Bake Cheesecake Bars
- Ingredients for Your Decadent Treat
- Step-by-Step Instructions
- Tips for Perfect No-Bake Cheesecake
- Serving and Storage Suggestions
- Frequently Asked Questions
- More Red Velvet Recipes You’ll Adore
Irresistible Red Velvet Oreo Cheesecake Bars: A Valentine’s Day Delight
As Valentine’s Day approaches, whether you’re celebrating with a cherished partner, dear friends, or beloved family, one thing is certain: these Red Velvet Oreo Cheesecake Bars are destined to be a show-stopping hit. Forget complicated baking – this recipe offers pure, unadulterated indulgence with minimal effort, making it the perfect choice for a romantic evening or a festive gathering.
The magic of these bars begins with the sensational Red Velvet Oreos. When these delightful cookies first graced our shelves in 2015, they instantly captured hearts (mine included!). The harmonious blend of classic Oreo crunch with a rich red velvet flavor and a tangy cream cheese filling was nothing short of genius. It was a flavor revelation that begged to be transformed into an even grander dessert experience.
For years, I envisioned turning these remarkably tasty cookies into a showstopping Valentine’s Day treat. Today, that vision comes to life! By putting a delightful spin on my popular Frozen Strawberry Cheesecake Bars – a summer favorite renowned for its simplicity and exquisite taste – I’ve crafted these magnificent Red Velvet Oreo No-Bake Cheesecake Bars. They are a symphony of sweet, creamy, and undeniably decadent flavors, sure to leave everyone reaching for more.
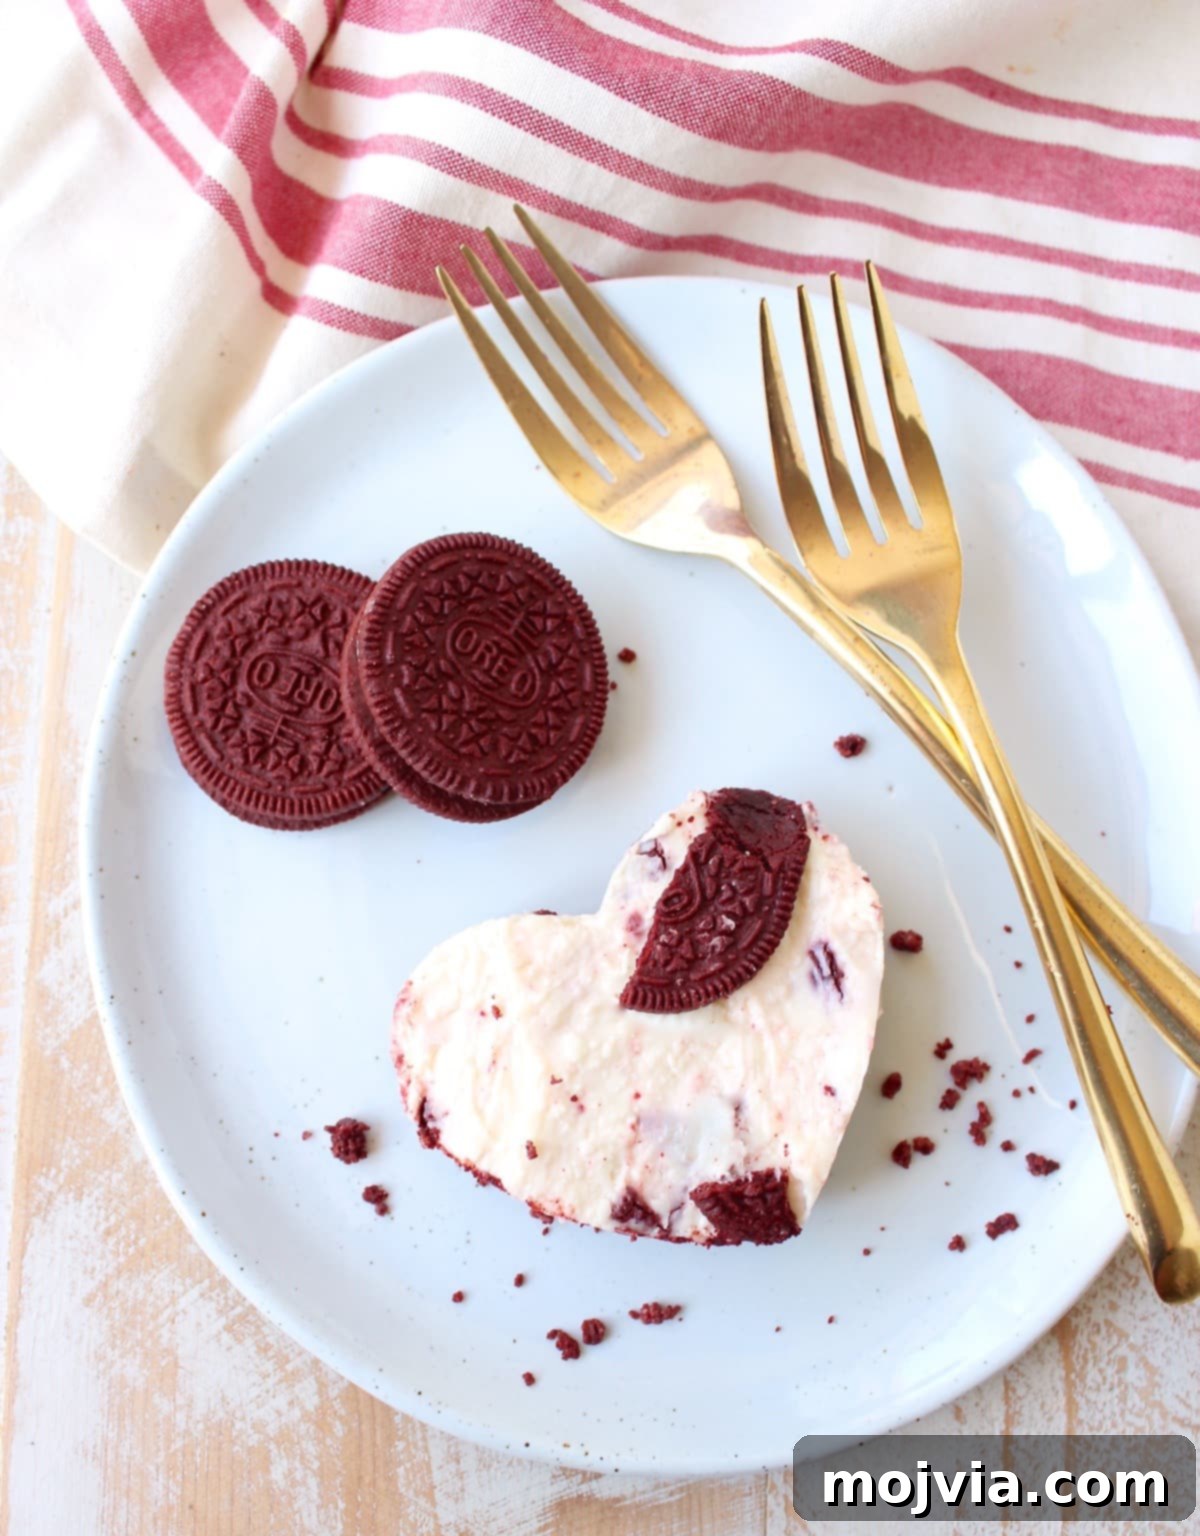
To add an extra touch of Valentine’s Day charm, these bars can be easily transformed! Simply use a cookie cutter to create enchanting heart shapes, big or small. It’s a simple step that elevates the presentation from delicious to absolutely adorable, perfect for expressing love through dessert.
Why You’ll Love These No-Bake Cheesecake Bars
There’s an undeniable allure to no-bake desserts, and these Red Velvet Oreo Cheesecake Bars epitomize convenience without compromising on flavor or texture. Here’s why this recipe will become your new go-to for special occasions:
- **Effortless Preparation:** Say goodbye to hot ovens and complicated water baths. This recipe requires no baking, making it ideal for busy schedules or those who prefer a simpler approach to dessert making.
- **Rich & Creamy Texture:** The filling is made with full-fat cream cheese, powdered sugar, and a hint of vanilla and milk, resulting in an incredibly smooth, dense, and luxurious cheesecake texture that melts in your mouth.
- **Irresistible Red Velvet Oreo Flavor:** The use of Red Velvet Oreos in both the crust and the filling infuses every bite with that distinctive, slightly tangy, cocoa-rich red velvet taste, perfectly complemented by the iconic cream cheese swirl inside the cookie.
- **Stunning Presentation:** The deep red crust and the speckled cheesecake filling create a visually appealing dessert. When cut into heart shapes, these bars become an instant focal point for any festive table, especially during Valentine’s Day.
- **Make-Ahead Friendly:** These bars require chilling, which makes them perfect for preparing in advance. You can make them a day or two ahead of time, allowing flavors to meld beautifully and reducing stress on the day of your event.
- **Versatile for Any Celebration:** While perfect for Valentine’s Day, their vibrant color and delightful taste make them suitable for Christmas, anniversaries, birthdays, or simply as a special weekend treat.
Ingredients for Your Decadent Treat
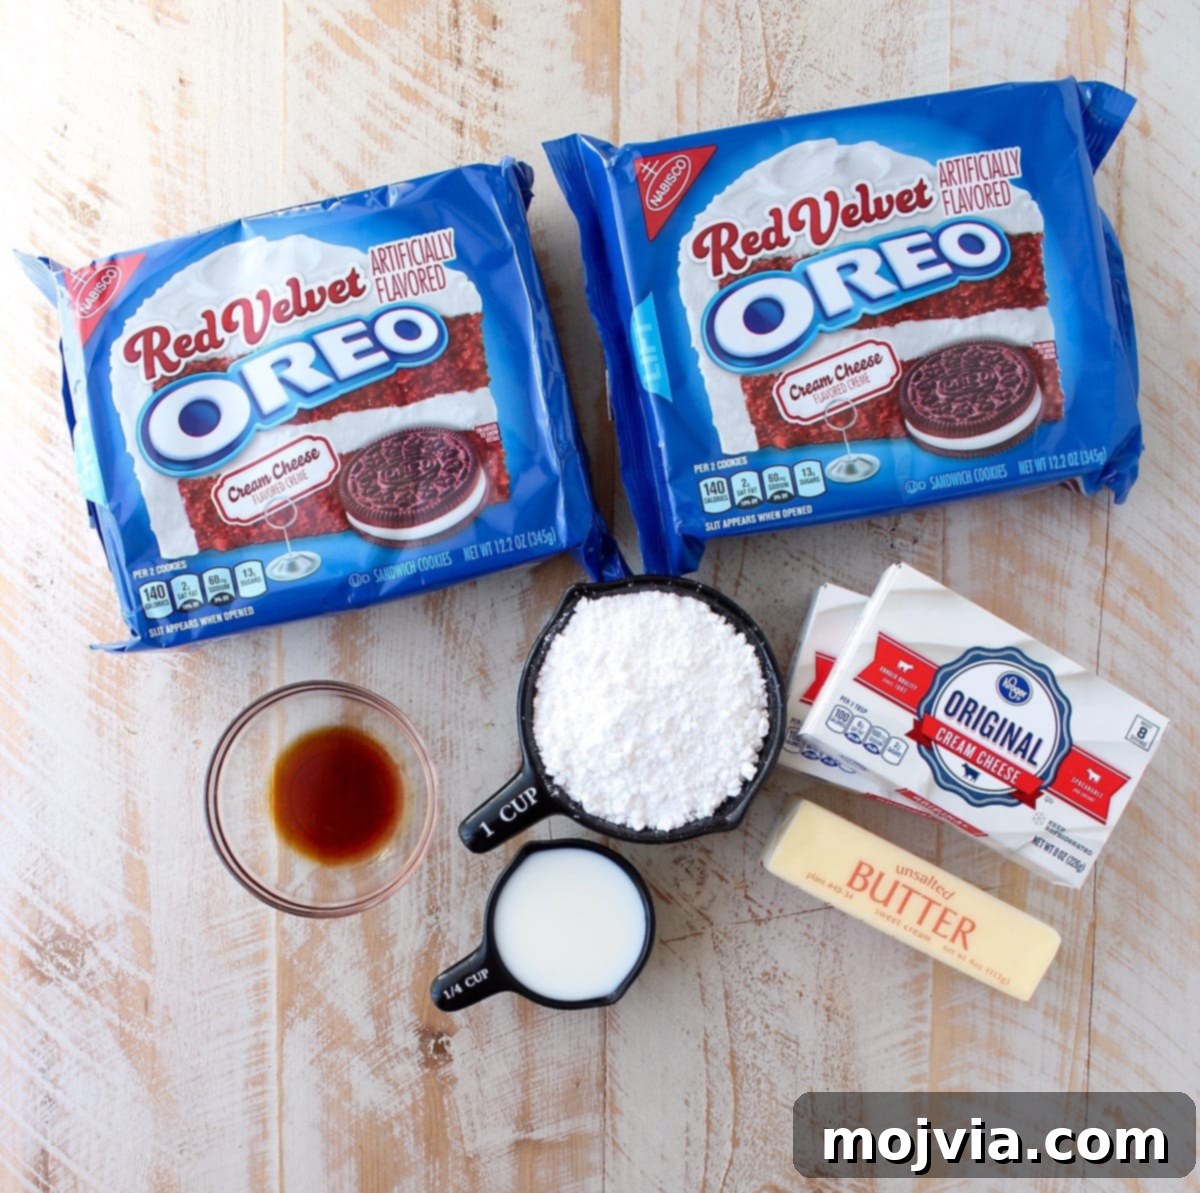
Gathering the right ingredients is the first step to creating these phenomenal no-bake cheesecake bars. Quality ingredients ensure the best flavor and texture for your dessert.
- 1 ½ packages (12.2 ounces each) Red Velvet Oreo Cookies: These are the star! Divided for the crust and the filling, they provide that signature flavor and beautiful red hue. If Red Velvet Oreos aren’t available, classic Oreos with a touch of red food coloring in the filling can be a substitute, though the flavor profile will differ slightly.
- 5 tablespoons unsalted butter (melted): Essential for binding the cookie crust together. Unsalted butter allows you to control the overall saltiness of the dessert.
- 3 (8 ounce) packages full-fat cream cheese: For that rich, tangy, and utterly creamy cheesecake filling. Ensure your cream cheese is softened to room temperature before mixing to prevent lumps.
- 1 ½ cups powdered sugar: Also known as confectioners’ sugar, it dissolves smoothly into the cream cheese for a silky filling. Don’t substitute with granulated sugar, which will result in a grainy texture.
- ¼ cup milk: Helps to achieve the perfect creamy consistency for the cheesecake filling. Whole milk is recommended for richness, but 2% milk will also work.
- 1 teaspoon vanilla extract: A crucial flavor enhancer that complements the red velvet and cream cheese beautifully. Use pure vanilla extract for the best results.
Step-by-Step Instructions
Creating these delightful cheesecake bars is surprisingly straightforward. Follow these detailed steps to ensure a perfect, mouthwatering dessert every time.
1. Prepare Your Pan: Begin by lining a 9-inch by 13-inch baking dish with parchment paper. Leave an overhang on the longer sides to create “handles,” which will make it incredibly easy to lift the entire cheesecake out of the pan once chilled. This step is crucial for clean cuts and easy serving.
2. Create the Oreo Crust: Take one full package (12.2 ounces) of Red Velvet Oreo Cookies and place them into a food processor. Process until they form a fine, uniform crumb mixture. There should be no large chunks remaining. Transfer the crumbs to a medium bowl, then pour in the 5 tablespoons of melted butter. Mix thoroughly until the crumbs are evenly moistened and resemble wet sand.
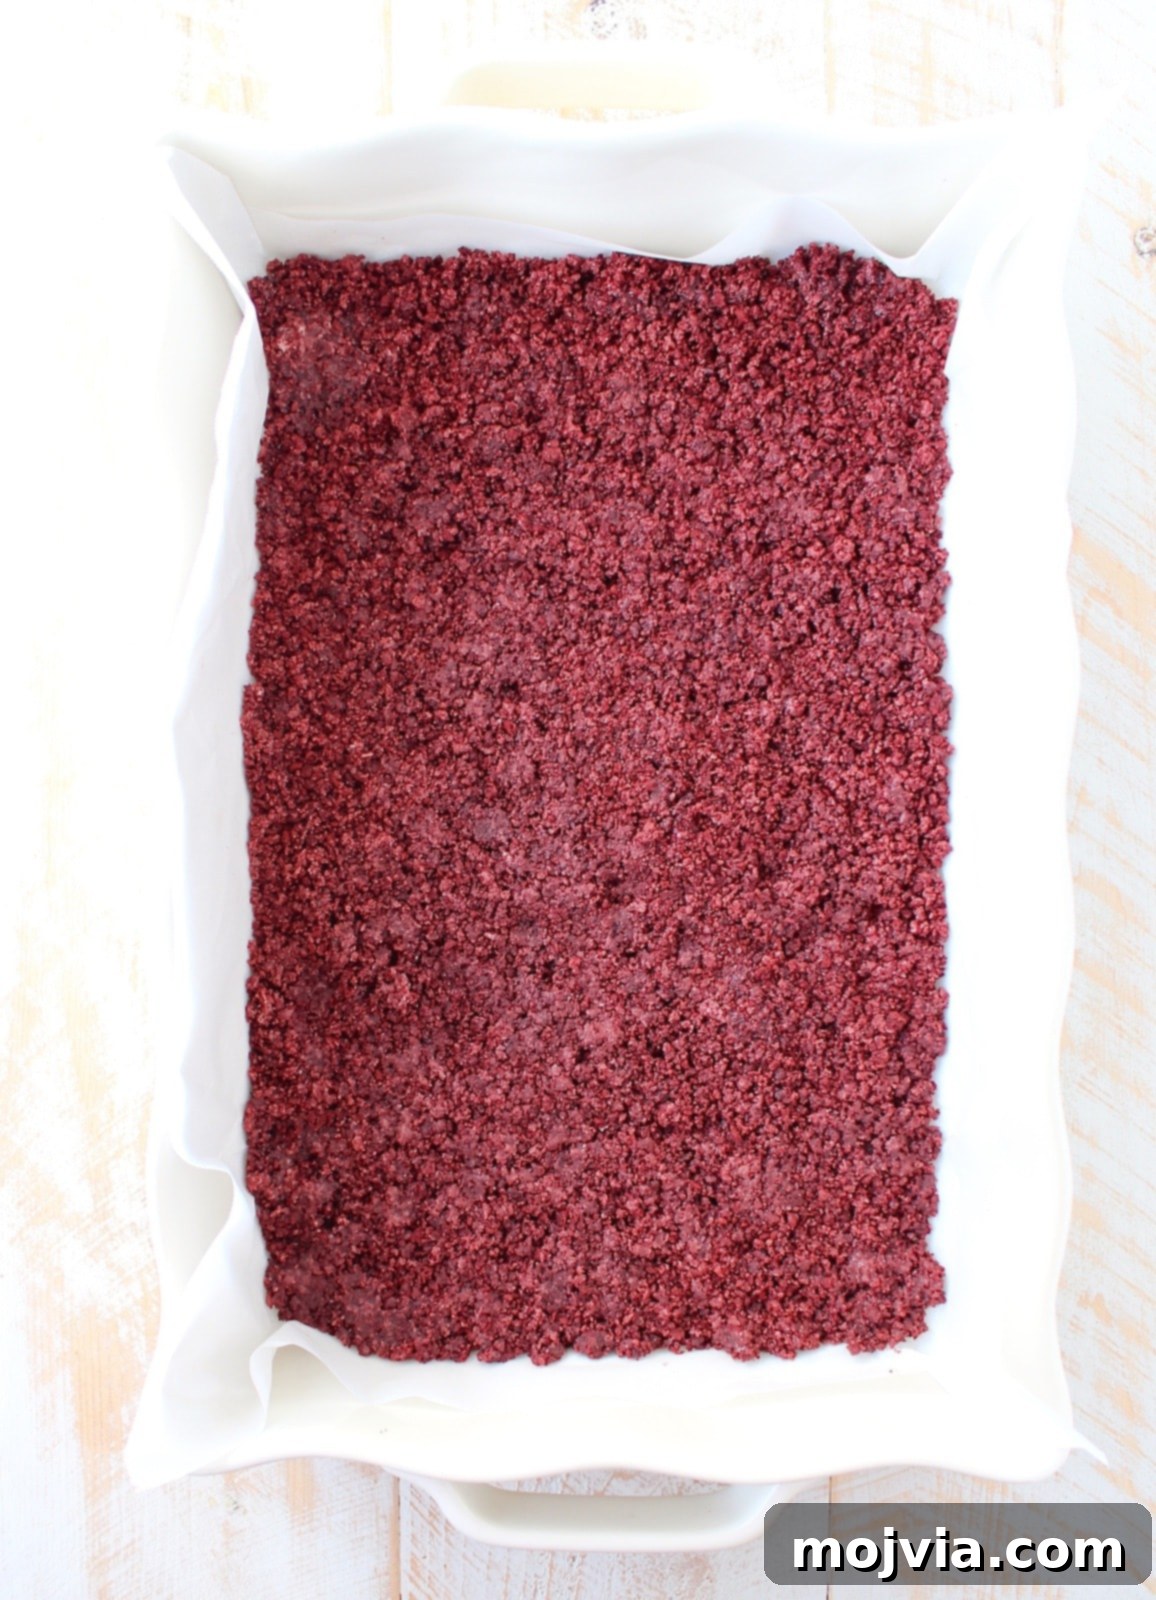
3. Press the Crust: Pour the buttered Oreo crumbs into your prepared baking dish. Using the bottom of a glass, a flat measuring cup, or your fingers, firmly press the mixture into an even layer across the bottom of the dish. Ensure it’s compact and smooth for a sturdy crust.
4. Chill the Crust: Place the baking dish with the pressed crust into the freezer for at least 15-20 minutes while you prepare the cheesecake filling. This helps the crust set and prevents it from crumbling when the filling is added.
5. Prepare the Cheesecake Filling: In a large mixing bowl, combine the three 8-ounce packages of softened cream cheese, 1 ½ cups of powdered sugar, ¼ cup of milk, and 1 teaspoon of vanilla extract. Using an electric hand mixer (or stand mixer with a paddle attachment), beat the ingredients on medium speed.
6. Achieve Creamy Perfection: Continue to blend the filling until it is completely smooth, light, and creamy, with no lumps of cream cheese visible. This usually takes about 2-3 minutes of beating. Scrape down the sides of the bowl as needed to ensure everything is well incorporated.
7. Incorporate Oreo Pieces: Take the remaining half package of Red Velvet Oreo cookies. Break these cookies into smaller, irregular pieces – you can do this by hand or give them a quick pulse in the food processor (be careful not to turn them into fine crumbs). Gently fold about three-quarters of these red velvet pieces into the prepared cheesecake filling using a spatula. This adds wonderful texture and an extra burst of Oreo flavor throughout the cheesecake.
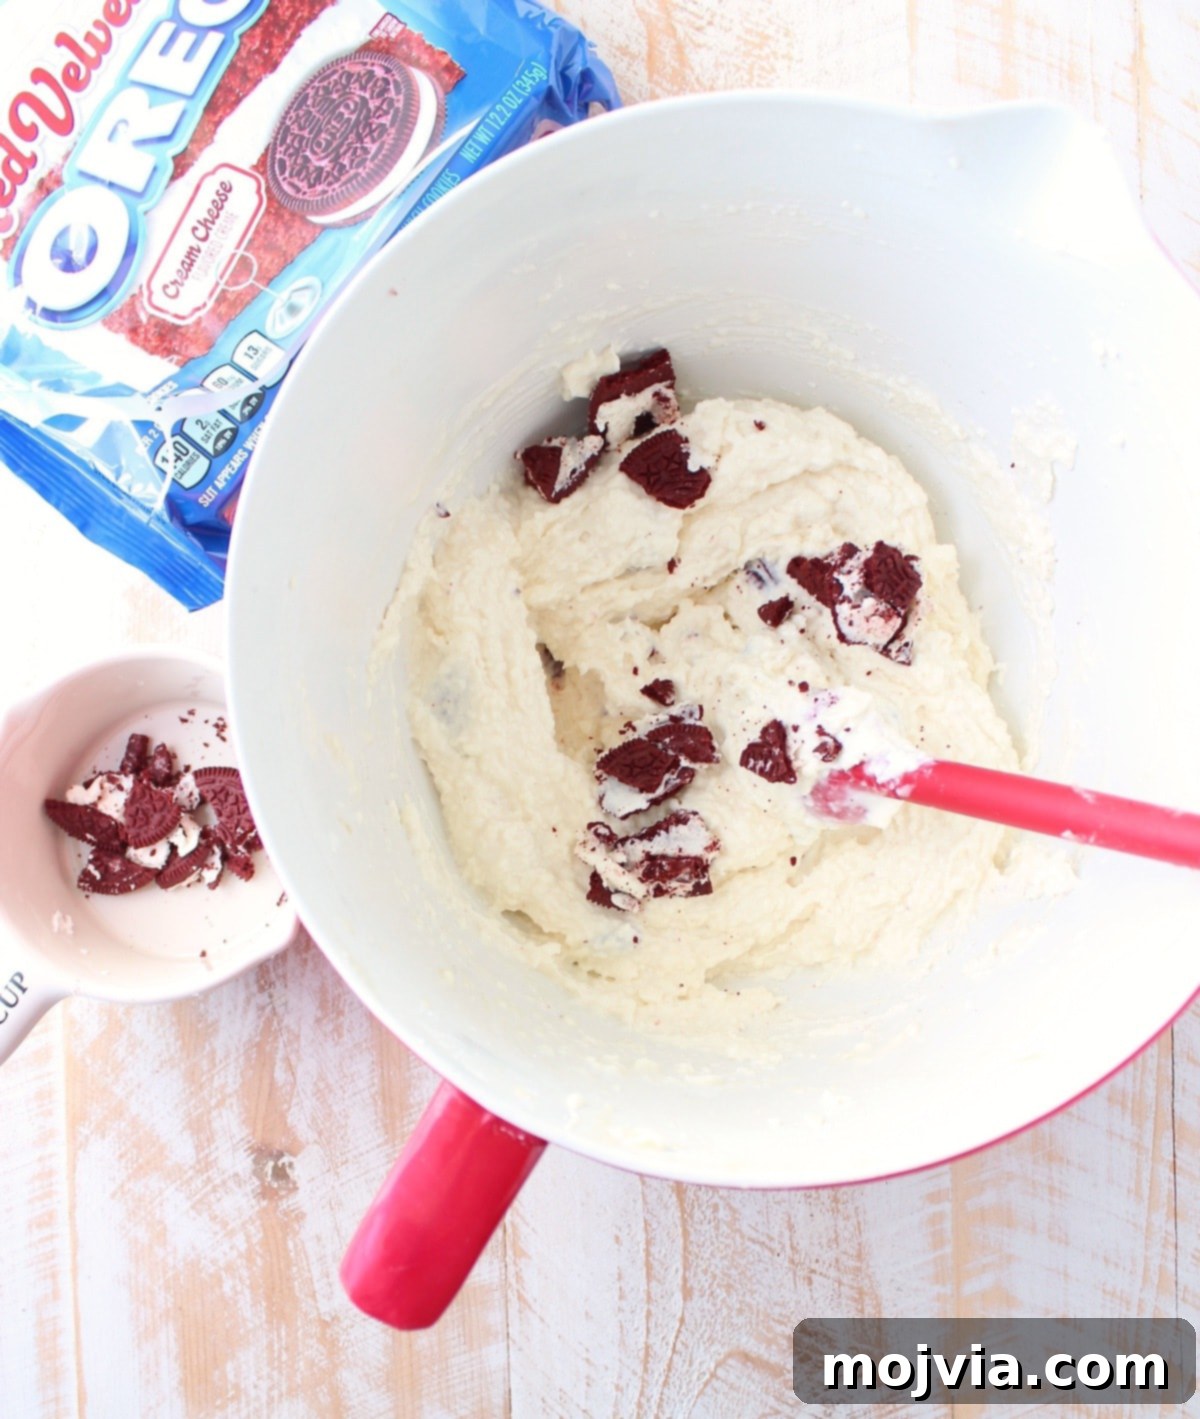
8. Assemble the Bars: Retrieve the chilled crust from the freezer. Evenly spread the cheesecake filling over the solid Oreo crust. Use an offset spatula or the back of a spoon to smooth the top.
9. Garnish and Chill: Take the remaining ¼ of the broken Red Velvet Oreo pieces and sprinkle them generously over the top of the cheesecake filling. Gently press them down slightly to ensure they adhere.
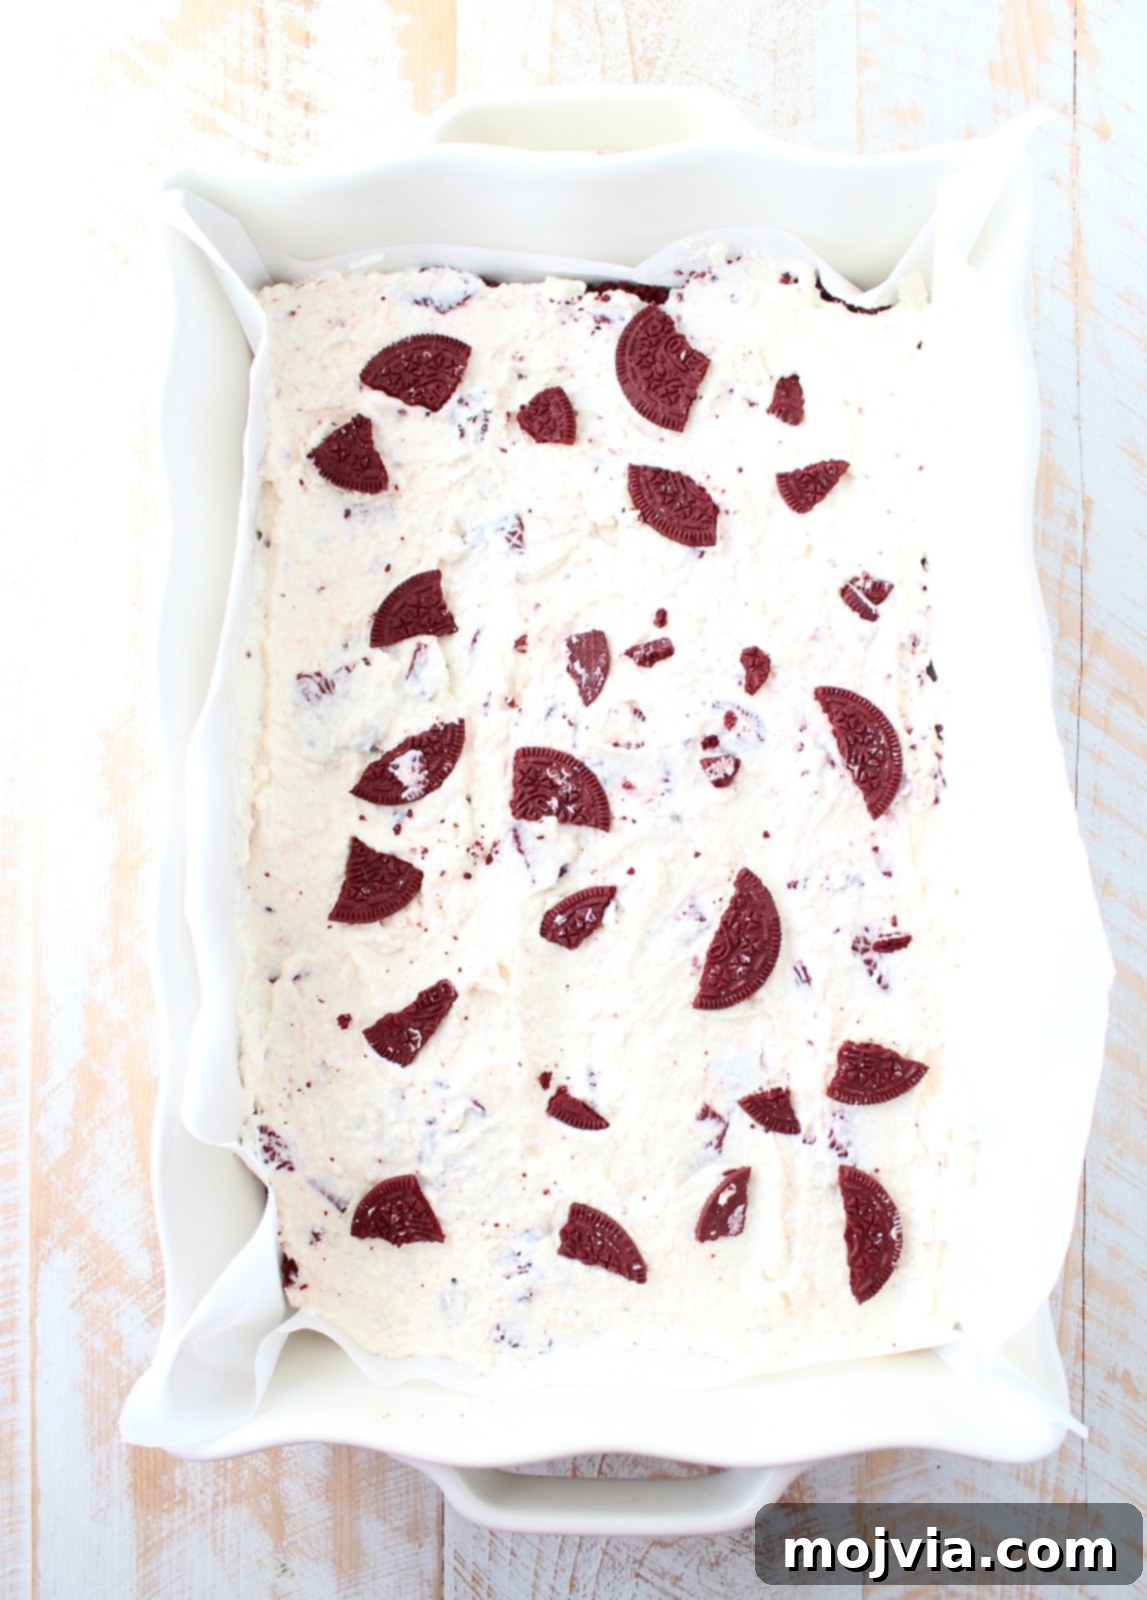
10. Final Freeze: Place the entire baking dish back into the freezer for at least 4 hours. For the best firm texture, an overnight freeze is even better. This prolonged chilling time is essential for the cheesecake to fully set and become sliceable.
11. Thaw Before Serving: About 15-20 minutes before you plan to serve, remove the cheesecake bars from the freezer. This brief thaw period will soften them just enough to achieve that perfect creamy, yet firm, texture that is characteristic of cheesecake.
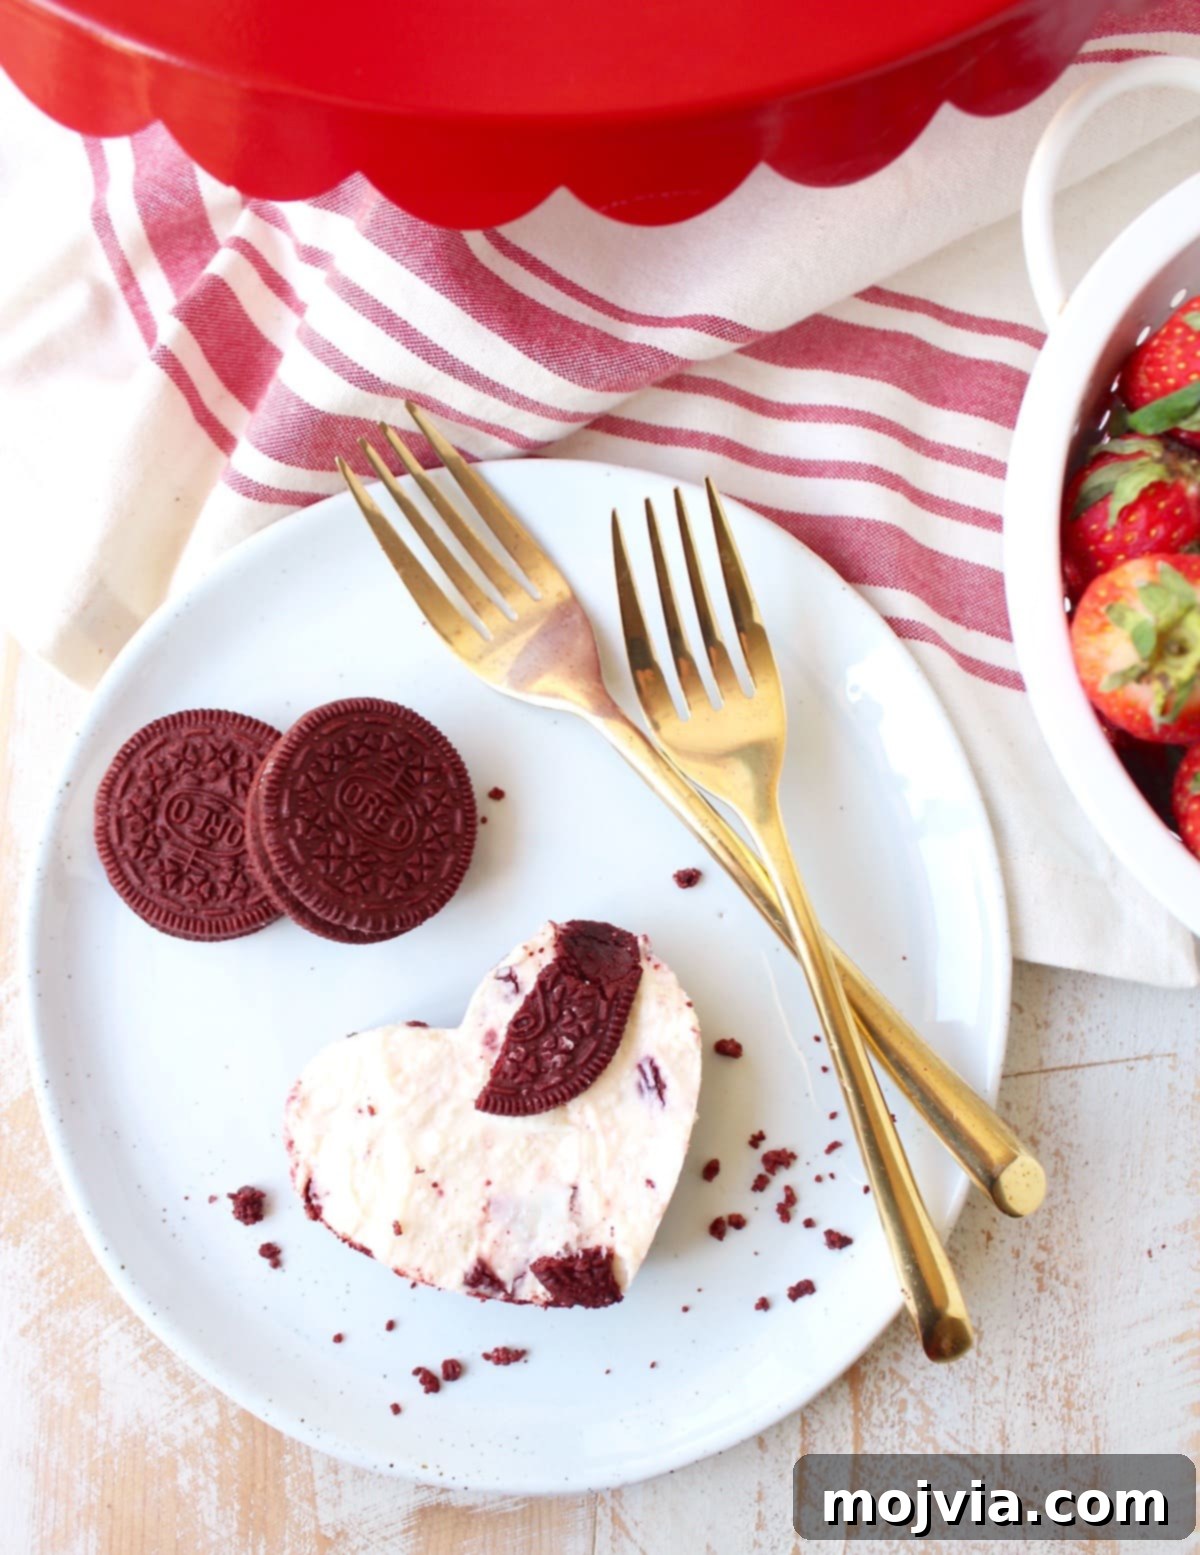
12. Slice and Serve: Once slightly thawed, use the parchment paper overhang to lift the entire cheesecake slab out of the baking dish and onto a cutting board. Cut into traditional bars using a sharp knife, or for that extra festive touch, use a heart-shaped cookie cutter to create charming heart-shaped treats.
I personally love using both an average-sized heart-shaped cookie cutter and a smaller one to create a delightful variety of sizes, perfect for different appetites and serving styles.
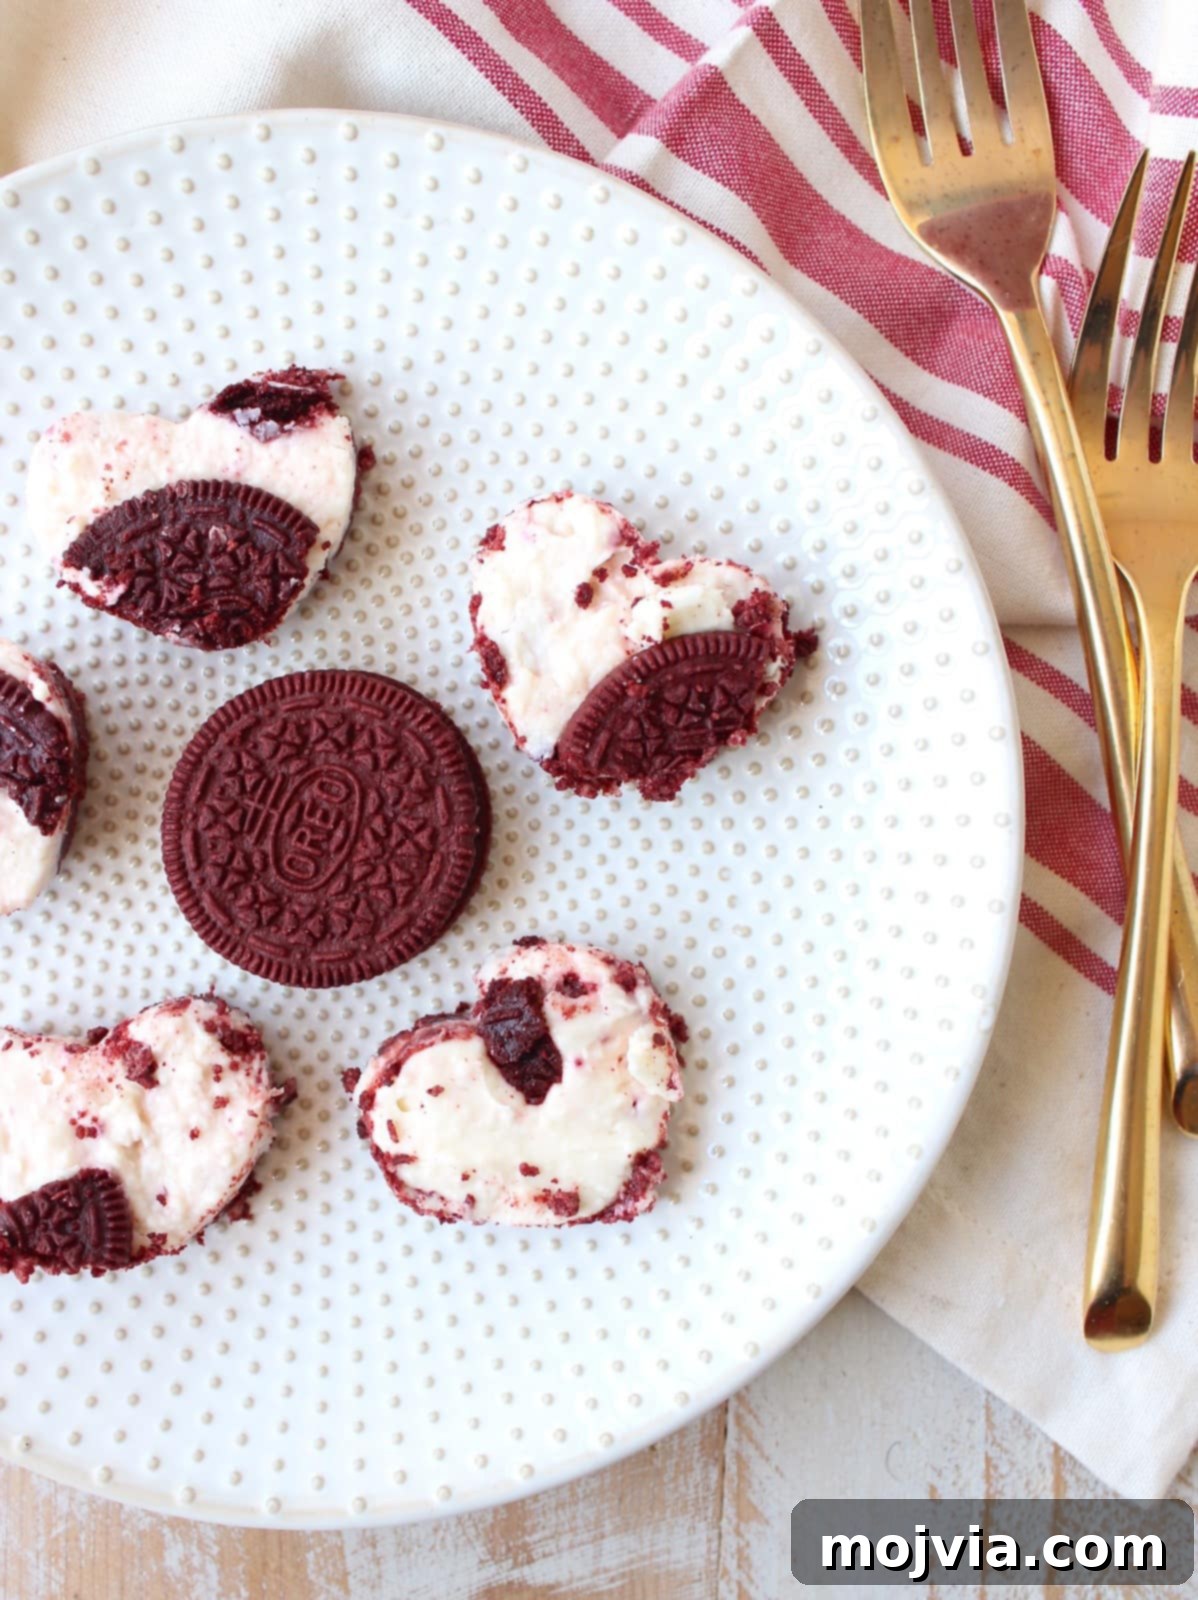
The smaller cheesecake hearts are absolutely perfect as delightful, bite-sized indulgences, ideal for a dessert platter or a sweet nibble.
Meanwhile, the larger ones are wonderfully satisfying for digging into as a substantial dessert after a lovely Valentine’s Day Dinner. (And speaking of dinner, it should definitely include my irresistible Heart-Shaped Pizza for a truly themed celebration!)
Tips for Perfect No-Bake Cheesecake
While this recipe is incredibly easy, a few key tips can ensure your Red Velvet Oreo Cheesecake Bars turn out absolutely perfect every time:
- **Room Temperature Cream Cheese:** This is non-negotiable! Cold cream cheese will result in a lumpy filling, no matter how much you beat it. Take your cream cheese out of the fridge at least an hour before you plan to mix.
- **Don’t Overmix the Filling:** Once smooth and creamy, stop mixing. Overmixing can incorporate too much air, which can affect the density and texture of the cheesecake when it sets.
- **Compact the Crust:** A firm crust is crucial for no-bake bars. Press those crumbs down really well. You want it to hold its shape perfectly when sliced.
- **Chill, Chill, Chill:** The freezer time is vital. Don’t rush it! The longer these bars chill, the firmer and more stable they will be. Overnight is truly ideal if you have the time.
- **Sharp Knife for Cutting:** When slicing, especially if cutting into squares or rectangles, use a sharp knife. For the cleanest cuts, run your knife under hot water, wipe it dry, and make each cut, cleaning the knife between slices. This prevents the cheesecake from sticking and dragging.
- **Parchment Paper is Your Friend:** The parchment paper sling makes removal incredibly easy and mess-free. Don’t skip it!
Serving and Storage Suggestions
Once your Red Velvet Oreo Cheesecake Bars are perfectly chilled and ready, here’s how to best enjoy and store them:
- **Serving Temperature:** For the best texture, let the bars thaw for 15-20 minutes out of the freezer before serving. They should still be very cold but soft enough to enjoy their creamy consistency.
- **Garnish Ideas:** While delightful on their own, consider adding a dollop of whipped cream, a sprinkle of extra Red Velvet Oreo crumbs, a drizzle of chocolate sauce, or fresh berries (strawberries or raspberries pair beautifully with red velvet) for an elevated presentation.
- **Storage:** Store any leftover cheesecake bars in an airtight container in the freezer for up to 2-3 weeks. For optimal freshness and texture, individually wrap slices in plastic wrap before placing them in the container.
- **Thawing for Leftovers:** When you want to enjoy a leftover slice, simply remove it from the freezer and let it thaw in the refrigerator for about 30 minutes to an hour, or at room temperature for 15-20 minutes, until it reaches your desired consistency.
Frequently Asked Questions
Here are some common questions about making these Red Velvet Oreo Cheesecake Bars:
- **Can I make these cheesecake bars ahead of time?**
Absolutely! These are a perfect make-ahead dessert. You can prepare them 1-2 days in advance and keep them stored in the freezer until about 20 minutes before you plan to serve. This allows the flavors to deepen and the cheesecake to set perfectly. - **What if I can’t find Red Velvet Oreos?**
While Red Velvet Oreos give this recipe its signature flavor and color, you can substitute them with regular Oreos. If you desire a similar reddish hue, you could add a few drops of red food coloring to the cheesecake filling, but the distinct red velvet flavor will naturally be absent. - **Do I have to use full-fat cream cheese?**
For the creamiest, richest, and most stable no-bake cheesecake, full-fat cream cheese is highly recommended. Low-fat or fat-free cream cheese may result in a less firm and potentially watery filling, affecting the overall texture. - **How do I prevent the crust from crumbling?**
Ensure you crush the Oreos very finely and mix them thoroughly with melted butter. More importantly, press the crust firmly into the pan to create a compact base, and chill it adequately in the freezer before adding the filling. - **Can I use a different size baking dish?**
A 9×13-inch dish is recommended for the best bar thickness. If you use a smaller dish, your bars will be thicker and may require longer freezing time. If you use a larger dish, they will be thinner, and you might need to adjust quantities slightly or risk a very thin dessert. - **My cheesecake filling isn’t setting firm enough, what went wrong?**
This usually happens if the cream cheese wasn’t softened enough, leading to inadequate mixing, or if the cheesecake wasn’t frozen for the recommended minimum of 4 hours (or overnight). Ensure your cream cheese is at room temperature and give it plenty of time to set in the freezer.
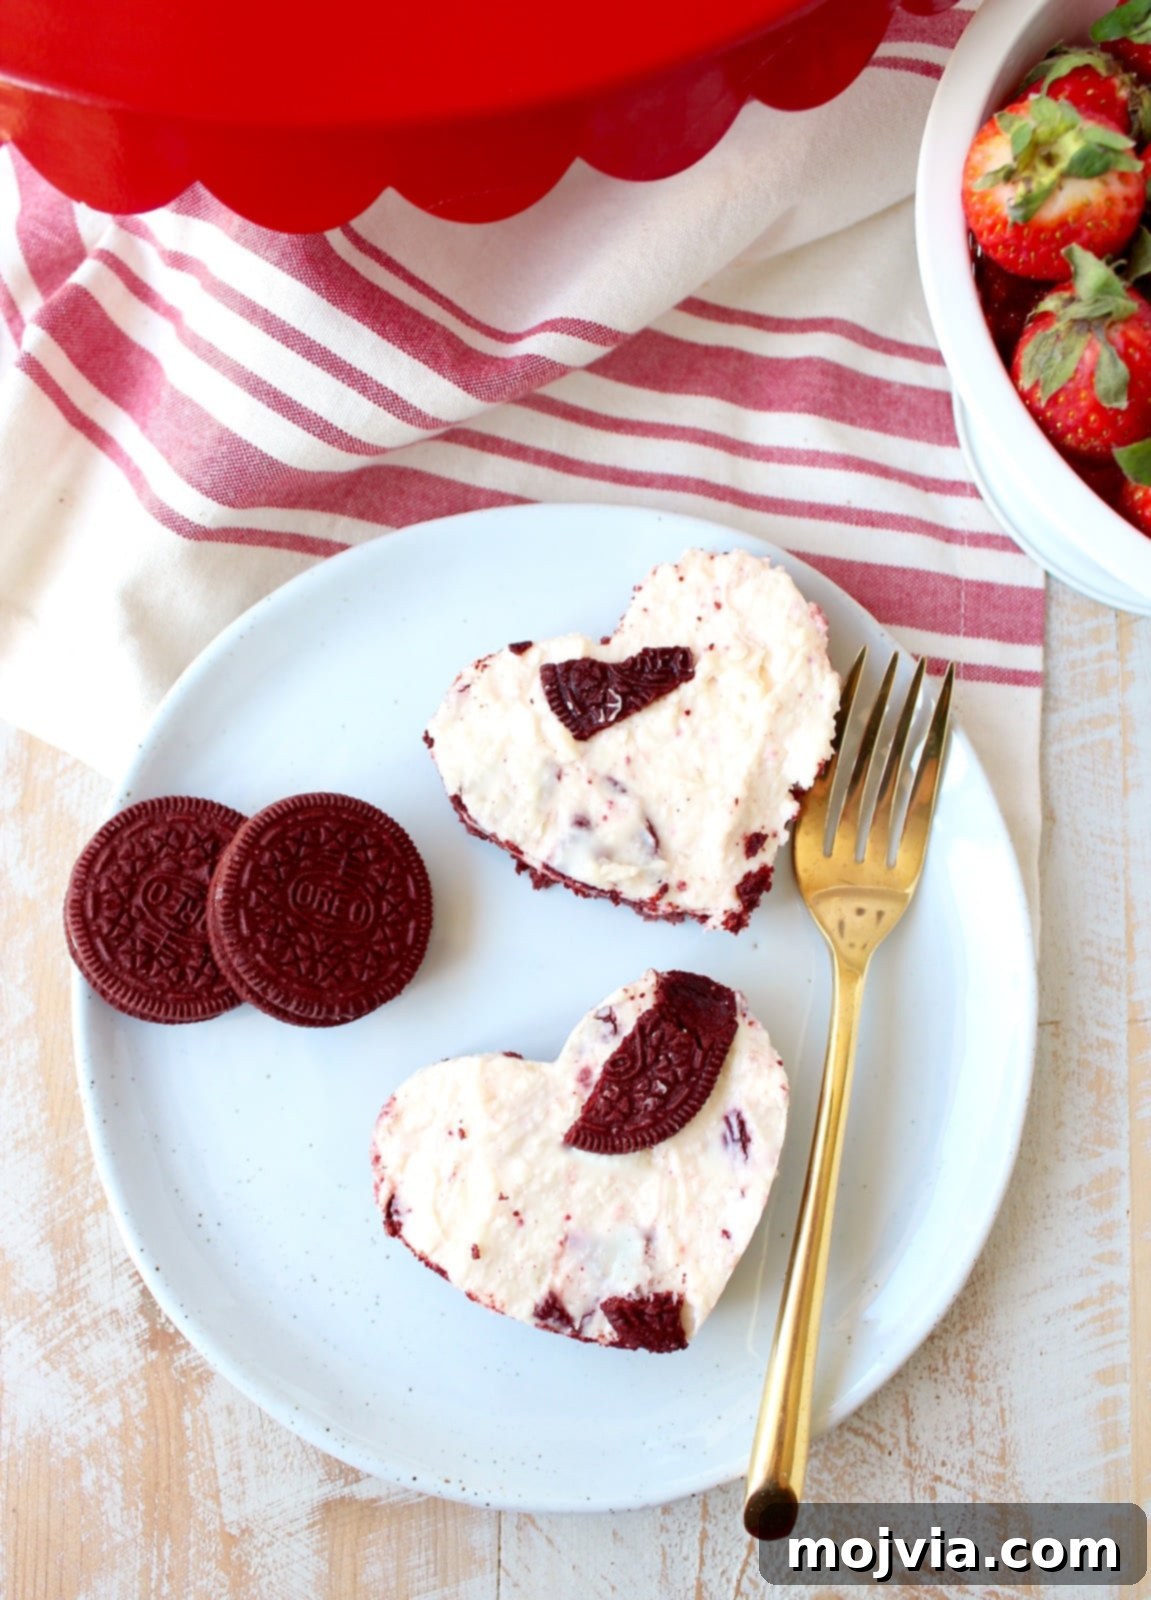
No matter the size or shape you choose, these decadent Red Velvet Oreo Cheesecake Bars are guaranteed to be a sensational hit with friends, family, and all your loved ones. Their ease of preparation combined with their irresistible flavor profile makes them an instant classic!
More Red Velvet Recipes You’ll Adore
If you’re as smitten with red velvet as we are, then get ready for more deliciousness! Explore these other fantastic dessert recipes that capture the same beloved flavor:
Print Recipe
Pin Recipe
Rate this Recipe
Red Velvet Oreo Cheesecake Bars
Ingredients
- 1 ½ 12.2 oz packages Red Velvet Oreo Cookies, divided
- 5 tablespoons butter, melted
- 24 ounces full-fat cream cheese
- 1 ½ cups powdered sugar
- ¼ cup milk
- 1 teaspoon vanilla extract
Instructions
-
Line a 9 inch x 13 inch baking dish with parchment paper, leaving an overhang on the longer sides.
-
Place one package (12.2 ounces) of Red Velvet Oreos in a food processor and blend into a fine crumb mixture. Mix in the melted butter until evenly moistened.
-
Press the buttered Oreo crumbs firmly and evenly into the bottom of the parchment-lined baking dish.
-
Place the crust in the freezer to chill while preparing the cheesecake filling.
-
In a large bowl, combine the softened cream cheese, powdered sugar, milk, and vanilla with an electric hand mixer.
-
Blend until the mixture is completely smooth and creamy, scraping down the sides of the bowl as needed.
-
Break the remaining ½ package of Red Velvet Oreo cookies into small pieces.
-
Gently fold ¾ of the broken Red Velvet Oreo pieces into the cheesecake filling using a spatula.
-
Remove the chilled crust from the freezer. Spread the cheesecake filling evenly over the crust.
-
Press the remaining Red Velvet Oreo pieces onto the top of the cheesecake for garnish.
-
Place the baking dish in the freezer for at least 4 hours, or ideally overnight, until firm.
-
Remove the cheesecake bars from the freezer 15-20 minutes before serving to allow them to thaw slightly.
-
Lift the cheesecake out of the dish using the parchment paper handles. Cut into bars or use a heart-shaped cookie cutter to create festive shapes.