
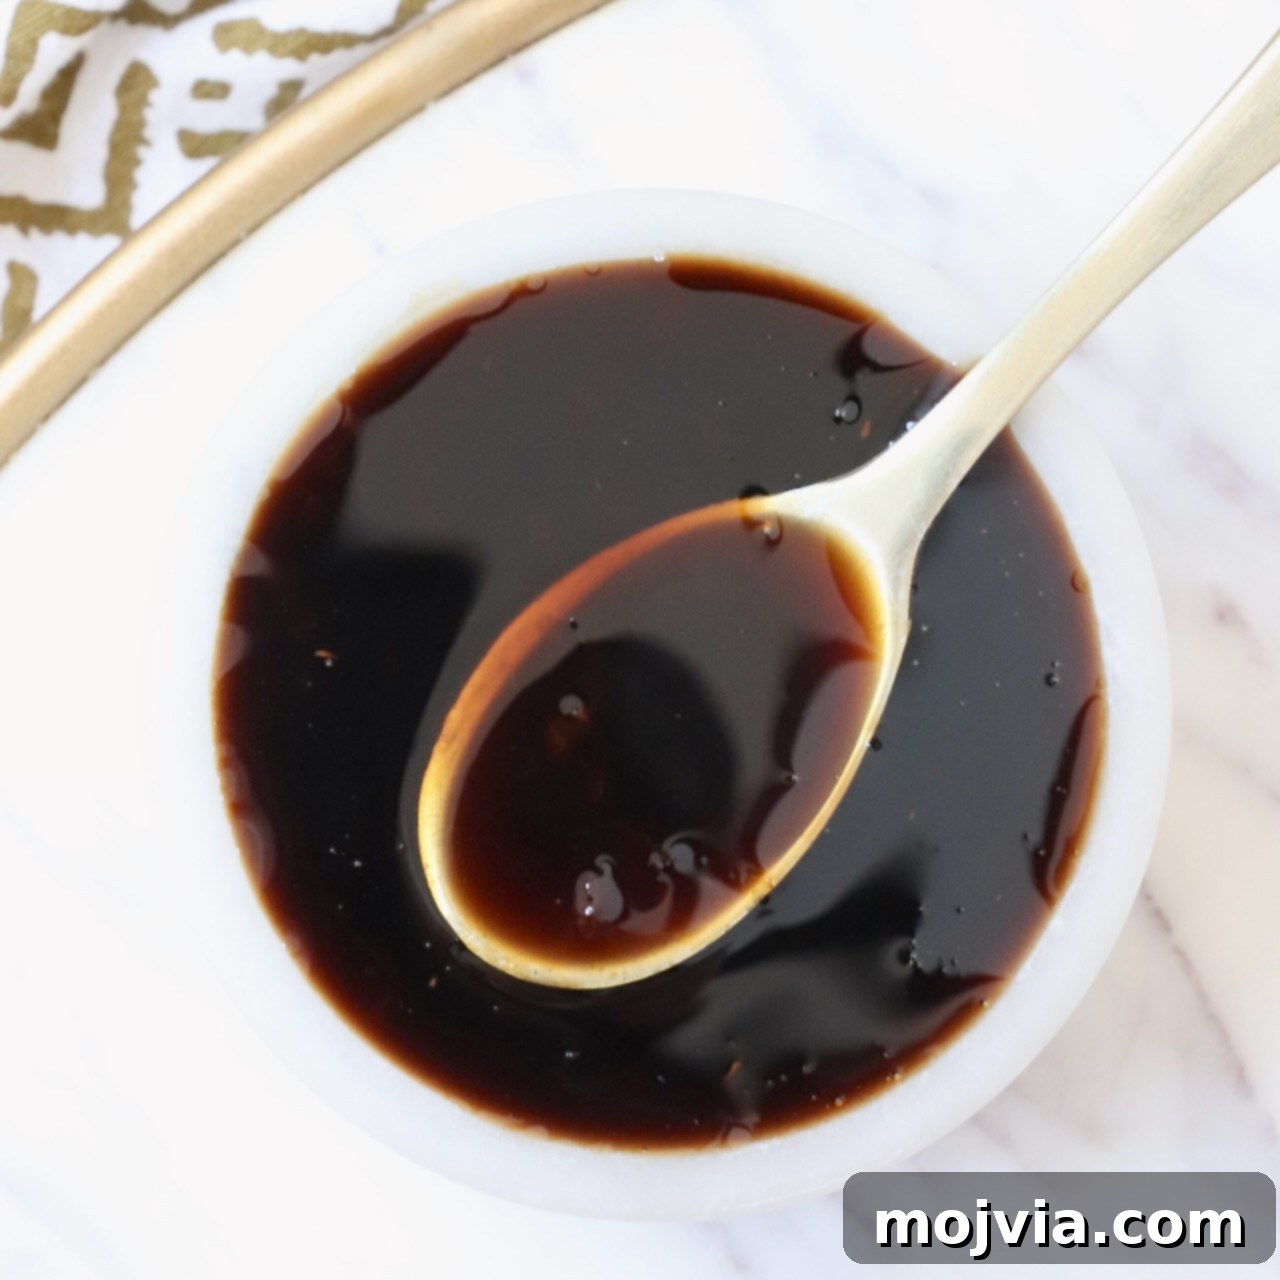
Welcome to the definitive guide for crafting the ultimate homemade Teriyaki Sauce – a staple Japanese condiment that effortlessly bridges sweet and savory flavors. This incredibly easy recipe, requiring just 6 simple ingredients and 10 minutes of your time, transforms ordinary meals into extraordinary culinary experiences. Whether you’re whipping up a quick weeknight stir-fry, glazing succulent chicken or salmon, or adding an irresistible finish to your Hawaiian burgers, this versatile sauce is your secret weapon. Prepare a batch today, store it conveniently in your fridge for up to two weeks, and elevate a multitude of dishes with its authentic, rich flavor profile.
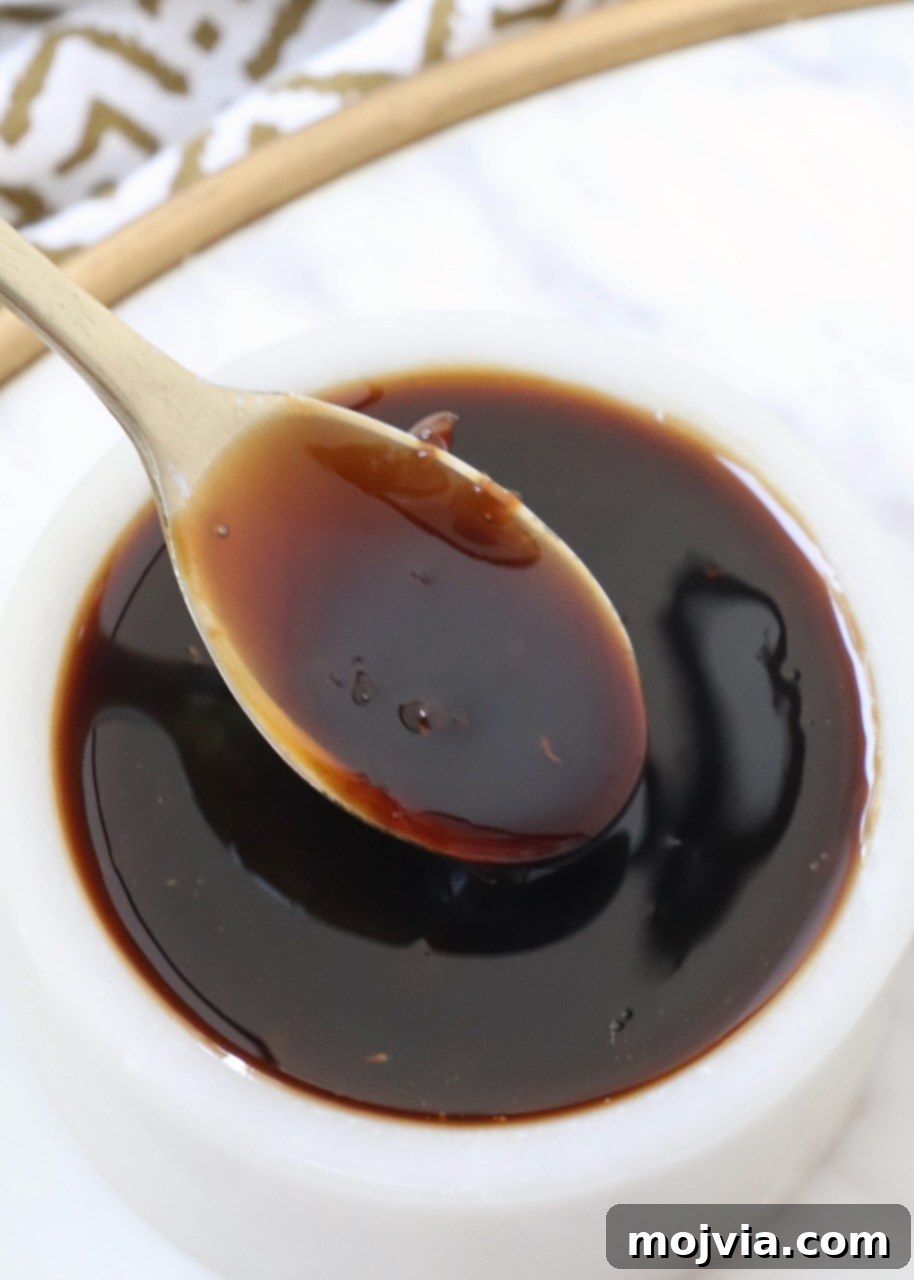
Table of contents
- The Essence of Teriyaki: Why Homemade is Best
- Unveiling the Simple Ingredients
- Step-by-Step Guide to Perfection
- Expert Recipe Notes and Tips
- Unleash the Versatility: Ways to Use Your Teriyaki Sauce
- Explore More Flavorful Sauce Recipes
The Essence of Teriyaki: Why Homemade is Best
Teriyaki sauce, a foundational element in Japanese cuisine, is celebrated globally for its irresistible blend of sweet, salty, and umami notes. While countless bottled options line grocery store shelves, none truly compare to the vibrant, fresh flavors of a homemade batch. Over the years, I’ve experimented with this incredible sauce in countless dishes – from sizzling stir-fries and savory noodles to gourmet hot dogs and grilled skewers. Its adaptability makes it a true kitchen hero, effortlessly enhancing a diverse range of proteins and vegetables.
Today, I am thrilled to share my tried-and-true homemade teriyaki sauce recipe, which has become a staple in my kitchen. What makes this recipe exceptional is its remarkable simplicity: a mere 6 ingredients and just 10 minutes are all you need to create a rich, authentic sauce that outshines any store-bought alternative. Beyond its ease of preparation, this sauce is incredibly convenient. You can prepare it in advance and store it in your refrigerator for up to two weeks, making it an ideal make-ahead component for busy weeknight meals. The control you gain over the quality of ingredients, sodium levels, and sweetness ensures a healthier and more flavorful result tailored precisely to your preferences. Ditch the preservatives and artificial flavors; embrace the simple goodness of homemade.
Unveiling the Simple Ingredients
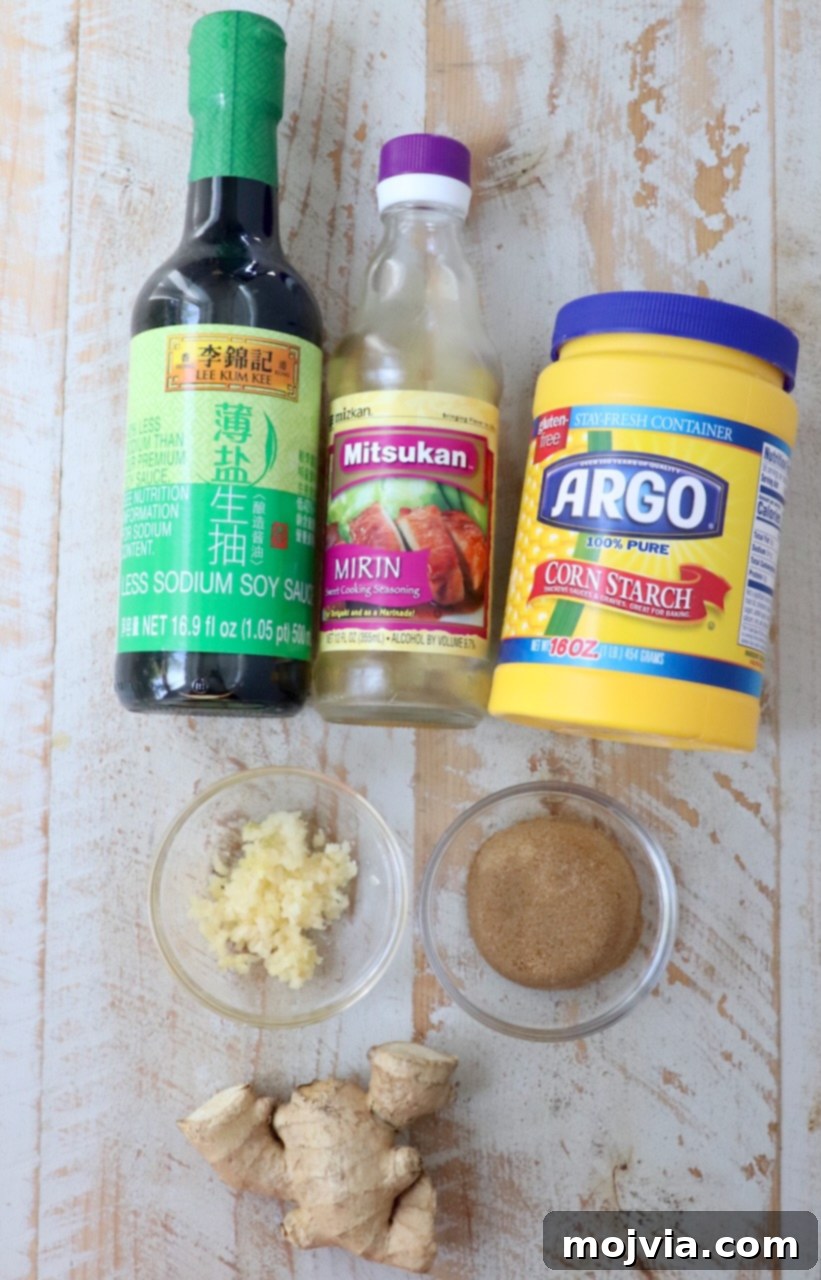
Creating an exceptional homemade teriyaki sauce doesn’t require an extensive shopping list. This recipe relies on a handful of readily available ingredients, each playing a crucial role in developing that signature sweet and savory balance. Let’s delve into what makes each component indispensable:
- Soy Sauce: The backbone of any teriyaki sauce, providing its characteristic salty and umami depth. I highly recommend using a low-sodium soy sauce to prevent the finished sauce from becoming overly salty. Regular soy sauce can often overpower the other delicate flavors. For those seeking a gluten-free option, tamari or a certified gluten-free soy sauce is an excellent substitute, ensuring everyone can enjoy this delicious recipe.
- Mirin: This Japanese sweet rice wine is a key ingredient, imparting a subtle sweetness and a beautiful gloss to the sauce. Mirin has a lower alcohol content and a distinctly sweeter profile compared to sake, which is also traditionally used in authentic Japanese teriyaki recipes. If mirin is unavailable, you could consider sake, though the final sauce might be slightly less sweet. Rice vinegar can also be used in a pinch, but be mindful that it will introduce a more sour and acidic note, altering the classic teriyaki flavor. You can typically find mirin in the Asian foods aisle of most major grocery stores, often located near the soy sauce and other Asian condiments.
- Brown Sugar: Our primary sweetener, brown sugar contributes a deep, caramelized sweetness and a hint of molasses that complements the soy sauce beautifully. It helps create that signature sticky glaze effect often associated with teriyaki dishes. Both light and dark brown sugar work well, with dark brown sugar offering a slightly richer flavor.
- Fresh Garlic and Ginger: These aromatic powerhouses are essential for infusing the sauce with vibrant, fresh flavor. I highly recommend crushing fresh garlic cloves and grating a knob of fresh ginger for the most impactful taste. The bright, pungent notes of fresh aromatics truly elevate the sauce beyond what dried alternatives can offer. For convenience, if you have a jar of garlic ginger puree on hand, 2 teaspoons can be substituted for the fresh ingredients without sacrificing too much flavor.
- Cornstarch: This simple ingredient is the thickening agent that transforms the watery sauce into a luscious, glaze-like consistency. When mixed with cold water to form a “slurry,” it prevents lumps and ensures a smooth, glossy finish. Without cornstarch, your teriyaki sauce would remain thin and runny, making it less effective as a coating or glaze.
- Water: Used in conjunction with cornstarch to create the slurry, ensuring smooth integration into the simmering sauce and proper thickening.
Step-by-Step Guide to Perfection
Crafting this homemade teriyaki sauce is a straightforward process, broken down into just a few simple steps. Follow these instructions carefully to achieve a perfectly balanced and beautifully thickened sauce:
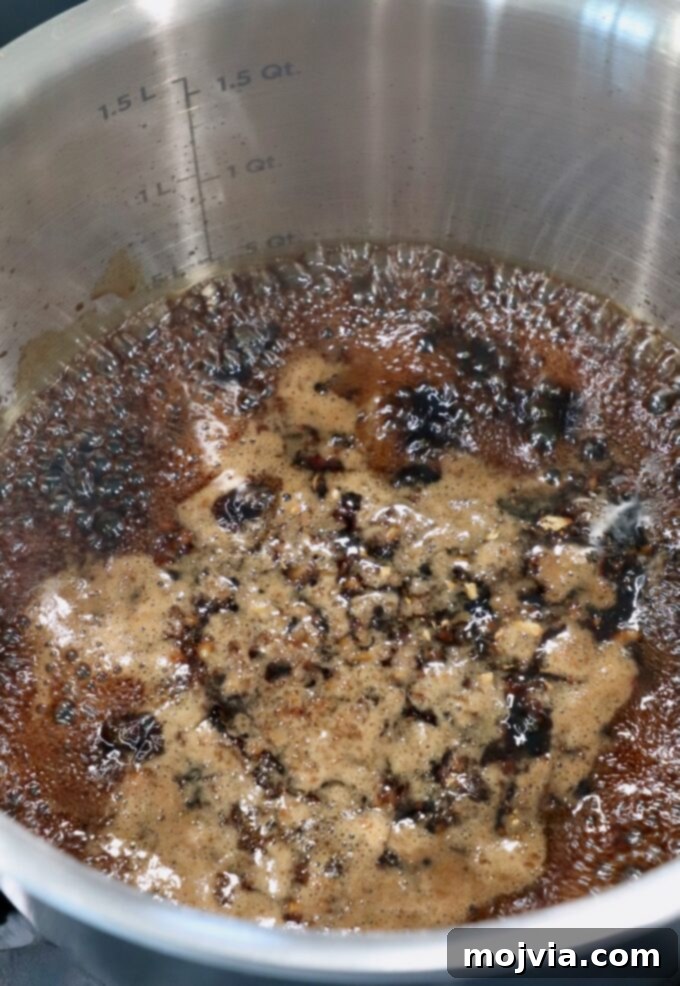
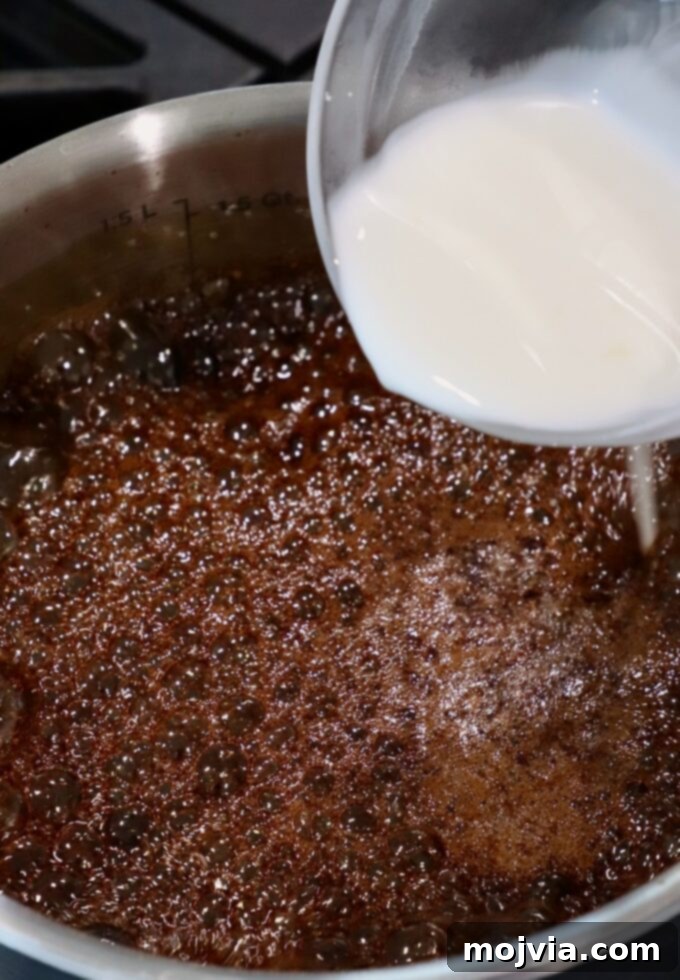
- Combine and Simmer Base Ingredients: Begin by adding the soy sauce, mirin, brown sugar, crushed garlic, and grated ginger to a medium saucepan. Place the saucepan on the stove over medium-high heat. Whisk all the ingredients together thoroughly until the brown sugar has dissolved. Bring the mixture to a rolling simmer – this means you’ll see consistent, active bubbles breaking the surface. Once simmering, reduce the heat slightly to maintain a gentle simmer and continue cooking for 4-5 minutes. This step allows the flavors to meld and deepen, developing the rich base of your teriyaki sauce.
- Prepare and Add the Thickening Slurry: While the sauce is simmering, prepare your cornstarch slurry. In a small separate bowl, combine 2 tablespoons of cornstarch with 2 tablespoons of cold water. Whisk this mixture vigorously until it’s completely smooth and no lumps remain. This slurry is essential for thickening the sauce. Once your base sauce has simmered for the recommended time, slowly pour the cornstarch slurry into the simmering sauce in the saucepan while continuously whisking. This ensures the cornstarch is evenly distributed and prevents clumping.
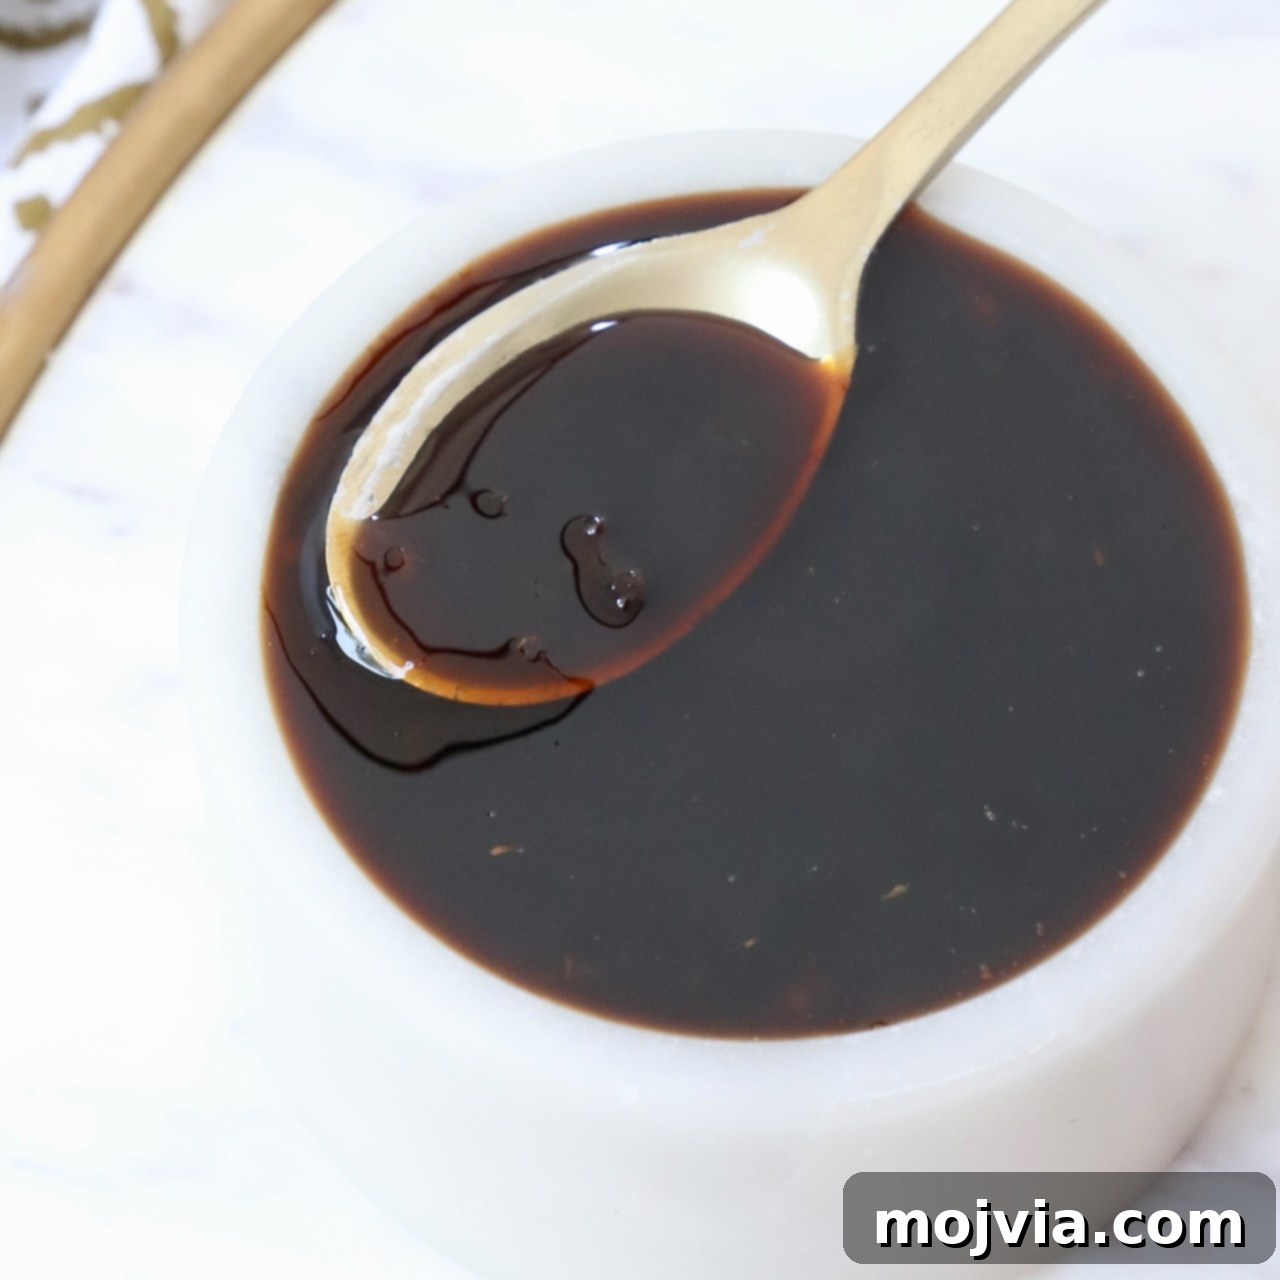
- Thicken and Cool: After adding the slurry, reduce the heat on the stove to medium. Continue to simmer the sauce, whisking frequently, for another 3-4 minutes. During this time, you’ll notice the sauce gradually thickening to a luscious, glossy consistency. Once it reaches your desired thickness (remembering it will thicken further as it cools), remove the saucepan from the heat. Set it aside and allow the sauce to cool completely before transferring it to an airtight container for storage or immediate use. The cooling process is crucial for the sauce to achieve its final, perfect texture.
Expert Recipe Notes and Tips
To ensure your homemade teriyaki sauce is perfect every time, keep these expert tips and notes in mind:
- Understanding Thickness: It’s important to remember that the sauce will significantly thicken as it sits and cools. What might seem slightly thin when hot will become much thicker once at room temperature or refrigerated. If you prefer an even thicker, more robust glaze, you can increase the amount of both cornstarch and cold water to 3 tablespoons each when preparing the slurry. For a thinner sauce, you can slightly reduce the cornstarch or add a teaspoon of water at the end if it’s too thick after cooling.
- Gluten-Free Adaptation: Making this teriyaki sauce gluten-free is simple. The key is to use tamari instead of traditional soy sauce. Tamari is a Japanese soy sauce that is typically gluten-free and offers a similar rich umami flavor. Additionally, always make sure to double-check the label on your mirin to confirm it is gluten-free, as some brands may contain traces of wheat. The Mirsukan brand, often pictured in blog posts and widely available, is a reliable gluten-free option.
- Doubling the Recipe: This recipe is incredibly easy to scale up. If you’re planning a large gathering, prepping meals for the week, or simply want to have extra on hand, you can easily double the batch. The ingredient amounts can simply be multiplied by two, and the cooking times will remain largely similar, though you might need an extra minute or two for simmering to achieve the desired thickness in a larger volume.
- Storage and Shelf Life: Proper storage is key to enjoying your homemade teriyaki sauce for an extended period. Once cooled, transfer the sauce to an airtight container and store it in the refrigerator for up to 2 weeks. Always use a clean spoon or utensil when scooping out the sauce to prevent contamination and extend its freshness. For longer storage, you can freeze teriyaki sauce in freezer-safe containers or ice cube trays for up to 3 months. Thaw in the refrigerator before use.
- Ingredient Quality: Opt for fresh, high-quality garlic and ginger for the best flavor. While jarred purees are convenient, fresh aromatics provide a more vibrant and authentic taste that truly makes a difference.
Unleash the Versatility: Ways to Use Your Teriyaki Sauce
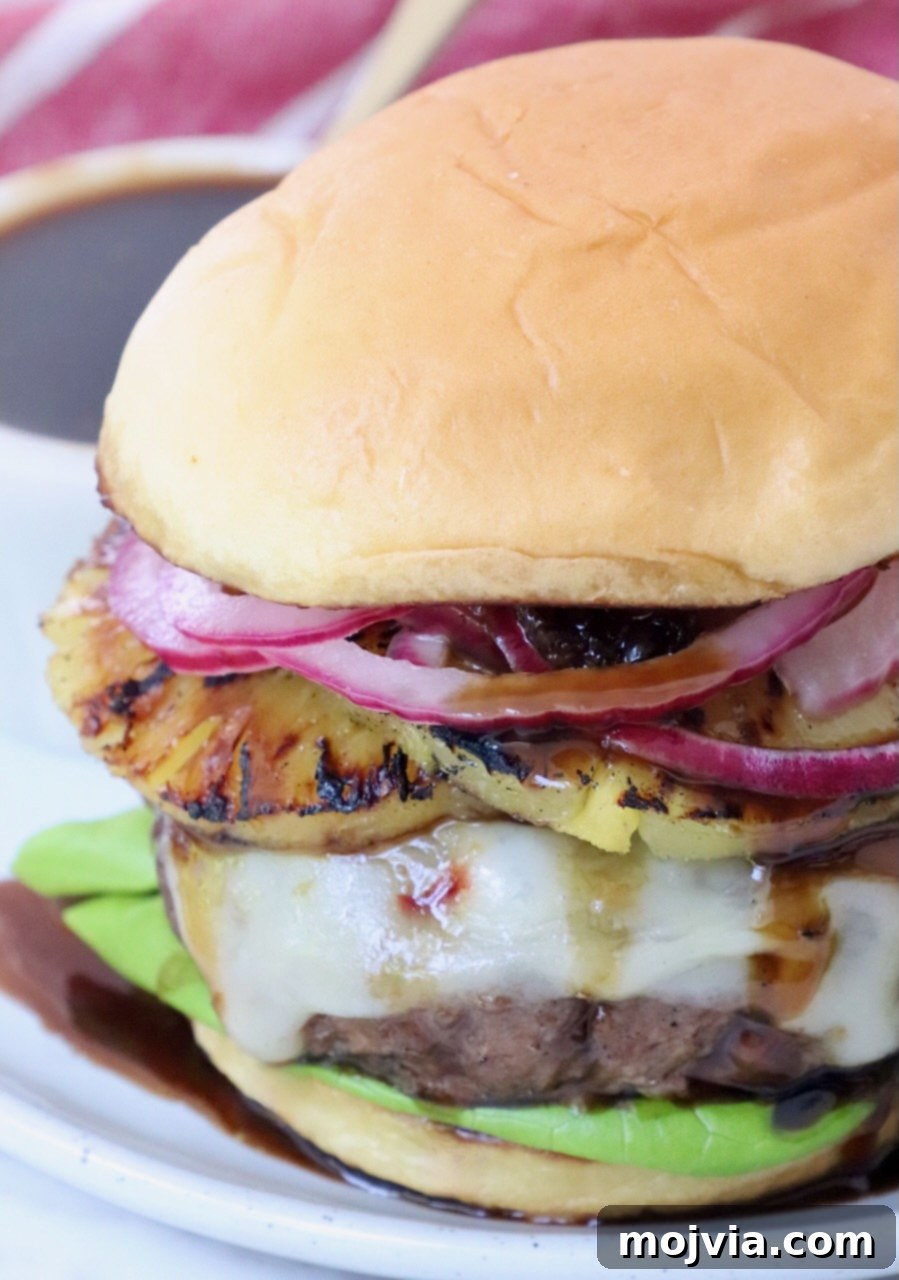
The beauty of this homemade teriyaki sauce lies in its incredible versatility. It’s not just for stir-fries; it can transform a wide array of dishes, adding a touch of Japanese-inspired sweetness and umami to almost anything. Use it as a vibrant meat marinade, a luscious glaze for grilled foods, a flavorful dipping sauce, an irresistible topping for burgers or hot dogs, or as the star sauce for noodles and rice bowls. It’s truly delicious in countless applications! Here are some fantastic ways to incorporate it into your cooking:
- As a Dynamic Marinade: Teriyaki sauce makes an outstanding marinade, tenderizing meats and infusing them with deep flavor. Prepare the teriyaki sauce as instructed and allow it to cool completely in the fridge. For approximately 2 pounds of chicken breasts, chicken thighs, or even firm tofu, use about ¾ cup of the cooled sauce. Marinate your chosen protein for at least 30 minutes to allow the flavors to penetrate, or for up to 8 hours for an even more intense taste. Remove the protein from the marinade (discarding any leftover marinade that touched raw meat) and grill, bake, or pan-fry to perfection. This is excellent for meal prep!
- As a Brilliant Glaze for Grilled Meats: Elevate your grilling game by using this sauce as a finishing glaze. Season boneless, skinless chicken breasts or thighs (or even shrimp and salmon fillets) with a simple sprinkle of salt and pepper. Grill your protein as usual until it’s almost fully cooked. During the last 1-2 minutes of cooking time, generously brush the homemade teriyaki sauce over the chicken, shrimp, or salmon. The heat will caramelize the sugars in the sauce, creating a beautiful, glossy, and intensely flavorful coating. This method works wonderfully for grilled shrimp or salmon, adding a sweet and savory crust.
- As the Heart of a Flavorful Stir-Fry: This teriyaki sauce is absolutely perfect for creating quick, delicious, and healthy stir-fries. To start, add 1 tablespoon of your preferred cooking oil to a large skillet or wok over medium-high heat. Toss in about 3 cups of your favorite diced vegetables – think vibrant bell peppers, crunchy broccoli florets, tender cauliflower, sliced onions, or crisp sugar snap peas – and stir-fry for 3-4 minutes until they are slightly tender-crisp. Next, add 1 pound of diced chicken breast or thigh (or for a vegetarian stir-fry, add an additional 2 cups of mixed vegetables or some firm tofu). Cook for another 5 minutes, ensuring the chicken is cooked through. Finally, pour all of the prepared teriyaki sauce from this recipe into the skillet. Toss everything together until the chicken and vegetables are thoroughly coated in the rich sauce, and continue cooking for just 1-2 minutes more to allow the sauce to fully meld. Serve your irresistible stir-fry immediately with fluffy cooked rice or noodles, garnished with a sprinkle of diced green onions and toasted sesame seeds for an extra touch of flavor and crunch.
Beyond these primary applications, this versatile sauce can also be incorporated into any of these fantastic recipes:
- Hawaiian Burgers (as pictured above, an absolute flavor explosion!)
- Teriyaki Chicken Stir Fry (a classic weeknight meal)
- One Pot Teriyaki Shrimp Lo Mein (for effortless dining)
- Teriyaki Chicken Zoodle Bowls (a lighter, low-carb option)
- Grilled Pineapple Teriyaki Hot Dogs (a fun, unexpected twist)
- Bacon Wrapped Teriyaki Chicken Skewers (an impressive appetizer or main)
Explore More Flavorful Sauce Recipes
Once you discover the joy and simplicity of making your own sauces from scratch, you’ll be hooked! Homemade sauces not only taste superior but also give you complete control over ingredients and freshness. Amp up the flavor of your next meal with these other delicious homemade sauce recipes, perfect for grilling, dipping, or everyday cooking:

Print Recipe
Pin Recipe
Rate this Recipe
Teriyaki Sauce
Ingredients
- ½ cup low-sodium soy sauce
- ½ cup mirin, or sake
- ¼ cup brown sugar
- 4 cloves garlic, crushed
- 1 teaspoon fresh ginger, grated
- 2 tablespoons cornstarch
- 2 tablespoons water
Instructions
-
Heat a saucepan on the stove over medium-high heat. Add the soy sauce, mirin, brown sugar, garlic and ginger to the pan, whisk to combine. Bring to a boil, then simmer for 4-5 minutes.
-
In a small bowl, combine the cornstarch and water. Add this mixture to the boiling sauce and whisk together thoroughly. Reduce the heat to medium and simmer for 3-4 minutes, or until the sauce thickens to your desired consistency.
-
Remove from the heat and set aside to cool completely. The sauce will thicken considerably as it sits and cools. If you desire a thicker sauce, you may increase the amount of both cornstarch and water to 3 tablespoons each.
Notes
- To make gluten-free teriyaki sauce, use tamari instead of soy sauce. Always check the label on the mirin to make sure it’s gluten free. The Mirsukan brand mentioned above in the blog post is a suitable gluten-free option.
- This recipe can easily be doubled. Simply adjust the ingredient quantities to make a double batch of the sauce for larger meals or extended storage.
- Store the sauce in the refrigerator for up to 2 weeks in an airtight container for optimal freshness and flavor.
- For detailed instructions on how to use this sauce to create a delicious stir-fry or as a marinade, please refer to the comprehensive usage section in the blog post above for expert tips and serving suggestions.