
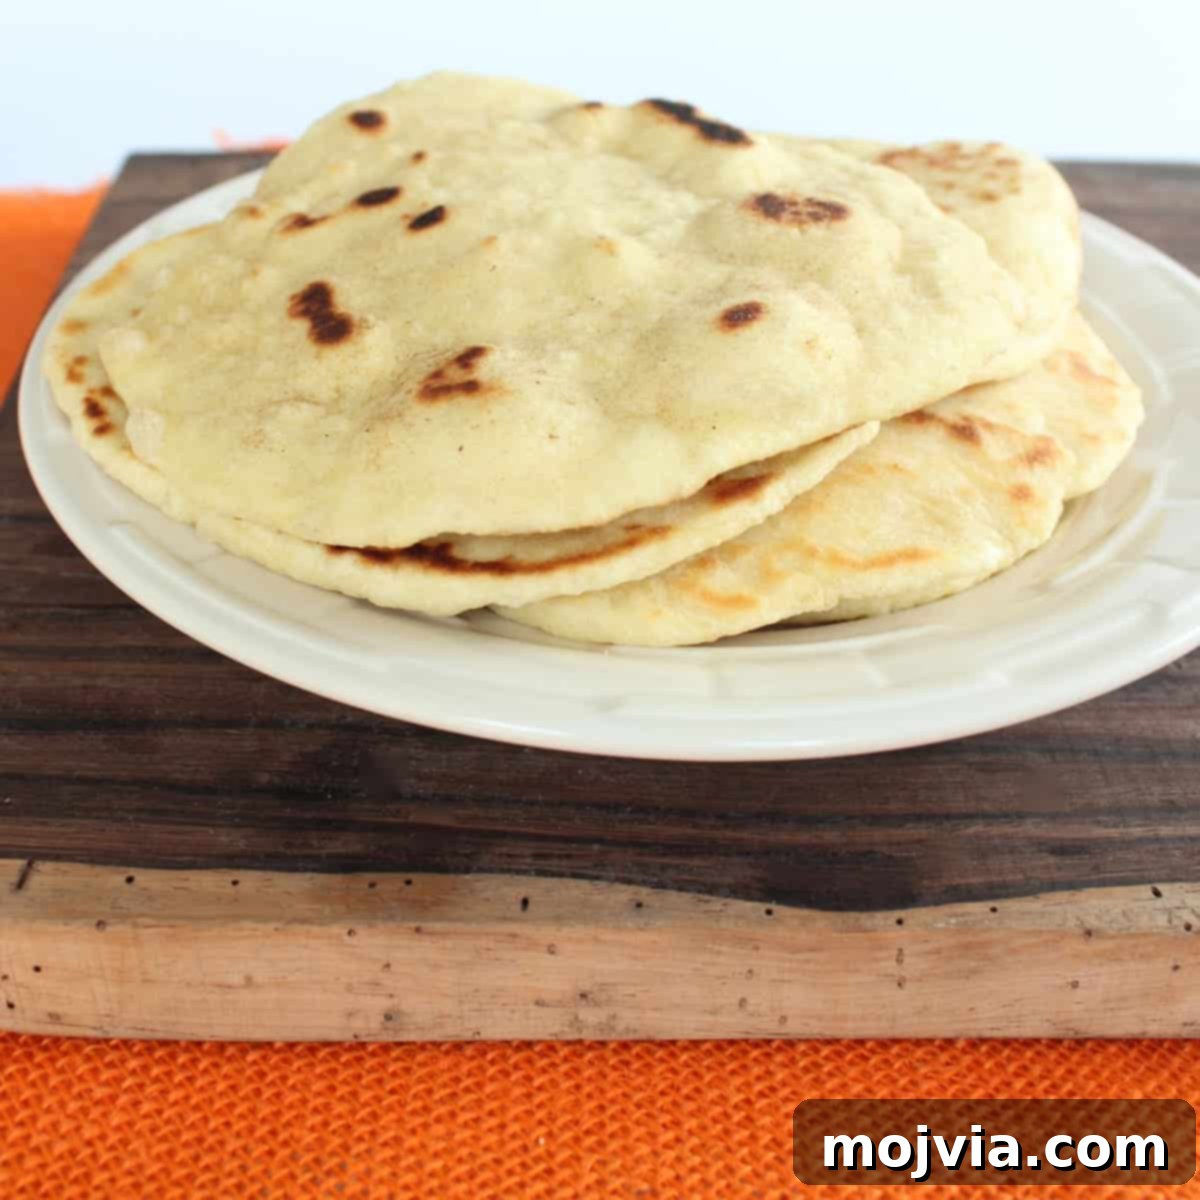
Authentic Thai Pan-Fried Roti Bread Recipe: Your Guide to Fluffy, Flavorful Flatbread
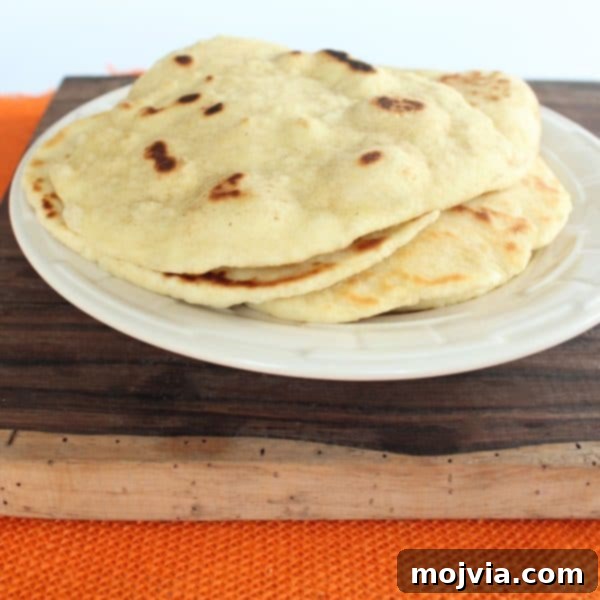
Embark on a culinary journey to Southeast Asia right from your kitchen with this incredibly simple yet utterly delicious recipe for **Thai Pan-Fried Roti Bread**. This unleavened flatbread, a beloved staple across South and Southeast Asian cuisines, including the vibrant street food scene of Thailand, is traditionally served alongside rich and aromatic curry dishes. Imagine a warm, soft, and slightly crispy bread, perfectly designed to soak up every flavorful drop of your favorite curry sauce or to complement a variety of sweet and savory accompaniments. Forget about bland, store-bought alternatives; mastering homemade Roti is not only easier than you might think but also infinitely more rewarding, offering an authentic taste experience that is unparalleled.
My recipe inspirations often come from diverse global cuisines, and this particular dish was directly sparked by the irresistible Pan-Fried Roti Bread I encountered as a favorite Thai appetizer. Its remarkable simplicity and sheer versatility captivated me. Beyond its traditional role, I’ve found creative ways to enjoy this delightful flatbread, from dipping it into a robust Thai Yellow Curry to transforming leftover pieces into unique and satisfying meals, such as these innovative Thai Peanut Pulled Pork Roti Bread Pizzas. The culinary possibilities truly expand when you have a batch of freshly made Roti ready at your fingertips!
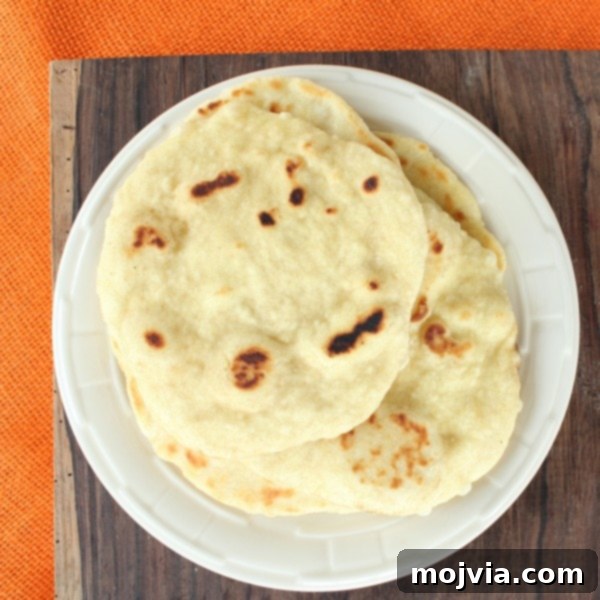
This recipe is meticulously crafted to focus on straightforward preparation while achieving that ideal balance of chewiness in the interior and a delicate crispness on the exterior, characteristic of perfectly pan-fried flatbread. It represents a fundamental bread that brings warmth, comfort, and an authentic burst of flavor to any meal. Whether you consider yourself a seasoned culinary enthusiast or are just beginning your adventures in the kitchen, you are sure to find immense joy and satisfaction in crafting this scrumptious Thai flatbread from scratch.
Understanding Roti: A Global Culinary Staple
Roti, a name derived from the Sanskrit word “rotikā,” meaning “bread,” refers to an extensive category of unleavened flatbreads that form an indispensable part of culinary traditions across South Asia, Southeast Asia, and even the Caribbean. Unlike breads that rely on yeast or other leavening agents to rise, Roti is fundamentally simple, made without such additions, which results in its characteristic thin, pliable, and often slightly chewy texture. In Thailand, the term “Roti” frequently evokes images of a beloved sweet, pan-fried street food, often enhanced with sliced bananas and a generous drizzle of condensed milk. However, savory variations, like the one we are about to prepare, are equally popular and serve as an essential accompaniment to a wide array of curries, stews, and other main dishes.
The timeless appeal of Roti lies in its humble origins and minimalist ingredient list—typically just flour, water, and salt—coupled with its remarkably simple preparation method. This makes it an incredibly accessible and foundational bread in countless cultures, embodying more than just food; it often symbolizes sustenance and communal gathering. Our Thai Pan-Fried Roti recipe embraces these traditional principles, providing a quick and immensely satisfying way to infuse your home cooking with the distinct and delightful flavors of authentic Asian cuisine.
The Unmatched Benefits of Homemade Pan-Fried Roti
While the convenience of store-bought options can be tempting, there is an unparalleled allure and depth of flavor found in freshly prepared homemade Roti. Here are compelling reasons why investing a little time in making this Pan-Fried Roti recipe from scratch is a decision you won’t regret:
- Unrivaled Freshness and Authentic Taste: Absolutely nothing compares to the enticing aroma and exquisite taste of Roti cooked minutes before it reaches your plate. The delicate nuances of the flour and the rich notes of olive oil truly come alive, delivering a sensory experience far superior to any pre-packaged alternative.
- Complete Ingredient Control: Crafting Roti at home grants you full transparency and control over what goes into your food. You can be assured that your bread is free from artificial preservatives, additives, or unnecessary ingredients often found in commercial products. This recipe champions simple, wholesome components for a pure taste.
- Endless Customization Potential: Once you have mastered the foundational recipe, you unlock a world of culinary experimentation. Feel free to explore variations by incorporating different flour types (perhaps a blend of all-purpose and whole wheat), infusing the dough with fresh herbs, or even adding a touch of sugar for a subtly sweeter Roti that can serve as a dessert.
- Economical and Budget-Friendly: The primary ingredients required for Roti are remarkably inexpensive, positioning it as an incredibly budget-friendly option. Whether you’re aiming to feed a large gathering or simply wish to enjoy a delicious, satisfying meal without straining your finances, homemade Roti is an excellent choice.
- A Truly Rewarding Culinary Experience: The tactile process of kneading the dough, the satisfying rhythm of rolling out each disk, and the sheer delight of watching them beautifully puff up in the hot pan are profoundly therapeutic and immensely gratifying. It’s a hands-on culinary adventure that consistently culminates in deliciously rewarding results.
- Exceptional Versatility for Pairing: Homemade Roti extends its utility far beyond being a mere accompaniment to Thai curries. It seamlessly pairs with a diverse range of dishes, from hearty Indian dals and vibrant Middle Eastern dips to serving as a creative base for quick, personalized pizzas, much like the imaginative Thai Peanut Pulled Pork Roti Bread Pizzas previously mentioned.
Key Ingredients for Pan-Fried Roti Bread
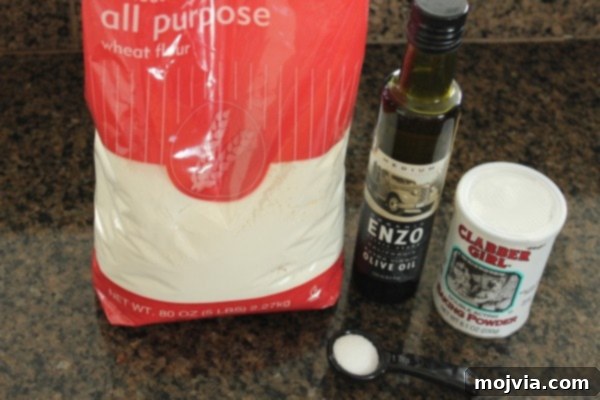
Creating this delightful flatbread begins with assembling your ingredients, all of which are common pantry staples, ensuring both accessibility and straightforward preparation. Each component plays a vital role in achieving the perfect texture and flavor of your homemade Roti:
- 3 cups All-Purpose Flour: This forms the essential foundation of our Roti, providing the necessary structure and desirable texture. Using all-purpose flour guarantees a dough that is both soft and exceptionally pliable, leading to tender Roti.
- 1 tsp Baking Powder: While Roti is traditionally classified as an unleavened bread, a modest addition of baking powder in this recipe serves a specific purpose. It contributes to a slightly softer, fluffier interior and significantly aids in the formation of those coveted bubbles during the frying process, closely mimicking the beloved Thai street-style Roti experience.
- 1 tsp Kosher Salt: An indispensable ingredient for elevating and enhancing the overall flavor profile of the bread. Kosher salt, with its larger crystal size and clean taste, is preferred for its ability to season the dough effectively without imparting harshness.
- 2 tbsp Olive Oil (plus more for cooking): Olive oil is incorporated into the dough to add richness, improve pliability, and prevent sticking during handling. Furthermore, a generous amount is crucial for the pan-frying stage, which is responsible for giving the Roti its signature golden-brown, invitingly crispy exterior.
- 1 cup Water: As the primary hydrating agent, water is responsible for binding all the dry ingredients together to form a cohesive dough. It’s important to note that the exact quantity of water may require slight adjustments based on the specific type of flour you use and the ambient humidity in your kitchen.
Pan-Fried Roti Bread Instructions: A Detailed Step-by-Step Guide
Follow these meticulously detailed steps to flawlessly create Pan-Fried Roti that will undoubtedly impress everyone at your table. Precision in each stage and a little patience are your key allies for success!
-
Combine Dry Ingredients:
Begin by taking a large mixing bowl. Add the 3 cups of all-purpose flour, 1 teaspoon of baking powder, and 1 teaspoon of kosher salt. Using a whisk or a fork, thoroughly combine these dry ingredients. This crucial step ensures that the baking powder and salt are evenly distributed throughout the flour, which is vital for achieving a consistent texture and balanced flavor in every piece of your Roti.

-
Incorporate Olive Oil:
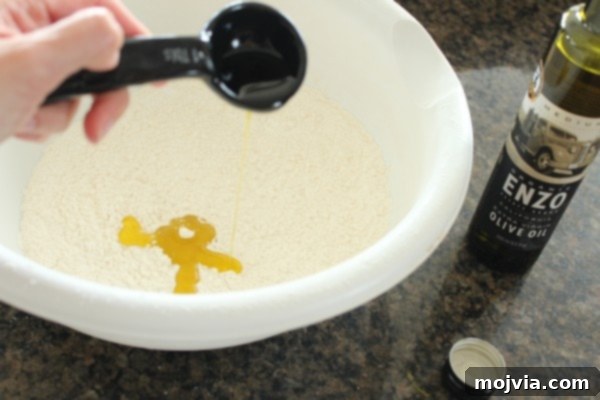
Next, drizzle 2 tablespoons of olive oil over the mixed dry ingredients in the bowl. With your fingertips, gently rub the olive oil into the flour mixture until the consistency resembles coarse crumbs. This process helps to tenderize the dough significantly, adds a wonderful depth of flavor, and contributes to a soft and pliable Roti once it’s cooked.
-
Form the Dough:
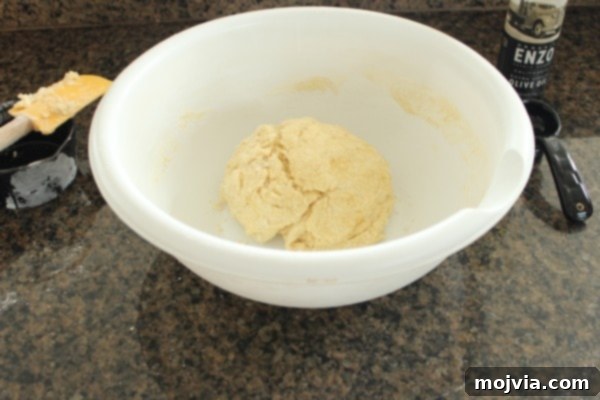
Gradually pour in 1 cup of water, adding it a little at a time while mixing with your hands. Continue to mix until a solid, somewhat shaggy ball of dough starts to form. Transfer the dough to a lightly floured surface and knead it gently for about 5-7 minutes. The dough should come together, feel soft, and be slightly tacky to the touch, but it should not stick excessively to your hands. If it feels too dry or crumbly, incorporate an additional tablespoon of water incrementally until the desired consistency is achieved. Conversely, if the dough is too sticky, sprinkle in a small amount of extra flour until it becomes manageable.
-
Allow Dough to Rest:
Once your dough ball is perfectly formed and smooth, return it to the bowl. Cover the bowl securely with a clean kitchen towel or plastic wrap. Allow the dough to rest at room temperature for a minimum of 30 minutes. This resting period is absolutely essential as it gives the gluten in the flour sufficient time to relax, making the dough considerably easier to roll out thinly and contributing to a significantly more tender final Roti. Do not rush or skip this crucial step for optimal results!
-
Divide into Balls:
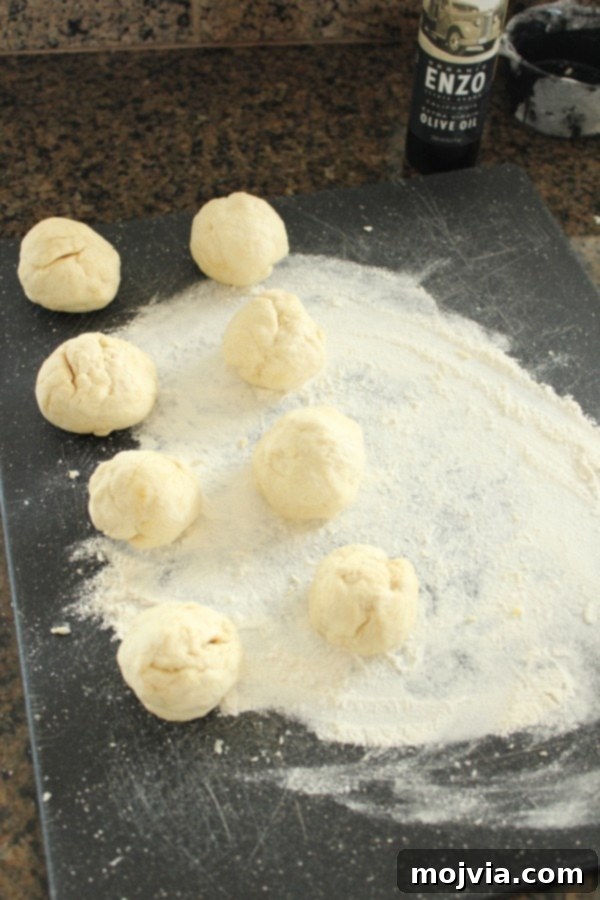
After the dough has rested, transfer it to a lightly floured work surface. Briefly knead it for about 1 minute to gently bring it back together. Then, carefully divide the entire dough into 8 equal small balls. For best consistency and uniform Roti sizes, you can optionally weigh each ball, aiming for approximately 2.5 to 3 ounces per piece.
-
Roll Out Disks:
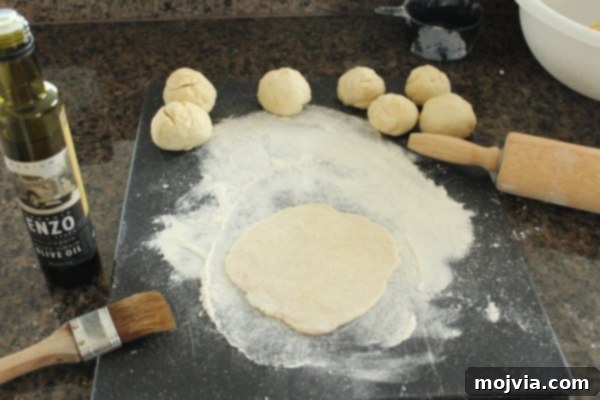
Take one of the dough balls and gently flatten it slightly with the palm of your hand. Using a rolling pin, roll each ball into a thin, perfectly circular disk, aiming for a diameter of approximately 6-8 inches. Strive for an even thickness across the entire disk to ensure that each Roti cooks uniformly. Lightly dust your work surface and rolling pin with flour as needed to prevent any sticking, but be mindful to avoid using excessive flour, which can lead to a tougher Roti.
-
Prepare Skillet for Frying:
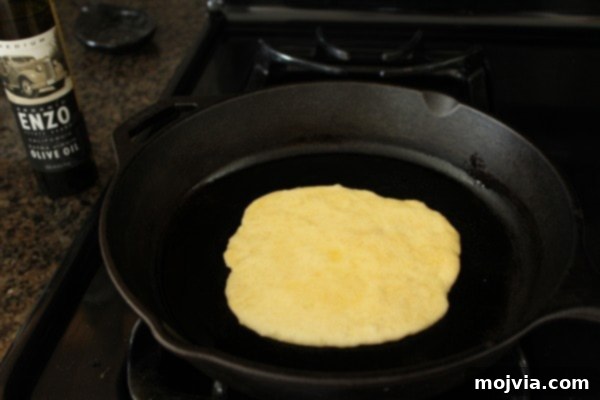
Lightly brush both sides of each rolled-out Roti disk with a small amount of olive oil. This step not only enhances the flavor but is also key to achieving that beautiful golden-brown and slightly crispy crust. Place a cast iron skillet or a heavy-bottomed non-stick pan over medium-high heat on your stovetop. Before you place the first Roti, add about a tablespoon of olive oil to the hot pan, ensuring the entire bottom surface is well-coated. The pan should be sufficiently hot that a small drop of water sizzles instantly upon contact.
-
Cook the First Side:
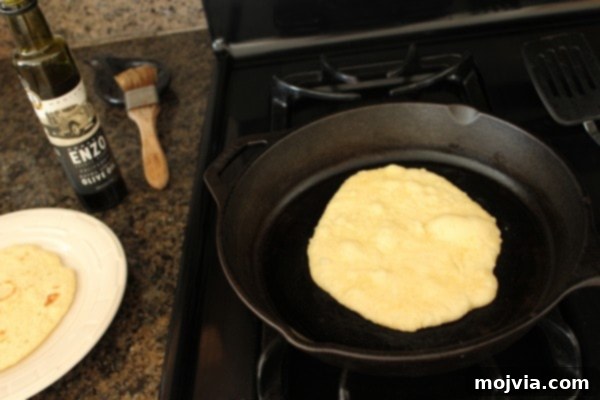
Carefully place one Roti disk into the hot, oiled skillet. Allow it to cook for approximately 1-2 minutes on the first side, or until you begin to observe distinct bubbles forming across the surface and the underside has turned a pleasing light golden brown. The appearance of these bubbles is a fantastic indicator that your Roti is cooking beautifully and is on its way to developing a soft, airy interior.
-
Flip and Finish Cooking:
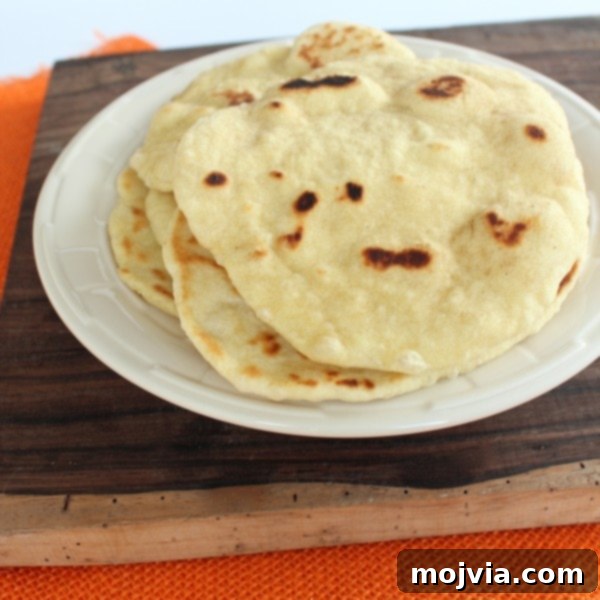
Using a pair of tongs or a spatula, gently flip the Roti over to its uncooked side. Continue to cook for another 1-2 minutes, or until this side also achieves a lovely golden-brown hue and the Roti is thoroughly cooked through. The finished Roti should feel soft and pliable, with occasional delightfully crispy edges. Adjust the heat as necessary throughout the cooking process to prevent any burning while ensuring it cooks fully.
-
Serve Warm:
Once cooked, remove the Roti from the pan. To keep it warm and soft while you prepare the remaining dough, stack the cooked Roti and wrap them loosely in a clean kitchen towel. Continue this process with the rest of your dough balls, adding more olive oil to the pan as needed for each new Roti. Serve your freshly made Pan-Fried Roti immediately to savor its best texture and flavor!
Expert Tips for Crafting Perfect Pan-Fried Roti Every Time
While making Roti might seem straightforward, a few expert tips can truly transform your homemade flatbread from simply good to absolutely exceptional. Pay attention to these details for consistently delicious results:
- Avoid Over-Kneading: While a moderate amount of kneading is crucial to bring the dough together and develop some elasticity, over-kneading can result in excessive gluten development, making your Roti tough and chewy instead of soft and pliable. Aim for a dough that feels smooth and elastic but remains wonderfully soft.
- Prioritize the Resting Period: This step is genuinely non-negotiable. The recommended 30-minute rest allows the gluten strands within the dough to fully relax. This relaxation is key because it makes the dough significantly easier to roll out thinly without constantly springing back, and it directly contributes to a more tender and delicate final product.
- Aim for Uniform Thickness: Strive to roll out each Roti disk to as consistent a thickness as possible. Inconsistent thickness can lead to parts of the Roti being undercooked or even burnt, while other sections are perfectly cooked. A target diameter of 6-8 inches with even thickness is ideal for a standard-sized Roti.
- Master the Pan Temperature: A properly heated skillet is paramount for success. If your pan is not hot enough, the Roti will absorb too much oil, resulting in a greasy rather than crisp texture. Conversely, if the pan is excessively hot, the Roti will burn rapidly on the outside before it has a chance to cook through. Medium-high heat typically offers the best balance.
- Don’t Be Shy with Frying Oil: While we’re not deep-frying, using a sufficient amount of olive oil in the pan is crucial. This helps the Roti cook evenly, crisp up beautifully, and develop its distinctive, appealing golden-brown color. Remember to lightly brush both sides of each Roti disk before placing it in the pan, and replenish the oil in the pan as needed for subsequent Roti.
- Watch for the Bubbles: The appearance of bubbles forming on the surface of the Roti as it cooks is your visual cue that it’s time to flip. These bubbles are indicators that the Roti is cooking correctly and is beginning to develop a light, airy, and delightful texture within.
- Serve Immediately for Best Experience: Roti is truly at its peak when enjoyed fresh off the pan. Its soft, warm texture combined with its subtle crispness is unparalleled in the moments immediately following cooking. If you need to keep several pieces warm while cooking a batch, simply stack them and wrap them snugly in a clean kitchen towel.
Diverse Serving Suggestions: Beyond Traditional Curries
While Pan-Fried Roti forms a quintessential pairing with an extensive array of curries, its incredible versatility allows it to shine in numerous other culinary contexts. Here are some delectable ways to enjoy your freshly made homemade Roti, extending its use far beyond the conventional:
- The Quintessential Curry Companion: Roti is an absolutely perfect match for rich and intensely flavorful Thai curries such as a vibrant Thai Yellow Curry, a hearty Massaman Curry Chicken, or a comforting bowl of Massaman Curry Noodles. Its soft texture makes it ideal for expertly scooping up thick sauces and tender pieces of meat or vegetables.
- Harmonious with Soups: Elevate your soup experience by serving Roti alongside a robust bowl of Thai Noodle Soup or a soothing and aromatic Thai Coconut Soup with Potstickers. The Roti introduces a satisfying bread component, perfect for dipping and adding substance to liquid-based meals.
- Exquisite Appetizer with Dips: Transform Roti into a delightful appetizer by pairing it with a variety of savory dips. Think creamy hummus, smoky baba ghanoush, or a zesty spicy peanut sauce, reminiscent of the delicious sauce served with Thai Chicken Satay.
- Innovative Roti Pizzas: Unleash your creativity and utilize Roti as a fantastically quick and easy pizza base! Simply spread a layer of your preferred tomato sauce, generously sprinkle cheese, add your favorite toppings (like the inspiring Thai Peanut Pulled Pork Roti Bread Pizzas mentioned earlier), and then either bake or pan-fry until the cheese is beautifully melted and bubbly.
- A Decadent Sweet Indulgence: A highly popular street food variation in Thailand involves taking warm Roti and generously drizzling it with sweetened condensed milk, often accompanied by a sprinkle of sugar, or even fresh banana slices before folding. This creates a truly decadent and satisfying dessert or snack.
- Versatile Wraps and Sandwiches: Employ larger Roti disks as adaptable wraps for an array of fillings. They are excellent for holding grilled meats, flavorful falafel, or a medley of fresh vegetables, offering a healthy and flavorful meal option that’s perfect for on-the-go enjoyment.
Frequently Asked Questions About Pan-Fried Roti
Q: Can I prepare Roti dough in advance?
A: Absolutely! After you have prepared the dough and allowed it to complete its initial 30-minute rest, you can tightly cover it with plastic wrap and store it in the refrigerator. The dough will keep well for up to 24 hours. Before you plan to roll and cook your Roti, ensure you allow the refrigerated dough to return to room temperature for approximately 30 minutes; this will make it much more pliable and easier to work with.
Q: Is it possible to use whole wheat flour for Roti?
A: Yes, certainly! You can easily substitute a portion of the all-purpose flour with whole wheat flour. For instance, a blend of 1.5 cups all-purpose flour and 1.5 cups whole wheat flour can create a healthier Roti with a distinct, nutty flavor. Keep in mind that whole wheat flour tends to absorb more water, so you might need to slightly increase the water quantity to achieve the perfect dough consistency. The resulting texture will also be a bit denser than that made with solely all-purpose flour.
Q: My Roti isn’t puffing up during cooking; what could be the reason?
A: Several factors can influence whether your Roti puffs as expected:
- Dough Consistency: If the dough is either too stiff or excessively sticky, it may struggle to puff properly.
- Rolling Technique: Unevenly rolled Roti or the presence of small holes or tears in the dough can prevent it from retaining steam and puffing. Aim for uniform thickness.
- Pan Temperature: The skillet must be adequately hot. If the pan is too cool, the steam necessary to create the puff won’t generate quickly enough.
- Insufficient Resting Time: If the dough hasn’t rested for long enough, the gluten might be too tight, inhibiting its ability to expand and puff.
Don’t be discouraged if your Roti doesn’t puff perfectly every time; it will still be wonderfully delicious!
Q: What is the best way to store leftover Pan-Fried Roti?
A: To store cooked Roti, first allow them to cool completely to room temperature. Stack them with sheets of parchment paper in between each Roti to prevent them from sticking together. Then, place them in an airtight container or a resealable plastic bag. They can be stored at room temperature for up to 2 days, or in the refrigerator for up to 4 days.
Q: How should I reheat Roti for the best results?
A: For optimal results, reheat Roti gently on a dry skillet over medium heat for approximately 30-60 seconds per side, or until they are thoroughly warmed through and regain their soft texture. You can also lightly brush them with a tiny bit of oil before reheating to help restore a fresh taste and texture. It’s generally best to avoid microwaving, as this method can often make Roti tough and chewy.
Recipe Card: Pan-Fried Roti Bread
Pan-Fried Roti Bread
Thai Pan-Fried Roti bread is an unleavened bread popular in South Asia that is simple to make and typically served with curry dishes.
- Servings: 8 slices roti bread
- Prep Time: 15 mins
- Resting Time: 30 mins
- Total Time: 45 mins
- Author: Whitney Bond
- Course: Appetizer, Side Dish, Snack
- Cuisine: Thai
Ingredients
- 3 cups all-purpose flour
- 1 tsp baking powder
- 1 tsp kosher salt
- 2 tbsp olive oil, plus more for cooking
- 1 cup water
Instructions
- Combine the flour, baking powder, and salt in a large bowl.
- Drizzle in the olive oil and rub it into the dry ingredients.
- Add the water gradually until a solid ball of dough forms. Adjust water if too dry, or flour if too sticky.
- Allow the dough to rest, covered, for 30 minutes.
- Divide the dough into 8 small, equal-sized balls.
- Roll each ball into a 6-8 inch thin, circular disk.
- Lightly brush both sides of the dough with olive oil.
- Heat a cast iron skillet over medium-high heat with a tablespoon of olive oil.
- Place one Roti disk in the hot pan and cook until bubbles form on the surface (1-2 minutes).
- Flip and cook for another 1-2 minutes until golden brown on the other side.
- Repeat with the remaining dough, adding oil as needed, and serve immediately.
Nutrition Facts (per serving)
- Calories: 202 kcal (10% Daily Value)
- Carbohydrates: 36g (12% Daily Value)
- Protein: 4g (8% Daily Value)
- Fat: 3g (5% Daily Value)
- Sodium: 293mg (12% Daily Value)
- Potassium: 113mg (3% Daily Value)
- Fiber: 1g (4% Daily Value)
- Calcium: 34mg (3% Daily Value)
- Iron: 2.2mg (12% Daily Value)
Did you try this delicious Pan-Fried Roti recipe?
We’d love to see your creations! Tag @WhitneyBond on Instagram and use the hashtag #WBRecipes to share your culinary success!