
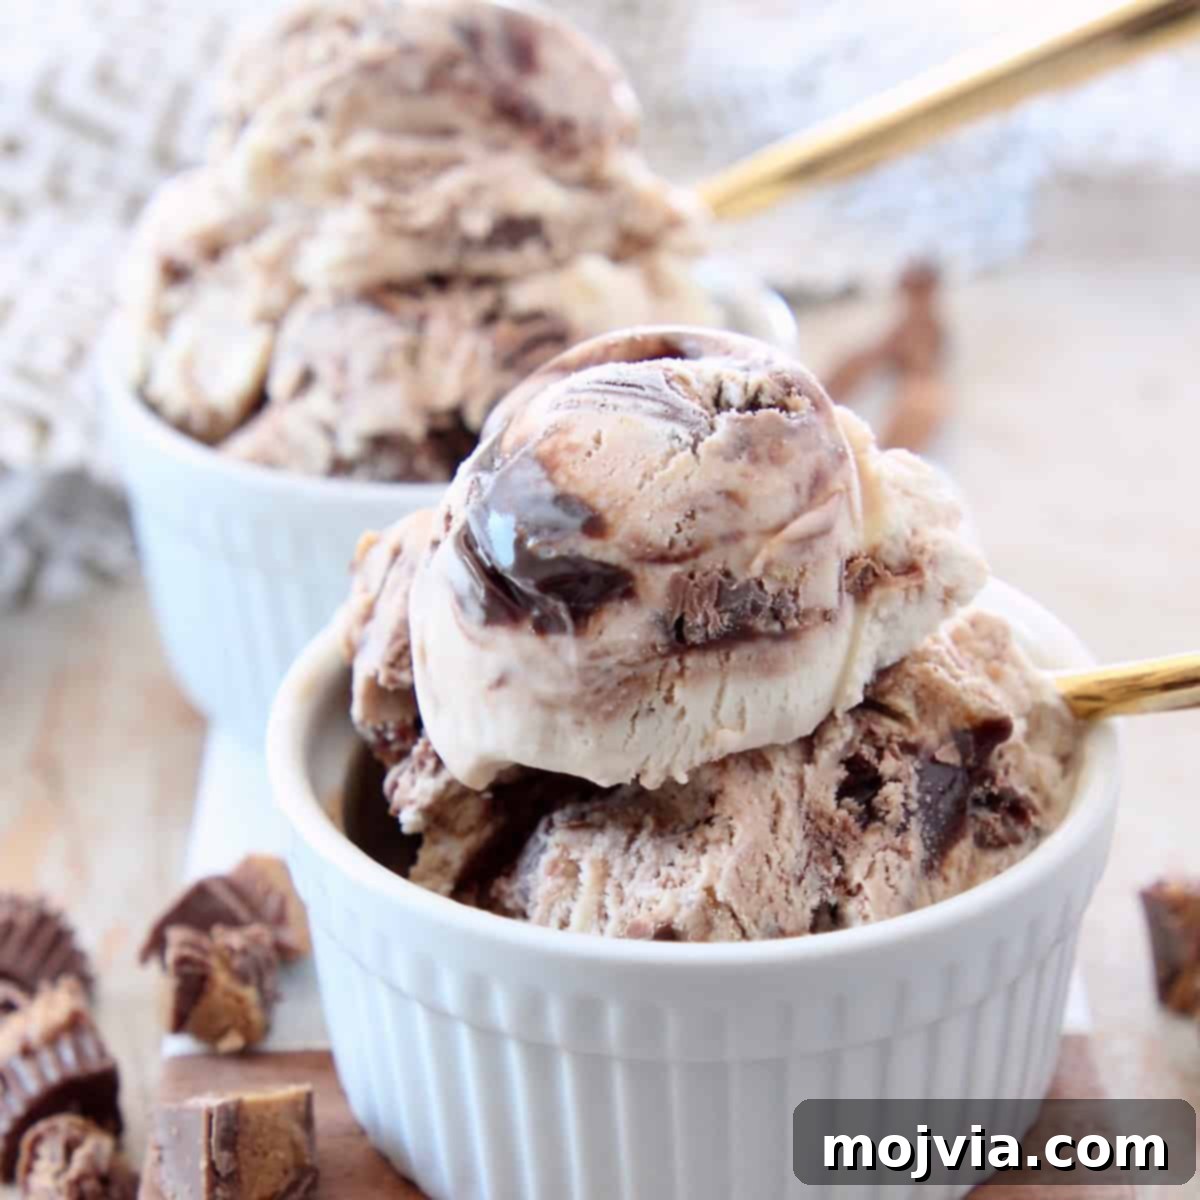
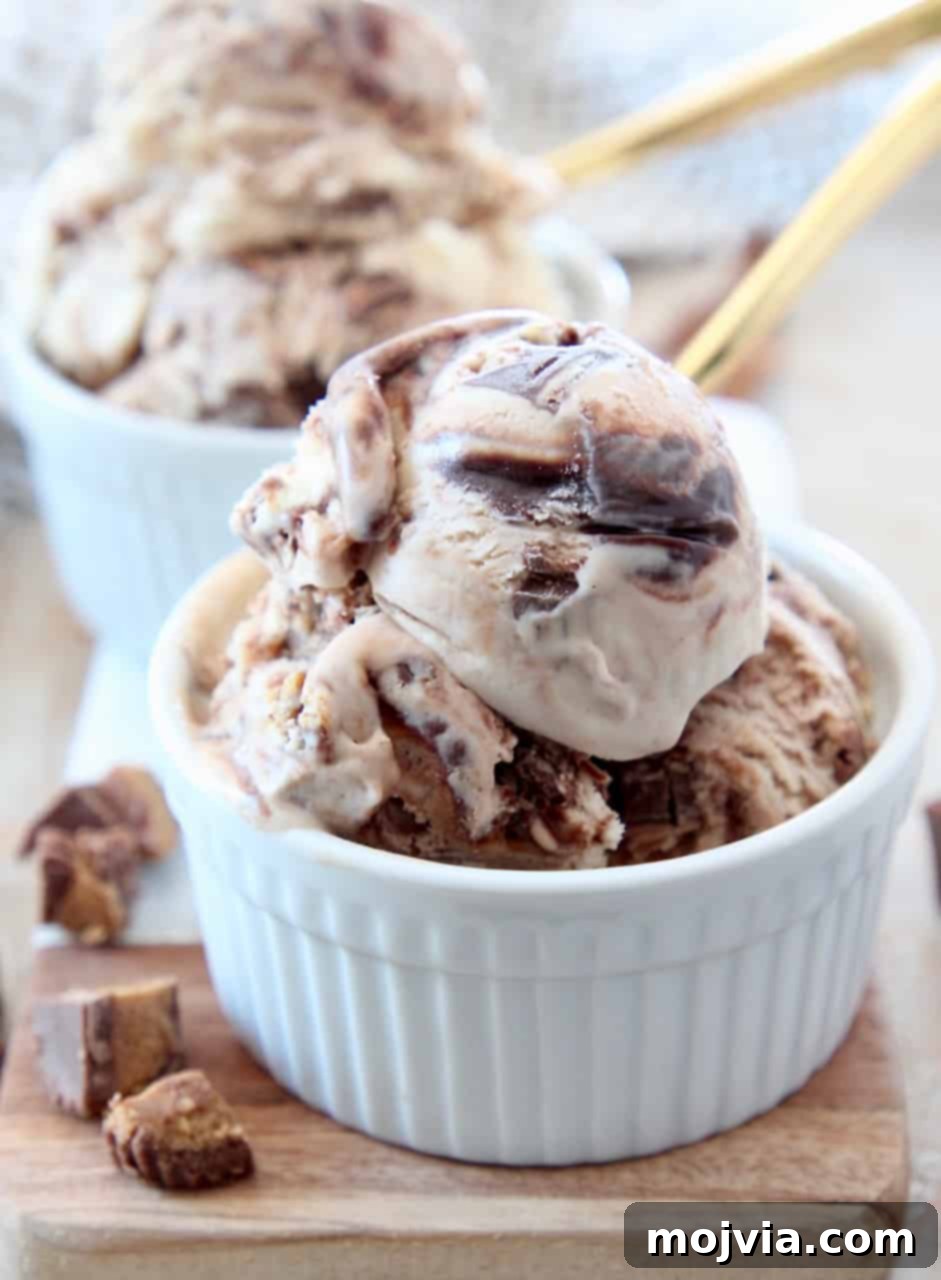
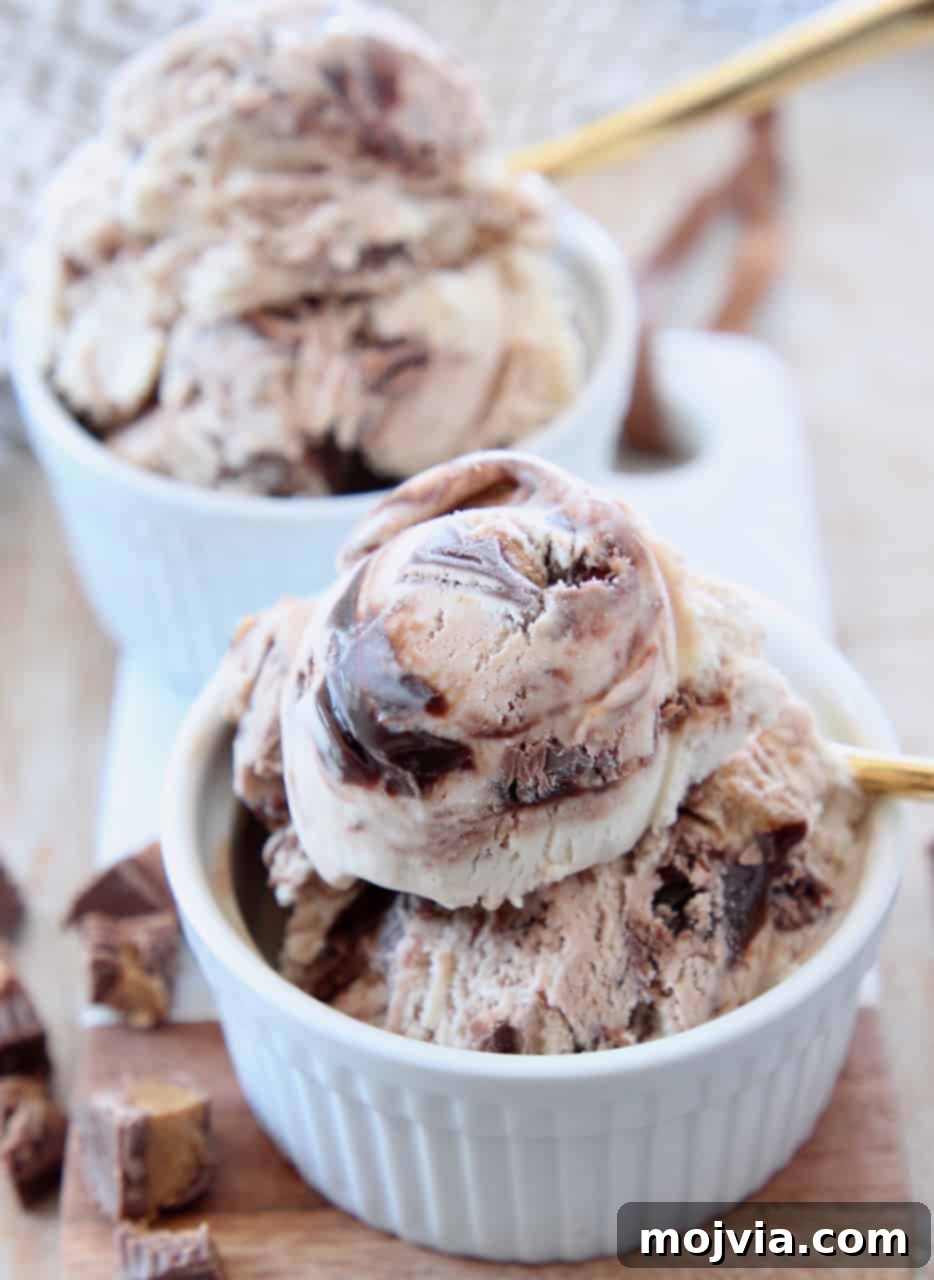
Indulge in the irresistible delight of homemade Moose Tracks Ice Cream, a creamy, dreamy treat brimming with rich hot fudge swirls and delectable peanut butter cup chunks. Forget the need for a bulky ice cream maker; this incredibly simple recipe allows you to whip up this frozen favorite with just 6 common ingredients and a mere 10 minutes of active prep time. Prepare to amaze your taste buds with a dessert that rivals any store-bought version, crafted right in your own kitchen.
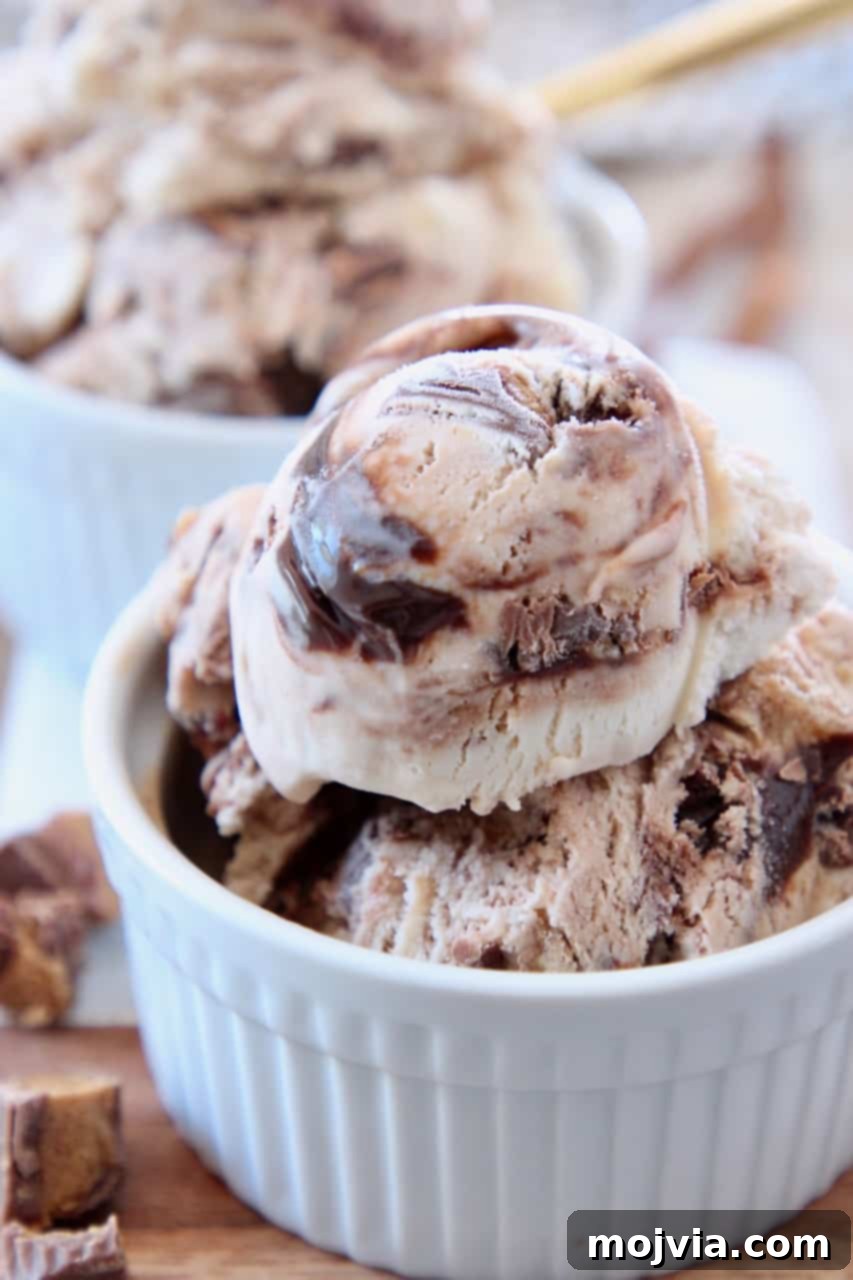
Table of Contents
- The Magic of No-Churn Moose Tracks
- Gather Your Ingredients
- Simple Step-by-Step Instructions
- Pro Tips for Perfect No-Churn Ice Cream
- Elevate Your Flavor: How to Make a Chocolate Version
- Explore More No-Churn Ice Cream Recipes
- No Churn Moose Tracks Ice Cream Recipe
The Magic of No-Churn Moose Tracks
For every peanut butter and chocolate enthusiast, this ice cream recipe is a dream come true! Moose Tracks ice cream first captivated dessert lovers in a Michigan ice cream parlor back in 1988. Its signature combination features luxuriously creamy vanilla ice cream, generously studded with peanut butter cups, and artfully swirled with ribbons of rich chocolate fudge. The result is an unbelievably delicious symphony of flavors and textures.
Since mastering the art of homemade no-churn ice cream in 2015, I’ve been on a delightful quest to transform all my favorite ice cream flavors into accessible no-churn versions. This method is a game-changer for home cooks, requiring minimal effort and no specialized equipment. With just four straightforward steps and a mere ten minutes of hands-on preparation, anyone can create restaurant-quality ice cream right in their own kitchen, making it the perfect project for both novice and experienced dessert makers.
Gather Your Ingredients
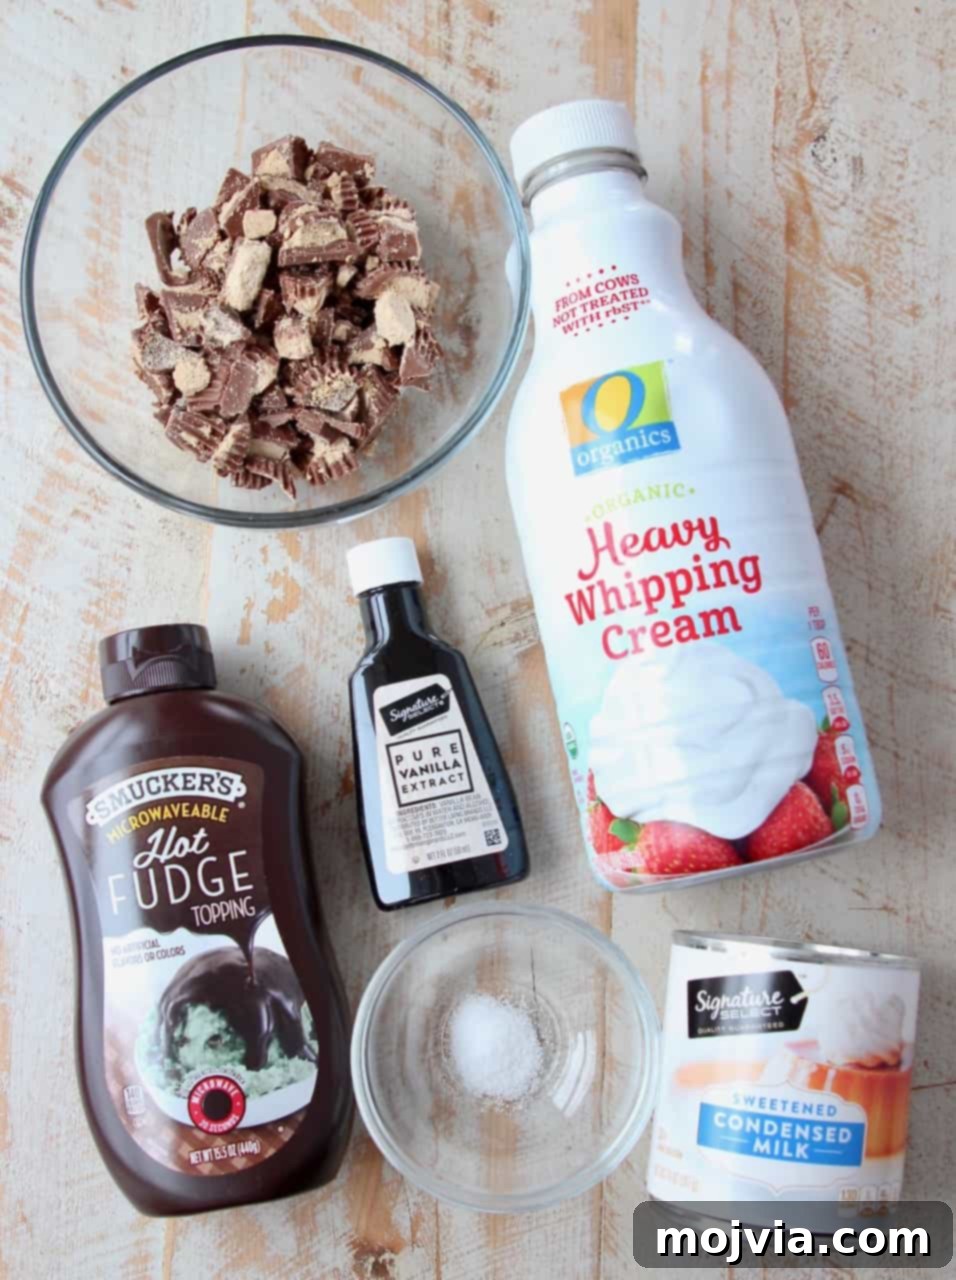
The beauty of this no-churn Moose Tracks ice cream lies in its simplicity, starting with a short list of accessible ingredients that deliver maximum flavor and creaminess.
- Sweetened Condensed Milk: This is the secret ingredient for no-churn ice cream. It provides the sweetness and creamy body, eliminating the need for an ice cream maker by preventing large ice crystals from forming. A standard 14-ounce can is perfect for this recipe.
- Vanilla Extract: Pure vanilla extract is essential for enhancing the classic vanilla base that Moose Tracks is known for. Use a good quality extract for the best flavor.
- Sea Salt: Just a pinch of sea salt balances the sweetness and brings out the depth of the other flavors, particularly the chocolate and peanut butter.
- Heavy Cream: Cold heavy cream (or heavy whipping cream) is whipped to stiff peaks, creating the light, airy texture that is characteristic of homemade ice cream. Ensure it is very cold for optimal whipping results.
- Peanut Butter Cups: These are a core component of Moose Tracks. For convenience, I often use Miniature Reese’s Peanut Butter Cups, but any size or brand will work beautifully. Since you’ll be chopping them, their original shape doesn’t matter. Feel free to use your favorite variety or even experiment with dark chocolate peanut butter cups for a richer flavor.
- Hot Fudge: The luscious hot fudge swirl is another signature element. I find an easy-to-use option like Smucker’s Microwaveable Hot Fudge incredibly convenient, as it can be warmed quickly for drizzling. However, your favorite store-bought fudge sauce or even a homemade version would be equally delicious. The key is to have it slightly warm and pourable for the best swirling effect.
Simple Step-by-Step Instructions
Creating this delightful no-churn ice cream is surprisingly easy. Follow these steps for a perfect batch every time:
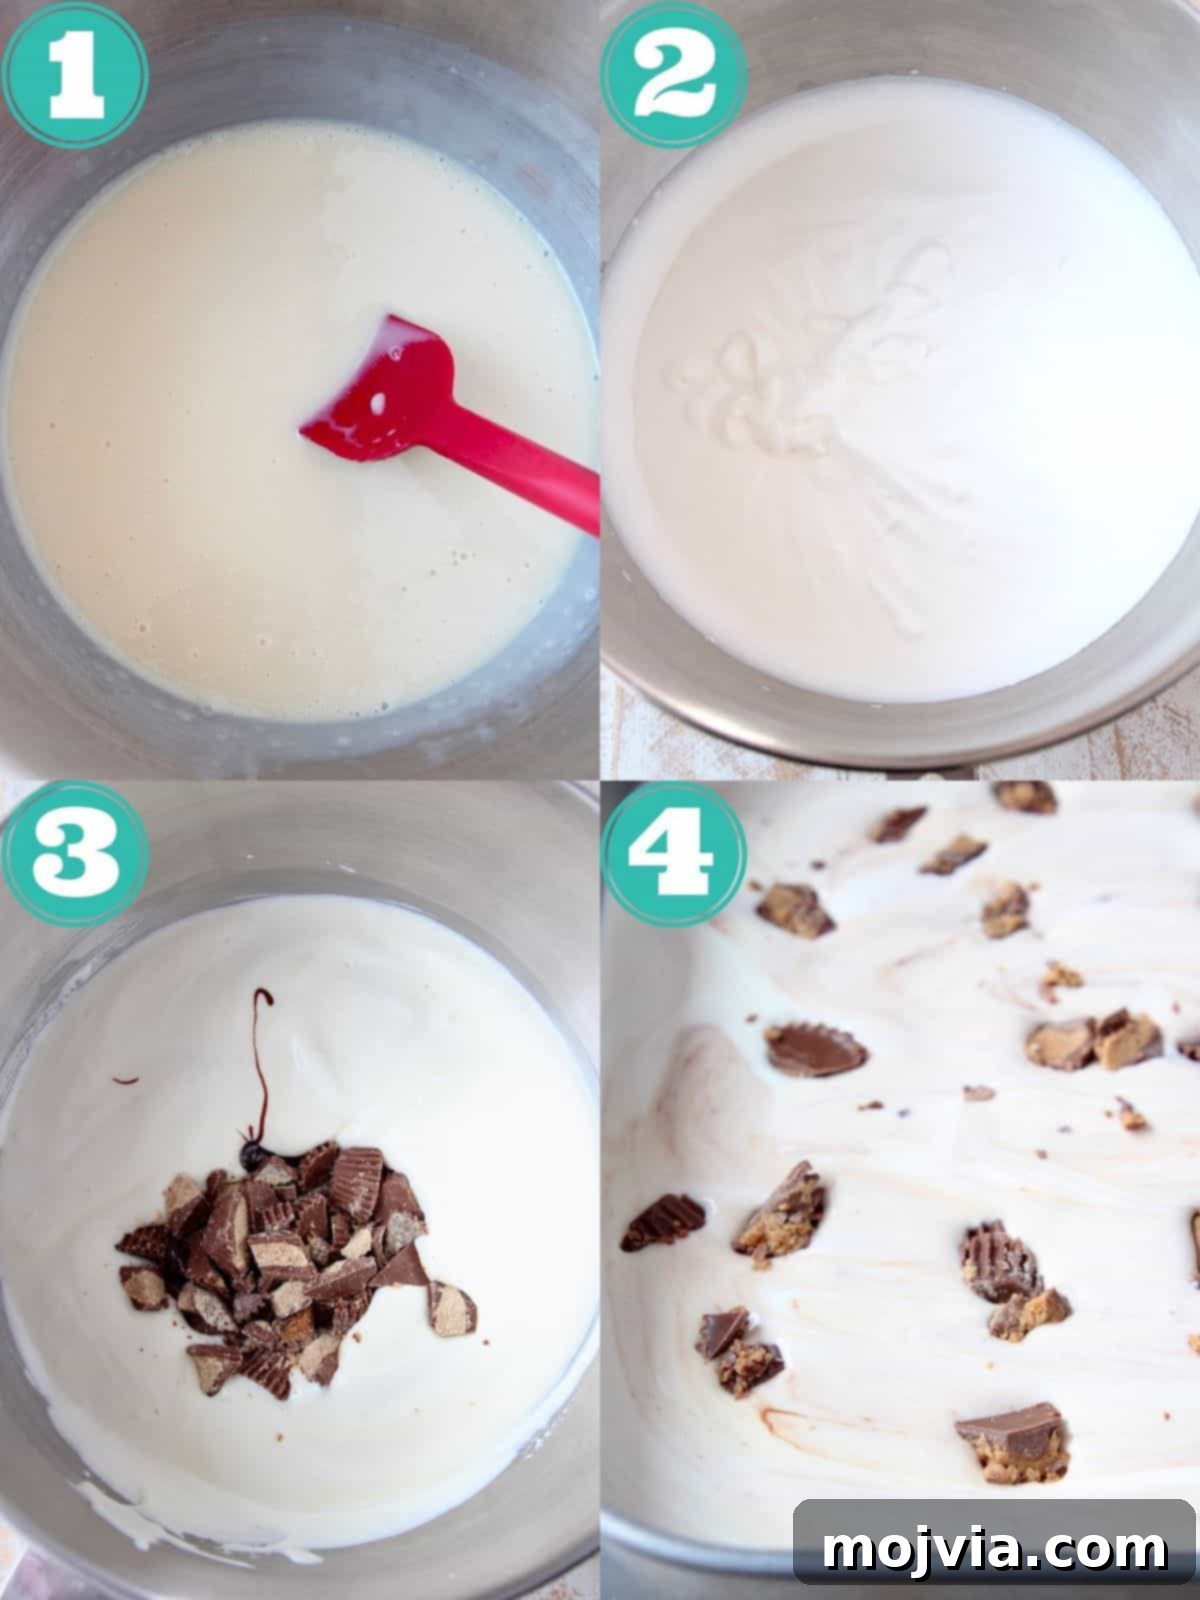
- Prepare the Base Mixture: In a large mixing bowl, combine the sweetened condensed milk, vanilla extract, and sea salt. Whisk these ingredients together until they are thoroughly blended and smooth. Set this bowl aside for a moment. This forms the foundational sweet and creamy component of your ice cream.
- Whip the Heavy Cream: Using either a stand mixer fitted with a whisk attachment or an electric hand mixer, whip the very cold heavy cream. Begin on medium-high speed and continue whipping until firm peaks form. This typically takes about 3-4 minutes. You’ll know it’s ready when the cream holds its shape when the whisk is lifted. If you don’t have a mixer, don’t worry! You can certainly whip the heavy cream by hand with a whisk; it just requires a bit more arm strength and makes for an excellent workout!
- Combine and Fold: Gently fold the reserved condensed milk mixture into the whipped cream using a rubber spatula. Use a light hand to preserve the airiness of the whipped cream, folding until just combined. The mixture should be homogenous but still light and fluffy.
- Add the Mix-ins: Warm your hot fudge in the microwave for approximately 30 seconds until it’s easily pourable. Add the warmed fudge and the chopped peanut butter cups into the ice cream base.
- Gently Swirl and Freeze: With your rubber spatula, gently fold the peanut butter cups and fudge into the ice cream. Be careful not to over-mix; the goal is to create beautiful swirls of fudge throughout the vanilla base, not to turn it into a solid chocolate ice cream. Transfer the mixture to a 2-quart (or larger) freezer-safe container. A metal container is often recommended for faster freezing. Cover the container tightly with a lid or plastic wrap to prevent freezer burn. Place it in the freezer for a minimum of 5 hours, or ideally, overnight, to allow it to firm up completely.
Pro Tips for Perfect No-Churn Ice Cream
Achieving the perfect creamy texture and rich flavor of homemade Moose Tracks ice cream is simple with these expert tips:
- Accelerate Freezing with Metal Containers: If you’re eager to enjoy your Moose Tracks ice cream as quickly as possible, opt for a metal container for freezing. Metal conducts cold more efficiently than plastic or glass, significantly reducing the freezing time.
- Optimize Freezer Placement: For the quickest freeze and best consistency, always place your ice cream container as far back in your freezer as possible. The front of the freezer and the freezer door are the warmest spots, leading to slower freezing and potentially more ice crystals. A colder, consistent temperature in the back helps the ice cream set beautifully.
- Understand the Yield: This recipe is designed to produce approximately 1/2 gallon of decadent ice cream, which translates to about 4 pints or a generous 12 scoops. It’s perfect for sharing with family and friends or keeping a stash for yourself!
- Master Long-Term Storage: To prevent dreaded freezer burn and maintain optimal freshness, always store your homemade ice cream in an airtight container. When properly sealed, this Moose Tracks ice cream will remain delicious in the freezer for up to 6 months. I personally love using durable glass containers, which are not only excellent for storage but also allow you to see your delicious creation. This recipe fits perfectly into two such containers.
- Ensure Gluten-Free Status: If you or your guests require a gluten-free dessert, this Moose Tracks ice cream recipe is naturally gluten-free. Just double-check that the peanut butter cups you select are certified gluten-free. For instance, most standard Reese’s Peanut Butter Cups (excluding seasonal shaped items) are free from gluten.
- Resist Ingredient Substitutions: The magic of this no-churn recipe relies on the specific fat and sugar content of heavy cream and sweetened condensed milk. These ingredients work in harmony to create the creamy, scoopable texture without an ice cream maker. Substituting either of these key ingredients can significantly alter the taste and texture of your final product, so it’s best to stick to the recipe for guaranteed success.
- Employ a Wet Ice Cream Scoop: For effortlessly perfect scoops every time, dip your ice cream scoop in warm water before each use. This trick, which I learned while working at a frozen custard shop, helps the scoop glide through the frozen ice cream, making it much easier to transfer those beautiful, round scoops into your bowl without sticking.
- Pre-Chop Your Mix-ins: For an even distribution of peanut butter cups throughout your ice cream, ensure they are chopped into small, bite-sized pieces before adding them to the base. This guarantees a delightful surprise in every spoonful.
Elevate Your Flavor: How to Make a Chocolate Version
While the original Moose Tracks ice cream, introduced in 1988, is a classic, the popularity of this flavor has led to several exciting variations over the years. If you’re a true chocolate connoisseur and wish to create a decadent Chocolate Moose Tracks Ice Cream, the process is incredibly simple:
- Add Cocoa Powder: To the initial mixture of condensed milk, vanilla, and salt, simply incorporate ½ cup of unsweetened cocoa powder. Whisk thoroughly until the cocoa powder is fully dissolved and the mixture is smooth and chocolatey.
- Follow Original Instructions: Proceed with the rest of the recipe exactly as instructed for the classic vanilla version. The cocoa powder will infuse the base with a rich chocolate flavor, creating a luxurious chocolate ice cream canvas for your fudge and peanut butter cups.
It’s truly that easy – a single, simple addition transforms your homemade dessert into a deeply satisfying chocolate Moose Tracks experience!
For those who crave an even more intense chocolate experience, you can venture into making Extreme Moose Tracks Ice Cream. Follow the steps above to create the chocolate ice cream base, but instead of traditional peanut butter cups, use fudge-filled chocolate candies. Imagine the delight of a double chocolate explosion! I’ve found that Dark Chocolate Filled Hershey’s Kisses or similar fudge-filled chocolates would be absolutely perfect for this indulgent variation, adding another layer of rich chocolatey goodness to every bite.
Explore More No-Churn Ice Cream Recipes
Once you’ve experienced the ease and delight of making no-churn Moose Tracks ice cream, you’ll be eager to stock your freezer with a variety of your favorite ice cream flavors! The no-churn method opens up a world of possibilities for delicious, homemade frozen treats without the need for specialized equipment. Be sure to explore these other fantastic ice cream recipes, all designed to be made easily and deliciously without an ice cream maker:
- Peanut Butter Ice Cream
- Cherry Garcia Ice Cream
- Strawberry Ice Cream
- Milk & Cookies Ice Cream
- Salted Caramel Ice Cream
- Peppermint Bark Ice Cream
- Chocolate Ice Cream
- Maple Bacon Ice Cream
No Churn Moose Tracks Ice Cream Recipe

You don’t need a fancy ice cream maker to create amazingly creamy Moose Tracks Ice Cream at home! This ice cream favorite is loaded up with plenty of hot fudge and chunks of peanut butter cups!
Ingredients
- 14 ounce can sweetened condensed milk
- 2 teaspoons vanilla extract
- ¼ teaspoon sea salt
- 2 cups heavy cream, cold
- 1 cup chopped peanut butter cups
- ¼ cup hot fudge
Instructions
- Whisk together the condensed milk, vanilla extract and sea salt in a large bowl, set aside.
- Whip the heavy cream with a stand mixer, or electric hand mixer, on medium-high speed until firm peaks form, about 3-4 minutes.
- Fold the condensed milk mixture into the whipped cream with a rubber spatula until combined.
- Heat the hot fudge in the microwave for 30 seconds.
- Gently fold in the chopped peanut butter cups and fudge.
- Pour the ice cream into a 2-quart container, preferably metal, as it will freeze the ice cream quicker.
- Cover with plastic wrap and place in the freezer.
- Freeze for at least 5 hours, or overnight.
Notes
- Do not over-mix the fudge: You want attractive swirls, not a uniform chocolate ice cream base.
- Metal containers freeze faster: For quicker results, use a metal container.
- Freezer placement matters: Place the container in the coldest part of your freezer (usually the back) for optimal freezing.
- Yield: This recipe makes approximately 1/2 gallon (4 pints or 12 scoops) of ice cream.
- Storage: Store in an airtight container for up to 6 months to prevent freezer burn. Consider using glass containers.
- Gluten-Free: This recipe is gluten-free; just ensure your peanut butter cups are also gluten-free (most Reese’s are, except seasonal shapes).
- Chocolate Version: To make chocolate Moose Tracks, add ½ cup unsweetened cocoa powder to the condensed milk, vanilla, and salt mixture before proceeding with the recipe.
Nutrition Facts
Calories 389kcal (19%) | Carbohydrates 36g (12%) | Protein 6g (12%) | Fat 25g (38%) | Saturated Fat 14g (70%) | Cholesterol 67mg (22%) | Sodium 212mg (9%) | Potassium 252mg (7%) | Fiber 1g (4%) | Sugar 31g (34%) | Vitamin A 685mg (14%) | Vitamin C 1mg (1%) | Calcium 141mg (14%) | Iron 1mg (6%)
Did you make this recipe? Tag @WhitneyBond on Instagram and hashtag it #WBRecipes!