
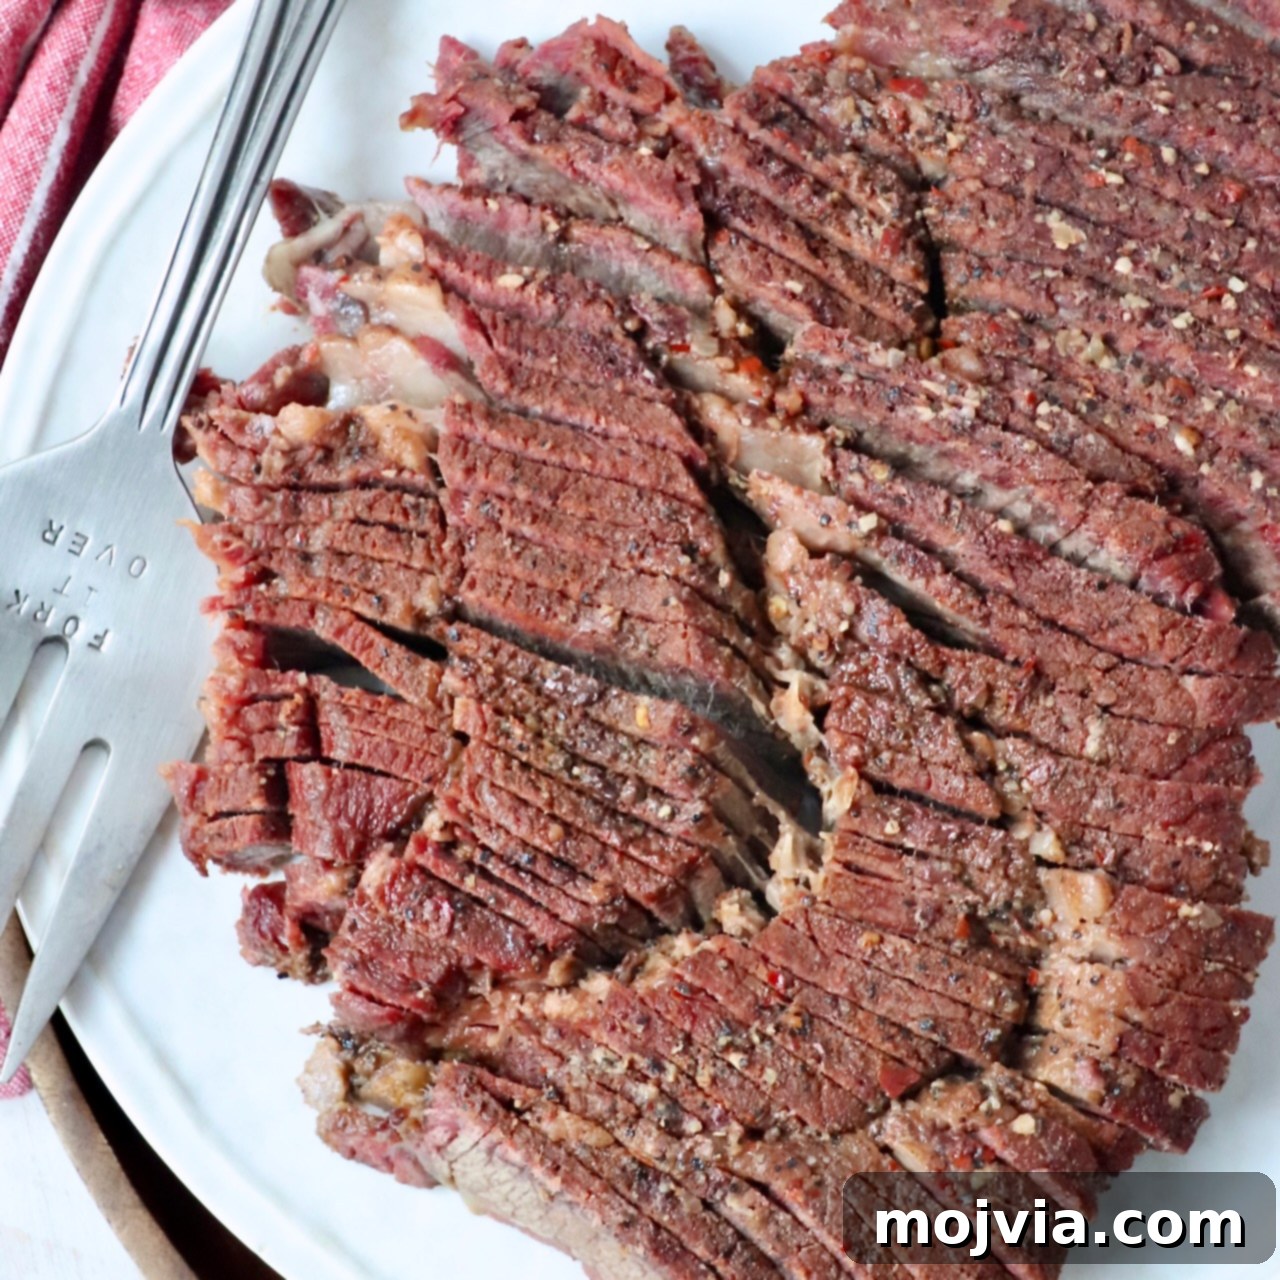
Unlock the secret to an incredibly juicy, remarkably tender Smoked Chuck Roast with this straightforward, yet deeply flavorful recipe! What sets this recipe apart is an essential overnight brine, which works wonders to tenderize the beef and infuse it with moisture from the inside out. Coupled with a robust steak seasoning – a blend of savory spices that creates an irresistible bark – you’re guaranteed a culinary masterpiece. This Texas-style chuck roast draws inspiration from generations of barbecue expertise, utilizing the famed “Texas crutch” method, just like my family’s legendary brisket recipe, to achieve unparalleled succulence and a melt-in-your-mouth texture that will impress even the most discerning palates.
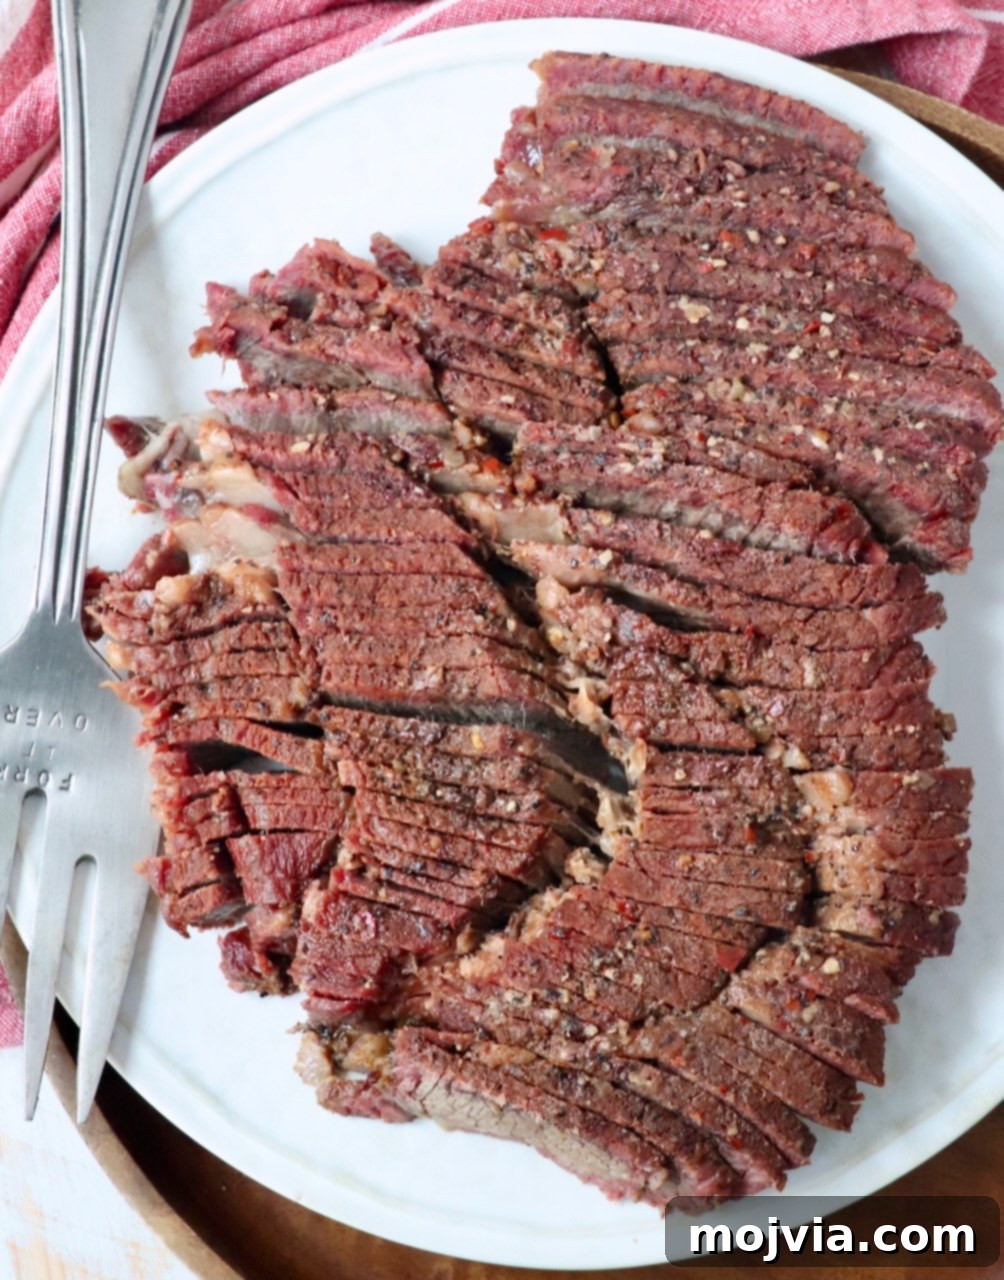
Table of Contents
- Why Choose Smoked Chuck Roast?
- Brine and Season the Chuck Roast
- The Smoking Process: Achieving Perfection
- Recipe Tips for Success
- Storage and Reheating Best Practices
- What to Serve With Your Smoked Chuck Roast
- Essential Tools You’ll Need
- More Irresistible Smoker Recipes
- Smoked Chuck Roast Recipe Card
Why Choose Smoked Chuck Roast?
When the conversation turns to smoking beef, brisket often takes center stage. It’s a true barbecue icon, a dish my family has lovingly perfected over generations. While brisket certainly holds a special place, I’ve discovered immense joy in smoking smaller, equally flavorful cuts of beef. Cuts like tri-tip or, in this case, a robust chuck roast, are perfect for more intimate gatherings or a simple yet spectacular dinner for two.
Understanding the cut is key to appreciating its potential. Beef chuck roasts are sourced from the shoulder region of the cow, a hardworking muscle that yields rich, beefy flavor. In contrast, brisket hails from the animal’s breast. Both of these magnificent cuts are inherently suited for the “low and slow” cooking method that a smoker provides, allowing their connective tissues to break down and transform into succulent tenderness. The distinct advantage of a chuck roast over a full packer brisket lies in its size. Typically weighing between 3-5 pounds, a chuck roast cooks significantly faster than a 10-15 pound brisket, making it a more accessible option for weeknight indulgence or when you don’t have an entire day to dedicate to smoking.
Through extensive testing over the past year, I frequently encountered a common challenge with chuck roast: its tendency to dry out more easily than fattier cuts. Unlike brisket, which boasts generous marbling and a thick fat cap, chuck roast, while flavorful, can be leaner. The innovative solution? Butter! That’s right, before embarking on the final phase of smoking, often referred to as the “Texas crutch,” I discovered that generously topping the chuck roast with pats of butter transforms the entire experience.
As the chuck roast continues to cook wrapped in foil, the butter slowly melts, basting the meat and infusing it with an incredible richness. This simple addition elevates the juiciness and flavor profile, creating what I can confidently say is the best smoked chuck roast you’ll ever taste. If you’ve been contemplating venturing into smoking a chuck roast, consider this your definitive sign to dive in. Prepare for a deeply satisfying, unbelievably tender, and intensely flavorful barbecue experience that rivals the finest briskets.
Brine and Season the Chuck Roast: The Foundation of Flavor
The journey to an extraordinary smoked chuck roast begins long before it ever touches the smoker. The twin pillars of flavor and tenderness are established through a diligent brining process and a generous application of seasoning. These initial steps are non-negotiable for achieving the best results.
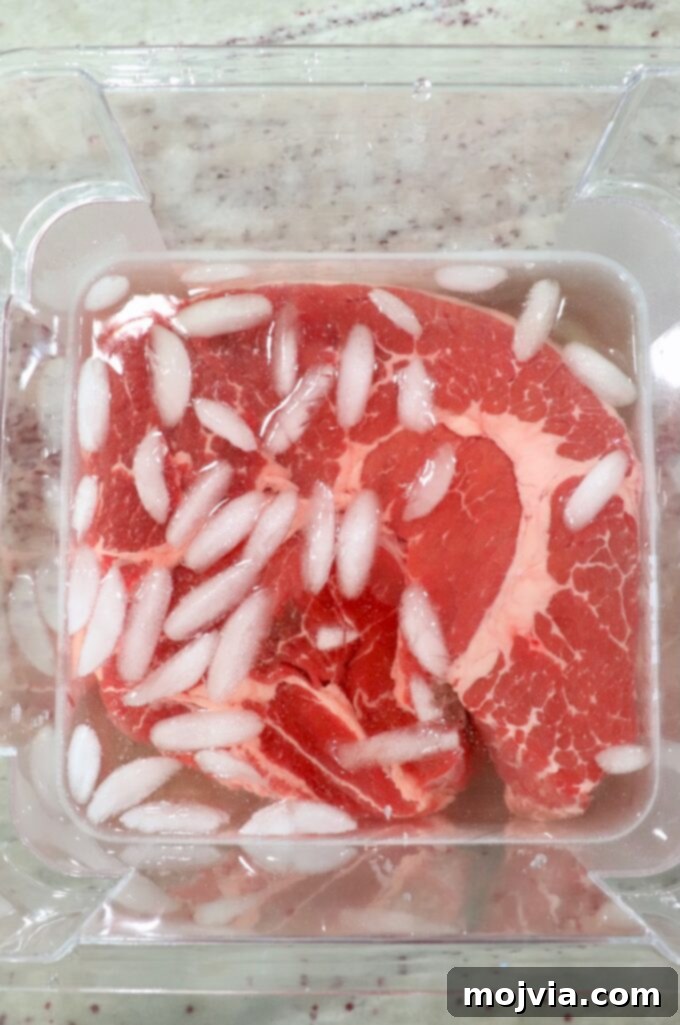
- Brine the Chuck Roast for Ultimate Tenderness: Brining is a game-changer for leaner cuts like chuck roast. It’s a simple yet incredibly effective technique that enhances both moisture and flavor. In a medium pot, bring 16 ounces of water to a rolling boil. Once boiling, stir in kosher salt and granulated sugar. Continue stirring for 2-3 minutes until both the salt and sugar are completely dissolved, creating a homogeneous brine solution. Immediately remove from heat and add 3-4 cups of ice cubes to the pot. This rapid cooling step is crucial; it ensures the brine reaches a safe, cold temperature quickly, preventing any cooking of the meat. Once the brine is cooled to room temperature or below, place your chuck roast in a large, food-safe container, such as the 6-quart storage container often recommended. Pour the cooled brine over the roast, adding additional cold water if necessary to ensure the entire roast is fully submerged. Transfer the container to the refrigerator and allow the chuck roast to brine for a minimum of 8-10 hours, or ideally, overnight. This extended soak allows the salt and sugar to penetrate the muscle fibers, promoting tenderization and significantly boosting moisture retention.
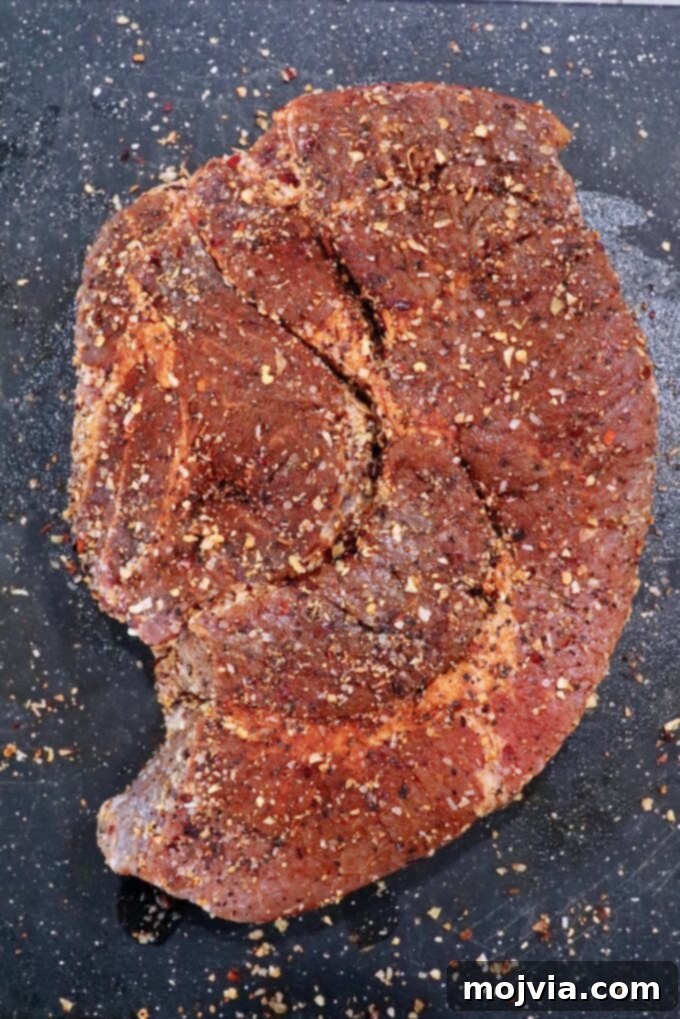
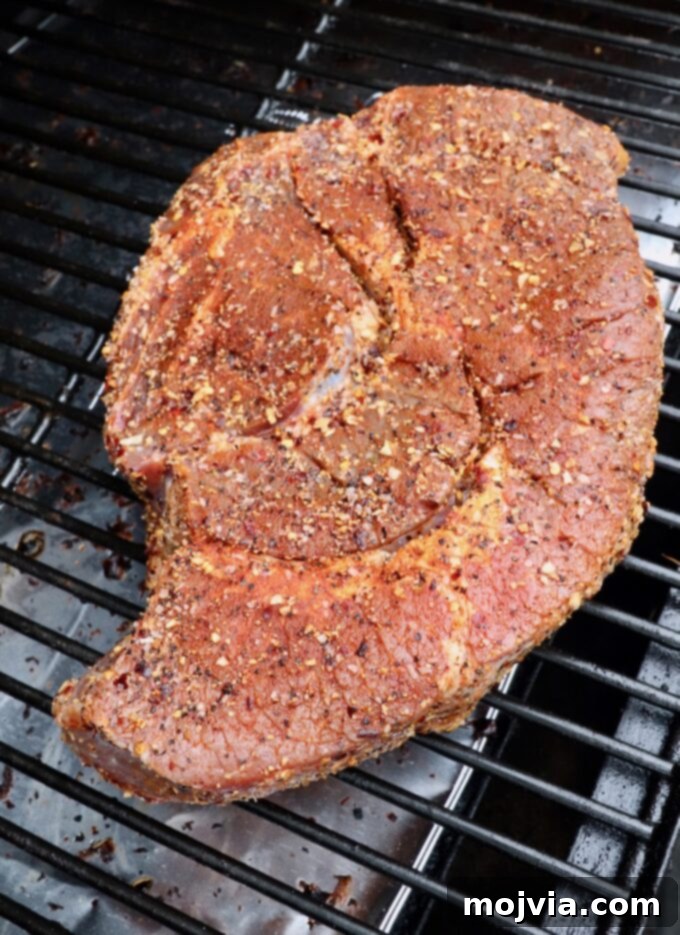
- Season the Chuck Roast for a Perfect Bark: After the brining period, remove the chuck roast from the liquid and pat it thoroughly dry with paper towels. A dry surface is vital for developing that coveted crispy, flavorful “bark” during smoking. Next, generously rub the entire surface of the chuck roast with olive oil. This acts as a binder, helping the seasoning adhere uniformly. Now comes the flavor bomb: sprinkle your favorite steak seasoning evenly and liberally over all sides of the roast. For this recipe, I swear by my homemade steak seasoning, a vibrant mix of minced onions and garlic, kosher salt, coarse black pepper, and paprika. This blend delivers a classic, robust flavor profile. Alternatively, a high-quality store-bought Montreal steak seasoning works wonderfully and can be found in the spice aisle of most grocery stores. Don’t be shy with the seasoning; it forms the foundation of the smoky crust.
The Smoking Process: Achieving Perfection
Smoking a chuck roast is a labor of love, but the payoff is immensely rewarding. The slow infusion of smoke and carefully managed temperatures transform this humble cut into a tender, flavorful masterpiece.
- Preheat and Initiate the Smoke: Begin by preheating your smoker to a consistent 250°F. Patience is paramount here; maintaining a steady low temperature is key to tender meat and maximum smoke penetration. While your smoker preheats, ensure it’s filled with your chosen wood pellets or chips. For beef, hickory, mesquite, or pecan provide a wonderful smoky depth. Additionally, place a water pan filled with water in the smoker. This simple step introduces humidity into the cooking chamber, helping to keep the chuck roast moist throughout the extended cooking process and aiding in smoke adhesion. Once the smoker is at temperature and producing clean, blue smoke, carefully place your seasoned chuck roast directly onto the grill grates. Allow the roast to smoke, undisturbed as much as possible, for approximately 45 minutes per pound of meat, or until its internal temperature reaches 160°F. This initial phase is crucial for developing the savory, dark bark and infusing the meat with deep smoky flavor. Reaching 160°F often marks the beginning of the “stall,” where evaporation cools the meat, temporarily halting temperature rise.
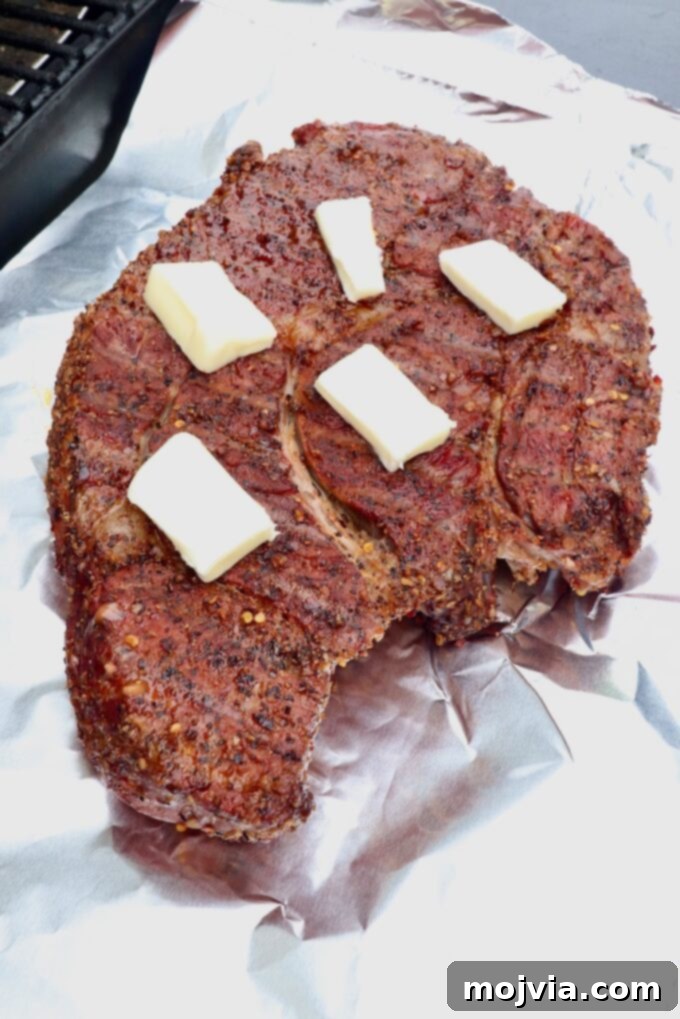
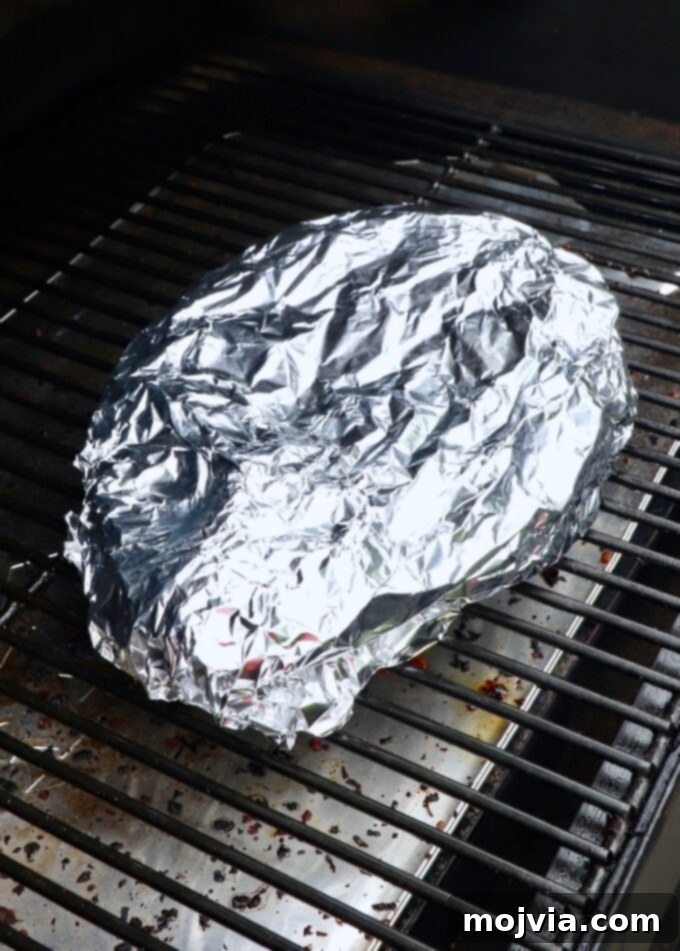
- Implement the Texas Crutch with a Butter Boost: Once the chuck roast reaches an internal temperature of 160°F and has developed a beautiful bark, it’s time for the “Texas crutch.” Carefully remove the roast from the smoker and place it onto a large, sturdy piece of aluminum foil or butcher paper. Now for our secret weapon: generously top the roast with small pats of butter. This butter, as discussed earlier, will melt and baste the meat, adding crucial moisture and richness that prevents drying out. Wrap the roast tightly in the foil (or butcher paper), ensuring it’s completely sealed. For extra security and to prevent any steam from escaping, double-wrap the chuck roast with another layer of foil or paper. Return the wrapped roast to the smoker. Continue smoking for an additional hour, or until the internal temperature of the roast climbs to a tender 195-200°F. This wrapping phase helps the meat power through the stall, tenderizes it by trapping moisture, and ensures a succulent finish.
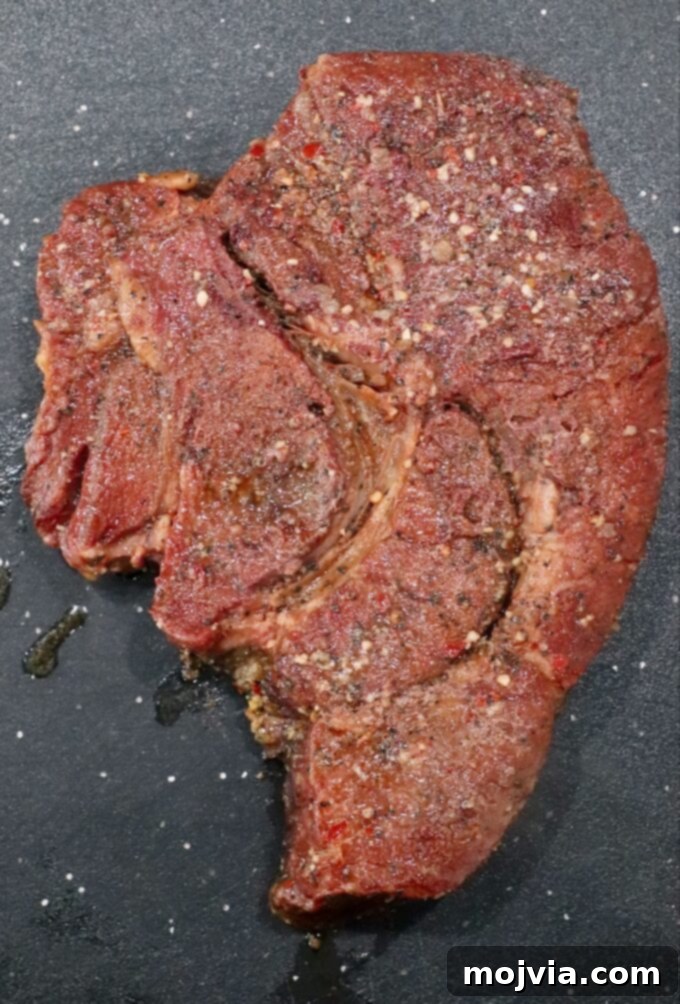
- The Indispensable Rest: Upon reaching the desired internal temperature (195-200°F), remove the chuck roast from the smoker. It’s absolutely critical to let it rest. Leave the roast wrapped in its foil (or butcher paper) and allow it to rest for at least 30 minutes, and preferably up to an hour, at room temperature. During this crucial resting period, the muscle fibers relax, and the internal juices, which have been pushed to the center during cooking, redistribute evenly throughout the entire roast. Skipping this step means a dry, less flavorful experience, as all those precious juices would simply run out onto your cutting board.
- Slice or Shred for Serving: After a proper rest, unwrap the chuck roast. If you plan to serve it in slices, use a sharp carving knife to slice the chuck roast against the grain. Cutting against the grain shortens the muscle fibers, resulting in incredibly tender, easy-to-chew slices of beef. For a more casual presentation, or if you prefer the versatility of shredded meat for sandwiches, tacos, or chili, you can easily shred the beef using two forks. Either way, prepare for a culinary delight!
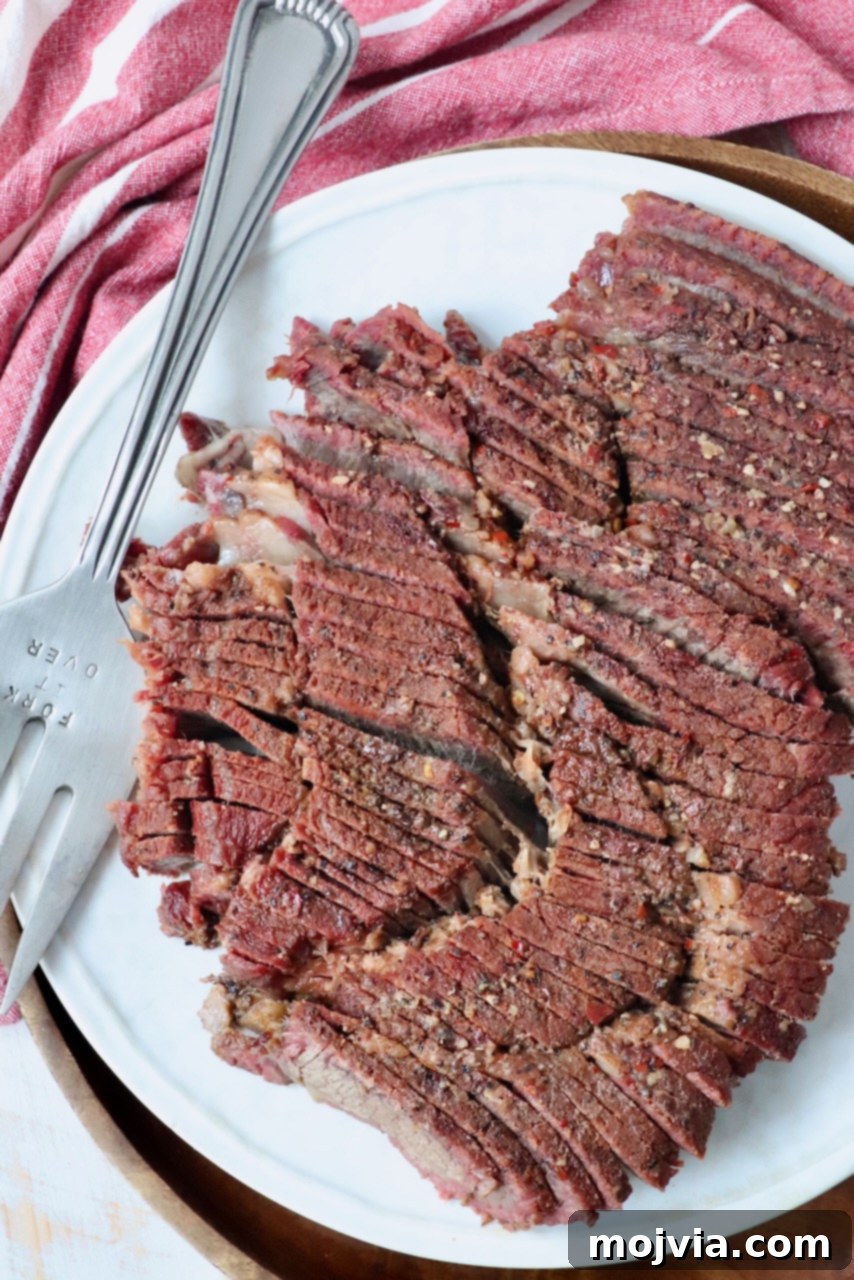
Recipe Tips for Success
- Always Smoke to Temperature, Not Time! This is perhaps the most critical rule in low and slow barbecue. Cooking times are merely estimates; the true indicator of doneness and tenderness is internal temperature. If your smoker doesn’t have built-in probes, or if you prefer a dedicated device, invest in a reliable wireless meat thermometer like the MEATER. This allows you to monitor the internal temperature without constantly opening the smoker lid, which causes heat and smoke loss. For a 4-pound chuck roast, you might expect to start checking after about 3 hours (45 minutes per pound). Begin checking the internal temperature with an instant-read thermometer every 15-20 minutes once you approach the estimated time, aiming for 160°F before wrapping. After wrapping, check again after 45 minutes, then every 15 minutes until it reaches the final target temperature of 195-200°F for optimal tenderness.
- Maintain the Ideal Smoking Temperature of 250°F: Low and slow isn’t just a catchy phrase; it’s the fundamental principle for tender, juicy smoked meats. Smoking at a consistent 250°F allows the connective tissues in the chuck roast to slowly break down into gelatin, resulting in that desirable fall-apart texture. Resist the temptation to rush the process by increasing the temperature; a higher heat will cook the meat too quickly, leading to a tougher texture and less profound smoke flavor.
- Choose Your Wood Wisely: The type of wood or pellets you use significantly impacts the final flavor profile of your smoked chuck roast. For beef, I highly recommend using hickory pellets or wood. Hickory imparts a strong, classic barbecue flavor that pairs beautifully with the richness of beef. Other excellent choices include mesquite, which offers an even more intense, earthy smoke flavor, or pecan, which provides a milder, nutty sweetness. Experiment with different woods to discover your personal preference.
- Never Skip the Rest Period: We cannot emphasize this enough – always let your meat rest! After removing the chuck roast from the smoker, whether wrapped or unwrapped, allow it to rest for at least 30 minutes, though an hour is preferable for larger cuts. During cooking, the meat’s muscle fibers tighten, pushing juices towards the center. Resting allows these fibers to relax and the juices to redistribute throughout the entire roast, ensuring every slice is incredibly moist and flavorful. Cutting into the meat too soon will result in a significant loss of precious juices.
- Portion Planning: When estimating how much smoked beef chuck roast to prepare, a good rule of thumb is about half a pound (8 ounces) per person. This is assuming the chuck roast is the main protein and entree of the meal. If you’re serving multiple meats or a very generous array of side dishes, you might slightly reduce this amount, but ½ pound per person ensures everyone gets a satisfying portion of this delicious barbecue.
Storage and Reheating Best Practices
Proper storage and reheating are key to enjoying your leftover smoked chuck roast without sacrificing its quality. This delicious meat is often even better the next day!
To store leftover smoked chuck roast: Allow the roast to cool completely to room temperature before transferring it to an airtight container. Refrigerate promptly and consume within 6 days for optimal freshness and safety. The beauty of this smoked chuck roast is its versatility; it can be enjoyed cold in sandwiches or salads, or reheated for a warm meal.
To reheat the chuck roast while preserving its juiciness: My preferred method is to gently drop individual slices into simmering beef broth for approximately 30 seconds. This quick dip heats the roast through without overcooking it, ensuring the meat remains wonderfully juicy and tender. Avoid dry reheating methods like microwaving at full power, which can lead to tough, dry meat. Reheated slices are perfect on their own, or they can be transformed into incredibly flavorful beef sandwiches, quesadillas, or even a topping for nachos.
What to Serve With Your Smoked Chuck Roast
This exquisite smoked chuck roast is a culinary star on its own, but its flavor truly shines when paired with complementary sauces and classic barbecue side dishes. Enhance each bite by dipping it into a tangy White BBQ Sauce or a rich, sweet, and smoky Jack Daniels BBQ Sauce. For a complete and unforgettable meal, serve it alongside any of these fantastic side dish recipes, perfect for a backyard barbecue, a family dinner, or a festive party.
- Red White and Blue Cheese Potato Salad – a vibrant and always-popular crowd-pleaser!
- Pasta Salad with Greek Yogurt Dressing – a lighter, yet creamy, pasta salad.
- Smoked Mac and Cheese – maximize your smoker’s utility by cooking this cheesy delight right next to your chuck roast!
- Blue Cheese Salad – essentially a sophisticated, chopped wedge salad.
- Green Beans with Bacon and Blue Cheese – a flavorful twist on a classic vegetable.
- BBQ Baked Beans – my Dad’s famous, deeply comforting recipe!
- Baked Sweet Potatoes – a simple, wholesome, and delicious pairing.
- Instant Pot Mashed Potatoes – creamy and quick, ideal for any meal.
- Rosemary Blue Cheese Mashed Potatoes – an elegant and flavorful potato side.
- Crock Pot Creamed Corn – a classic Bond family favorite, rich and sweet.
- Air Fryer Baked Potato – crispy on the outside, fluffy on the inside, and quickly made.
- Coleslaw – a refreshing, crunchy contrast to the rich beef.
- Sautéed Mushrooms – earthy and savory, an exceptional pairing with any beef dish!
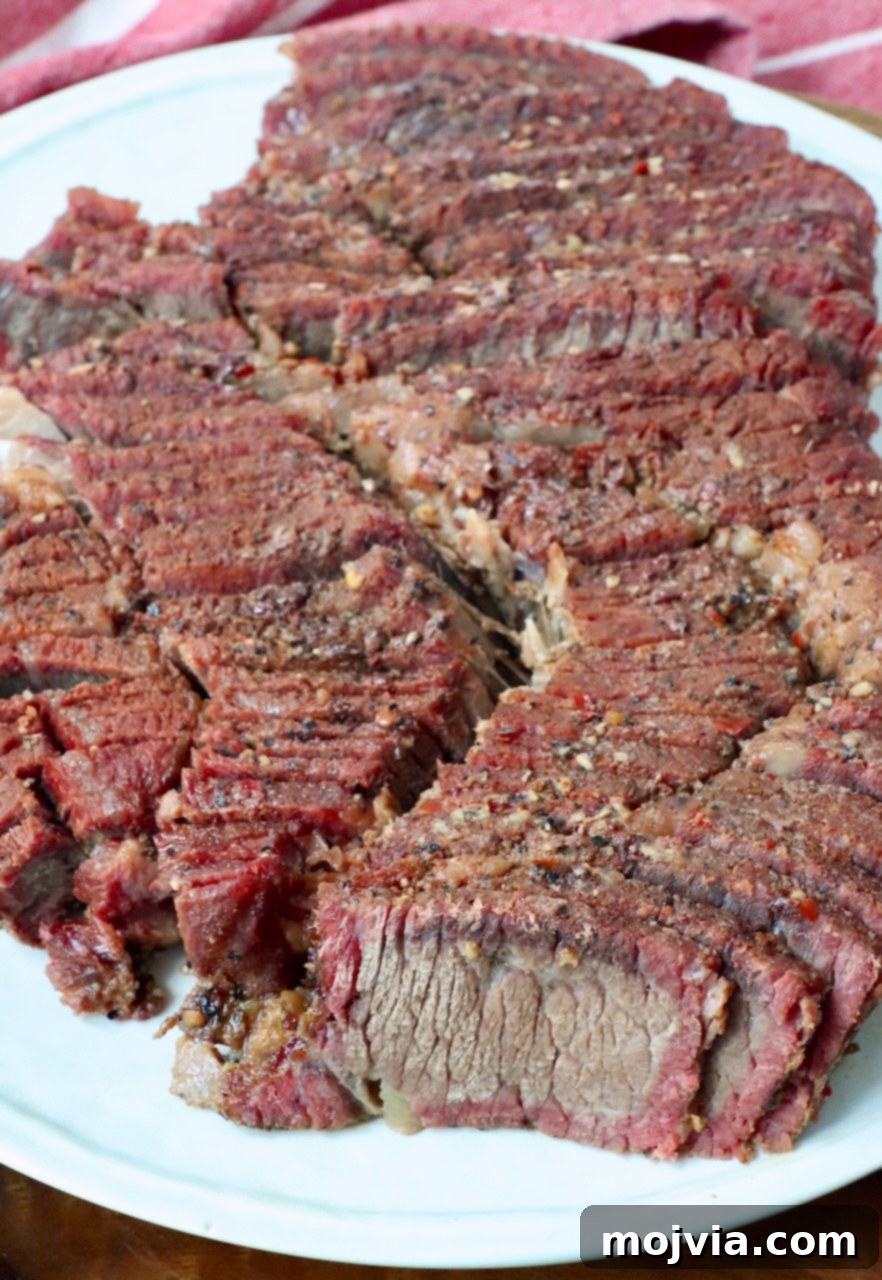
Essential Tools You’ll Need for Smoking Success
Having the right equipment can make all the difference in your smoking journey, ensuring a smoother process and more consistent, delicious results. Here are the key tools I rely on for making the perfect smoked chuck roast:
- Smoker: The heart of any barbecue enthusiast’s arsenal. I personally use and highly recommend the Traeger Pro Series Pellet Smoker for its ease of use, consistent temperature control, and excellent smoke flavor. Any reliable pellet, electric, or offset smoker will work, as long as it can maintain a steady low temperature.
- Wood or Pellets: To infuse that deep, authentic smoky flavor, you’ll need quality wood. For this chuck roast recipe, I specifically suggest Traeger Hickory Pellets, known for their strong, classic barbecue profile that complements beef exceptionally well. Mesquite and pecan are also excellent alternatives.
- Thermometer: Precision is paramount in smoking. While many modern smokers, like the Traeger, come with integrated meat probes, having an additional reliable thermometer is always a good idea. For those without built-in probes, a high-quality wireless meat thermometer (like the MEATER) is indispensable for monitoring internal temperatures without opening the smoker lid, thus preserving heat and smoke. An instant-read thermometer is also great for quick spot checks.
- Electric Knife: For effortless, perfectly uniform slices of your tender smoked chuck roast, an electric knife is a true game-changer. It glides through the meat with minimal resistance, ensuring beautiful presentation and ease of serving, especially when dealing with hot meat.
More Irresistible Smoker Recipes
My passion for smoking meats runs deep, stemming from a childhood spent in Oklahoma, where I eagerly learned the art from my Dad and Grandpa. The smoker was, and remains, the heart of our outdoor cooking. If you’ve enjoyed this chuck roast recipe, you’ll love exploring these other tried-and-true smoker recipes – a collection that includes both new creations and cherished family classics passed down through generations. Expand your barbecue repertoire and discover the incredible versatility of your smoker!
Print
Pin
Rate this Recipe
Smoked Chuck Roast
Ingredients
- 16 ounces water
- 3 ounces kosher salt
- ½ ounce granulated sugar
- 4 pound chuck roast
- 1 tablespoon olive oil
- 4 tablespoons steak seasoning, click link for the recipe
- 2 tablespoons butter, sliced into small pieces
Instructions
Brine
-
In a medium pot on the stove, bring 16 ounces of water to a boil.
-
Once the water is boiling, add the kosher salt and sugar.
-
Stir for 2-3 minutes, or until the sugar and salt are dissolved into the water.
-
Set aside and add 3-4 cups of ice cubes to the pot of water. This will help cool down the brine quickly, so that you can pour it over the chuck roast.
-
Once the brine water is at room temperature, or below, pour it over the chuck roast in a large bowl, or plastic tub.
-
Add additional cold water, if needed, to cover the chuck roast.
-
Place in the refrigerator for 8-10 hours, or overnight.
Smoke
-
Preheat the smoker to 250°F.
-
Fill the smoker with hickory, mesquite, or pecan pellets.
-
Place a water pan in the smoker filled with water. This will help keep the chuck roast moist throughout the cooking process.
-
Remove the chuck roast from the brine and pat it dry with paper towels.
-
Rub the chuck roast on all sides with olive oil, then generously sprinkle the steak seasoning over the chuck roast, making sure to cover all sides of the roast.
-
Place the chuck roast in the smoker on the grill grates.
-
Cook for 45 minutes per pound of meat, or until the internal temperature reaches 160°F.
-
Remove the chuck roast from the smoker, place it on a large sheet of foil, then add the pieces of butter on top of the chuck roast. Wrap the roast up in the foil, then double wrap it in another piece of foil.
-
Place it back on the smoker for another hour, or until the internal temperature reaches 195-200°F.
-
Remove the chuck roast from the smoker and let it rest for at least 30 minutes before slicing, or shredding, and serving.
Notes
- Remember to smoke to temperature, not time! If you don’t have a meat probe, or wireless meat thermometer, like the MEATER, to watch the temperature of the chuck roast without opening the lid of the smoker, I recommend starting to check the internal temperature of the meat with an instant-read meat thermometer after 45 minutes per pound of meat. For a 4 pound chuck roast, this would be at 3 hours.
- Always let the meat rest. After removing the chuck roast from the smoker, allow it to rest for at least 30 minutes, preferably one hour. This will guarantee that all the juices stay in your meat and don’t leak out.
- When planning for how much smoked beef chuck roast to serve per person, I recommend about a half pound per person, if this is the only meat you’re serving, and the main entree at the meal.
- Store leftover smoked chuck roast in an airtight container in the fridge and eat within 6 days. The leftover chuck roast can be eaten cold, or reheated.
- To reheat the chuck roast, I like to drop the slices in boiling beef broth for 30 seconds. This heats up the roast, without overcooking it, and keeps it juicy and tender! The slices can be eaten by themselves, or used to make a delicious beef sandwich.