
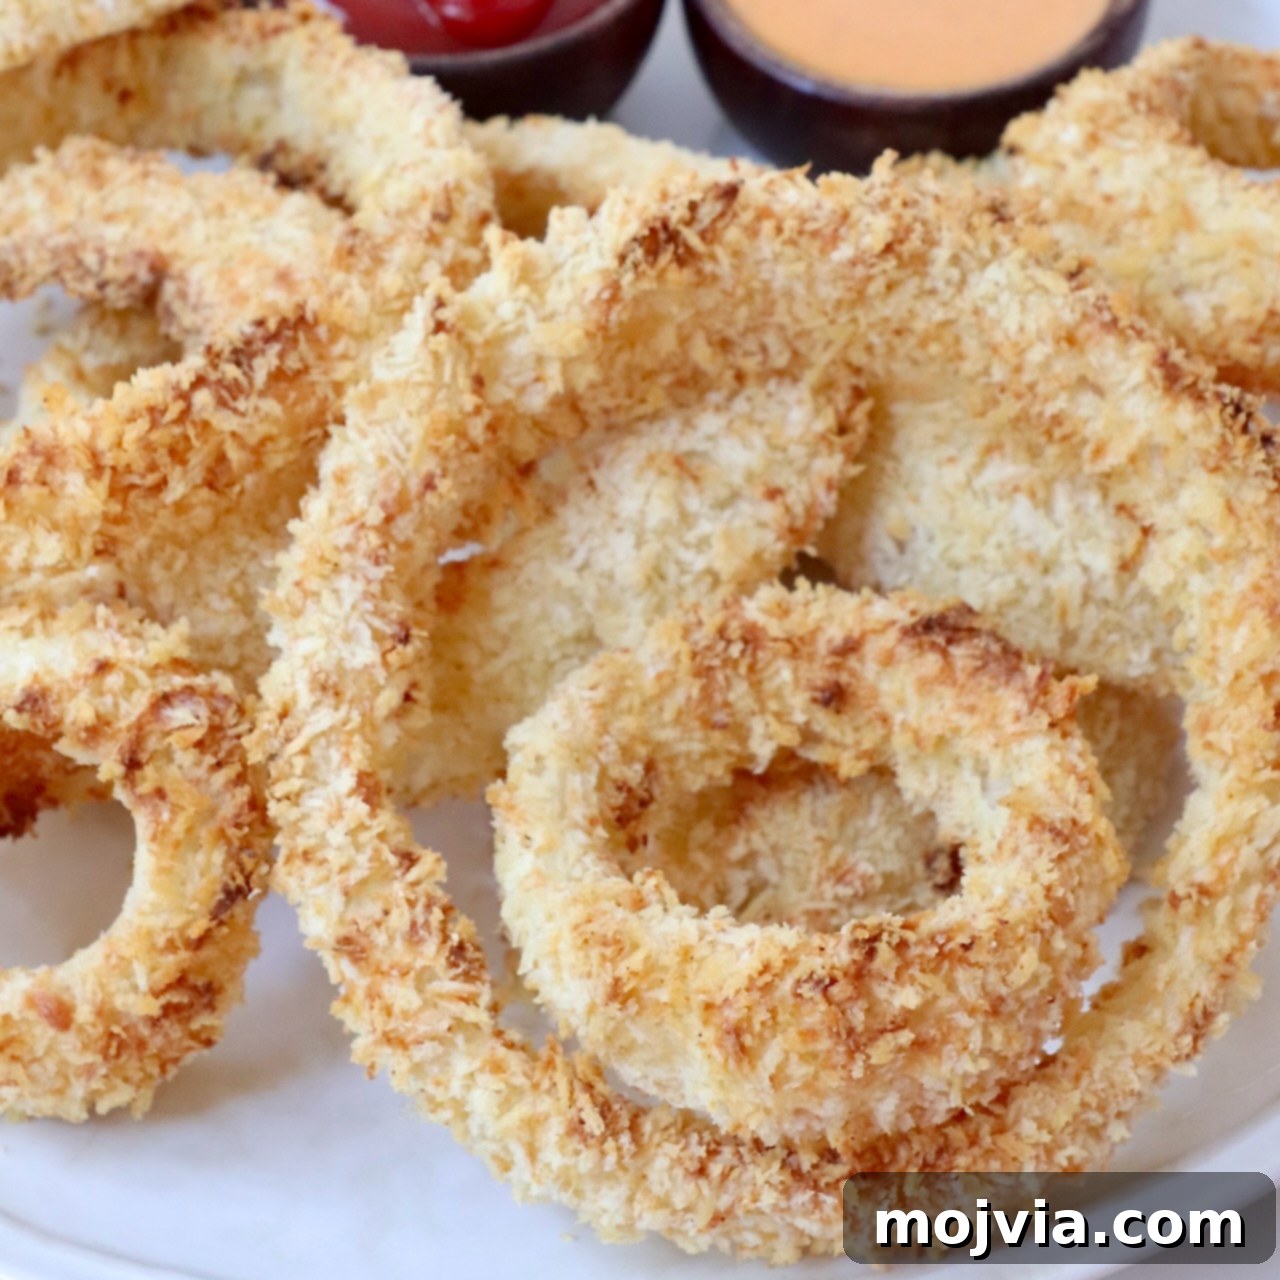
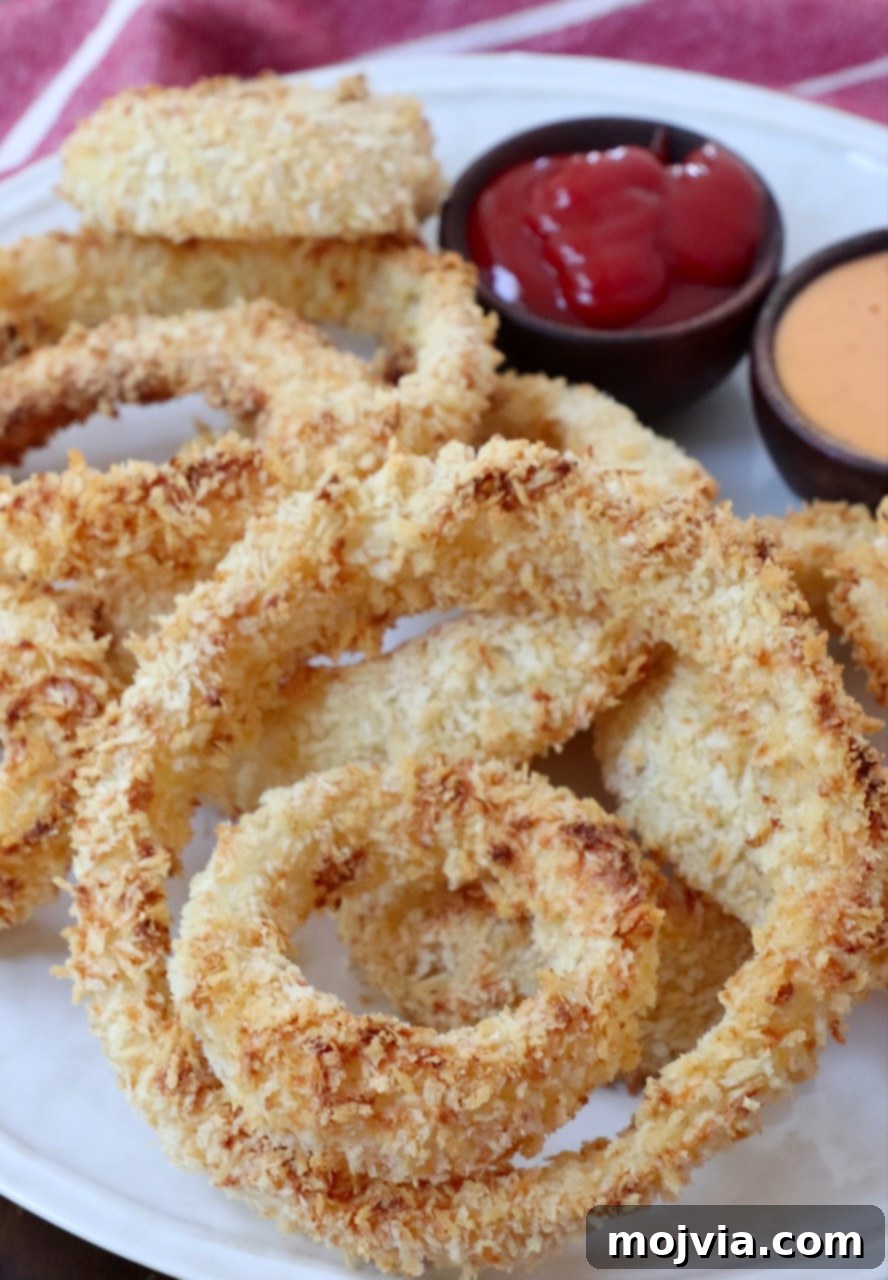
Craving the satisfying crunch of golden-brown onion rings without the deep-fried guilt? Look no further! This comprehensive guide reveals how to create incredibly **crispy, flavorful Air Fryer Onion Rings** that are significantly healthier than their traditionally fried counterparts. You’ll be amazed at how simple it is to transform humble, sweet onions into an irresistible snack or side dish with just a few basic ingredients and the magic of your air fryer. Perfect for pairing with your favorite burgers, serving as a crowd-pleasing appetizer on game day, or simply enjoying as a guilt-free treat.
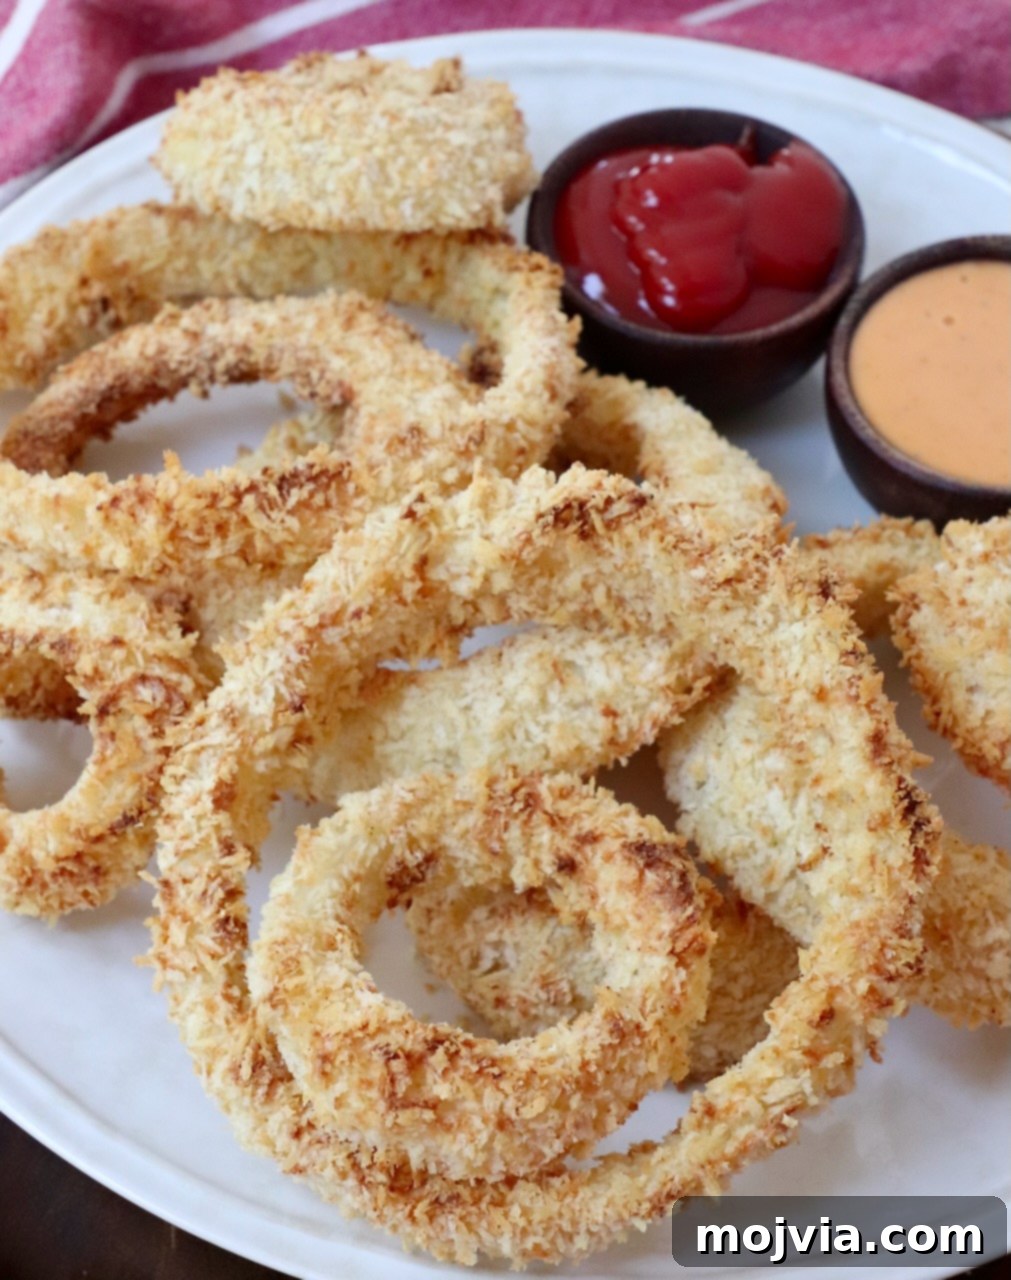
Table of Contents
- Introduction to Air Frying Onion Rings
- The Secret to Crispy Perfection
- Ingredients You’ll Need
- Step-by-Step Instructions
- Expert Tips for Success
- No Air Fryer? Oven-Baked Onion Rings
- Storage and Reheating Guide
- Essential Tools for This Recipe
- Perfect Pairings: What to Serve With
- More Air Fryer Recipes to Explore
Introduction to Air Frying Onion Rings
There’s something uniquely comforting about a basket of perfectly fried onion rings. For me, that love affair began in high school, working at a local Sonic in Edmond, Oklahoma. I still vividly recall the days when being late or getting into minor trouble meant hours in the back kitchen, hand-battering onion rings. While it was a chore then, it inadvertently taught me the meticulous technique for achieving that ideal crispy coating. It was a skill I treasured, especially when deep-fried onion rings were the ultimate sidekick to a juicy burger.
However, as I’ve embraced healthier cooking methods, the deep fryer has been replaced by a new kitchen hero: the air fryer. My initial attempts at making onion rings in the air fryer were met with delightful surprise. The result? Onion rings that were not just crispy, but astonishingly close in texture and flavor to their deep-fried counterparts, yet with significantly less oil. If you own an air fryer and haven’t yet unlocked its potential for making homemade onion rings, consider this your definitive call to action!
The Secret to Crispy Perfection: Why Air Frying Works
Air frying has revolutionized the way we enjoy classic comfort foods. It works by circulating hot air around the food, mimicking the effects of deep-frying but using only a fraction of the oil, or sometimes none at all. This process cooks the food evenly and quickly, creating that coveted crispy exterior that deep-frying is known for, without the greasy residue or added calories.
For onion rings, this means a delicate, sweet onion encased in a golden, crunchy crust that shatters with every bite. The hot air ensures that the breading gets perfectly toasted and crisp, while the interior onion becomes tender and sweet. It’s a game-changer for anyone looking to enjoy their favorite indulgence with a lighter touch. This method also means less mess, faster cleanup, and a healthier outcome, making homemade onion rings an accessible and guilt-free pleasure any day of the week.
Ingredients You’ll Need
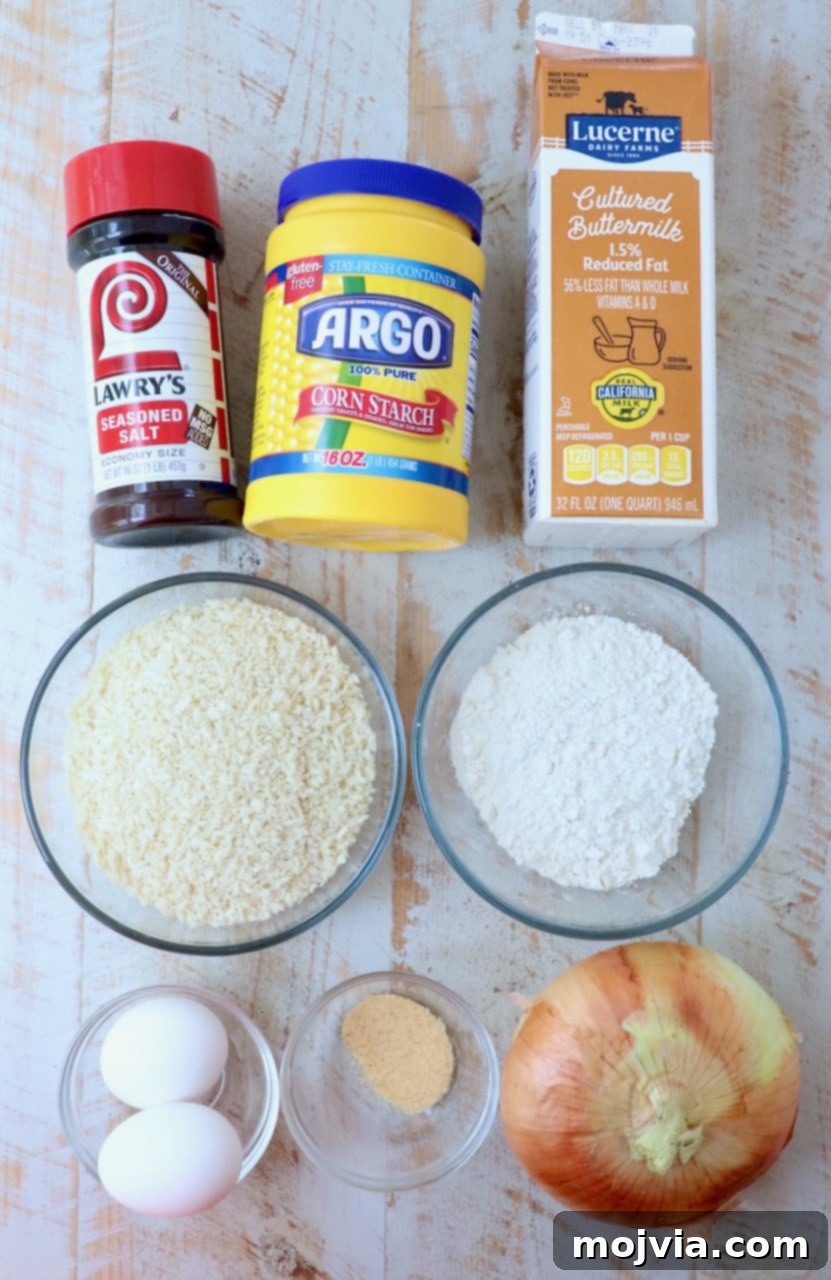
Crafting the perfect air-fried onion rings starts with selecting quality ingredients. Each component plays a vital role in achieving that sought-after texture and taste:
- Sweet Onion: The foundation of any great onion ring. Varieties like Vidalia or Walla Walla onions are highly recommended. Their naturally mild and sweet flavor softens beautifully when cooked, preventing any harsh, overpowering onion taste. Choose a large onion for substantial rings.
- All-Purpose Flour: This forms the initial dry layer of our breading, providing a base for the other ingredients to adhere to. It helps create a thick, crispy crust.
- Cornstarch: A secret weapon for ultimate crispiness! Adding a small amount of cornstarch to the flour mixture enhances the adhesion of the breading to the onion and contributes significantly to a remarkably crisp texture.
- Seasoned Salt + Garlic Powder: These seasonings infuse our onion rings with savory depth and a delightful aroma. Seasoned salt offers a balanced blend of spices, while garlic powder adds a pungent, aromatic kick that complements the sweet onion. Feel free to adjust these to your taste or explore other seasoning options.
- Large Eggs: Whisked together with buttermilk, eggs create the essential wet mixture that binds the dry ingredients to the onion. They act as a crucial adhesive for the breading.
- Buttermilk: The unsung hero of our wet coating. Buttermilk boasts a thicker consistency than regular milk, ensuring a more substantial coating on each onion ring. Its slight acidity also tenderizes the onion slightly and adds a subtle tang that elevates the overall flavor profile, making the onion rings more complex and delicious.
- Panko Breadcrumbs: For unparalleled crispiness, Panko breadcrumbs are non-negotiable. Their unique flaky texture creates an incredibly light and airy crunch that traditional breadcrumbs simply cannot match. If panko is unavailable or you prefer a different texture, you can double-dip the onions in the flour mixture for a thicker, more cake-like coating, though it won’t be as light and crisp as panko.
Step-by-Step Instructions
Follow these detailed steps to create perfectly crispy Air Fryer Onion Rings at home. For exact measurements and a printable recipe card, please refer to the bottom of this post.
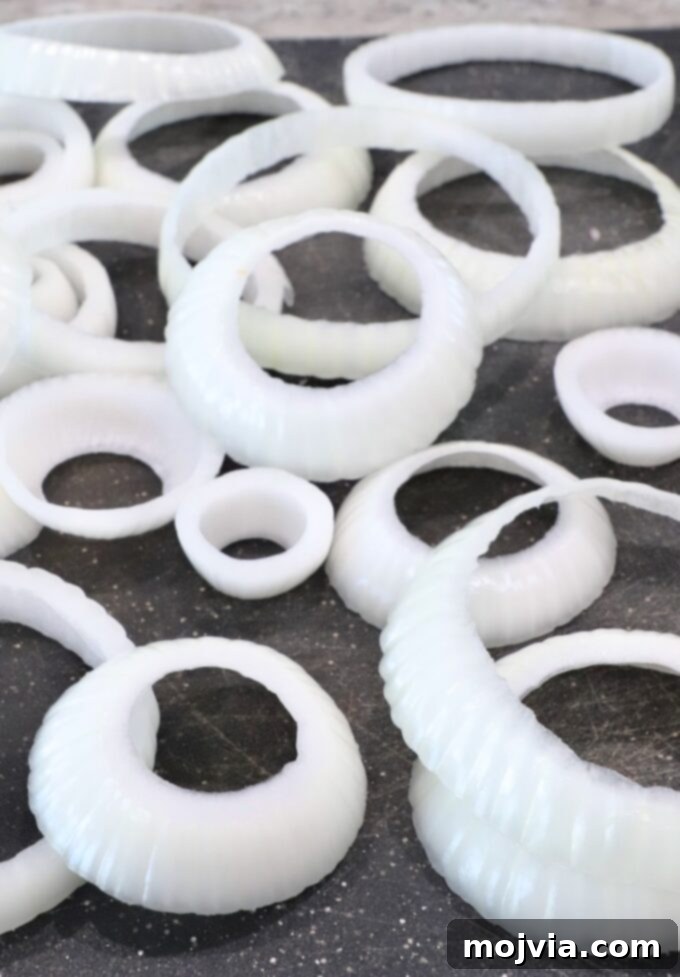
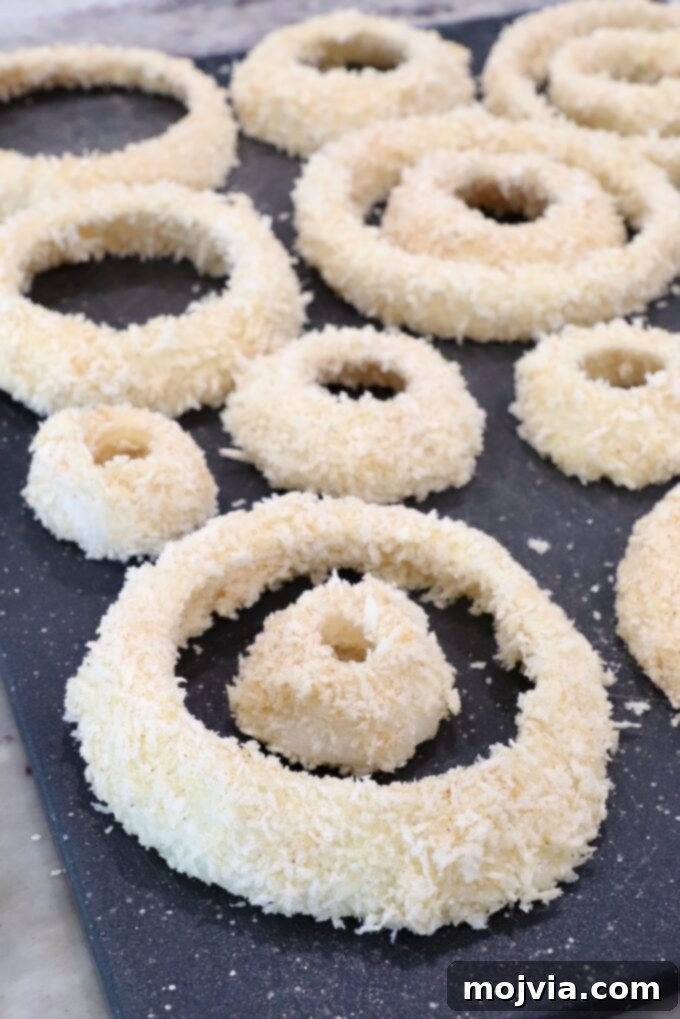
- Prepare the Onions: Begin by peeling your large sweet onion. Slice it into ½-inch thick rounds. Carefully separate each round into individual rings. Aim for consistent thickness to ensure even cooking.
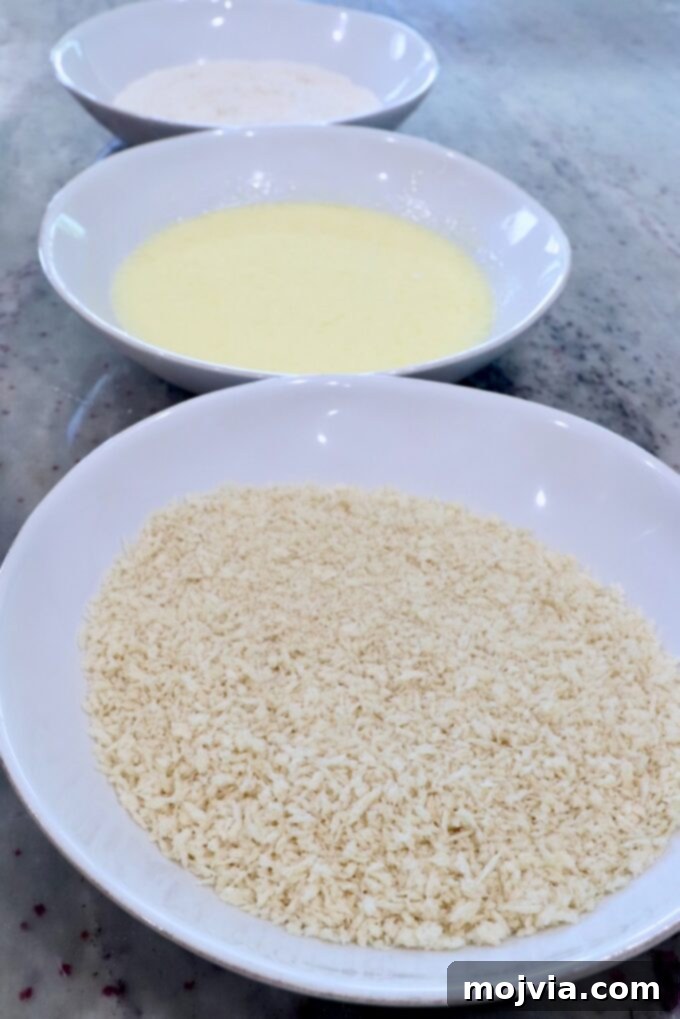
- Set Up Your Breading Station: Arrange three shallow bowls for your breading process.
- In the first bowl, combine the all-purpose flour, cornstarch, 1 teaspoon of seasoned salt, and garlic powder. Whisk well to ensure all ingredients are evenly distributed. This is your dry flour mixture.
- In the second bowl, whisk together the large eggs and buttermilk until thoroughly combined. This is your wet mixture.
- In the third bowl, place the panko breadcrumbs and season them with the remaining 1 teaspoon of seasoned salt. Stir to combine. This is your dry breadcrumb mixture.
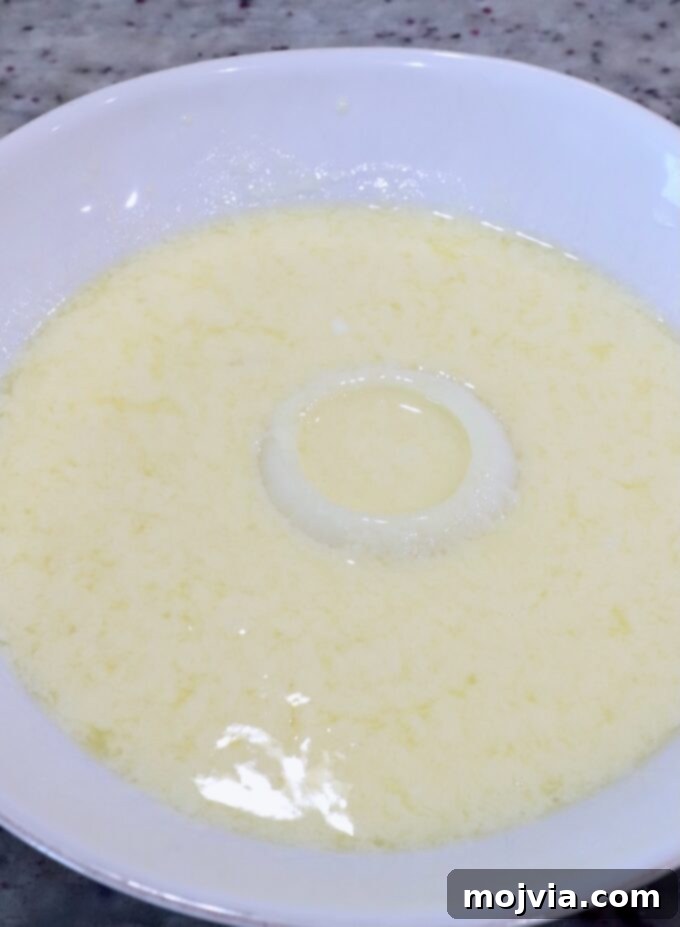
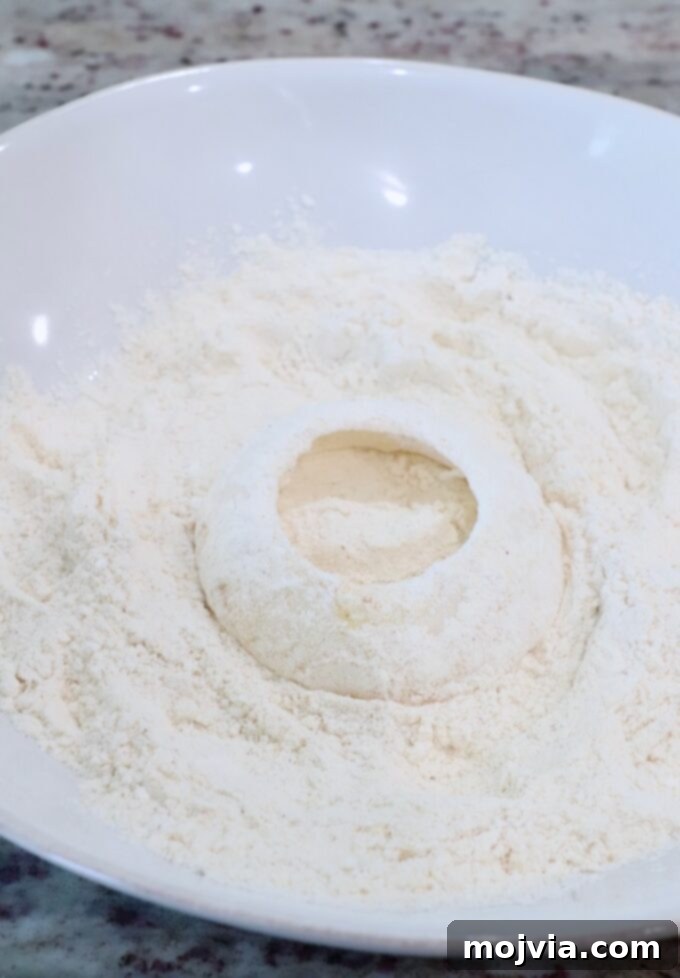
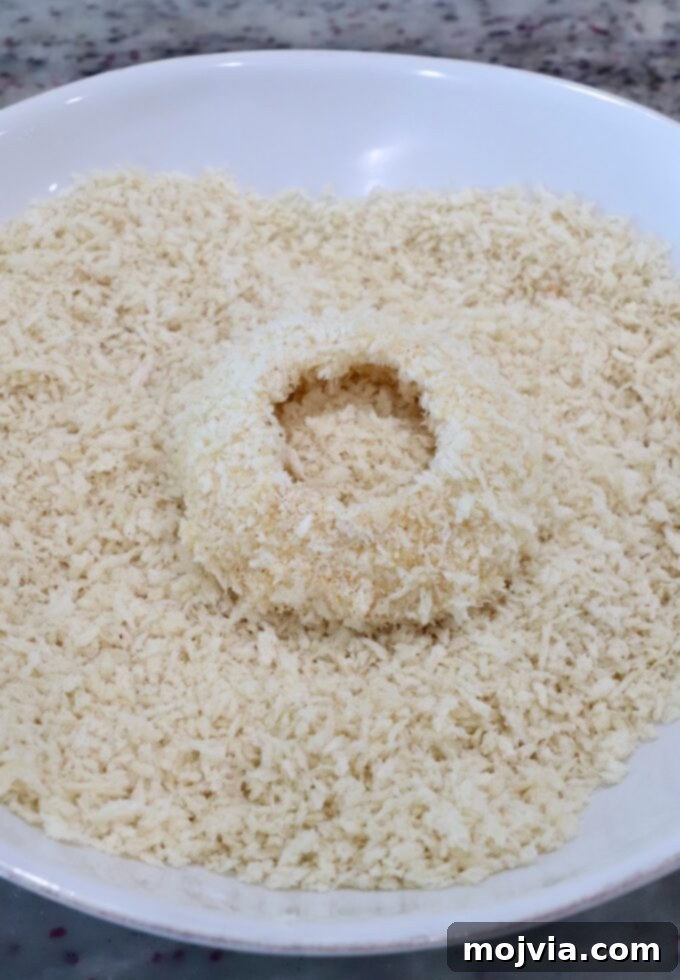
- Batter the Onion Rings (Double-Dip Method): This is the key to a thick, crispy coating. For best results, use one hand for wet ingredients and the other for dry to prevent clumping.
- First, dip an onion ring into the buttermilk-egg mixture, ensuring it’s fully coated.
- Next, transfer it to the flour mixture, turning to coat completely, shaking off any excess.
- Then, dip it back into the buttermilk-egg mixture.
- Finally, transfer it to the panko breadcrumbs. Gently press the breadcrumbs onto all sides of the onion ring to create a generous, full coating. Repeat this process for all onion rings until they are fully breaded. Place the breaded rings on a clean plate or baking sheet.
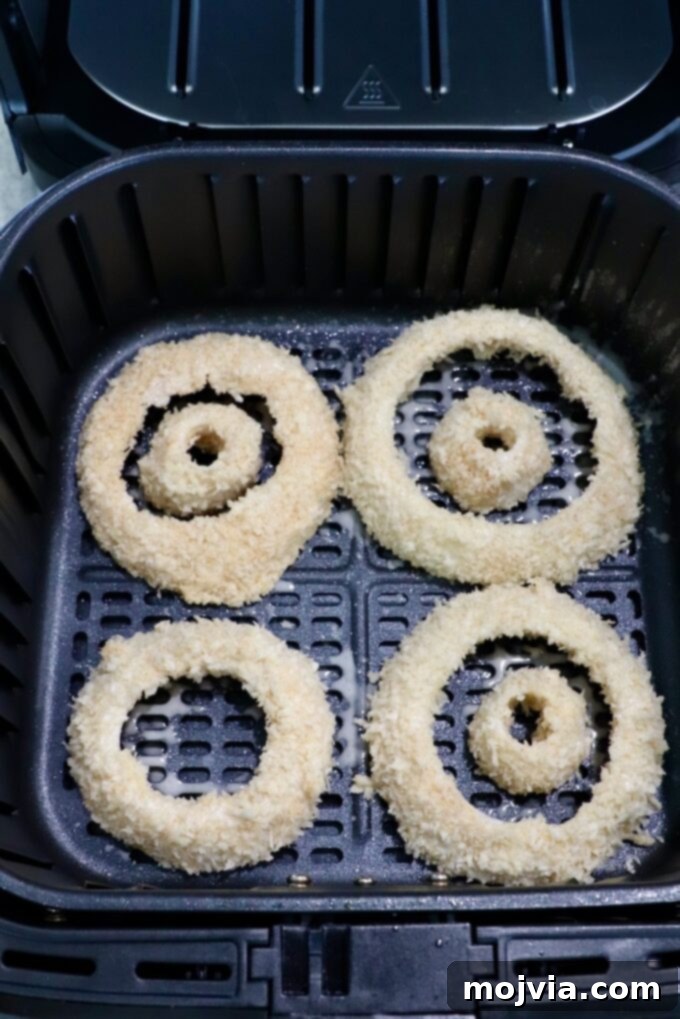
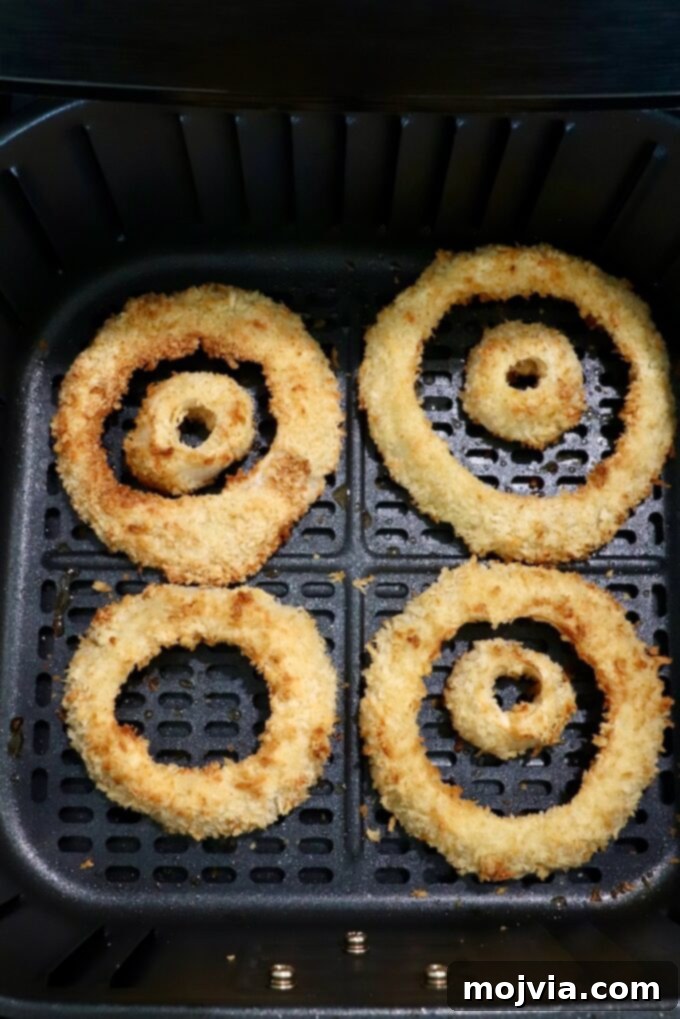
- Preheat Your Air Fryer: Preheat your air fryer to 350°F (175°C). Allowing your air fryer to fully preheat ensures consistent cooking temperature and promotes even crisping from the start.
- Arrange and Air Fry: Once heated, place the breaded onion rings in the air fryer basket in a single layer. It’s crucial to leave some space around each ring for proper air circulation, which is essential for achieving maximum crispiness. You may need to cook in 2-3 batches depending on the size of your air fryer. A light spray of cooking oil over the onion rings will help achieve that beautiful golden-brown color and extra crunch.
- Cook to Golden Perfection: Air fry the onion rings for 12-15 minutes, or until they are golden brown and wonderfully crispy on the outside. Unlike many air fryer recipes, I do not recommend flipping these onion rings during cooking. Flipping can sometimes dislodge the delicate breading with tongs, compromising the crunchy exterior. The circulating hot air will cook them sufficiently on all sides.
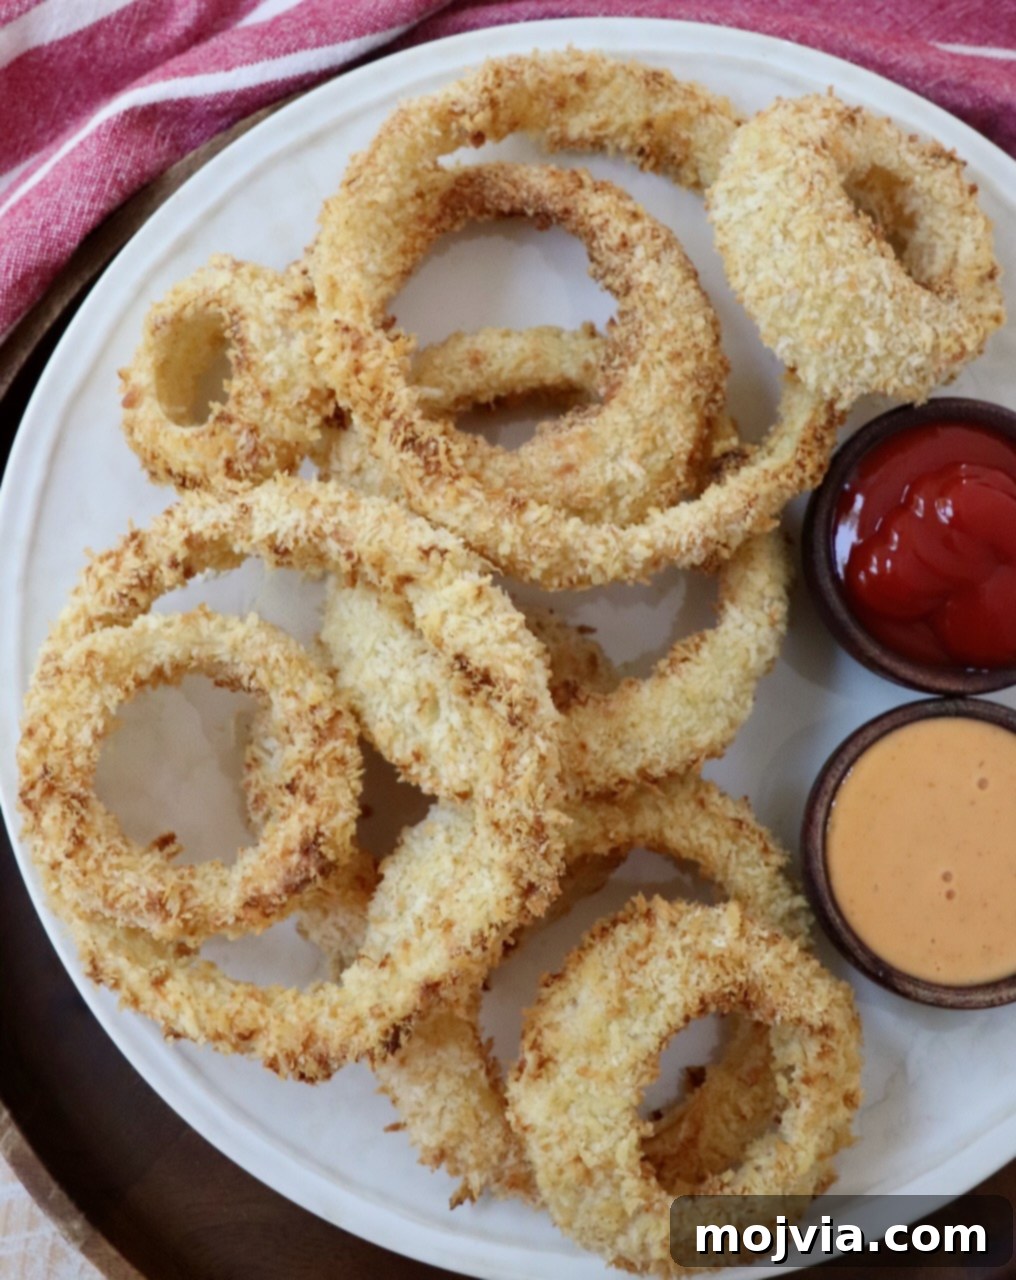
- Serve Immediately: Once cooked, carefully remove the crispy onion rings from the air fryer. For the best experience, serve them hot with your favorite dipping sauces.
Expert Tips for Success
- Managing Multiple Batches: Since air fryers work best when not overcrowded, you’ll likely cook your onion rings in batches. To keep the first batches warm and crispy while the others cook, place the finished onion rings on a wire rack set over a baking sheet in a warm oven (around 200°F/95°C). Once all batches are cooked, you can return them all to the air fryer, even if slightly overlapping, and air fry for an additional 1-2 minutes at 350°F (175°C) to reheat and re-crisp just before serving.
- The “Wet Hand, Dry Hand” Technique: This old-school trick is a lifesaver when breading anything. Dedicate one hand solely to handling the wet ingredients (egg and buttermilk mixture) and the other hand for the dry ingredients (flour and breadcrumbs). This prevents your hands from becoming a gloppy mess of breading and keeps your ingredients clean and separated, ensuring a smooth and efficient breading process. My dad taught me this when we made his famous Captain Crunch Fried Chicken!
- Gluten-Free Air Fryer Onion Rings: Adapting this recipe for gluten-free diets is simple. Replace the all-purpose flour with your preferred gluten-free flour blend (a 1:1 baking blend works well) or rice flour for a naturally crispy option. Crucially, use gluten-free panko breadcrumbs, which are widely available and maintain that excellent crisp texture.
- Flavor Customization: While seasoned salt and garlic powder offer a fantastic base, don’t hesitate to experiment with other seasonings to create unique flavor profiles. Consider adding a pinch of smoked paprika for a smoky depth, a dash of cayenne pepper for a spicy kick, or even a tablespoon of your favorite homemade seasoning blend like Ranch Seasoning or Fry Seasoning. For an unexpected twist, my famous Chicken Wing Seasoning or Cajun Seasoning can add a bold, zesty flavor.
- Don’t Skip the Oil Spray: While air frying uses minimal oil, a light spritz of cooking oil spray (e.g., avocado oil, olive oil) on the breaded onion rings before cooking is important. This helps achieve that beautiful golden-brown color and promotes extra crispiness, ensuring your onion rings don’t look pale or dry.
No Air Fryer? Oven-Baked Onion Rings
Even if you don’t have an air fryer, you can still enjoy delicious, crispy homemade onion rings using your conventional oven. The key is to maximize air circulation for crispiness:
Preheat Your Oven: Start by preheating your oven to a hot 425°F (220°C). If your oven has a convection setting, I highly recommend using it, as convection mimics the circulating hot air of an air fryer and will yield much crispier results. If you don’t have convection, a standard bake setting will still work well, though it might take a minute or two longer.
Prepare for Baking: After breading your onion rings according to the instructions above, arrange them in a single layer on a wire rack. Place this wire rack on top of a foil-lined baking sheet. The wire rack is crucial as it allows air to circulate all around the onion rings, preventing a soggy bottom. The foil-lined sheet underneath will catch any drips and make cleanup easier.
Bake to Golden Perfection: Lightly spray the battered onion rings with cooking oil spray. This helps them achieve a beautiful golden-brown color and a crisp exterior in the oven. Bake in the preheated oven for 15-18 minutes, or until they are perfectly golden brown and visibly crispy. Keep an eye on them, as oven temperatures can vary.
While the texture might be slightly different from air-fried, oven-baked onion rings are still a fantastic healthier alternative to deep-fried versions, delivering plenty of flavor and crunch.
Storage and Reheating Guide
This recipe typically yields around 18 delicious air-fried onion rings. Knowing how to store and reheat them properly ensures you can enjoy their crispy goodness for longer.
Storing Uncooked Onion Rings (Freezing)
If you’ve breaded more onion rings than you plan to cook immediately, or if you want to prep ahead for a quick snack later, you can freeze them for up to 3 months.
How to Freeze: Arrange the breaded, uncooked onion rings in a single layer on a parchment-lined baking sheet. Freeze until solid (this prevents them from sticking together). Once frozen, transfer them to a freezer-safe airtight container or a heavy-duty freezer bag.
Cooking from Frozen: You can air fry frozen onion rings directly from the freezer – no need to thaw! Simply add about 2-3 minutes to the standard cooking time. So, they will need to cook for approximately 14-17 minutes at 350°F (175°C). Ensure they are golden brown and heated through before serving.
Storing Cooked Onion Rings (Refrigeration)
Leftover cooked onion rings can be stored in an airtight container in the refrigerator for up to 5 days. While they won’t be as crispy as freshly made, they’re still delicious.
Reheating Cooked Onion Rings
The best way to bring leftover cooked onion rings back to life is by using your air fryer (or oven), not the microwave, which will make them soggy.
Air Fryer Reheating: Place the cooked onion rings in a single layer in your air fryer basket. Reheat at 400°F (200°C) for just 2-3 minutes, or until they are hot and have regained their crispiness. Keep a close eye on them to prevent burning.
Oven Reheating: Alternatively, you can reheat them in a preheated oven at 400°F (200°C) for about 5-7 minutes, again watching carefully for crispness.
By following these storage and reheating tips, you can enjoy your homemade air fryer onion rings at their best, even days after they’ve been made.
Essential Tools for This Recipe
Having the right kitchen tools can make the process of creating these delicious air fryer onion rings even smoother and more enjoyable. Here are a few recommendations:
- 5.8 Quart Air Fryer: A generously sized air fryer is ideal for making larger batches, which is especially helpful for onion rings that require cooking in a single layer. A 5.8-quart model offers ample space for family-sized portions without constant batch cooking.
- Air Fryer Parchment Paper Liners: These pre-cut liners are a fantastic invention for easy cleanup. They prevent food from sticking to the basket and make discarding crumbs a breeze, significantly cutting down on washing time.
- Kitchen Tongs: Essential for gently handling the delicate breaded onion rings without damaging the coating. Tongs provide precision when transferring rings between bowls in your breading station and when moving them to and from the air fryer basket.
- Shallow Bowls: While not a specialized tool, having three shallow, wide bowls is crucial for an efficient breading station. They make dipping and coating the onion rings much easier.
Perfect Pairings: What to Serve with Your Air Fryer Onion Rings
These crispy air fryer onion rings are incredibly versatile, making them a fantastic addition to almost any meal. Whether you’re looking for a delightful appetizer or a satisfying side dish, they pair wonderfully with a variety of foods and sauces.
Dipping Sauces:
The right dipping sauce can elevate your onion rings from great to unforgettable. Here are some classic and creative options:
- Classic Ketchup: Always a crowd-pleaser and a timeless favorite.
- Tangy BBQ Sauce: Its smoky sweetness provides a delicious contrast.
- Creamy Ranch Dressing: A cool, herby counterpoint to the crispy rings.
- Spicy Chipotle Sauce: For those who love a bit of heat and a smoky kick.
- Homemade Burger Sauce: A creamy, savory, and slightly sweet sauce that often includes mayo, ketchup, mustard, and relish.
- Honey Mustard: A sweet and tangy option that’s particularly popular.
- Garlic Aioli: A rich, garlicky mayonnaise-based sauce for a gourmet touch.
- Sriracha Mayo: Combine mayonnaise with sriracha for a simple, spicy, and creamy dip.
Main Dishes:
While they shine as a standalone snack, air fryer onion rings are the ultimate sidekick to many beloved main courses, especially those that benefit from a crunchy, savory accompaniment. They are the perfect alternative to fries or chips.
- Smash Burgers: The thin, crispy patties are a match made in heaven with a side of onion rings.
- Blue Cheese Burger: The sharp tang of blue cheese offers a delightful contrast to the sweet onion.
- Hawaiian Burger: A pineapple-topped burger finds a harmonious balance with the savory crunch.
- Air Fryer Chicken Tenders: Create a full air-fried meal that’s both delicious and healthier.
- Instant Pot Pulled Pork Sandwiches: The rich, tender pork is beautifully complemented by the crispy onion rings.
- BBQ Bacon Burger: The ultimate indulgence, where crispy bacon and BBQ sauce meet the perfect crunch.
- Smoked Burgers: The deep, smoky flavor of the burger is enhanced by the light sweetness of the onion rings.
- Chili Burger: A hearty chili-topped burger gets an extra layer of texture from these rings.
- Grilled Cheese or Other Sandwiches: Elevate a simple sandwich into a full, satisfying meal.
More Air Fryer Recipes to Explore
If you’ve fallen in love with the convenience and delicious results of air frying, there’s a whole world of recipes waiting for you! Fire up your air fryer and explore these other fantastic dishes that turn everyday ingredients into crispy, golden perfection with minimal effort and oil.

Pin Recipe
Rate this Recipe
Air Fryer Onion Rings
Create unbelievably crispy, flavorful onion rings that are healthier than frying, with this simple recipe for homemade Air Fryer Onion Rings! Thick, sweet onions are dipped in a rich buttermilk and panko breadcrumb coating to create the perfect crunchy exterior. They’re an ideal side dish to pair with burgers, or a fantastic appetizer for any gathering.
Ingredients
- 1 large sweet onion, like vidalia or walla walla (approximately 1.25 pounds)
- ⅔ cup all-purpose flour
- 1 tablespoon cornstarch
- 2 teaspoons seasoned salt, divided
- 1 teaspoon garlic powder
- 2 large eggs
- 1 cup buttermilk
- 2 cups panko bread crumbs
Instructions
- Peel and cut the onion into ½ inch slices, then carefully separate the slices into individual rings.
- Combine the flour, cornstarch, 1 teaspoon seasoned salt, and garlic powder in a shallow bowl.
- Whisk eggs and buttermilk together in another shallow bowl.
- Place panko bread crumbs in a third shallow bowl and season with the remaining 1 teaspoon seasoned salt.
- Dip each onion ring into the egg mixture, then the flour mixture, back into the egg mixture, then finally in the panko bread crumbs. Gently press on all sides of the onion to ensure it’s fully coated. Repeat until all onions are breaded.
- Preheat an air fryer to 350°F (175°C).
- Place the onion rings in the air fryer basket in a single layer, ensuring space between each for air circulation. Lightly spray with cooking oil. You will likely need to cook in 2-3 batches. Cook for 12-15 minutes or until crisp and golden brown on the outside. Remove from the air fryer and serve immediately.
Notes
- Do not flip the onion rings during cooking: Flipping them with tongs risks knocking off the delicate breading, which could compromise their crispiness.
- Arrangement in the air fryer: It’s fine to place some smaller onion rings inside larger ones in the air fryer basket, as long as there is still sufficient room around each onion for proper air circulation.
- Batch cooking strategy: When cooking in multiple batches, place cooked onion rings on a wire rack in a warm oven (around 200°F/95°C) to keep them crispy while the remaining batches cook. For a final re-crisp, place all onion rings back into the air fryer (even if slightly overlapping) for 1-2 minutes before serving.
- The “Wet Hand, Dry Hand” technique: Always use one hand for wet ingredients and the other for dry ingredients when breading. This prevents clumping and keeps your hands clean.
- Oven method: If you don’t have an air fryer, preheat your oven to 425°F (220°C). Use the convection setting if available. Place breaded onion rings on a wire rack set over a foil-lined baking sheet. Spray lightly with cooking spray. Bake for 15-18 minutes, or until golden brown and crispy.
- Freezing uncooked onion rings: Battered, uncooked onion rings can be stored in a freezer-safe container in the freezer for up to 3 months. Cook frozen rings directly from frozen by adding 2-3 minutes to the air frying time (14-17 minutes at 350°F/175°C).
- Storing and reheating cooked leftovers: Store cooked onion rings in an airtight container in the refrigerator for up to 5 days. Reheat them in the air fryer at 400°F (200°C) for 2-3 minutes to restore crispiness.
Nutrition Facts
Calories 67 kcal (3%)
Carbohydrates 11 g (4%)
Protein 3 g (6%)
Fat 1 g (2%)
Saturated Fat 0.5 g (3%)
Polyunsaturated Fat 0.3 g
Monounsaturated Fat 0.4 g
Cholesterol 20 mg (7%)
Sodium 330 mg (14%)
Potassium 67 mg (2%)
Fiber 1 g (4%)
Sugar 2 g (2%)
Vitamin A 49 mg (1%)
Vitamin C 1 mg (1%)
Calcium 35 mg (4%)
Iron 1 mg (6%)
Did you make this recipe?Tag @WhitneyBond on Instagram and hashtag it #WBRecipes!