
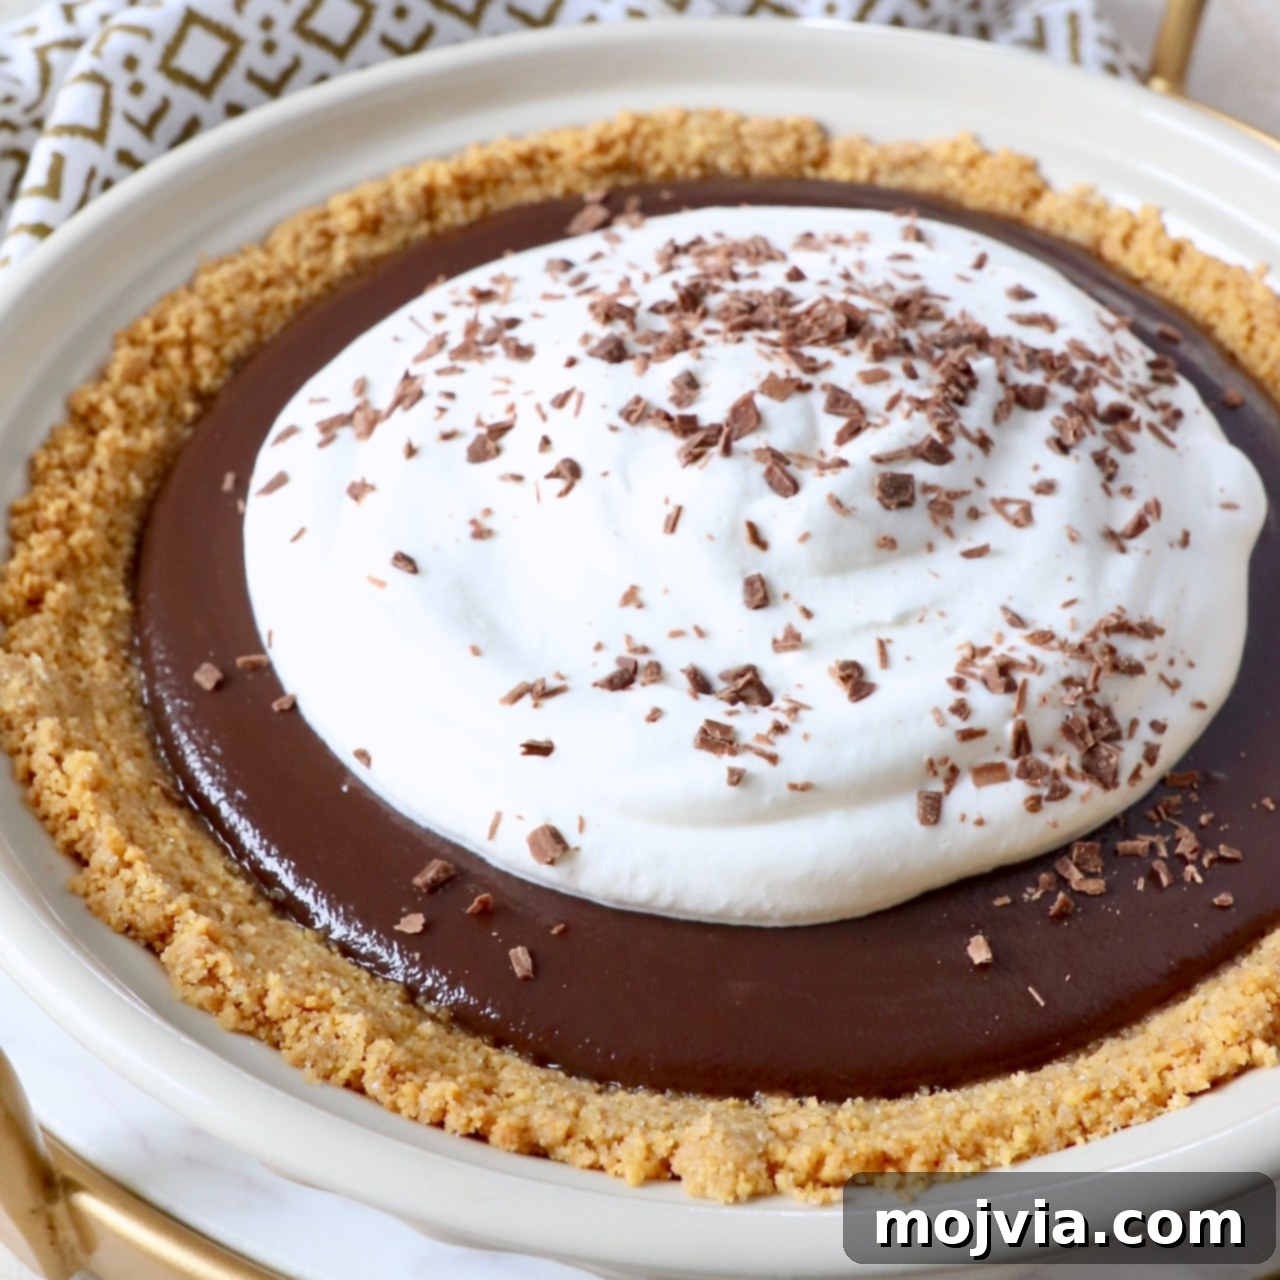
Get ready to indulge in an extraordinary dessert! This cherished recipe for Meme’s Famous Chocolate Pie isn’t just a dessert; it’s a legacy. Passed down through generations, this easy homemade chocolate pie boasts a perfectly sweet, crisp graham cracker crust, a velvety, rich chocolate filling that melts in your mouth, and is crowned with fluffy, homemade whipped cream. Whether you’re planning a casual summer BBQ, a festive holiday gathering, or simply craving a comforting classic, this chocolate pie recipe is guaranteed to be the star of any occasion. Its simplicity and incredible flavor make it a true family favorite, delivering pure delight with every single bite.
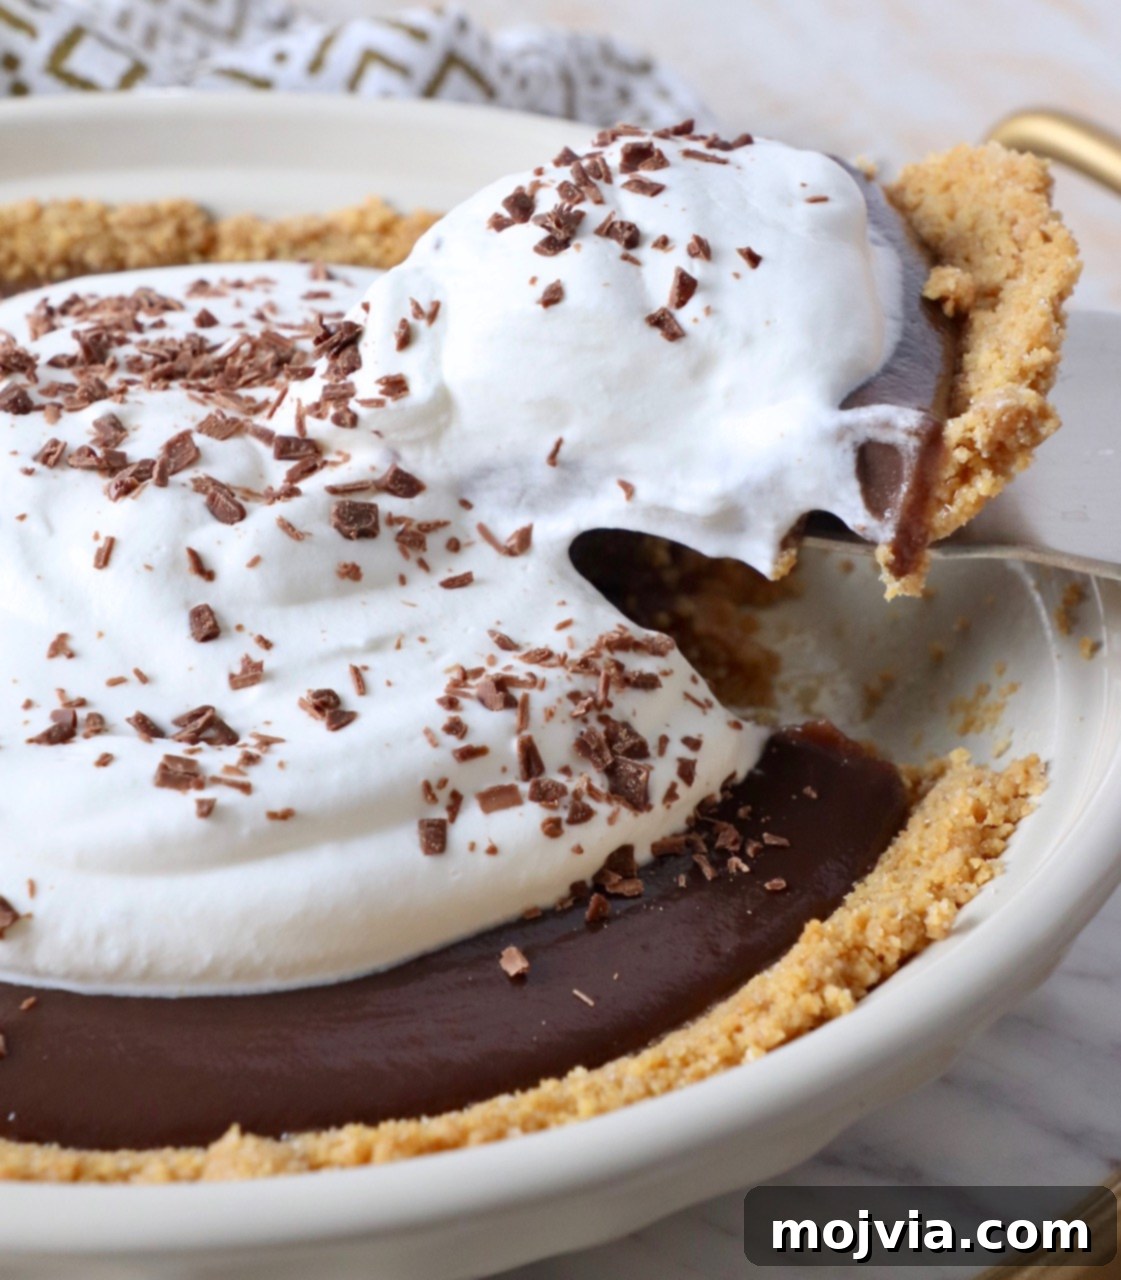
Table of Contents
- Essential Ingredients for Your Chocolate Pie
- Step-by-Step Instructions to Make This Delicious Pie
- Crafting the Perfect Homemade Whipped Cream
- Expert Tips for the Best Chocolate Pie Every Time
- Chocolate Pie FAQs: Your Questions Answered
- More Beloved Bond Family Recipes to Explore
Growing up, summer gatherings at my grandma Meme’s house were synonymous with two irresistible desserts. Without fail, she’d present her vibrant Pink Lemonade Pie and this indulgent Homemade Chocolate Pie. The tart, refreshing zest of the lemonade pie offered a delightful contrast to the profound, creamy chocolate richness of its counterpart. Choosing between them was always the sweetest dilemma; truly, you couldn’t make a wrong decision!
My culinary journey on this blog began with Meme’s lemonade pie, a recipe I proudly shared way back in 2012. However, the discovery of her legendary chocolate pie recipe was a more recent, heartwarming event. During a holiday visit to my parents’ home, I stumbled upon a treasured “cookbook” – a collection of my grandma’s handwritten recipes, a tangible piece of our family’s culinary history. Among those precious pages was the exact recipe for her iconic chocolate pie. It was an instant revelation: this timeless dessert simply had to be shared with all of you, becoming another cherished installment in our family’s recipe series.
My grandma, a true kitchen wizard, generously shared her pie-making wisdom with my mother. So, on a recent trip to California, I seized the opportunity to learn directly from my mom. Watching her recreate Meme’s chocolate pie, observing every nuanced tip and trick, was an invaluable experience. Now, I am absolutely thrilled to share this treasured family chocolate pie recipe with you, complete with all the special insights that make it so incredibly delicious and easy to prepare.
One of the many beauties of this easy chocolate pie is its straightforward preparation. You can have this delectable dessert prepped in approximately 30 minutes. The magic then happens in the refrigerator, where it chills and sets for a minimum of 4 hours, transforming into its ultimate creamy consistency. Once perfectly set, a generous cloud of fluffy homemade whipped cream completes this masterpiece. The result? Arguably the best chocolate pie ever, boasting an intensely rich chocolate flavor that satisfies every craving. This versatile dessert is ideal for any celebration: from laid-back summer barbecues and festive Thanksgiving dinners to joyful birthday celebrations, it’s always a welcome sight.
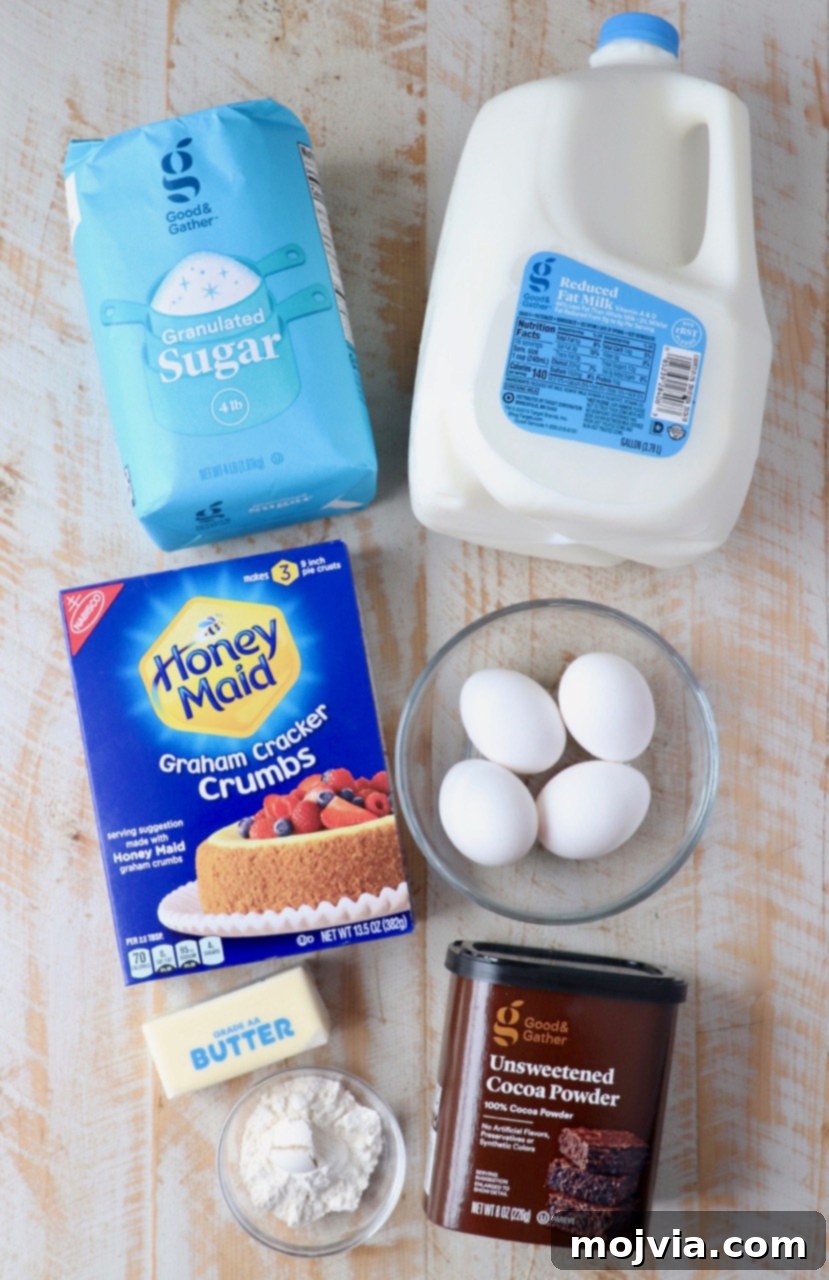
Essential Ingredients for Your Perfect Chocolate Pie
Crafting Meme’s exquisite chocolate pie requires a selection of simple, readily available ingredients that, when combined, create a symphony of flavors and textures. Here’s a detailed look at what you’ll need:
- For the Golden Graham Cracker Crust
- Graham Cracker Crumbs: These form the sweet, crisp foundation of our pie. You’ll typically find pre-crushed graham cracker crumbs in the baking aisle of most supermarkets, saving you a step. However, if you prefer, or if crumbs aren’t available, simply buy whole graham crackers. Place them in a sturdy large zip-top bag and use a rolling pin to crush them into fine crumbs. Alternatively, a food processor makes quick work of this, pulsing until you achieve a consistent, fine texture.
- Granulated Sugar: A touch of sugar binds the crust and adds a subtle sweetness that complements the rich chocolate filling.
- Unsalted Butter: Melted unsalted butter is crucial for holding the graham cracker crumbs together, creating a firm, flavorful crust. Using unsalted butter allows you to control the overall saltiness of the pie.
- For the Velvety Chocolate Filling
- Granulated Sugar: Essential for sweetening the cocoa and balancing its inherent bitterness, creating a perfectly balanced chocolate flavor.
- All-Purpose Flour: This acts as the primary thickening agent for the pie filling, giving it that wonderfully smooth and creamy consistency.
- Unsweetened Cocoa Powder: The heart of our chocolate pie! Use a good quality unsweetened cocoa powder for the deepest, most authentic chocolate flavor.
- Eggs (Yolks only): We use only the egg yolks in this recipe. They contribute richness, help to thicken the custard, and provide a beautiful, smooth texture to the filling. Remember to separate the yolks carefully from the whites!
- Milk: We typically use 2% milk for this recipe, which strikes a good balance between creaminess and lightness. However, if you prefer an even richer, more indulgent filling, whole milk can be used interchangeably.
- For the Fluffy Whipped Cream Topping – While optional, a generous dollop of homemade whipped cream elevates this chocolate pie to perfection and is highly recommended for the ultimate dessert experience. Of course, for convenience, store-bought whipped cream topping can also be used.
- Heavy Cream (or Heavy Whipping Cream): This is the foundation for light, airy homemade whipped cream. Ensure it’s very cold for the best results.
- Granulated Sugar: A small amount of sugar sweetens the cream, enhancing its natural flavor without overpowering the chocolate pie.
Step-by-Step Instructions to Create This Unforgettable Chocolate Pie
Crafting Meme’s Famous Chocolate Pie is a delightful process, and I’ve broken it down into easy-to-follow steps to ensure your success. Below, you’ll find detailed guidance, complemented by step-by-step photos, to walk you through each stage of preparation. For precise ingredient quantities and a printable version of this classic homemade chocolate pie recipe, please refer to the dedicated recipe card conveniently located at the bottom of this post.
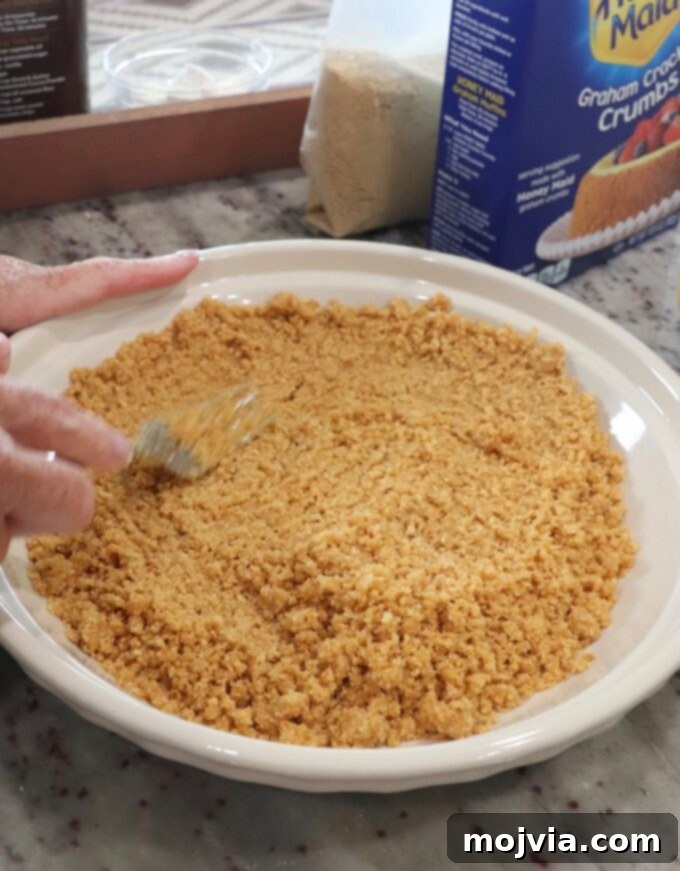
Step 1: Prepare the Graham Cracker Crust. Begin by preheating your oven to 350°F (175°C). In a medium mixing bowl, thoroughly combine the graham cracker crumbs, granulated sugar, and melted unsalted butter. Use a fork or your hands to ensure the butter is evenly distributed and coats all the crumbs. Once mixed, firmly press this mixture into a 9-inch pie plate, extending it evenly up the sides. Pressing it down well is key to a sturdy crust.
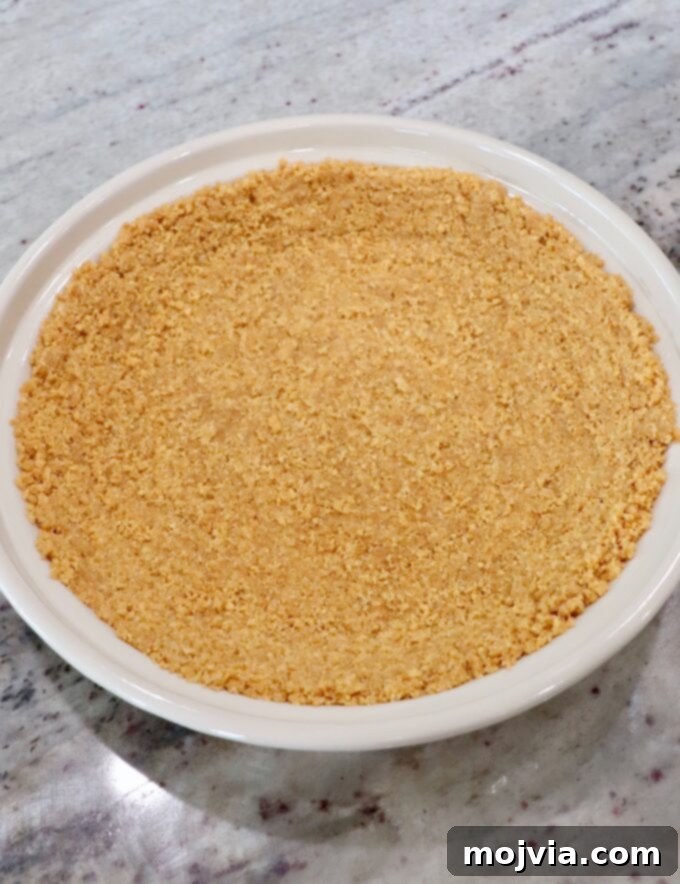
Step 2: Bake the Crust. Place the prepared pie crust in your preheated oven and bake for 8 minutes. This brief baking time helps to set the crust, making it beautifully crisp and lightly golden. Once baked, remove it from the oven and set it aside to cool slightly while you proceed with preparing the decadent chocolate filling. A cooled crust prevents the filling from becoming runny.
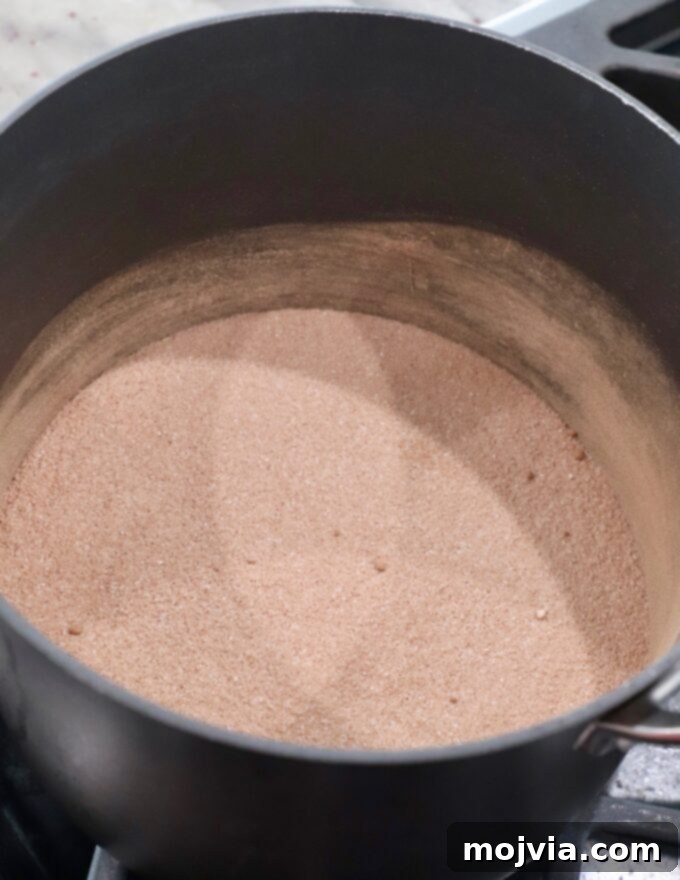
Step 3: Combine Dry Ingredients. In a medium-sized saucepan, combine the granulated sugar, all-purpose flour, and unsweetened cocoa powder. Whisk these dry ingredients together thoroughly. This ensures they are well-mixed and helps prevent lumps when the liquid ingredients are added, contributing to a smooth, creamy chocolate filling.
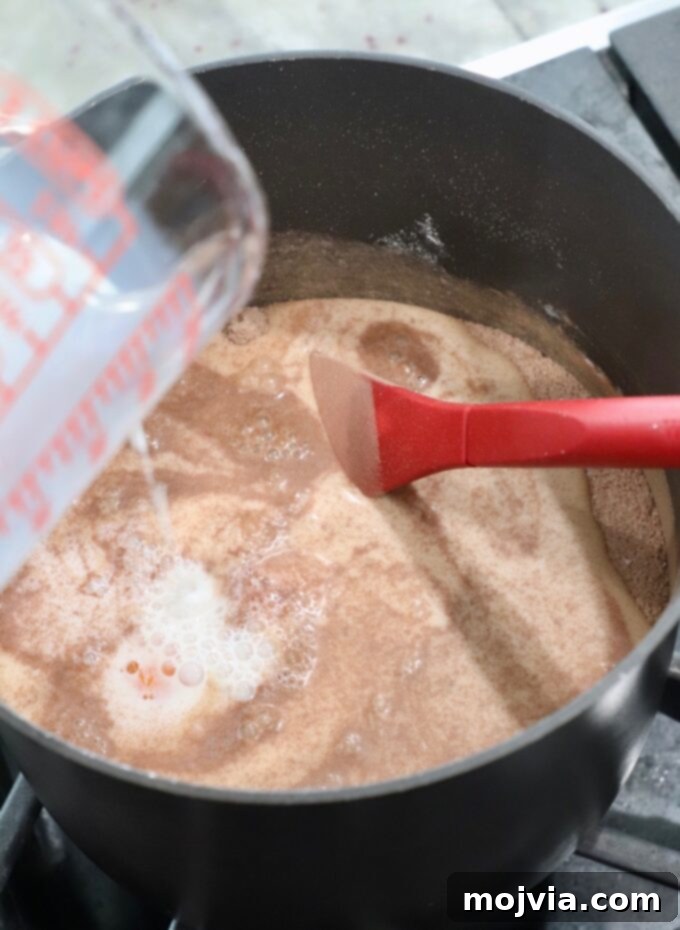
Step 4: Add Wet Ingredients. In a separate small bowl, lightly whisk the four egg yolks until they are just combined. Carefully add the whisked egg yolks to the saucepan with the dry ingredients. Pour in the milk, and then whisk everything together until well combined and smooth. Ensuring a smooth mixture at this stage is vital for a luscious, lump-free chocolate pie filling.
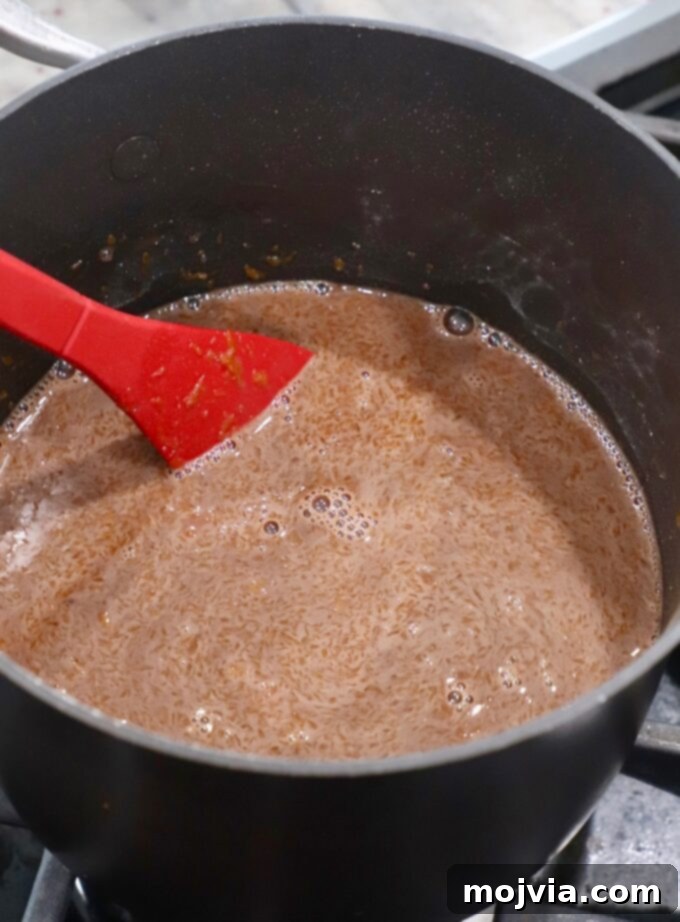
Step 5: Cook the Filling to Perfection. Place the saucepan over medium heat. This step requires a bit of patience and consistent attention. Stir the chocolate pie filling continuously, making sure to scrape the bottom and sides of the pan. This consistent stirring is crucial to prevent scorching and ensure even thickening. The mixture will gradually begin to thicken and achieve a rich, pudding-like consistency. This process typically takes about 20-25 minutes. Don’t rush it!
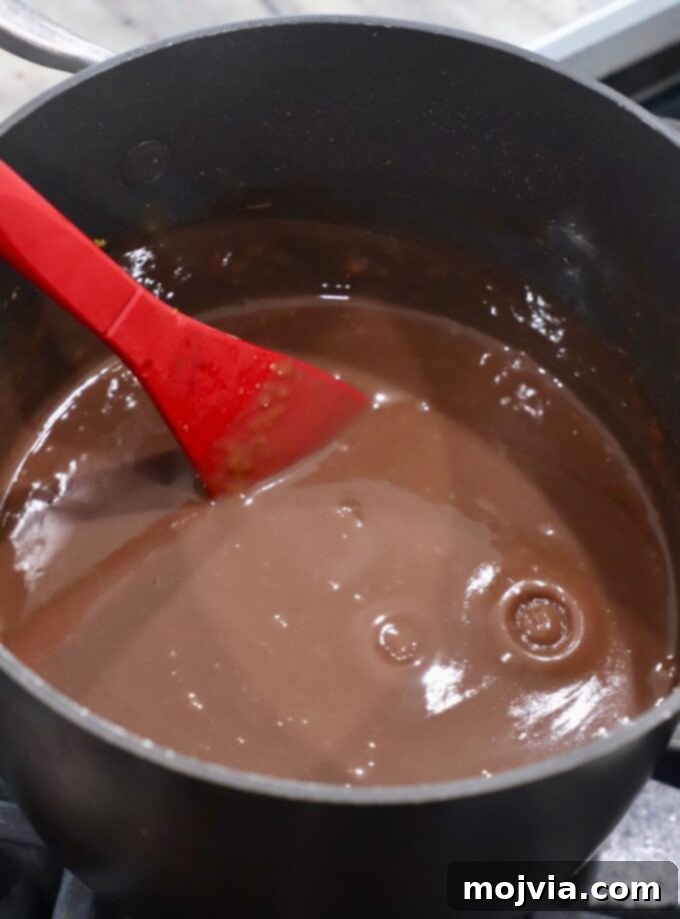
Step 6: Finish the Filling. Once the chocolate pie filling has reached a thick, creamy consistency, similar to a rich custard or the image provided, remove the saucepan from the heat. Stir in a small pinch of salt. This enhances the chocolate flavor and balances the sweetness beautifully. Your decadent homemade chocolate pie filling is now ready to be transferred to the prepared crust.
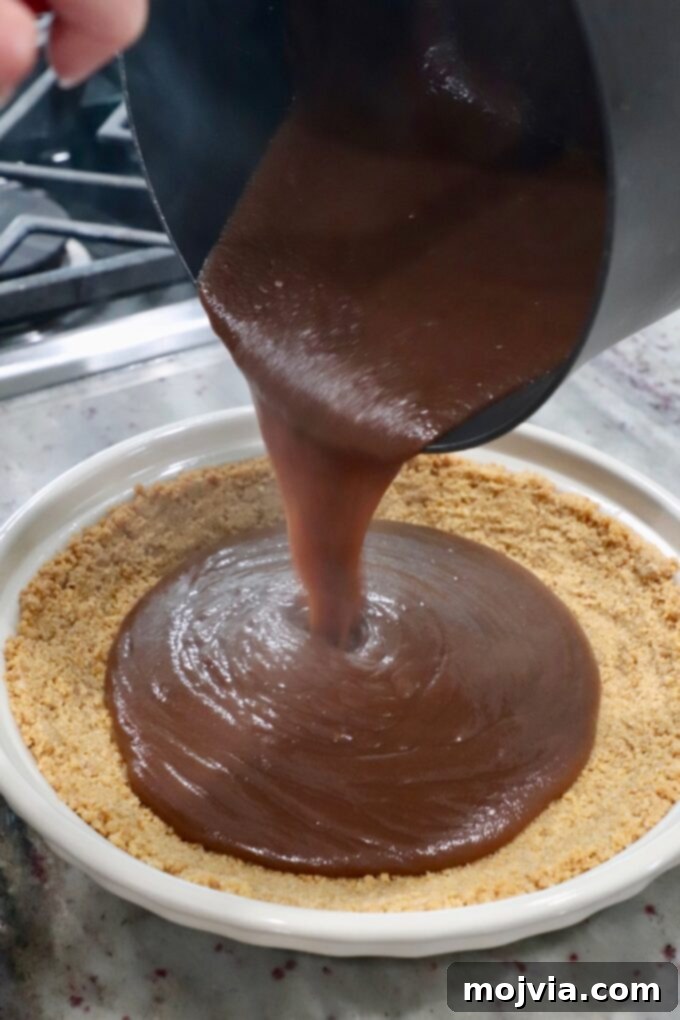
Step 7: Fill the Pie Crust. Carefully pour the warm, luscious chocolate mixture into the cooled, prepared graham cracker pie crust. Use a spatula to spread the filling evenly across the crust, ensuring a smooth surface. This creates a beautiful, uniform look for your finished homemade chocolate pie.
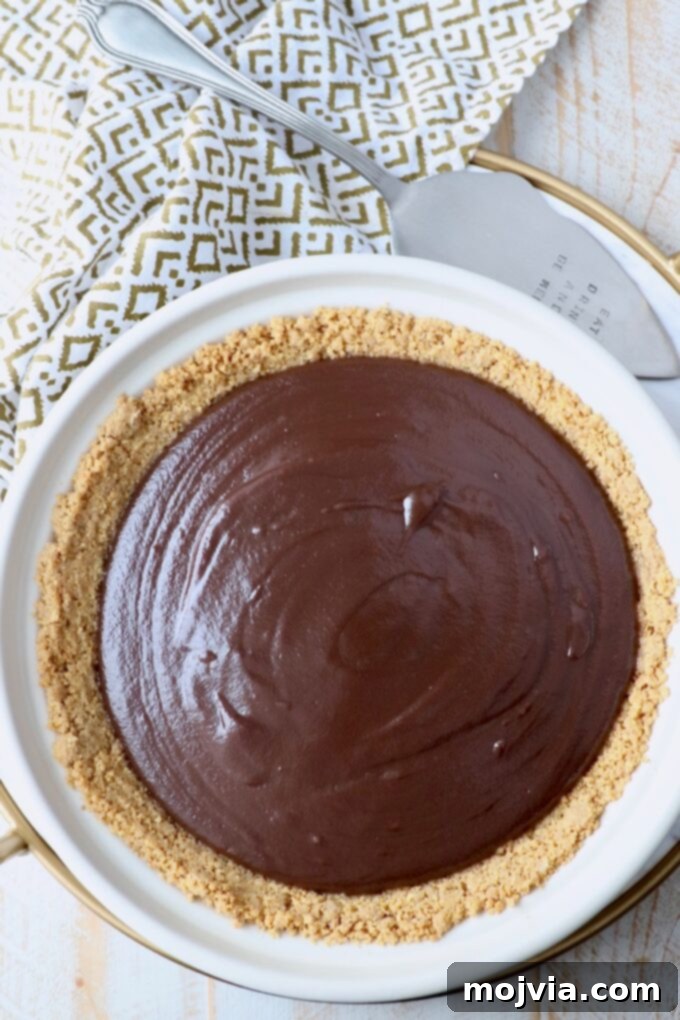
Step 8: Chill and Set. This is perhaps the most critical step for a perfect sliceable pie. Place the filled pie in the refrigerator for at least 4 hours. Ideally, for the firmest and most appealing slices, allow it to chill overnight. The extended refrigeration time is essential for the chocolate filling to fully set, creating that iconic, satisfying texture. Resist the urge to cut into it early – patience will be rewarded with the most delectable chocolate pie!
Crafting the Perfect Homemade Whipped Cream
While the homemade chocolate pie is delicious on its own, a cloud of freshly made whipped cream takes it to an entirely new level of indulgence. It’s surprisingly easy to make and far superior to store-bought versions. Follow these simple steps for a light, airy, and utterly delicious topping:
- Prepare Ingredients: Ensure your heavy cream (or heavy whipping cream) is very cold. For best results, you can even chill your mixing bowl and whisk attachment (if using a stand mixer) in the freezer for 10-15 minutes before starting. Add one cup of very cold heavy cream and two tablespoons of granulated sugar to a large mixing bowl, or the bowl of a stand mixer.
- Whip Until Peaks Form: Using the whisk attachment on your stand mixer, or an electric hand mixer, begin whipping the cream and sugar on medium-high speed. Continue to whip for approximately 3-4 minutes, or until the cream achieves medium peaks. This means when you lift the whisk, the cream should hold its shape, with the tip of the peak gently curling over. Be careful not to over-whip, or it will turn into butter!
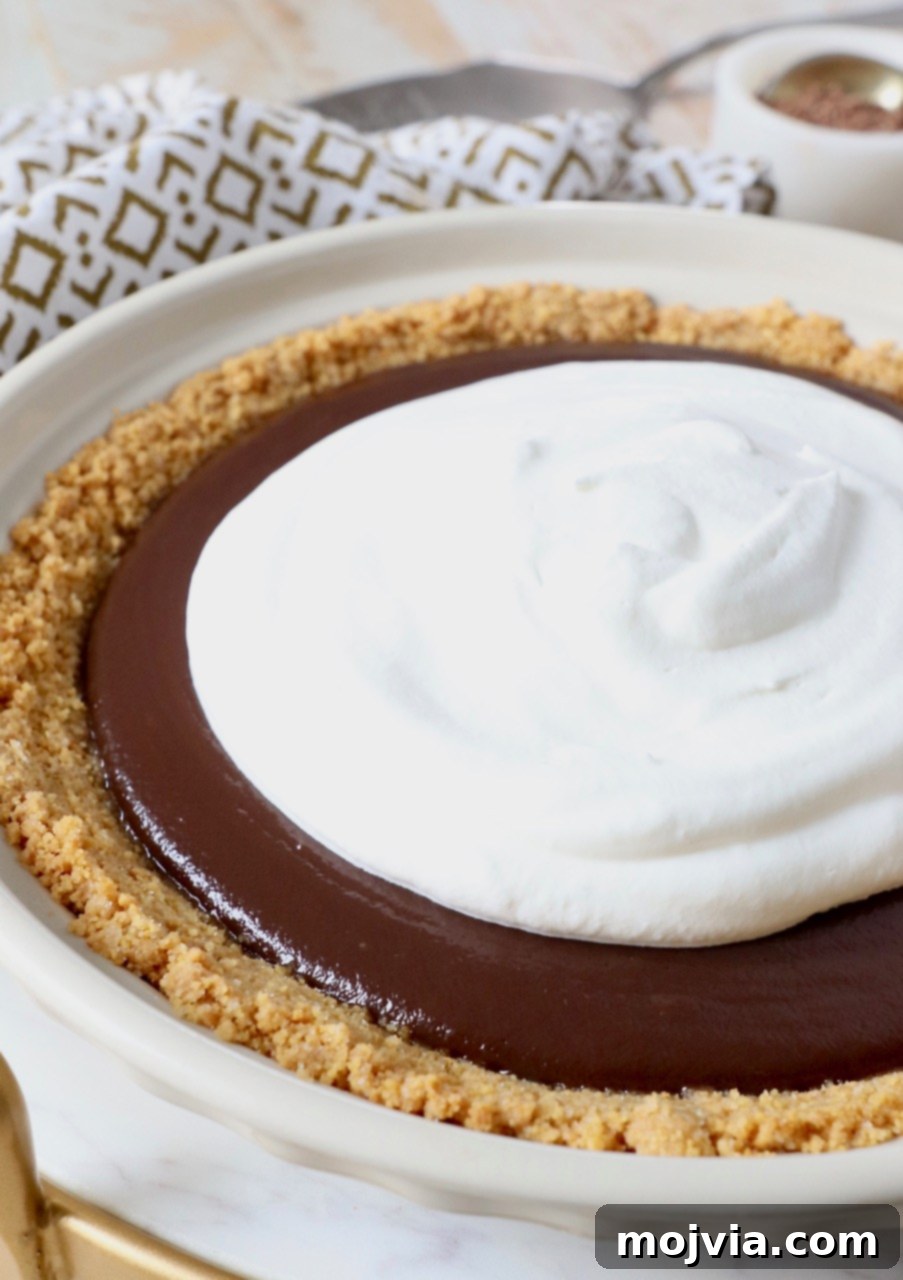
Once your beautiful homemade whipped cream is ready, you have a couple of serving options. You can elegantly spread it over the entire chilled chocolate pie for a dramatic presentation, or, for gatherings where people might prefer different amounts, serve it on the side. This allows each guest to spoon their desired amount onto individual slices. For an extra touch of sophistication and flavor, consider grating a bit of dark chocolate over the top of the pie just before serving, or sprinkle with a handful of mini chocolate chips for added texture and visual appeal!
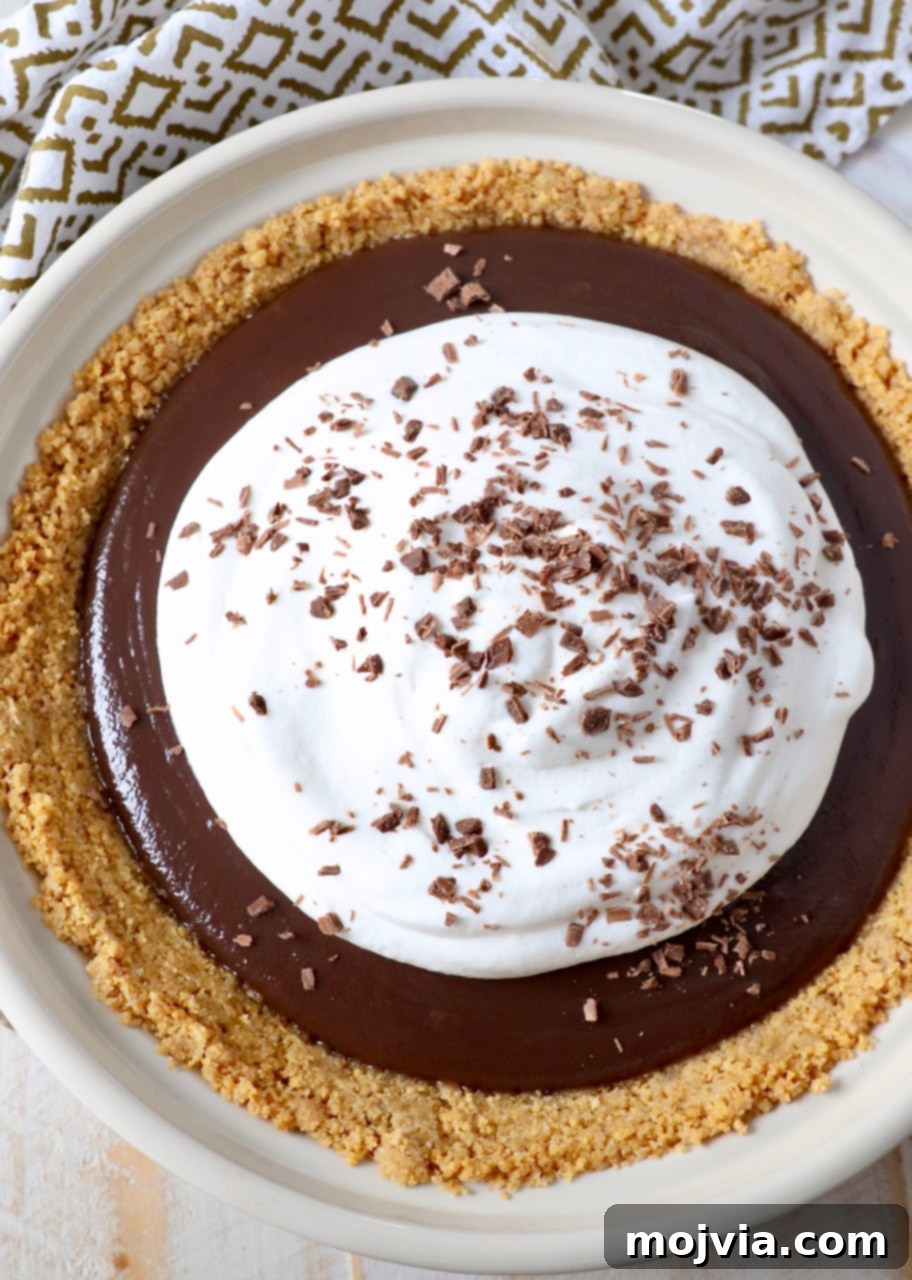
Expert Tips for Crafting the Best Homemade Chocolate Pie
Achieving the perfect Meme’s Famous Chocolate Pie is simple when you follow these time-tested tips, passed down through our family. These insights will help ensure your pie is absolutely delicious and looks stunning every time:
- Patience is Key for a Perfectly Set Filling: The most crucial step for a rich, firm chocolate filling is adequate cooking time on the stove. If your chocolate pie filling appears runny, it absolutely will not set correctly. Dedicate the full 20-25 minutes (or even a little longer if needed) to cook the filling, stirring consistently over medium heat until it becomes wonderfully thick and creamy. Think of it like a soothing meditation – grab a stool, put on your favorite playlist, and enjoy the process of watching your filling transform. This step truly makes all the difference!
- Don’t Skimp on Chilling Time: This easy chocolate pie relies on proper chilling to set. The pie needs a minimum of 4 hours in the refrigerator to fully firm up. If you attempt to slice into it prematurely, the filling will be too soft, potentially sinking in and making it difficult to remove clean, attractive slices. While it will still taste incredible, it simply won’t have that picture-perfect presentation. For the absolute best results and effortlessly elegant slices, I recommend chilling it overnight.
- Precise Egg Yolk Separation: My mom always emphasized this as a top tip when we made this recipe together. It’s vital to do an excellent job separating the egg yolks from the whites. Even a tiny bit of egg white introduced into the chocolate pie filling can cause it to cook unevenly and create undesirable lumps, compromising the smooth, silky texture we’re aiming for.
- Achieve the Right Crust Texture: When making the graham cracker crust, ensure you press the mixture very firmly into the pie plate. This compaction is what gives you a sturdy crust that holds together beautifully when sliced, preventing crumbling. A flat-bottomed glass or the back of a measuring cup works wonders for this task.
- For a Quicker Preparation: If time is of the essence or you’re looking for an even simpler approach, feel free to take a shortcut! You can absolutely purchase a pre-made graham cracker crust from the grocery store. Similarly, store-bought whipped cream topping can stand in for homemade. Don’t worry, your secret for this easy homemade chocolate pie is safe with me – I won’t tell Meme!
- Storing Leftover Pie: Any leftover chocolate pie should be promptly covered tightly with plastic wrap or aluminum foil and stored in the refrigerator. It will maintain its deliciousness and texture for up to 5 days. A key point: whipped cream topping tends to lose its peak and texture faster than the pie itself. If you anticipate having leftovers or plan to only serve a portion of the pie after it’s made, I highly recommend serving the whipped cream on the side, rather than spreading it over the entire pie. This keeps both components at their best.
- Cooling the Crust Properly: After baking your graham cracker crust, let it cool completely before pouring in the warm chocolate filling. Pouring a hot filling into a warm crust can make the crust soggy, diminishing that delightful crispness.
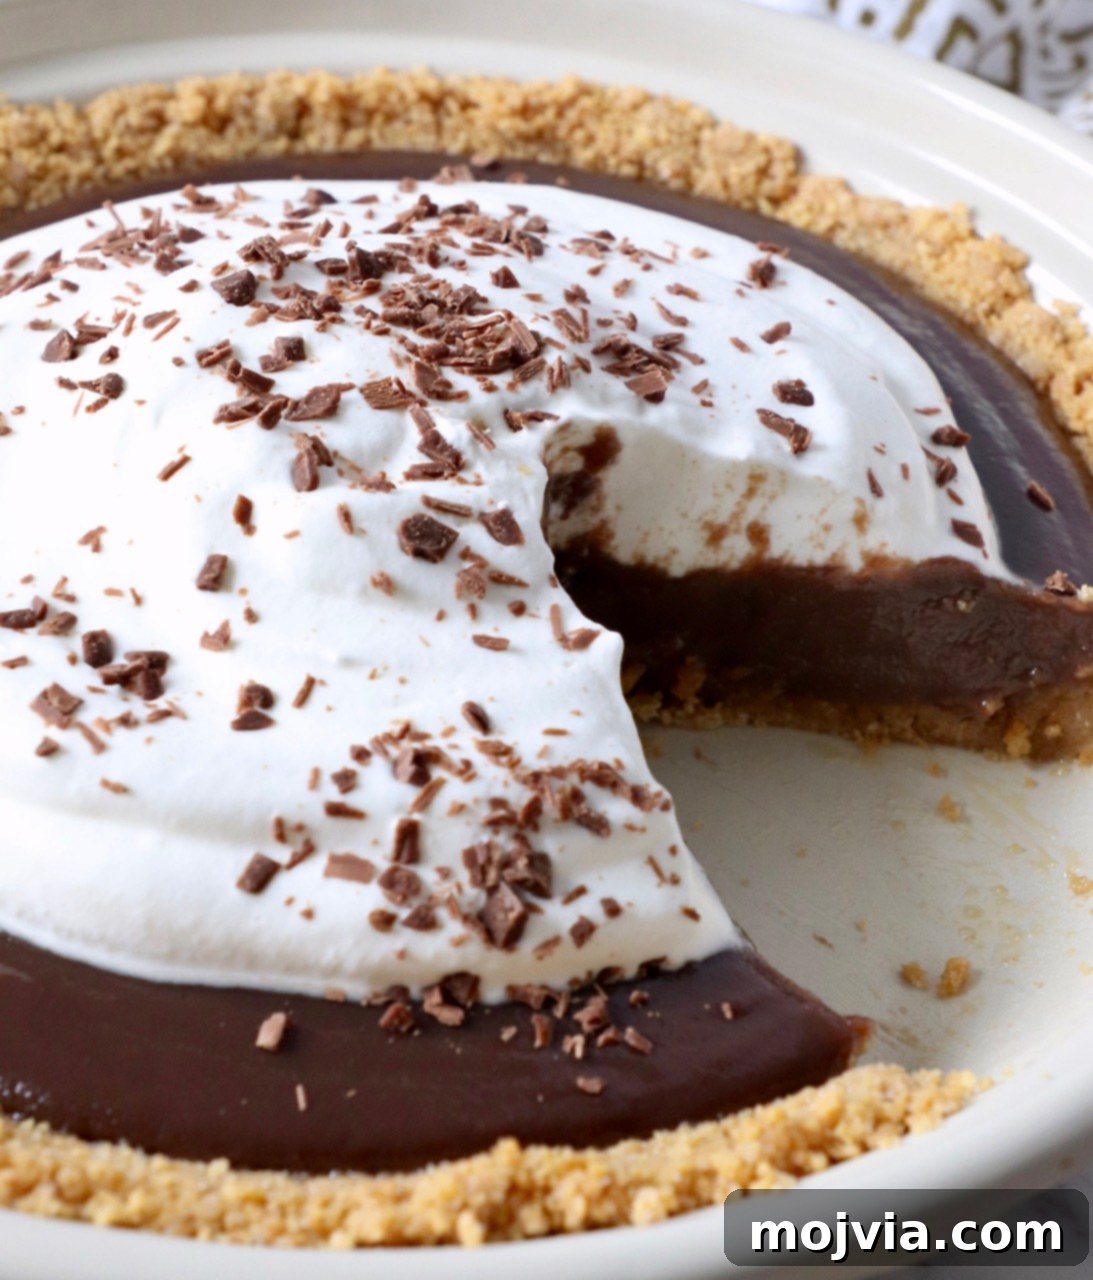
Frequently Asked Questions About Meme’s Chocolate Pie
Here are answers to some common questions about making and enjoying this incredible homemade chocolate pie:
- Can I use a different type of pie crust for this recipe? Absolutely! While the sweet graham cracker crust is a classic pairing for this easy chocolate pie, you have delicious alternatives. For a more traditional feel, you can use a homemade flaky pie crust – my Mom’s famous recipe can be found on her Cherry Pie post. If you’re looking to double down on the chocolate experience, an Oreo crust is a fantastic choice! Simply substitute the 1 ¼ cups of graham cracker crumbs with 1 ¼ cups of finely crushed Oreo cookies (creams included, if you like!). This creates an even richer, darker base for your pie.
- Does this chocolate pie require refrigeration? Yes, unequivocally. For the chocolate pie filling to set properly and achieve its signature firm, yet creamy texture, it is absolutely essential to refrigerate it. Without sufficient chilling, the pie will remain too soft and challenging to slice neatly.
- What is the best way to thicken chocolate pie filling? The secret to a perfectly thick and creamy homemade chocolate pie lies in patiently cooking it down on the stove. This process takes a consistent 20-25 minutes (sometimes a little longer, depending on your stove and saucepan). It’s crucial to maintain medium heat and stir constantly to prevent the bottom from scorching and to ensure even thickening. A vital warning: Do not be tempted to turn up the heat significantly! High heat can scald the chocolate filling, resulting in a burnt taste and lumpy texture, completely ruining the delicate custard. Trust the process, and give it the time it needs to thicken naturally. Also, refrain from adding additional thickening agents like cornstarch or extra flour, as this will alter the carefully balanced consistency and flavor of Meme’s original recipe.
- How many servings can I expect from this chocolate pie recipe? This recipe is designed to yield 8 generous slices of delicious homemade chocolate pie. In my family, that usually means a couple for me and six for everyone else! 😉
- What can I do with the leftover egg whites? Since this chocolate pie recipe only calls for egg yolks, you’ll have some egg whites left over. Don’t let them go to waste! They are perfect for whipping up a healthy egg white omelette, baking a light and airy angel food cake, or even trying your hand at egg white mayonnaise. There are plenty of delicious ways to utilize them!
- Can I freeze chocolate pie? While technically possible, freezing this particular chocolate pie with its custard-like filling and graham cracker crust is generally not recommended. The texture of the filling can become grainy and the crust may become soggy after thawing. It’s best enjoyed fresh after refrigeration for its intended creamy consistency.
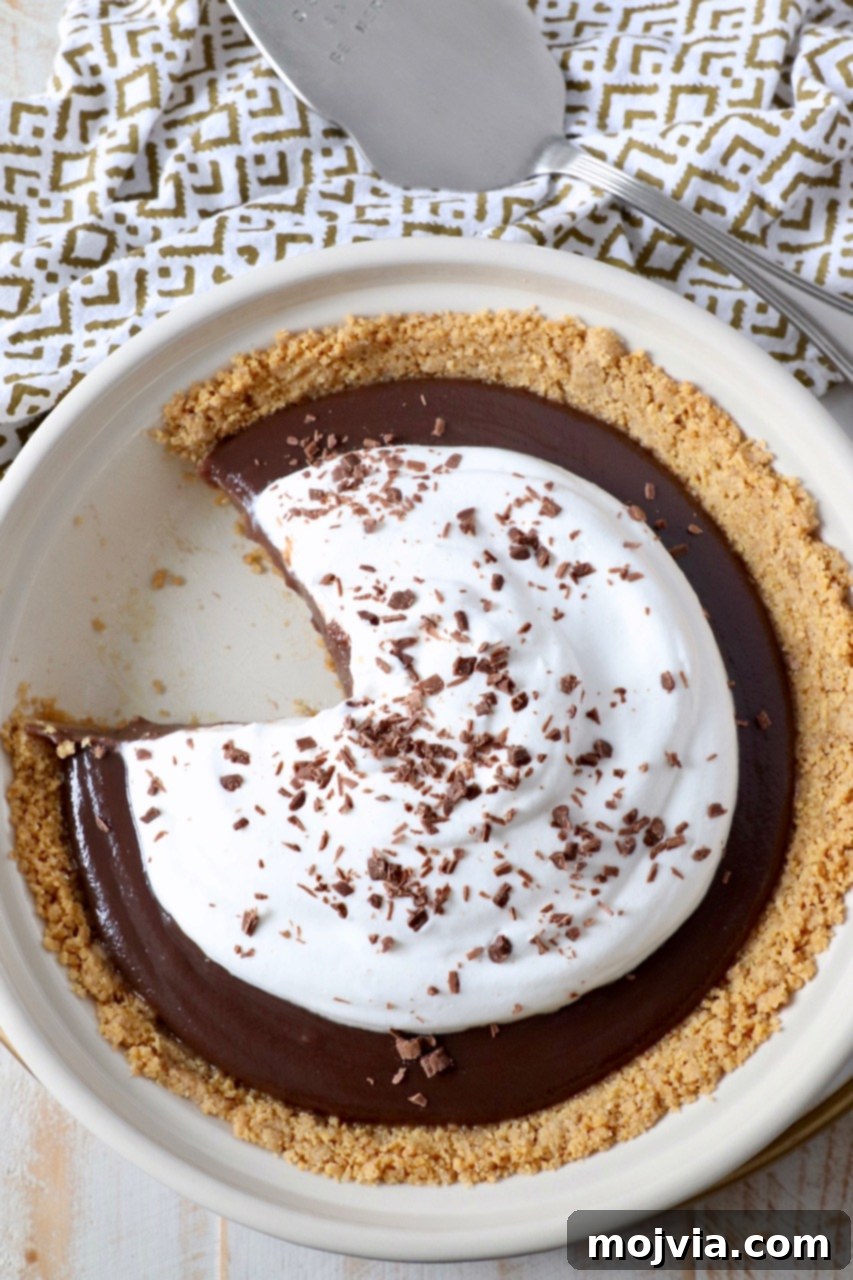
Discover More Beloved Bond Family Recipes
The Bond family kitchen is full of cherished traditions and incredible flavors. If you loved Meme’s Famous Chocolate Pie, you won’t want to miss these other delicious recipes, each passed down through generations and guaranteed to bring joy to your table!
Print Recipe
Pin Recipe
Leave a Review
Meme’s Famous Homemade Chocolate Pie
Ingredients
Graham Cracker Crust
- 1 ¼ cups graham cracker crumbs
- ¼ cup granulated sugar
- 5 tablespoons unsalted butter, melted
Chocolate Pie Filling
- 1 ½ cups granulated sugar
- 3 tablespoons all purpose flour
- 2 tablespoons unsweetened cocoa powder
- 4 egg yolks
- 2 cups 2% milk
Whipped Cream Topping
- 1 cup heavy cream
- 2 tablespoons granulated sugar
Instructions
Graham Cracker Crust
-
Preheat the oven to 350°F (175°C).
-
In a mixing bowl, combine the graham cracker crumbs, ¼ cup granulated sugar and melted butter.
-
Press the graham cracker crust firmly into a 9-inch pie plate.
-
Bake the crust for 8 minutes, or until lightly browned. Set aside to cool.
Chocolate Pie Filling
-
Add the granulated sugar, flour and cocoa to a medium saucepan. Stir to combine the ingredients.
-
In a small bowl, whisk the 4 egg yolks together, then add them to the saucepan with the dry ingredients.
-
Pour the 2 cups of milk into the saucepan and stir to combine everything.
-
Place the saucepan on the stove over medium heat.
-
Stir the chocolate pie filling consistently, for about 20-25 minutes, until it is thick and creamy.
-
When the pie filling is finished, stir in a pinch of salt before adding it to the crust.
-
Pour the chocolate pie filling into the prepared graham cracker crust.
-
Place the pie in the refrigerator for at least 4 hours, to allow the filling to set completely.
-
Before serving, prepare the whipped cream topping, if desired.
Whipped Cream
-
Add the heavy cream (ensure it’s very cold) and sugar to a large mixing bowl, or the base of a stand mixer.
-
Use the whisk attachment for the stand mixer, or a hand mixer, and whip the cream on medium-high speed for 3-4 minutes, or until medium peaks form.
-
Spread on top of the chocolate pie, or serve it on the side for individual servings.
Notes
- Always make sure you do a good job of separating the egg yolks from the whites. This was one of my Moms main tips when we made this recipe together. She said that if you get egg whites in the chocolate pie filling, they will cook and could make the filling lumpy.
- To make this pie quicker and easier, you can purchase a pre-made graham cracker crust and store bought whipped cream.
- Leftover pie should always be covered and stored in the refrigerator. It will keep for up to 5 days in the fridge. The whipped cream topping will not last that long in the fridge. If you plan to only serve part of the pie right after it’s made, I recommend serving the whipped cream on the side, instead of on top of the pie.
- You can also serve this chocolate pie in a traditional pie crust or Oreo crust. Follow my Mom’s traditional pie crust recipe, on this post for her homemade Cherry Pie. To make an Oreo cookie crust, simply substitute the graham cracker crumbs for 1 1/4 cups crushed Oreos.