
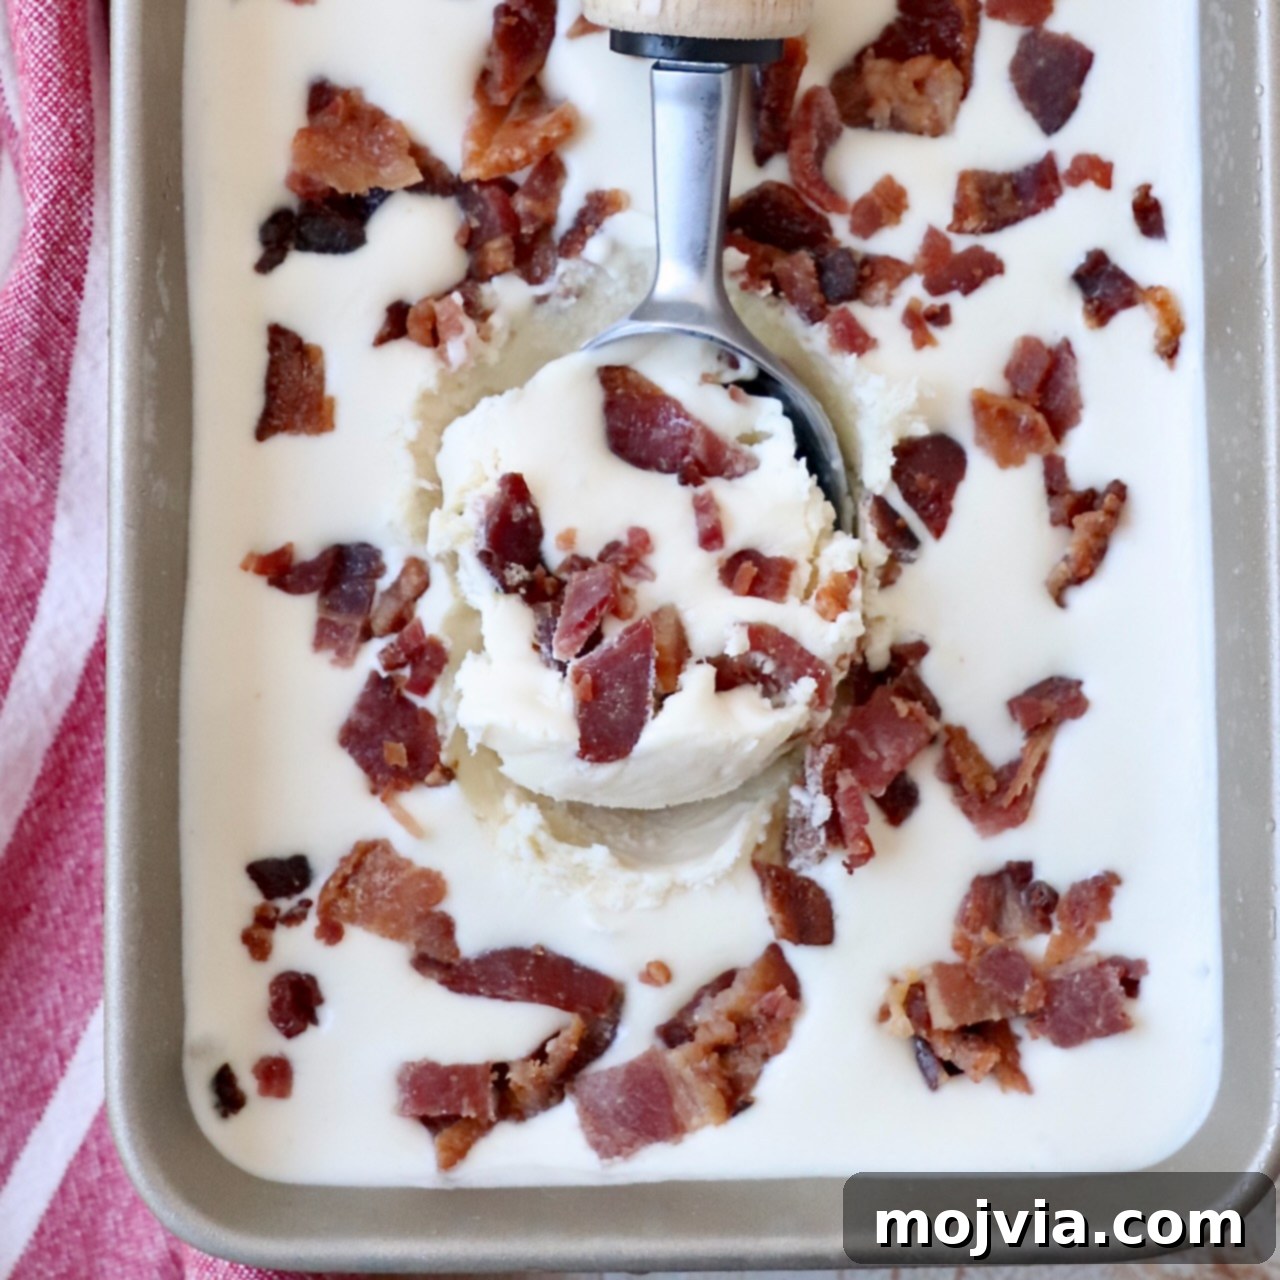
Maple Bacon Ice Cream is a truly unforgettable dessert, blending the creamiest ice cream base with the irresistible sweetness of maple syrup and the delightful crunch of candied bacon. This exquisite treat offers a perfect harmony of naturally sweet and subtly salty flavors, creating an experience that is incredibly delicious and utterly unique. Best of all, it’s a no-churn recipe, which means you can create this gourmet ice cream right in your kitchen without needing an expensive ice cream maker!
Imagine ending your day with a scoop of this super scrumptious, one-of-a-kind ice cream. Serve it elegantly in a classic waffle cone, and you might just convince yourself it’s an indulgent breakfast!
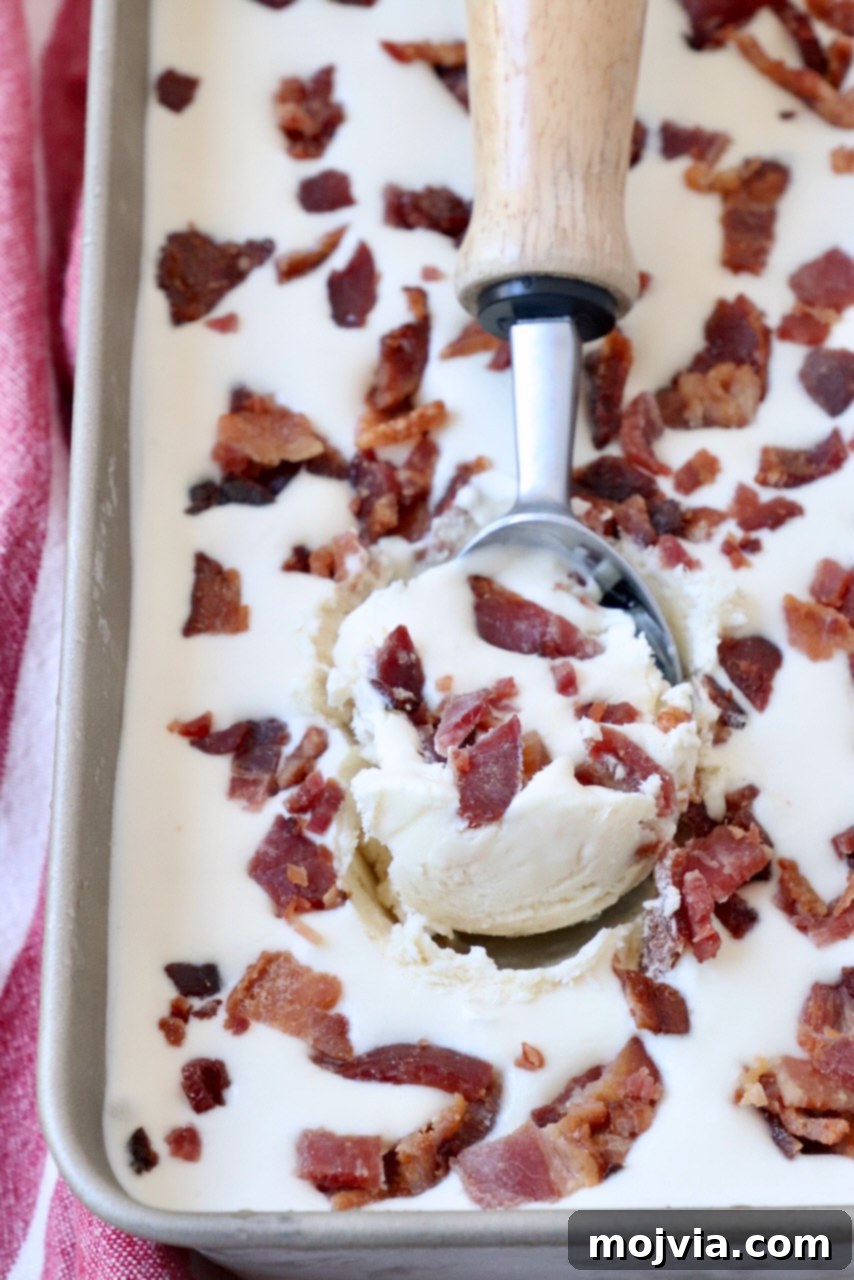
Table of Contents
- Introduction: The Magic of Maple Bacon Ice Cream
- Why You’ll Love This No-Churn Recipe
- Ingredients for the Perfect Sweet and Salty Blend
- Step-by-Step Instructions to Make Maple Bacon Ice Cream
- Tips and Tricks for the Best Homemade Ice Cream
- Creative Ways to Serve Your Maple Bacon Ice Cream
- Frequently Asked Questions (FAQ)
- More Irresistible No-Churn Ice Cream Recipes
Introduction: The Magic of Maple Bacon Ice Cream
As a passionate ice cream enthusiast, I’ve dedicated myself to perfecting the art of no-churn ice cream. There’s a special joy in creating luxurious, homemade frozen treats without the need for an expensive and often bulky ice cream machine. My culinary journey has led me to transform classic flavors into accessible no-churn recipes, and sometimes, to invent entirely new, exciting combinations – just like this remarkable Maple Bacon Ice Cream.
The marriage of rich maple syrup and delightfully crisp bacon is a classic for a reason. It’s a flavor profile that evokes comfort, indulgence, and a hint of unexpected sophistication. I’ve long been captivated by this sweet-and-salty dynamic, incorporating it into a variety of dishes, both savory and sweet. From the incredibly flavorful Maple Bacon Brussels Sprouts that frequently grace my fall dinner table, to my cherished breakfast staple, Maple Bacon Muffins, this combination always proves to be a crowd-pleaser. Now, it’s time to infuse this beloved duo into my signature, ultra-creamy, and effortlessly made no-churn ice cream base. This recipe isn’t just another dessert; it’s a celebration of bold flavors and simple pleasures, designed to impress with minimal effort.
Why You’ll Love This No-Churn Recipe
This unique Maple Bacon Ice Cream flavor is a masterpiece of contrasts – wonderfully sweet, delightfully salty, and utterly addictive. Each spoonful delivers a rich maple essence, complemented by the satisfying crunch of perfectly candied bacon. It’s an extraordinary treat that stands out from typical ice cream offerings. What makes this recipe truly special for home cooks is its incredible ease. With just 30 minutes of active prep time and a few hours of patience in the freezer, you can create a dessert that tastes like it came from a gourmet ice cream parlor.
The no-churn method simplifies the process immensely. You won’t have to deal with pre-freezing an ice cream maker bowl or continuous churning. Instead, it relies on whipping heavy cream to create a light and airy base, then folding in a sweetened condensed milk mixture for an undeniably rich and creamy texture. This technique ensures that even novice chefs can achieve professional-quality results, making homemade ice cream accessible to everyone. The convenience factor, combined with the phenomenal flavor, makes this Maple Bacon Ice Cream a definite must-try.
Ingredients for the Perfect Sweet and Salty Blend
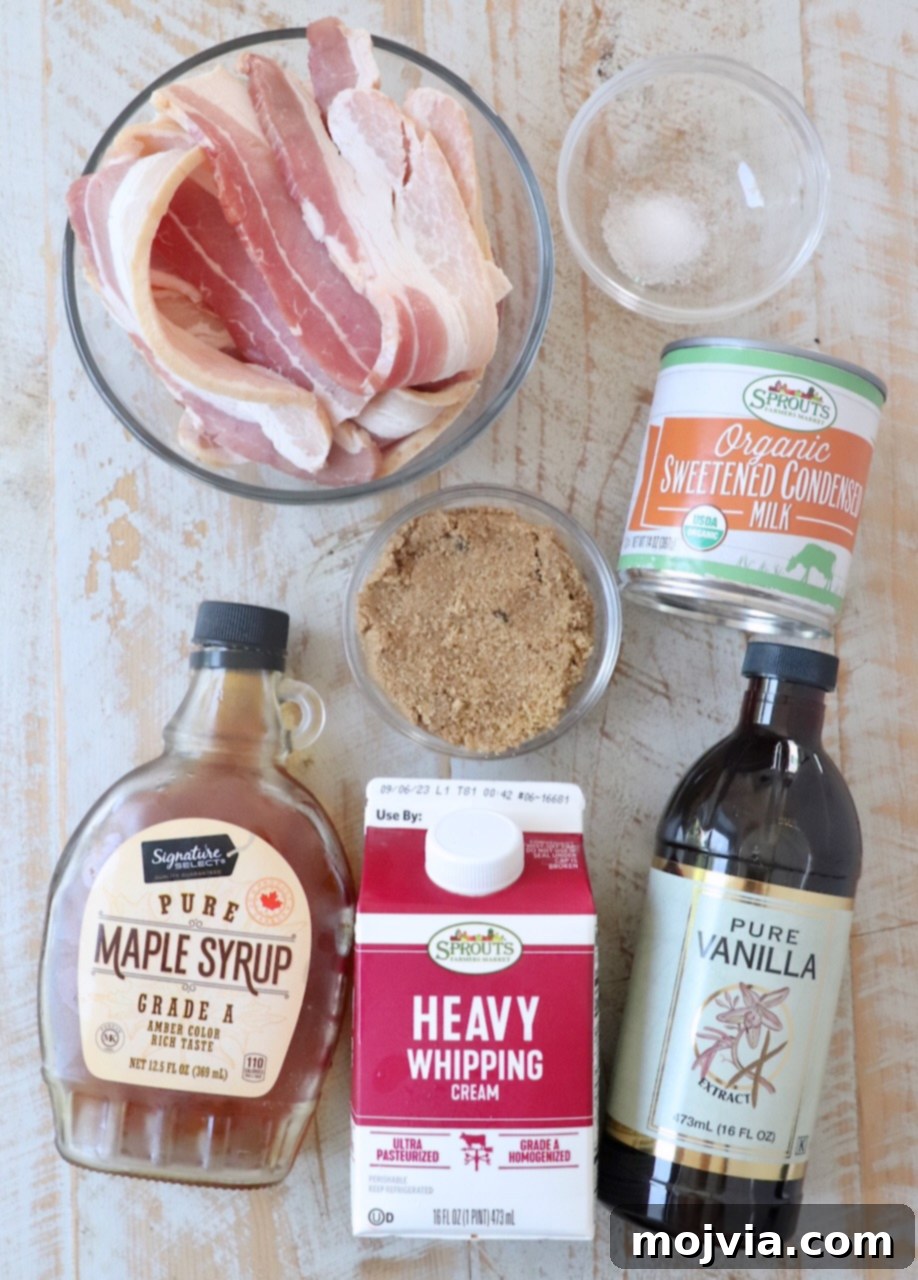
Crafting this exceptional Maple Bacon Ice Cream requires a few key ingredients, each playing a vital role in achieving its signature flavor and creamy texture. Here’s what you’ll need:
- Thick-Sliced Bacon: For the candied bacon component, I highly recommend using thick-cut bacon. Its substantial texture holds up beautifully during the caramelization process, resulting in perfectly crispy, chewy, and flavorful pieces that add a fantastic textural contrast to the smooth ice cream. Thin bacon might become too brittle.
- Real Maple Syrup: This is a non-negotiable ingredient. Always opt for 100% pure maple syrup, not pancake syrup or imitation maple-flavored syrup. The authentic, complex sweetness of real maple syrup is crucial for the rich, genuine maple flavor in both the candied bacon and the ice cream base.
- Brown Sugar: Used in conjunction with maple syrup, brown sugar helps create that wonderful caramelization on the bacon, enhancing its sweetness and crispness. Its molasses notes also complement the maple perfectly.
- Sweetened Condensed Milk: This magical ingredient is the secret to a silky-smooth, no-churn ice cream. You’ll find it in a can in the baking aisle of your grocery store. Be very careful to pick up sweetened condensed milk and not evaporated milk, as they are often placed side-by-side, but are entirely different products with distinct sugar content and consistency.
- Vanilla Extract: A touch of pure vanilla extract elevates the overall flavor profile, adding warmth and depth that complements both the maple and the bacon.
- Sea Salt: Just a pinch of sea salt in the ice cream base helps balance the sweetness and enhances all the other flavors, particularly the rich, savory notes of the bacon. It’s essential for achieving that sought-after sweet and salty dynamic.
- Heavy Cream: This is the foundation of our creamy ice cream base. It must be cold to whip properly and create the light, airy volume needed for no-churn ice cream. Do not substitute with whole milk or half-and-half; these alternatives lack the fat content necessary to whip into stiff peaks and will not yield the desired creamy, frozen consistency.
Step-by-Step Instructions to Make Maple Bacon Ice Cream
Follow these detailed steps to create your own irresistible Maple Bacon Ice Cream at home. The process is straightforward, ensuring delicious results every time!
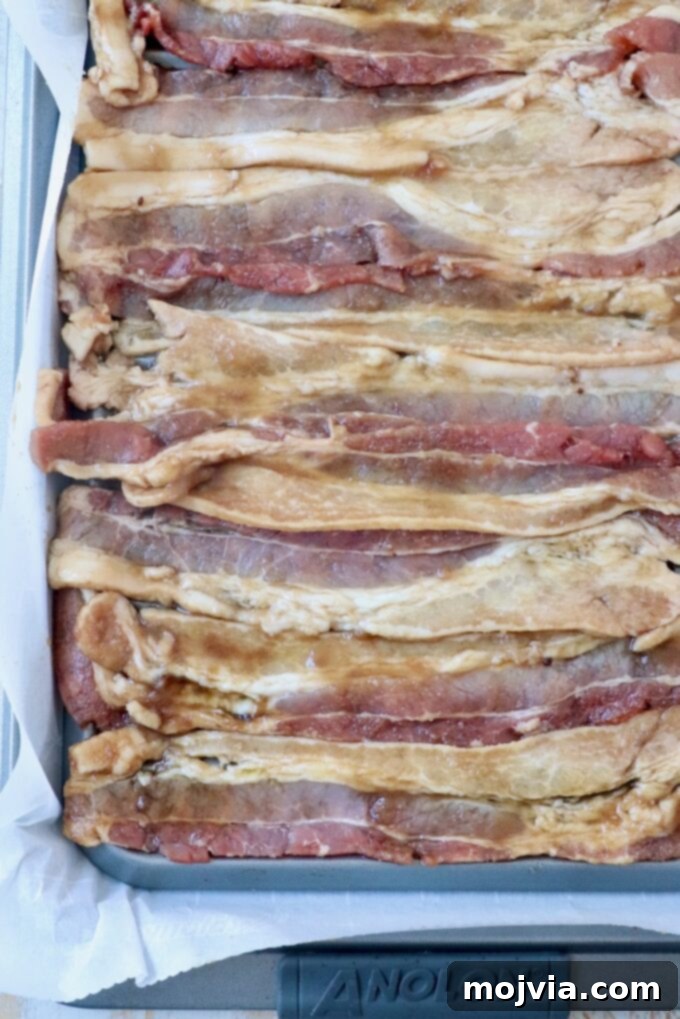
- Prepare the Candied Bacon: Begin by preheating your oven to 400°F (200°C). In a large bowl or a sturdy zipper bag, add the thick-sliced bacon strips. Pour in the maple syrup and toss well to ensure each strip is thoroughly coated. Next, add the brown sugar and toss again until the bacon is completely covered and sticky with the maple-brown sugar mixture. Arrange the coated bacon strips in a single, even layer on a wire rack placed over a baking sheet lined with parchment paper or foil. This setup allows air to circulate for even cooking and crisping. Bake for 15-20 minutes, or until the bacon is beautifully caramelized and crispy. Once cooked, carefully remove the bacon from the oven and transfer it to a cutting board to cool completely. As it cools, it will become even crispier. Once cool, chop the candied bacon into small, bite-sized pieces and set aside.
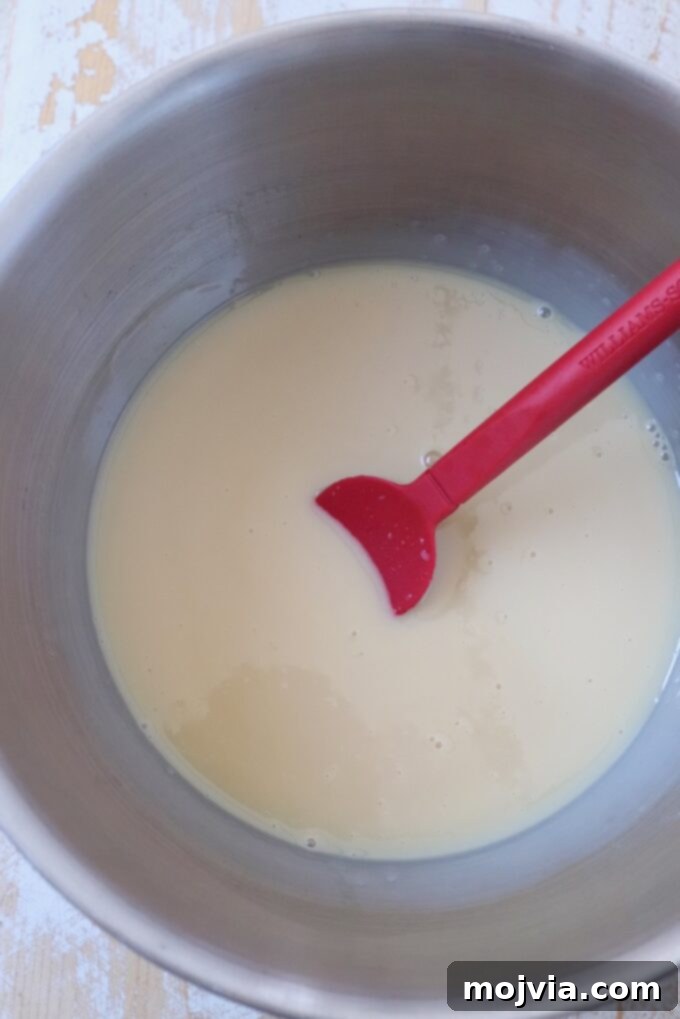
- Prepare the Ice Cream Base Mixture: In a medium-sized mixing bowl, combine the sweetened condensed milk, the specified amount of real maple syrup, vanilla extract, and sea salt. Stir these ingredients together until they are well combined and smooth. Set this mixture aside for a moment.
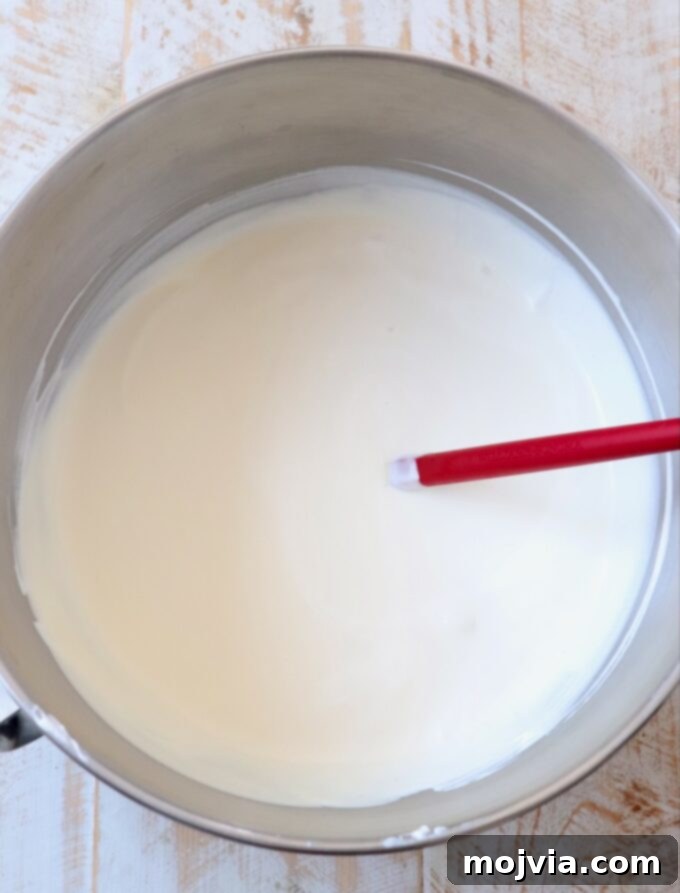
- Whip the Heavy Cream: Pour the cold heavy cream into the bowl of a stand mixer fitted with a whisk attachment, or into a large mixing bowl if using an electric hand mixer. Begin whipping the cream on medium-high speed. Continue to whip for approximately 4-5 minutes, or until firm peaks form. This means when you lift the whisk, the peaks of cream stand upright and hold their shape. If you don’t have an electric mixer, you can certainly whip the cream by hand with a sturdy whisk – it provides an excellent arm workout!
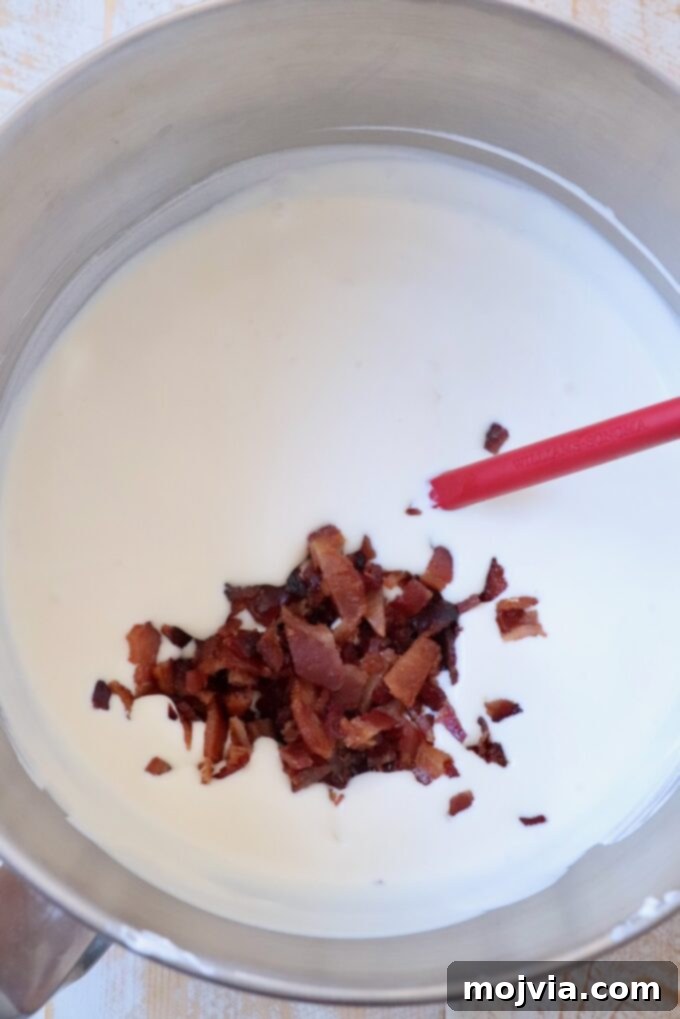
- Combine Base and Cream: Once the heavy cream is perfectly whipped, gently incorporate the sweetened condensed milk mixture into the whipped cream. Use a rubber spatula and a folding motion to combine them, being careful not to deflate the whipped cream. Then, add most of the chopped candied bacon, reserving a small handful of pieces to use as a garnish later.
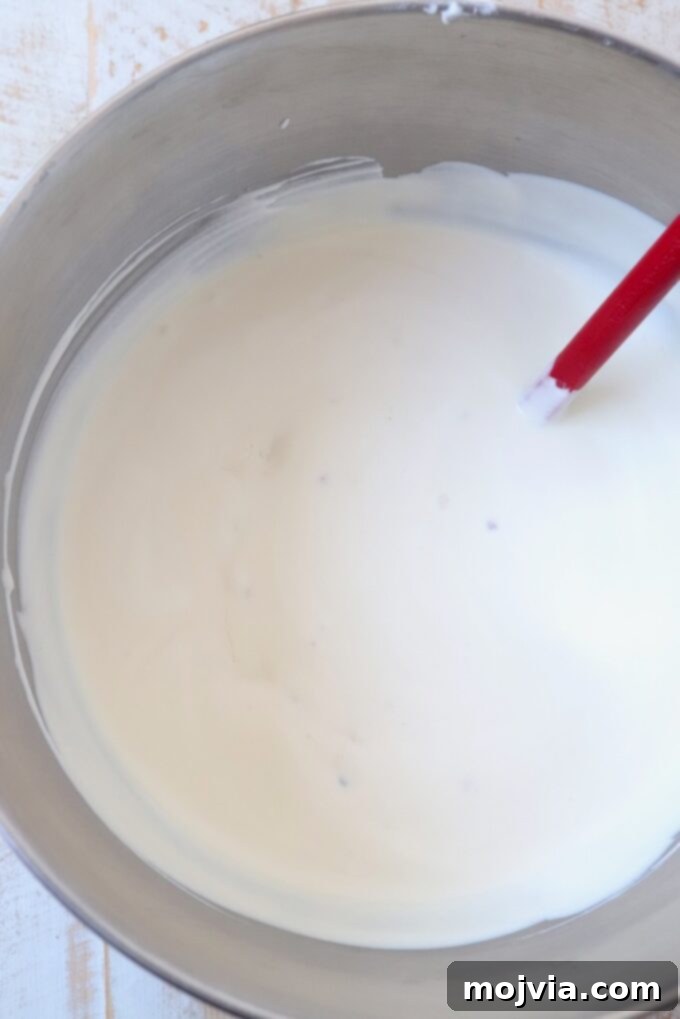
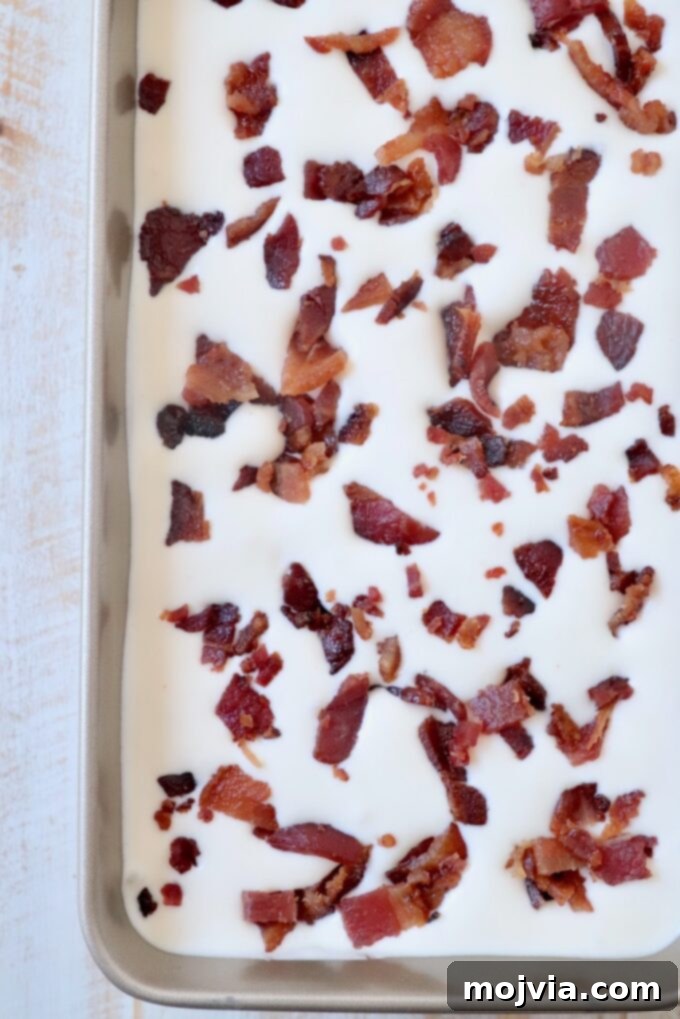
- Gently Fold and Prepare for Freezing: Continue to gently fold the bacon throughout the ice cream base until it’s evenly distributed. The goal is to mix everything without losing the airiness of the whipped cream.
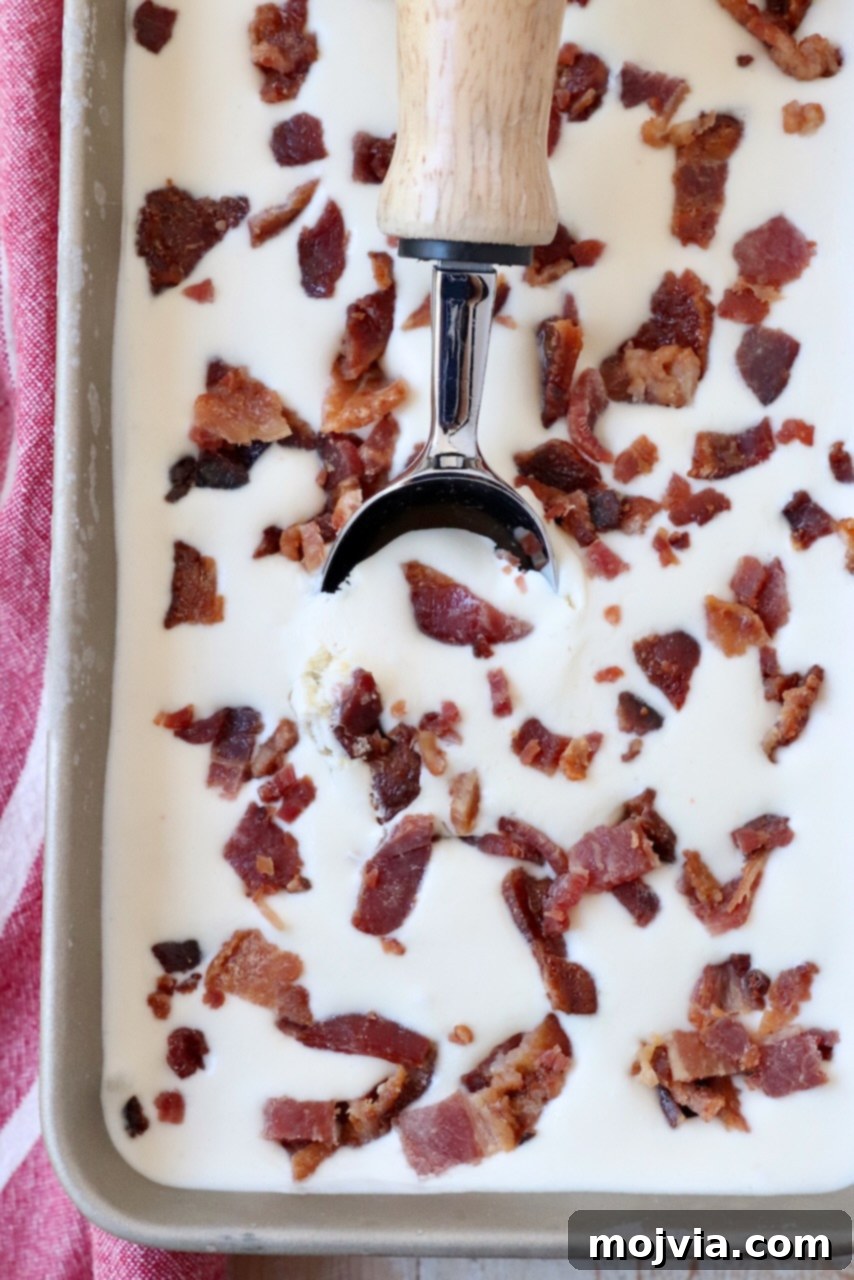
- Freeze the Ice Cream: Carefully pour the entire ice cream mixture into a 2-quart freezer-safe container. A metal container is highly recommended, as it conducts cold more efficiently and will help the ice cream freeze faster. Top the surface of the ice cream with the remaining reserved pieces of chopped candied bacon for an attractive garnish and an extra crunch. Cover the container tightly with plastic wrap, pressing it directly onto the surface of the ice cream to prevent ice crystals from forming (freezer burn). Place the container in the coldest part of your freezer and allow it to freeze overnight, or for at least 5-6 hours, before serving.
Tips and Tricks for the Best Homemade Ice Cream
- Optimize Freezing Time with Metal Containers: For the quickest freezing results, always pour your ice cream mixture into a metal container. Metal conducts cold much more efficiently than plastic, significantly speeding up the solidification process. A standard metal loaf pan works exceptionally well for this purpose.
- Strategic Freezer Placement: To further accelerate freezing, place your ice cream container as far back in the freezer as possible. The front of the freezer, particularly the door shelves, is the warmest spot due to frequent opening and closing. The back of the freezer offers a more consistent and colder temperature, ideal for setting homemade ice cream.
- Yield and Storage Capacity: This recipe yields approximately 1/2 gallon of delicious ice cream, which translates to about 4 pints or 12 generous scoops. Plan your storage accordingly!
- Long-Term Storage Tips: Properly stored, this homemade ice cream can remain fresh and delicious in your freezer for up to 6 months. To prevent freezer burn and maintain optimal texture and flavor, always store your ice cream in an airtight container. I prefer using durable glass containers for storage; this recipe fits perfectly into two of them.
- Vegetarian Adaptation: If you’re looking to enjoy a similar sweet and salty crunch without the bacon, you can easily make this recipe vegetarian. Simply omit the bacon entirely, or replace it with candied walnuts or pecans. To candy nuts, melt 2 tablespoons of butter with 2 tablespoons of maple syrup in a skillet. Add 1 1/4 cups of chopped walnuts or pecans and toast over medium heat for 4-5 minutes until caramelized. Transfer them to a parchment-lined baking sheet to cool before mixing into the ice cream base.
- Maintain the Base Integrity: The combination of heavy cream and sweetened condensed milk is the tested and perfected foundation for this no-churn recipe. It creates the ideal creamy texture and flavor. Therefore, it is crucial not to make substitutions for either of these core ingredients, as altering them will undoubtedly affect the final taste and consistency of your ice cream.
- The Wet Scoop Secret: For effortless scooping of your frozen treat, dampen your ice cream scoop with warm water before each scoop. This simple trick, learned from my days working at a frozen custard shop, creates a thin layer of water that prevents the ice cream from sticking, allowing it to glide smoothly into your bowl or cone.
Creative Ways to Serve Your Maple Bacon Ice Cream
This Maple Bacon Ice Cream is incredibly versatile and can be enjoyed in various delightful ways:
- Simply in a Bowl: Sometimes, the best way to savor a rich, creamy ice cream like this is straightforward – scooped directly from the freezer into a chilled bowl. Let its complex flavors speak for themselves.
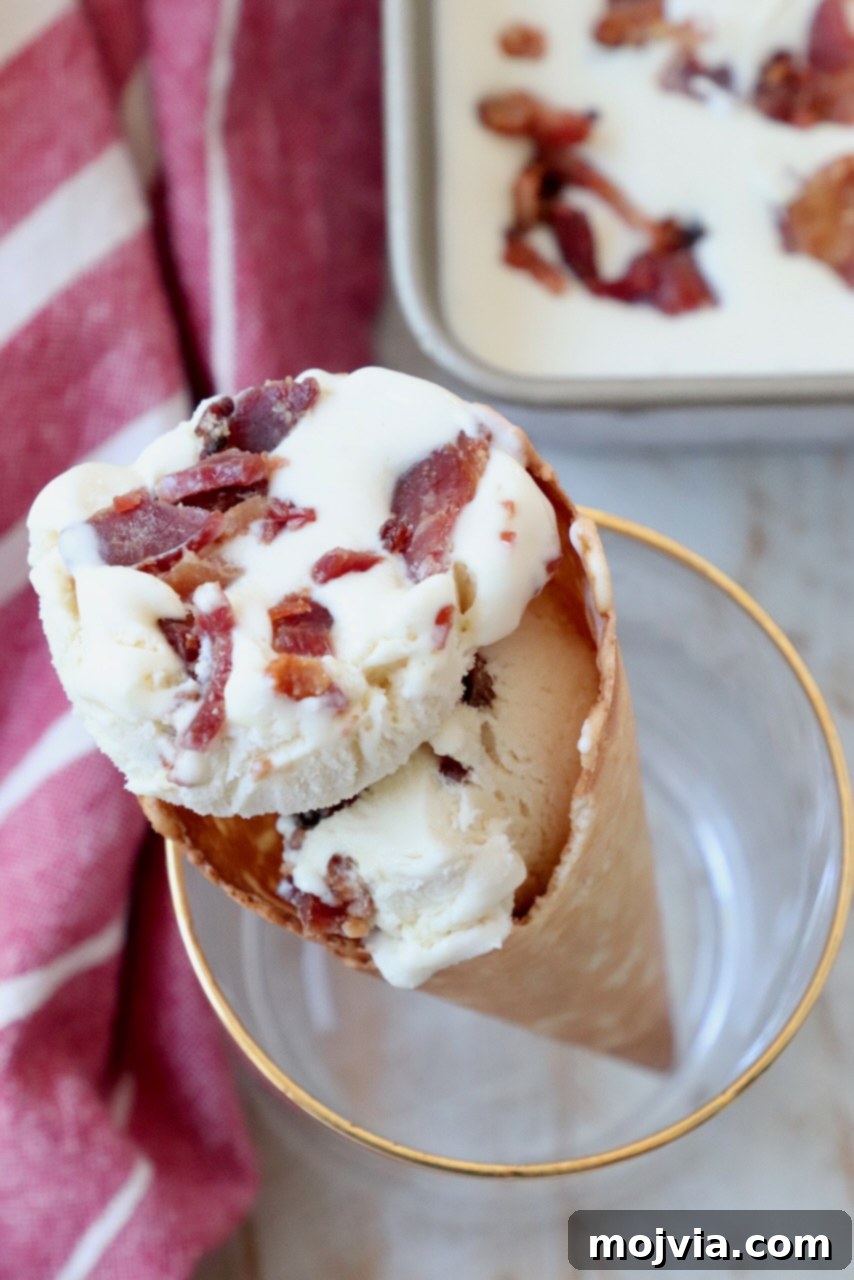
- Waffle Cone Delight: For a nostalgic and utterly satisfying experience, serve scoops in a crispy waffle cone. The combination hints at delicious breakfast vibes, turning dessert into an exciting, playful meal.
- The Ultimate Ice Cream Sandwich: Elevate your dessert game by sandwiching a generous scoop of Maple Bacon Ice Cream between two warm, chewy Nutella Bacon Chocolate Chip Cookies. This creates an epic, bacon-infused ice cream sandwich that is truly decadent.
Additionally, you can easily adapt this recipe to make a pure maple ice cream by simply omitting the bacon entirely. This simpler version is an exquisite accompaniment to classic fall desserts such as warm apple pie or a rich pecan pie, adding a lovely creamy counterpoint to their spiced sweetness.
Frequently Asked Questions (FAQ)
- Can I make this ice cream dairy-free? Unfortunately, due to the critical role of heavy cream and sweetened condensed milk in achieving the correct no-churn texture, this recipe cannot be easily adapted to be dairy-free. Plant-based milk alternatives typically do not whip to the same consistency, and the sugar content of dairy-free condensed milk can vary significantly.
- How can I ensure my bacon stays crispy in the ice cream? The key to crispy bacon is thorough cooking and proper cooling before adding it to the ice cream. Baking it on a wire rack allows for air circulation, promoting crispness. Ensuring it’s completely cool and dry also helps prevent it from becoming soggy in the frozen base. Chop it into small pieces so the crunch is evenly distributed.
- What if my ice cream doesn’t freeze solid? The most common reasons for ice cream not freezing solid are incorrect ingredient substitutions (especially using milk or half-and-half instead of heavy cream) or insufficient freezing time/temperature. Ensure your heavy cream is very cold when whipped, and allow at least 5-6 hours, or preferably overnight, in the coldest part of your freezer. Using a metal container also helps.
- Can I adjust the amount of maple or bacon? Yes, you can certainly customize the intensity of the maple flavor or the amount of bacon bits to your preference. If you like a stronger maple presence, you can add an extra tablespoon or two of maple syrup to the ice cream base. For more or less bacon, simply adjust the quantity you fold in.
More Irresistible No-Churn Ice Cream Recipes
If you’ve fallen in love with the simplicity and deliciousness of this no-churn method, you’re in luck! I’ve developed a collection of delightful homemade ice cream recipes, all made effortlessly without an ice cream machine. Using simple ingredients and just a few minutes of prep time, you can stock your freezer with a variety of tasty flavors. Explore these recipes and expand your repertoire of easy, gourmet desserts!
No Churn Maple Bacon Ice Cream
Maple Bacon Ice Cream features a supremely creamy base, infused with the rich sweetness of maple syrup and complemented by the delightful crunch of candied bacon. This naturally sweet and perfectly salty treat is incredibly easy to make with a simple no-churn method!
Print Recipe
Pin Recipe
5 stars (2 ratings)
Rate this Recipe
Servings: 12 scoops ice cream
Prep Time: 30 mins
Freezing Time: 5 hrs
Total Time: 5 hrs 30 mins
Author: Whitney Bond
Course: Dessert
Cuisine: American
Ingredients
Maple Bacon
- 1 pound thick-sliced bacon
- ¼ cup maple syrup
- ½ cup brown sugar
Ice Cream
- 14 ounce can sweetened condensed milk
- ½ cup maple syrup
- 2 teaspoons vanilla extract
- ¼ teaspoon sea salt
- 2 cups heavy cream, cold
Instructions
Maple Bacon
- Preheat the oven to 400°F (200°C).
- Add the bacon to a large zipper bag or bowl. Add the maple syrup and toss to coat, then add the brown sugar and toss until the bacon is fully covered.
- Arrange the bacon strips in a single layer on a wire rack, on top of a foil-lined baking sheet.
- Place in the oven to bake for 15-20 minutes, until crispy and caramelized.
- Remove the bacon from the oven, transfer it to a cutting board to cool completely, then chop the bacon into small pieces.
Ice Cream
- Whisk together the condensed milk, maple syrup, vanilla extract, and sea salt in a large bowl. Set aside.
- Whip the cold heavy cream with a stand mixer or electric hand mixer, on medium-high speed until firm peaks form, about 4-5 minutes.
- Gently fold the condensed milk mixture into the whipped cream with a rubber spatula until just combined.
- Gently fold in most of the cooled maple bacon pieces, reserving a few pieces to top the ice cream.
- Pour the ice cream into a 2-quart container, preferably metal, as it will freeze the ice cream quicker.
- Top with the remaining pieces of candied bacon.
- Cover with plastic wrap, pressing it onto the surface, and place in the freezer.
- Freeze for at least 5 hours, or preferably overnight, until solid.
Notes
- Freezing the ice cream in a metal container will make it freeze faster. If you want your maple bacon ice cream ASAP, pour the ice cream into a metal container to freeze. I like to use a metal loaf pan.
- Place the ice cream as far back in the freezer as you can for a quicker freeze. You never want to store ice cream in the door, as it is the warmest place in the freezer. But I have also found for homemade ice cream, the further back in the freezer you place it, the quicker it will freeze.
- This recipe makes approximately 1/2 gallon of ice cream, which equals 4 pints, or 12 scoops of ice cream.
- This ice cream will stay good in the freezer for 6 months. Always seal the ice cream in an airtight container to avoid freezer burn. I like to use these glass containers to store the ice cream. This recipe will perfectly fit into two of these containers.
- To make this maple bacon ice cream recipe vegetarian, either omit the bacon, or replace it with candied walnuts or pecans. The nuts will give you a similar delicious, salty crunch as the bacon. To make candied nuts, in a skillet, combine 2 tablespoons butter with 2 tablespoons maple syrup and 1 1/4 cups chopped walnuts or pecans. Toast the nuts over medium heat for 4-5 minutes, then transfer them to a parchment-lined baking sheet to cool. Once cool, mix them into the ice cream base.
- Do NOT make substitutions to the ice cream base. This recipe works perfectly with the simple combination of heavy cream and sweetened condensed milk. Substituting either of these ingredients can vary the final result of the ice cream taste and texture.
- Use a wet ice cream scoop to scoop out the ice cream after it’s frozen. I actually learned this trick at my first job, working at a frozen custard shop. A wet ice cream scoop means the ice cream will come out of the scoop and into your bowl much easier!
Nutrition Facts
Calories: 490 kcal (25%)
Carbohydrates: 42g (14%)
Protein: 9g (18%)
Fat: 32g (49%)
Saturated Fat: 16g (80%)
Polyunsaturated Fat: 3g
Monounsaturated Fat: 11g
Trans Fat: 0.05g
Cholesterol: 81mg (27%)
Sodium: 356mg (15%)
Potassium: 294mg (8%)
Sugar: 40g (44%)
Vitamin A: 685mg (14%)
Vitamin C: 1mg (1%)
Calcium: 152mg (15%)
Iron: 0.3mg (2%)
Did you make this recipe?
Tag @WhitneyBond on Instagram and hashtag it #WBRecipes!