
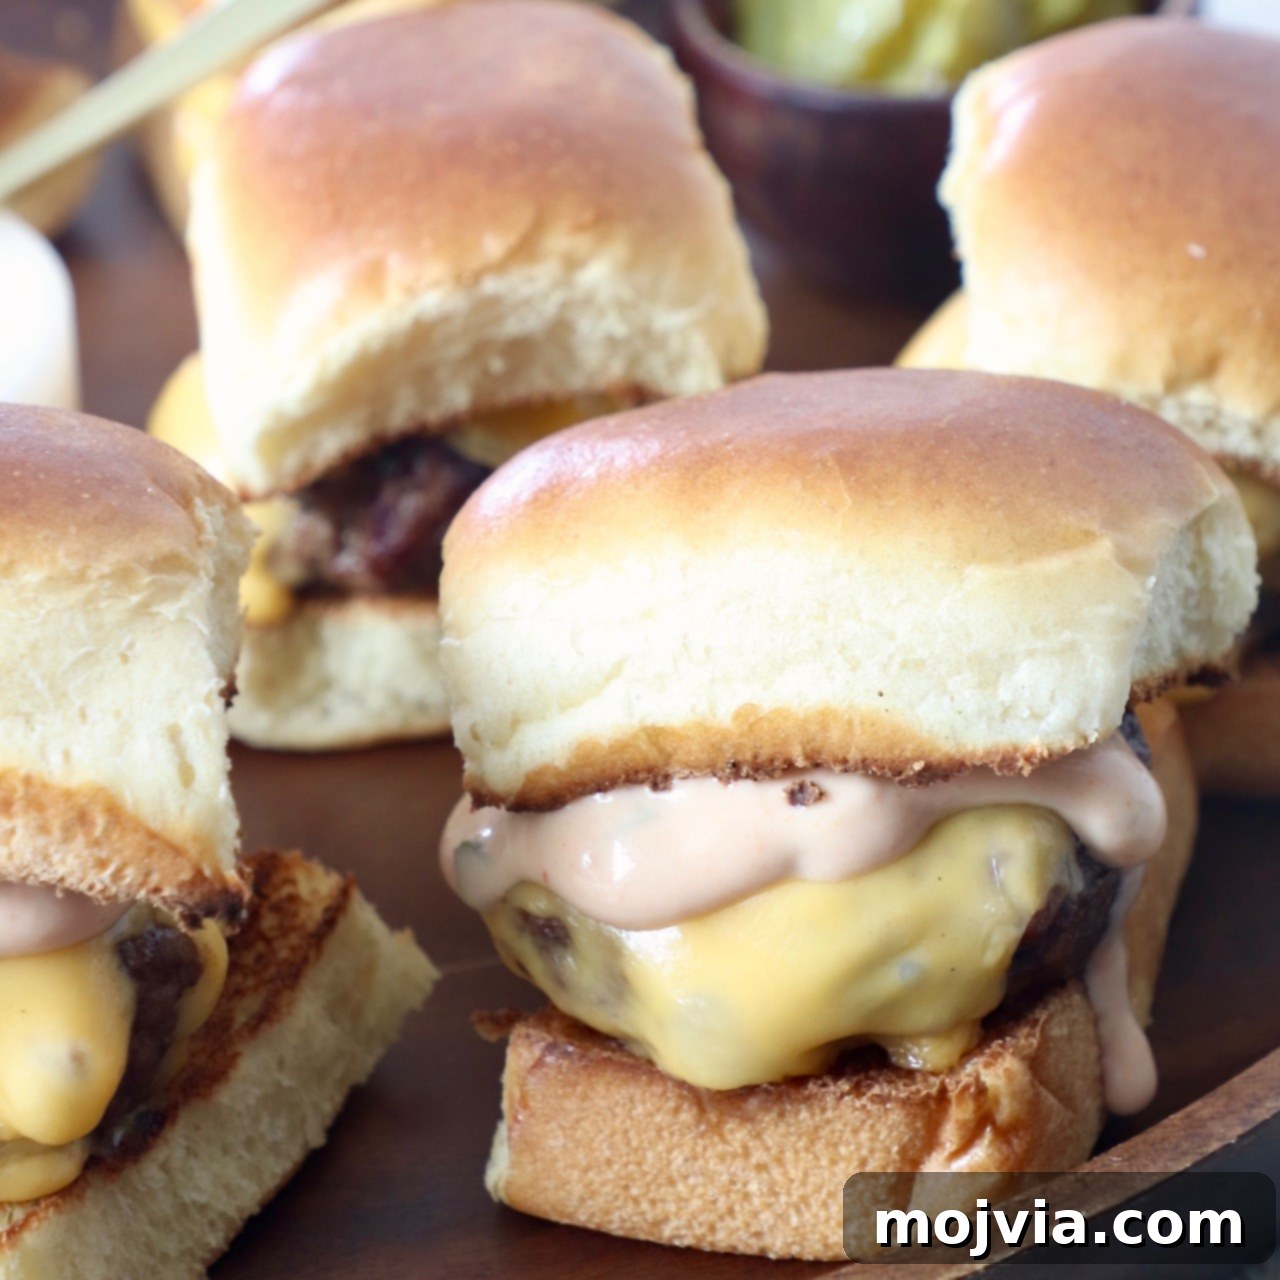
Experience the ultimate crowd-pleaser with these incredibly delicious Cheeseburger Sliders! Juicy, flavorful, and perfectly portioned, these mini burgers pack a big punch in a small package. Ready in just 20 minutes from start to finish, they are ideal for sharing at parties, tailgates, game day gatherings, or simply as a fun and easy weeknight dinner. Whether you grill them for that classic smoky taste or bake them in the oven for a hassle-free meal, these cheeseburger sliders are guaranteed to be a hit with everyone!
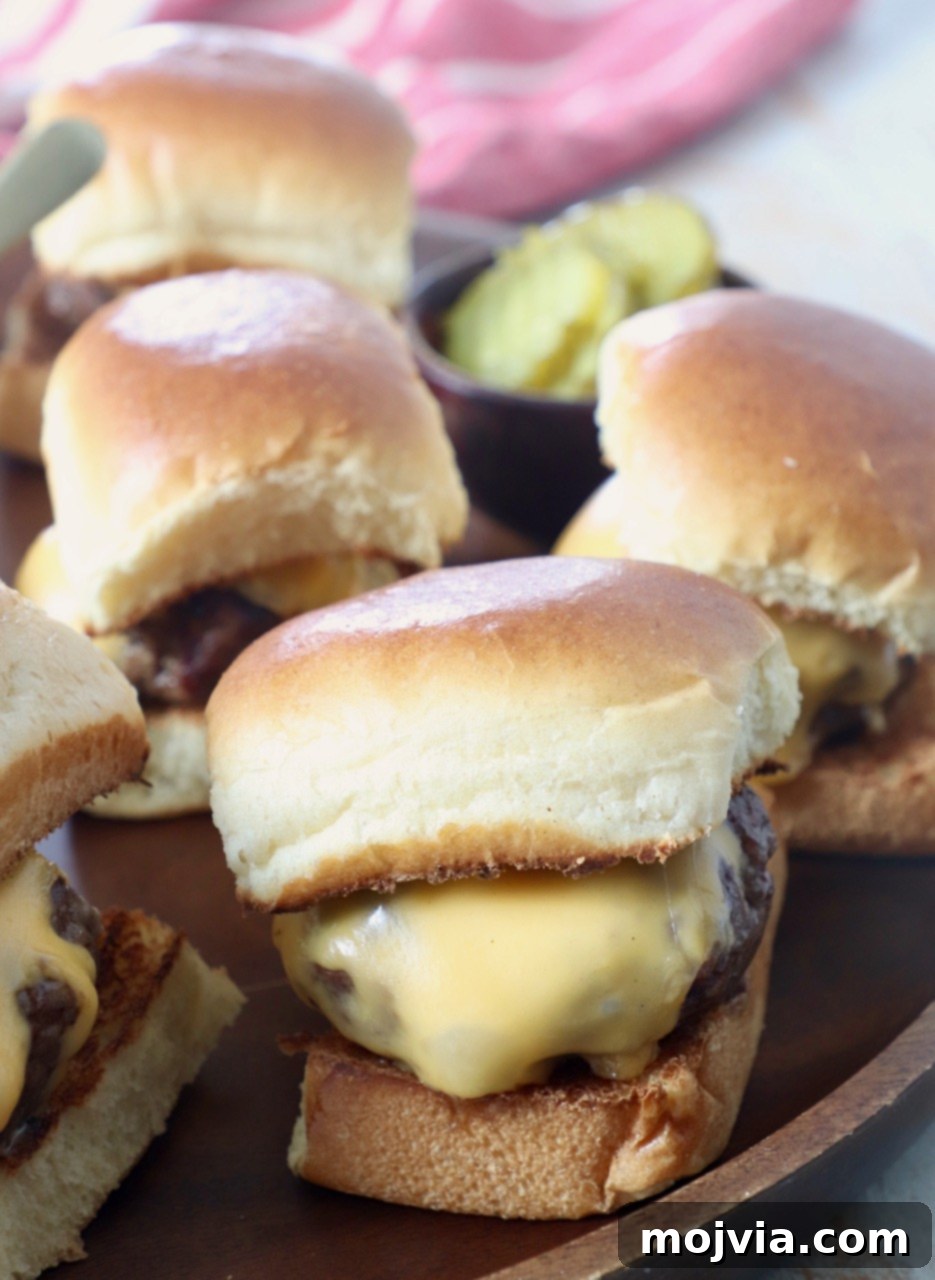
Table of Contents
- Ingredients for Perfect Sliders
- Step-by-Step Instructions
- Irresistible Topping and Sauce Ideas
- How to Bake Sliders in the Oven or Air Fryer
- Expert Tips and Tricks for Success
- What to Serve with Your Sliders
- More Creative Cheeseburger Recipes
There’s a special kind of comfort and joy that comes with a classic cheeseburger. Growing up, especially in places like Oklahoma, firing up the grill and watching cheese melt over a sizzling, juicy burger was a weekly ritual. It’s a simple pleasure that brings people together, and these mini cheeseburger sliders capture that essence perfectly, making them even more versatile and shareable.
When it comes to entertaining, particularly for tailgating events or game day parties at home, I often turn to sliders. They’re inherently fun and easy to customize, making them an instant favorite among guests. While I’ve had success with other varieties like the savory Ham and Brie Sliders or the uniquely delicious Dr Pepper Pulled Pork Sliders, there’s nothing quite like the timeless appeal of a classic cheeseburger in miniature form.
These cheeseburger sliders aren’t just for parties; they also make an incredibly convenient and satisfying meal for your family any night of the week. The beauty of this recipe lies in its speed – you can whip up a batch from start to finish in just about 20 minutes. This makes them an absolute lifesaver for those busy weeknights when you need something quick, easy, and undeniably tasty.
The customizable nature of these sliders is another major win. You can lay out a vibrant spread of various sauces and toppings, turning your dinner into an interactive “build-your-own slider” bar. This not only makes mealtime more engaging but also allows everyone to craft their perfect mini burger exactly how they like it. It’s a fun and delicious combination that ensures a winning meal every single time!
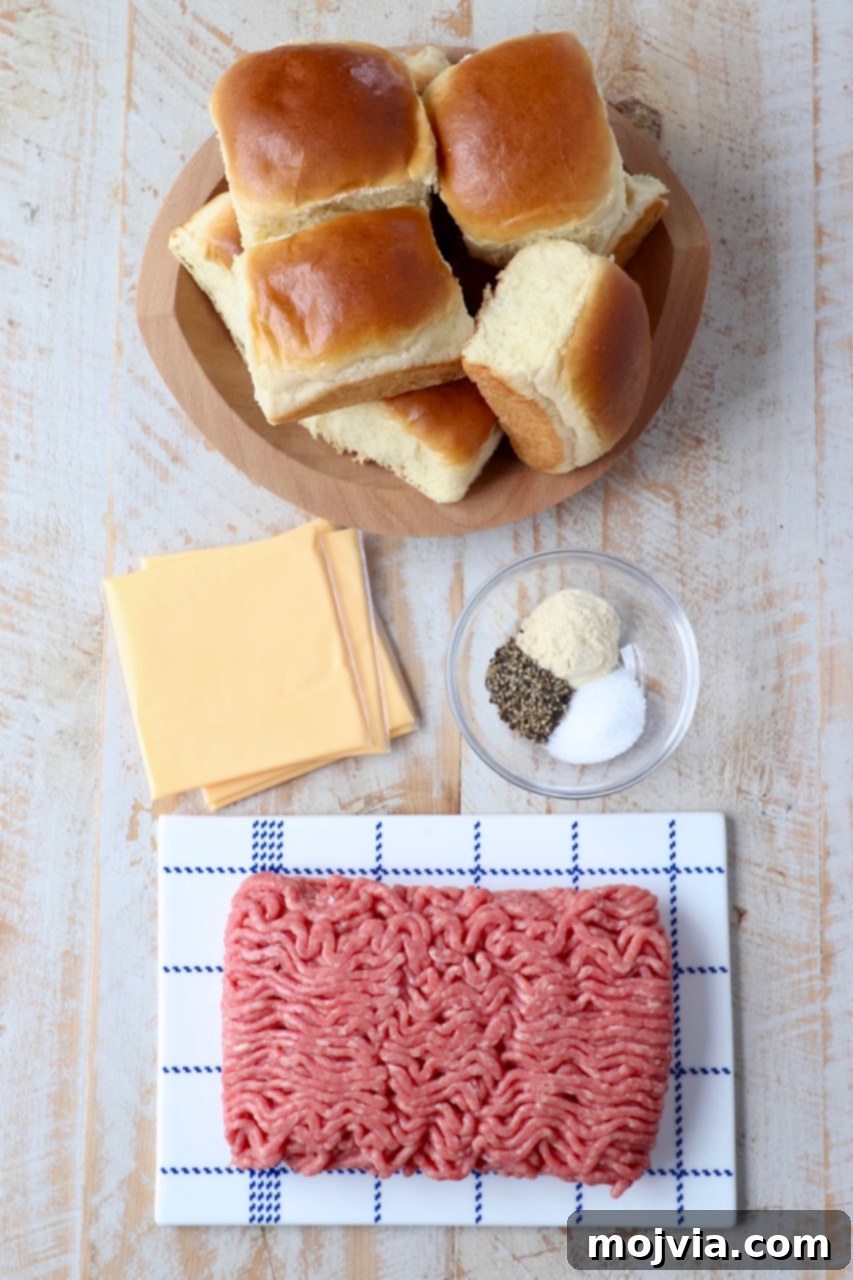
Ingredients for Perfect Sliders
Crafting the perfect cheeseburger slider starts with selecting quality ingredients. Here’s what you’ll need to create these bite-sized masterpieces:
- Ground Beef: The foundation of any great burger is the beef. I highly recommend an 80/20 or 85/15 lean-to-fat ratio for these sliders. This blend ensures your patties remain incredibly juicy and packed with flavor, preventing them from drying out during cooking.
- Seasoning Essentials: A simple yet effective blend of salt, pepper, and garlic powder is all it takes to elevate the taste of your ground beef. For an extra layer of savory goodness, you can also use 1 tablespoon of your favorite hamburger seasoning blend. These seasonings work together to enhance the natural richness of the beef.
- Sliced Cheese: The melted cheese is what truly makes a cheeseburger, and sliders are no exception! Classic choices include sharp cheddar or creamy American cheese slices, which melt beautifully and add a tangy, rich flavor. However, don’t hesitate to experiment with your personal favorites – Monterey Jack, provolone, or even Swiss can add a delicious twist.
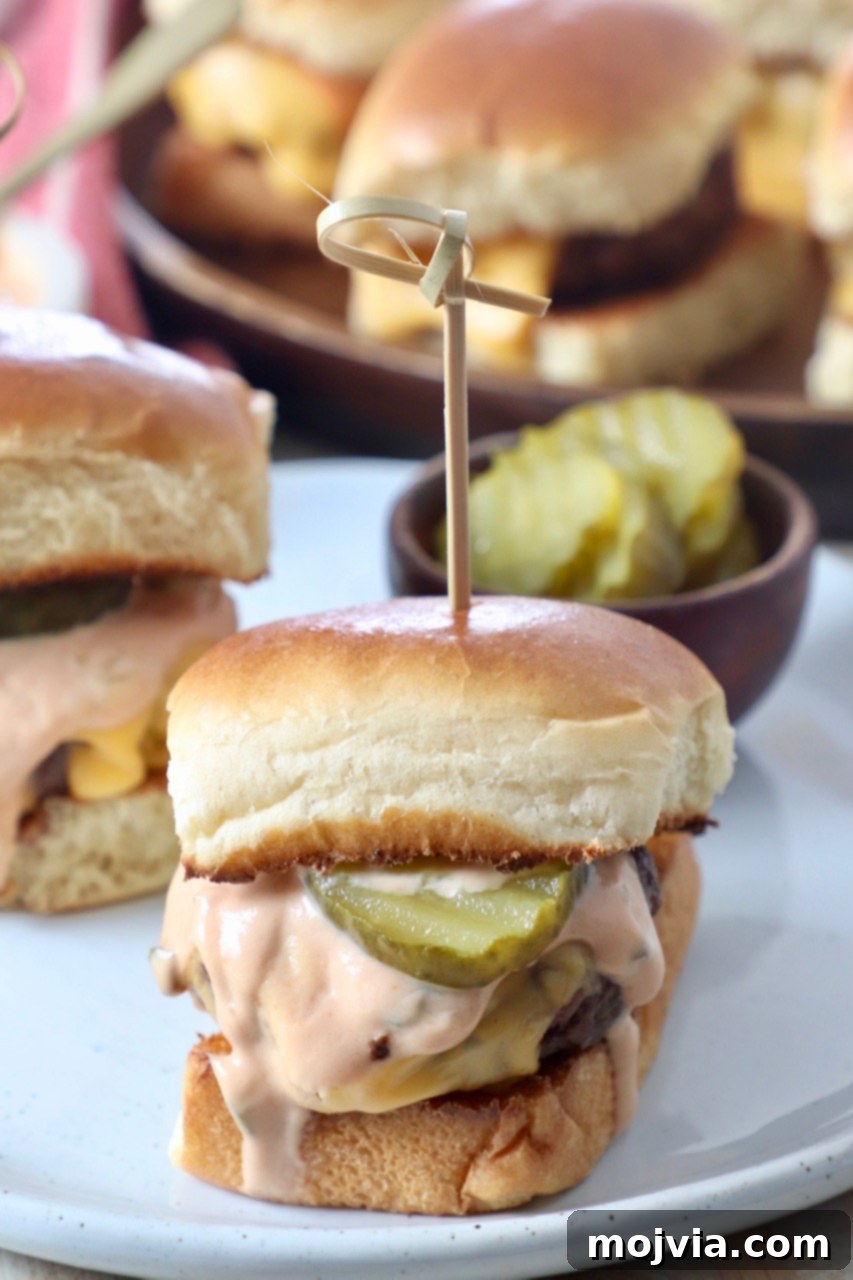
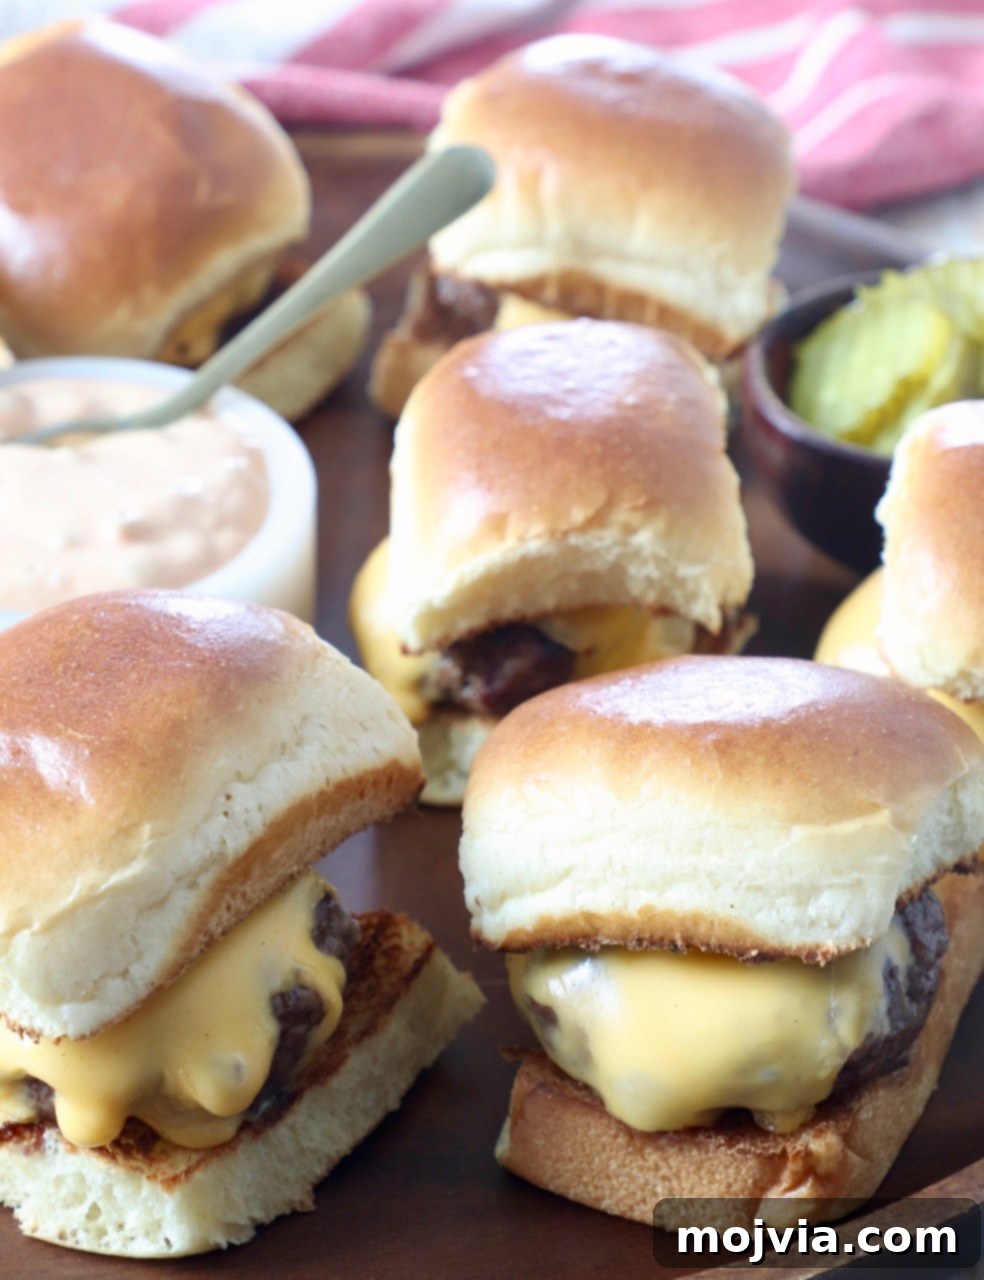
- Buns: The right bun is crucial for a great slider experience. You can opt for traditional slider buns, soft dinner rolls, or the slightly sweet and fluffy Hawaiian rolls. In the photos throughout this post, I’ve used brioche dinner rolls, which offer a rich, buttery flavor and tender texture that perfectly complements the savory beef.
Step-by-Step Instructions
Making these cheeseburger sliders is incredibly straightforward, and I’ve included detailed steps below, complete with photos, to guide you through the process. For precise ingredient quantities and a printable version of the recipe, please refer to the recipe card at the very bottom of this post.
Before you start cooking the burgers, I find that toasting the slider buns adds a wonderful texture and prevents them from getting soggy. If you’re using dinner rolls that are connected, use a serrated knife to carefully slice them in half horizontally. Arrange both the top and bottom bun halves, with the cut side facing up, on a large baking sheet.
Preheat your oven broiler to high. Place the baking sheet with the buns under the broiler for just 2-3 minutes, or until they turn a beautiful golden brown and are lightly crisp. Keep a close eye on them, as broilers can toast quickly! Once toasted, remove the buns from the oven and set them aside while you prepare the cheeseburger patties. Alternatively, if you’re grilling the burgers, you can quickly toast the buns on the grill grates for a minute or two.
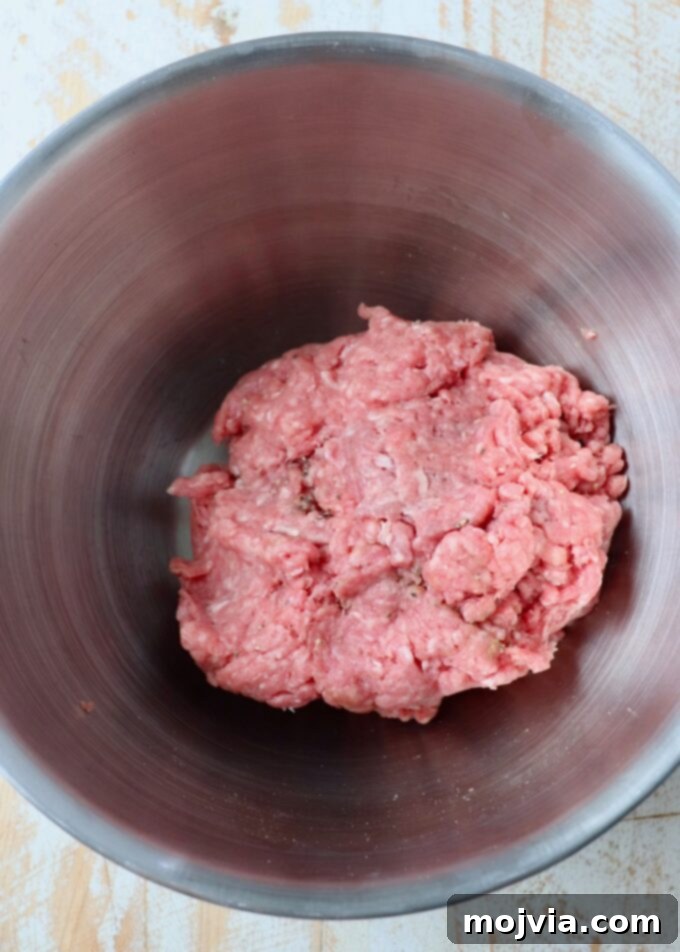
Step 1: Prepare the Meat. In a medium-sized mixing bowl, combine the ground beef with the salt, black pepper, and garlic powder. Use your hands to gently mix the ingredients until they are just combined. Be careful not to overmix, as this can lead to tough burgers.
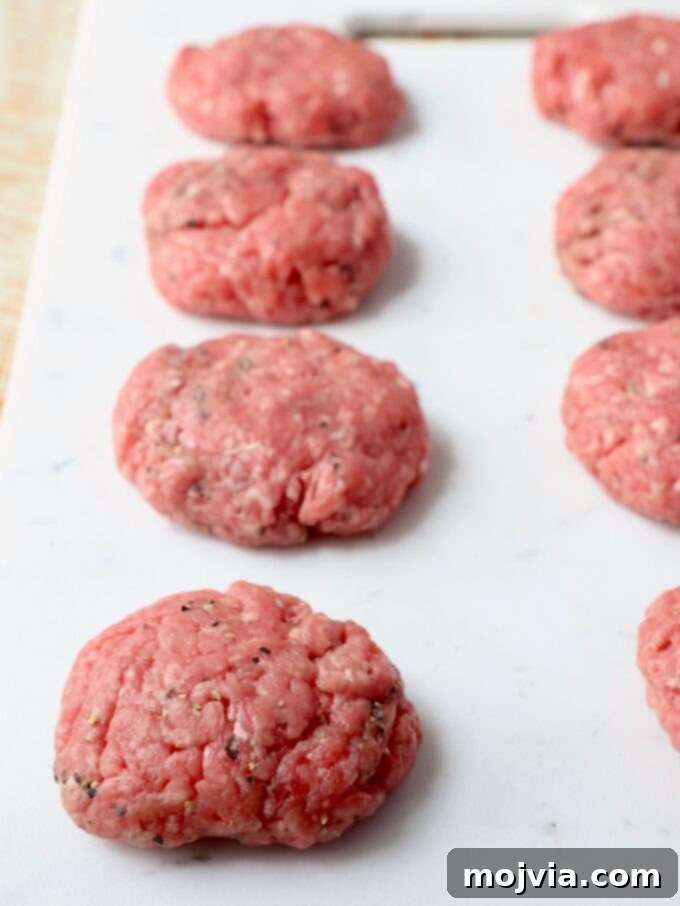
Step 2: Form the Patties. Divide the seasoned ground beef mixture into 8 equal portions. Gently form each portion into a small, round slider patty. Aim for a thickness of about 1/2 inch to 1 inch. Remember, we’re making mini burgers, so avoid making them too thick like meatballs; they should cook evenly and fit nicely on the buns.
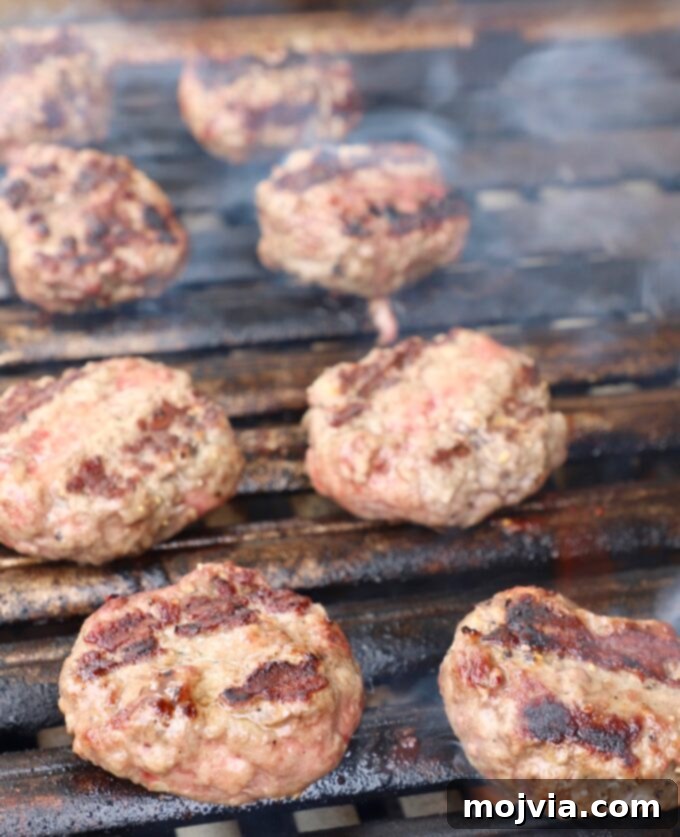
Step 3: Grill to Perfection. Preheat your grill to medium heat. Once hot, carefully place the slider patties onto the grill grates. Cook them for 3-4 minutes on each side. This timing will give you perfectly cooked, juicy burgers with a nice sear, but adjust according to your preferred level of doneness.
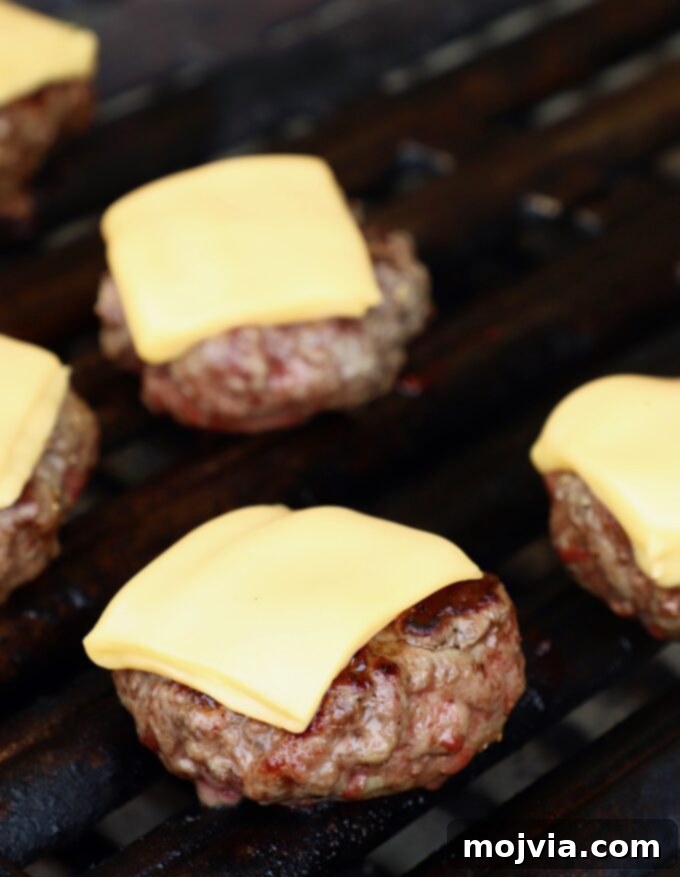
Step 4: Melt the Cheese. During the final minute of cooking time, carefully place a slice of cheese on top of each slider patty. To ensure optimal cheese coverage and an even melt, I recommend cutting each cheese slice in half, then folding each half once more. This creates a thicker, more compact stack of cheese that perfectly fits the smaller patty and melts beautifully.
Once the cheese has melted into a gooey, irresistible layer over the burger patties, carefully remove the sliders from the grill. Place them immediately onto your prepared slider buns or dinner rolls. Now, they’re ready for your choice of delectable sauces and toppings. You’ll find plenty of delicious ideas in the section below!
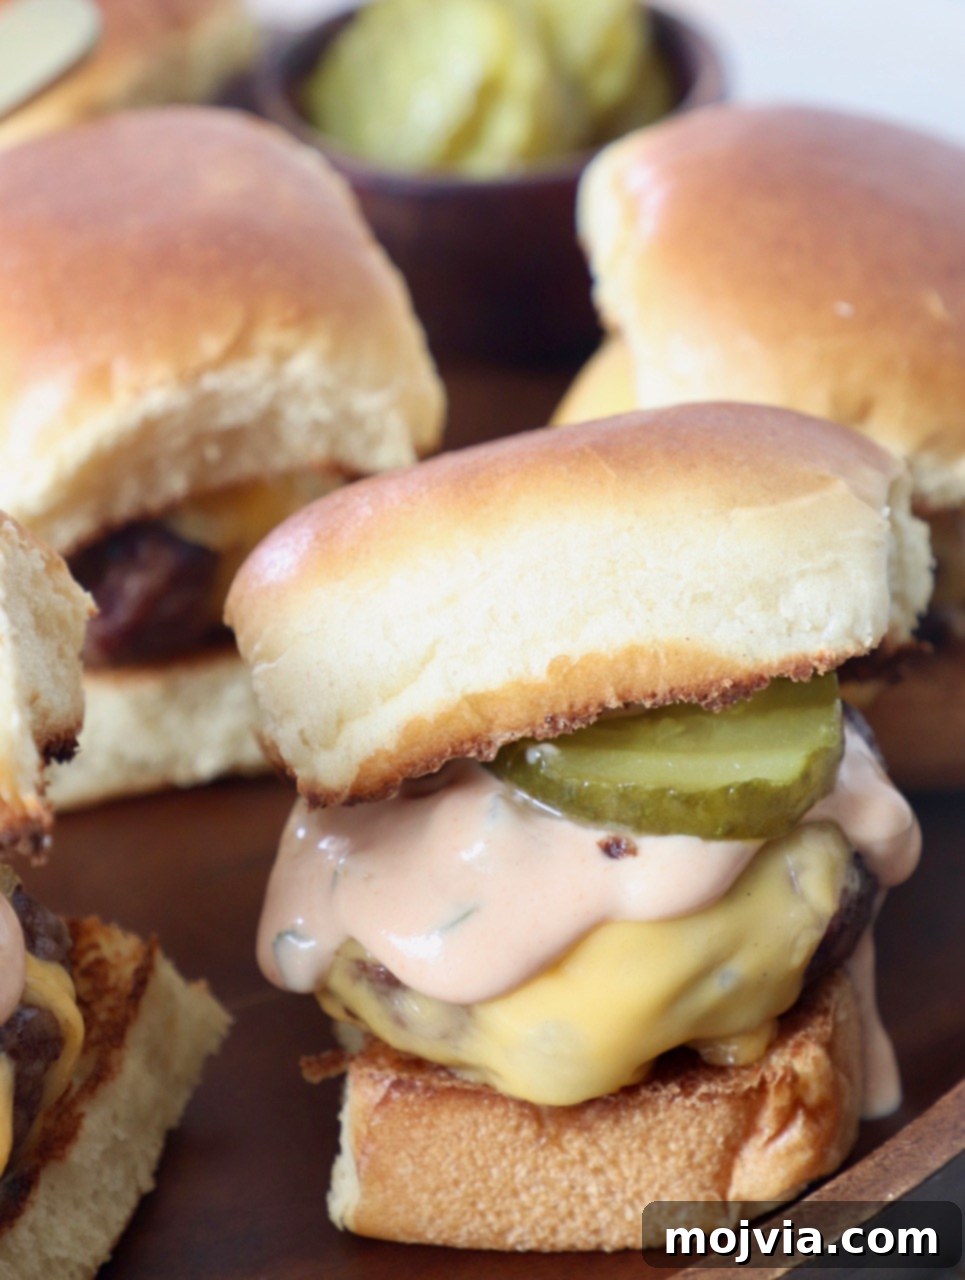
Irresistible Topping and Sauce Ideas
One of the absolute best things about making sliders is the freedom to customize each one. You can enjoy 2 or 3 for a meal, topping each mini burger differently for a delightful variety of flavors. This is perfect for trying new sauces or toppings without committing to a full-sized burger. It’s an exciting way to explore new flavor combinations!
For gatherings, consider setting up a “slider bar” with an array of sauces and toppings on the side. This allows your guests to get creative and build their ultimate mini cheeseburger. Here are some of my favorite sauces and toppings that pair wonderfully with these sliders:
- Signature Sauces
- Classic Burger Sauce – Often known as “secret sauce” or “special sauce,” this creamy, tangy, and slightly sweet condiment is incredibly easy to make with just four ingredients. It’s a must-have for any cheeseburger.
- Sriracha Ketchup – For those who love a bit of heat, simply combine 1 tablespoon of fiery Sriracha with 1/4 cup of your favorite ketchup. It adds a vibrant kick and zesty flavor.
- Gochujang Mayo – Harness the trendy, complex heat of Korean gochujang chili paste by blending 1 tablespoon of it with 1/4 cup of mayonnaise. This creates a rich, spicy, and umami-packed sauce that’s truly unique.
- Buffalo Honey Mustard – This seemingly unconventional pairing offers an incredible balance of sweet, spicy, and tangy notes. Mix 1/4 cup of buffalo sauce with 1/4 cup of honey mustard dressing for a surprisingly addictive flavor explosion.
- Savory Bacon Jam – Easily transform your sliders into gourmet bacon cheeseburger sliders by adding a spoonful of luscious bacon jam. Its sweet and savory depth is simply irresistible.
- Tangy BBQ Sauce – For a Western-inspired twist, drizzle your favorite sweet or smoky BBQ sauce over the patties. This adds a bold, zesty flavor that everyone loves.
- Fresh and Flavorful Toppings
- Crisp Green Lettuce (shredded or whole leaves)
- Ripe Tomato Slices
- Crunchy Dill Pickle Slices
- Creamy Sliced Avocado
- Sharp Raw White Onions (thinly sliced)
- Zesty Quick Pickled Onions
- Sweet and Savory Caramelized Onions
- Crunchy Crispy Onions (store-bought or homemade)
- Smoky Crispy Cooked Bacon
- Earthy Perfectly Sautéed Mushrooms
How to Bake Sliders in the Oven or Air Fryer
No outdoor grill? No problem at all! These delicious cheeseburger sliders can be just as easily cooked indoors, yielding fantastic results every time. Here’s how you can bake them in your oven or crisp them up in an air fryer:
Baking Cheeseburger Sliders in the Oven:
The oven broiler is your best friend for achieving a great sear and even cooking without a grill. Follow these simple steps:
- First, prepare your ground beef by seasoning it and forming the 8 slider patties, just as described in the grilling instructions above.
- Preheat your oven broiler to high. Make sure the oven rack is positioned about 6 inches from the heat source for optimal browning.
- Line a baking sheet with aluminum foil for easy cleanup. Place the slider patties on the prepared baking sheet.
- Slide the baking sheet into the oven, directly under the broiler. Cook for approximately 7 minutes, flipping once halfway through to ensure even cooking on both sides.
- Carefully remove the baking sheet from the oven. Top each slider patty with a half-slice of cheese (folded for better coverage).
- Return the baking sheet to the broiler for another 1-2 minutes, or until the cheese is beautifully melted and bubbly. Watch closely to prevent burning.
- Once done, remove the sliders from the oven, place them on toasted buns, add your favorite toppings, and serve immediately.
Cooking Cheeseburger Sliders in an Air Fryer:
For an extra crispy exterior and juicy interior, the air fryer is a superb option. It’s quick and requires minimal cleanup:
- Begin by seasoning the ground beef and forming your 8 slider patties, maintaining a consistent thickness.
- Arrange the slider patties in a single layer in your air fryer basket. You may need to cook them in batches, depending on the size of your air fryer, to avoid overcrowding.
- Cook the patties in the air fryer at 380°F (195°C) for 8 minutes. For best results, flip the patties halfway through the cooking time.
- After 8 minutes, pull out the air fryer basket. Carefully place a half-slice of cheese on top of each burger patty.
- Return the basket to the air fryer and cook for an additional 2 minutes, or until the cheese is perfectly melted and slightly browned.
- Transfer the cheesy sliders to buns and customize with your preferred condiments and fresh toppings.
Both methods offer a convenient way to enjoy these delightful cheeseburger sliders, ensuring a satisfying meal no matter your kitchen setup.
Expert Tips and Tricks for Success
Mastering these cheeseburger sliders is easy with a few insider tips. Whether you’re cooking for a crowd or just your family, these pointers will help you achieve the best results:
- Keeping Sliders Warm for Parties: If you’re hosting a party and want to keep your cooked cheeseburger patties warm without overcooking them, a slow cooker is your secret weapon. After cooking, transfer the patties (without buns or toppings) to a slow cooker set to the “warm” setting. I highly recommend using a Casserole Crock Pot for this purpose. Keep the toasted buns and all the various toppings and sauces on the side, allowing guests to assemble their hot, fresh sliders whenever they’re ready. This keeps everything perfectly hot and delicious.
- Batch Cooking for Larger Crowds: Planning for a big gathering? Simply double or even triple the ingredient amounts to make a larger batch of sliders. The recipe card below is designed to be easily adjustable; just switch the “serving amount” from 8 sliders to 16 or 24, and the ingredient quantities will update automatically. When forming patties, setting up an assembly line can significantly speed up the process.
- Serving Size Recommendations: If you’re serving these cheeseburger sliders as part of an appetizer spread with several other dishes, I generally recommend planning for 1-2 sliders per person. However, if the sliders are the main event and being served as a meal, aim for 2-3 sliders per person to ensure everyone is satisfied.
- Gluten-Free and Low-Carb Alternatives: For guests following a gluten-free or low-carb diet, these sliders are easily adaptable. Instead of serving them on traditional buns, simply wrap the cheeseburger patties in crisp lettuce leaves. Large butter lettuce or iceberg lettuce leaves work perfectly, providing a refreshing crunch and holding all the delicious toppings.
- Storing Leftover Sliders: Cooked cheeseburger sliders can be stored safely in an airtight container in the refrigerator for up to 5 days. It’s best to store the patties and buns separately if possible, to prevent the buns from becoming soggy.
- Reheating Leftover Sliders in the Microwave: For a quick reheat, remove the cheeseburger patty (without the bun or any cold toppings) and place it in the microwave. Heat for 30-60 seconds, or until thoroughly warmed. Then, assemble it on a fresh or reheated bun with your desired toppings.
- Reheating Sliders in the Oven: For a more even and less rubbery reheat, place just the cheeseburger patties on a baking sheet. Pop them into a preheated 350°F (175°C) oven for 8-10 minutes, or until heated through. Once warm, place them on toasted buns and layer up with your favorite fresh toppings.
- Don’t Overwork the Meat: When mixing the ground beef with seasonings and forming the patties, handle the meat as little as possible. Overworking the beef can lead to dense, tough sliders, detracting from their juicy tenderness.
What to Serve with Your Sliders
Cheeseburger sliders are incredibly versatile, making them a fantastic centerpiece for any meal. The right side dishes can truly complete the experience, adding texture, flavor, and a satisfying crunch. Here are some of my top recommendations for what to serve alongside your delicious mini burgers:
- Classic Crunchy Sides:
- Crispy Potato Chips: A timeless and effortless pairing, offering a satisfying crunch.
- Perfectly Golden French Fries: Whether baked in the oven or air-fried for extra crispiness, fries are a quintessential burger companion.
- Decadent Animal Style Fries: Elevate your fry game with a special sauce, grilled onions, and melted cheese for an In-N-Out inspired treat.
- Crispy Air Fryer Tater Tots: Fluffy on the inside and crunchy on the outside, tater tots are always a fun and popular choice.
- Heartier Potato Dishes:
- Savory Salt and Vinegar Potato Wedges: A tangy and addictive alternative to regular fries, with a wonderfully tender interior.
- Crunchy Crispy Smashed Potatoes: These offer an incredible crispy texture and soft center, perfect for scooping up any fallen toppings.
- Ultimate Cheesy Grilled Potatoes: For a truly epic grilled meal, these potatoes are loaded with cheese and cooked right alongside your sliders.
- Sweet and Tangy Options:
- Sweet Potato Fries: A delightful and slightly healthier alternative, offering a touch of sweetness and vibrant color.
- Zesty Buffalo Pickle Chips: Tangy, spicy, and incredibly addictive, these are a unique and refreshing side dish that cuts through the richness of the burgers.
Mix and match these sides to create a balanced and exciting spread that caters to all tastes and preferences!
More Creative Cheeseburger Recipes
If you’ve fallen in love with the classic flavors of these cheeseburger sliders, you’ll be thrilled to discover how versatile the cheeseburger concept can be! Don’t limit yourself to just the sliders; explore these other fantastic and creative spins on the almighty cheeseburger for your next party, tailgate, or family dinner. Each recipe offers a unique way to enjoy those comforting, savory flavors we all adore:
- Buffalo Cheeseburger Dip: A warm, creamy, and spicy dip packed with all the flavors of a buffalo cheeseburger – perfect for sharing with chips or crackers.
- Cheeseburger Egg Rolls: A fun and crispy appetizer, these egg rolls are filled with seasoned ground beef and melted cheese, fried to golden perfection.
- Buffalo Cheeseburger Tater Tot Casserole: A hearty and comforting casserole featuring a spicy cheeseburger base topped with crispy tater tots.
- Buffalo Cheeseburger Macaroni: A cheesy, creamy, and slightly spicy pasta dish that combines two comfort food favorites into one irresistible meal.
- Animal Style Cheeseburger: Recreate the iconic flavors of the famous “Animal Style” burger with grilled onions, special sauce, and melted cheese on a juicy patty.
- Mushroom Swiss Burgers: Elevate your burger game with tender sautéed mushrooms and rich, melted Swiss cheese for a gourmet touch.
- Classic Smash Burgers: Experience the crispy edges and intensely flavorful crust of a perfectly smashed burger, a true diner-style delight.
Each of these recipes brings a familiar yet fresh perspective to the beloved cheeseburger, ensuring there’s always something new and exciting to try!

Print Recipe
Pin Recipe
Rate this Recipe
Cheeseburger Sliders
Ingredients
- 1 pound ground beef, 80/20 or 85/15 lean-to-fat ratio recommended
- 1 teaspoon salt
- 1 teaspoon black pepper
- 1 teaspoon garlic powder
- 4 slices cheddar cheese, or American cheese (cut in half)
- 8 slider buns, dinner rolls, or Hawaiian rolls (brioche recommended)
Instructions
-
In a medium bowl, gently combine the ground beef with salt, pepper, and garlic powder. Mix just until seasonings are incorporated.
-
Divide the seasoned beef into 8 equal portions and form into slider patties, ensuring each is no more than 1 inch thick for even cooking.
-
Preheat your grill to medium heat. For indoor cooking, refer to the “How to Bake Sliders in the Oven or Air Fryer” section.
-
Place the slider patties on the preheated grill and cook for 3-4 minutes per side, or until desired doneness is reached.
-
During the last minute of cooking, place a half slice of cheese on each slider. To achieve a double-cheese effect and perfect melt, you can fold each half-slice in half again before placing it on the patty.
-
Once the cheese has fully melted over the burgers, remove them from the grill.
-
Assemble your cheeseburger sliders on the toasted buns and add your favorite sauces or toppings. Serve immediately and enjoy!
Notes
- To bake the sliders in the oven:
- Season the ground beef and form the slider patties.
- Preheat the oven broiler to high.
- Place the slider patties on an aluminum foil-lined baking sheet and into the oven, under the broiler, for 7 minutes (flipping once).
- Remove the sliders from the oven, top with a half slice of cheese (folded in half if desired) and put them back under the broiler for 1-2 minutes, or until the cheese is melted.
- Remove from the oven, add to buns and serve immediately.
- To cook the sliders in an air fryer:
- Season the ground beef and form the slider patties.
- Place the patties in an air fryer basket (in a single layer) and cook at 380°F (195°C) for 8 minutes, flipping halfway.
- After 8 minutes, remove the basket from the air fryer, top the burger patties with the cheese slices and place the basket with the sliders back in the air fryer for an additional 2 minutes.
- If you’re making the sliders for a party and want to keep the cheeseburgers warm, once they’re cooked, place the patties (without buns/toppings) in a slow cooker on warm. I use this Casserole Crock Pot. Keep the buns and toppings on the side.
- To make a larger batch of sliders for a party, simply double or triple the ingredient amounts. This can be done in the recipe card above by switching the “serving amount” from 8 sliders, to 16 or 24.
- If serving these sliders at a party with several other appetizers, I recommend 1-2 sliders per person. If serving the sliders as a meal, I recommend 2-3 sliders per person.
- To make these sliders gluten free and low carb, serve the slider patties in a lettuce wrap, instead of on a bun.
- Leftover sliders can be stored in the refrigerator for up to 5 days in an airtight container.
- To reheat leftover sliders in the microwave, place just the cheeseburger patty (without the bun or cold toppings) in the microwave for 30-60 seconds, or until heated through. Then place it on a fresh/reheated bun and add your toppings.
- To reheat sliders in the oven, place just the cheeseburger patty in a 350°F (175°C) oven for 8-10 minutes, or until heated through. Place on a bun and layer up with your favorite toppings.