
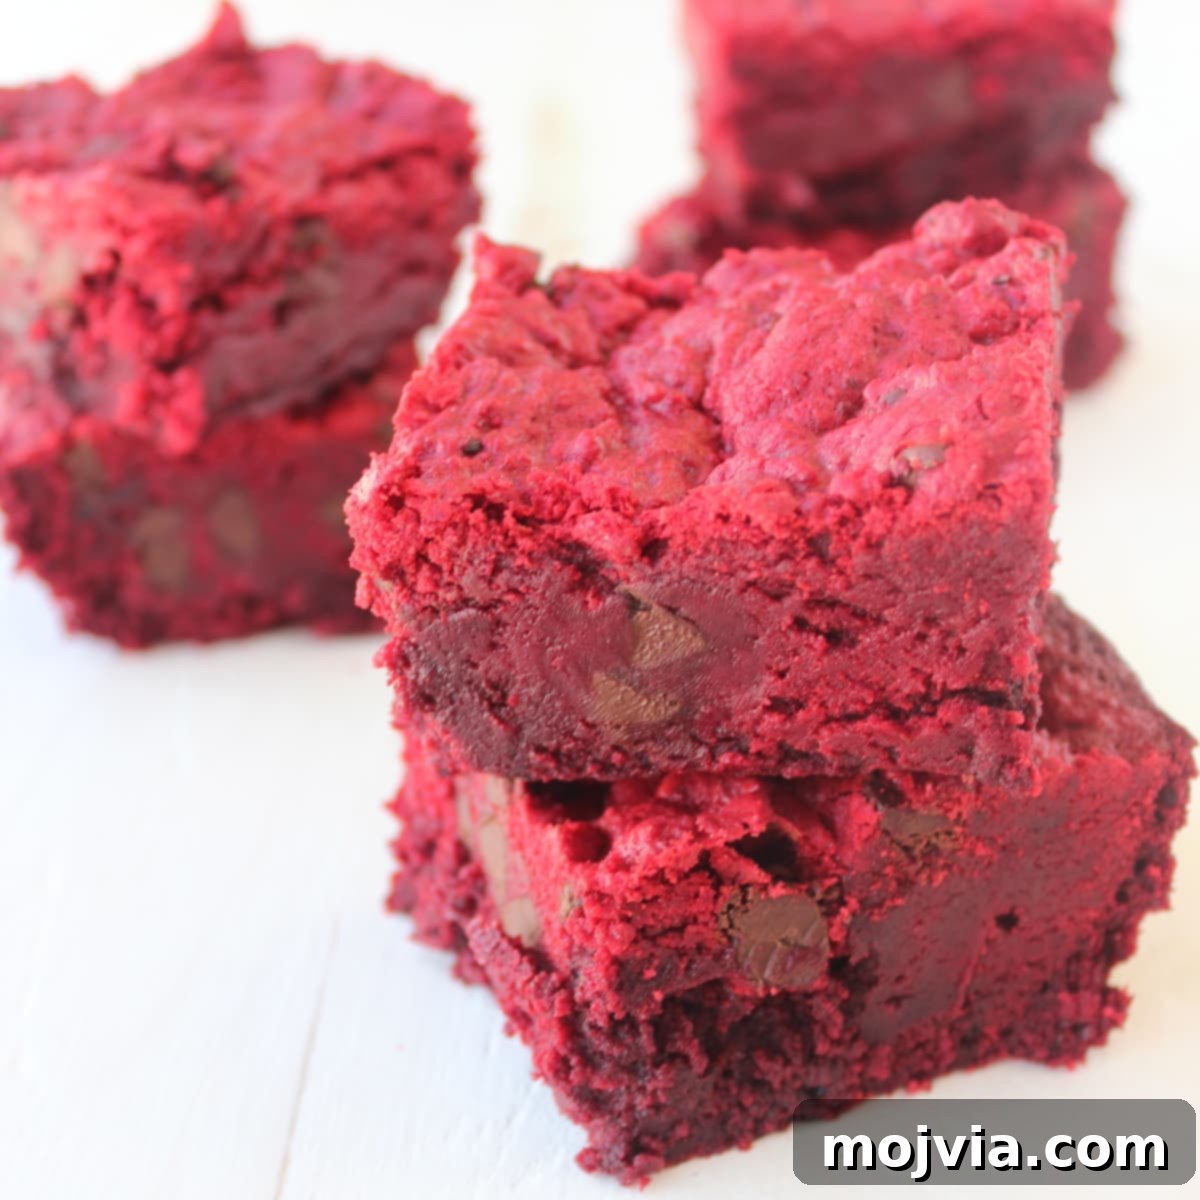
Indulge in the ultimate dessert fusion with these decadent **Red Velvet Brookies**, where rich red velvet brownie batter meets a luscious layer of red velvet chocolate chip cookie dough.
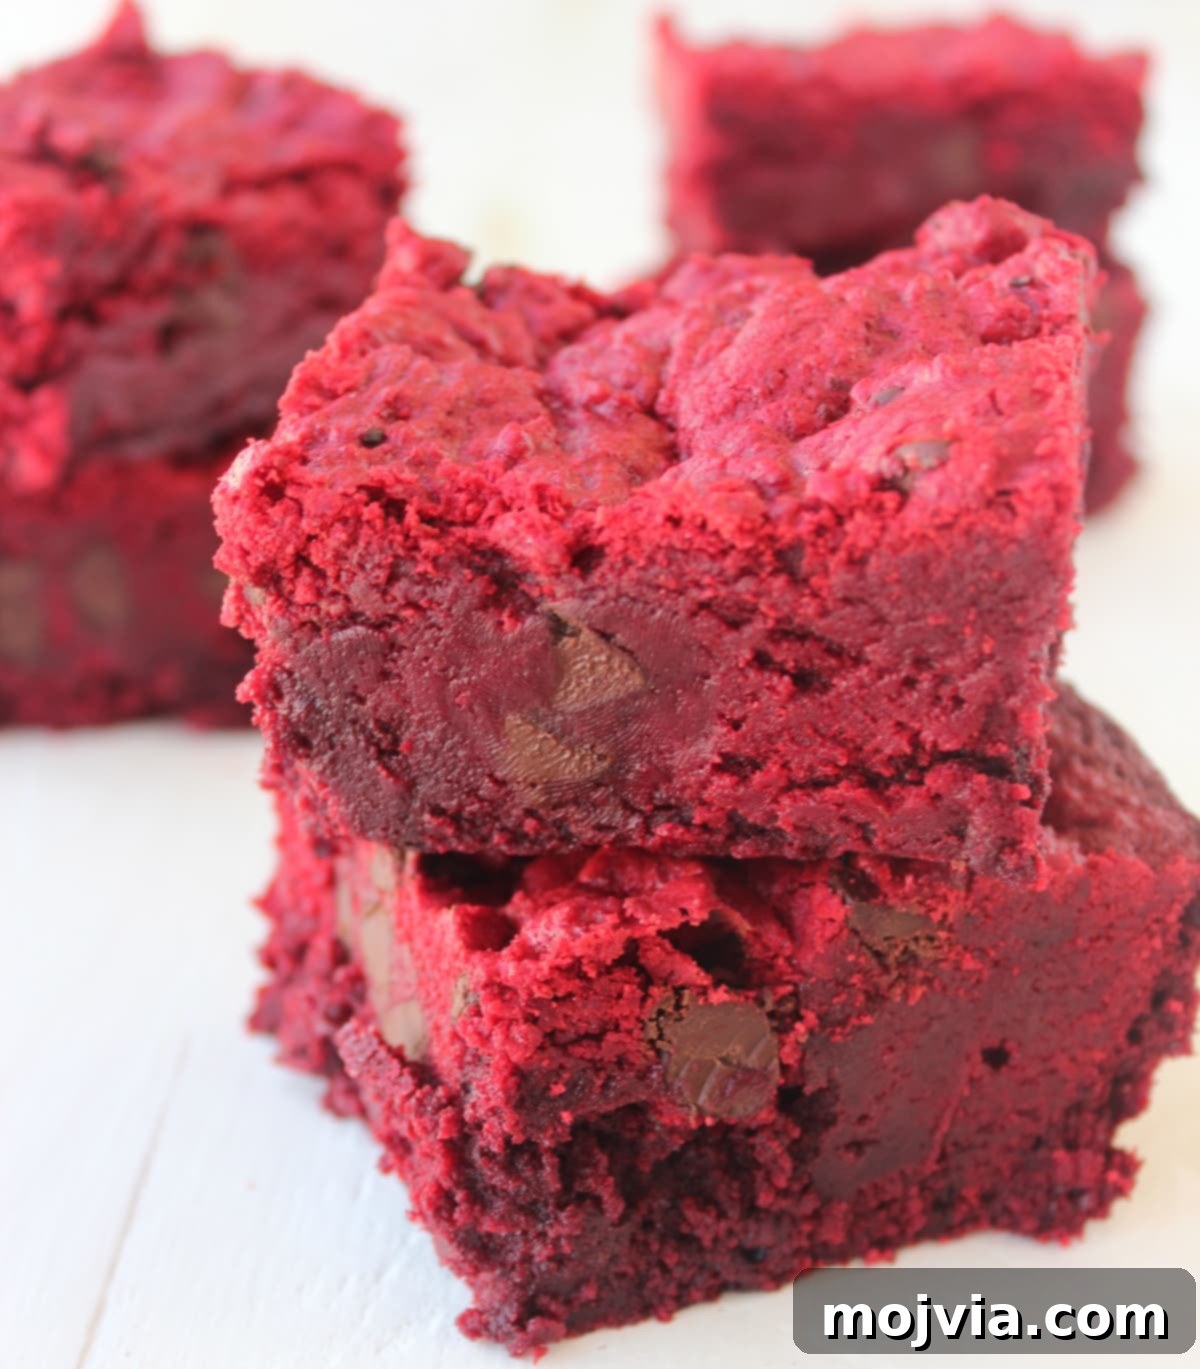
Table of Contents
- The Irresistible Allure of Red Velvet Brookies
- Ingredients for Red Velvet Brookies
- Step-by-Step Guide to Baking Red Velvet Brookies
- Pro Tips for Perfect Brookies
- Frequently Asked Questions About Red Velvet Brookies
- What to Serve With Your Decadent Brookies
- More Red Velvet Creations
- Red Velvet Brookies Recipe Card
The Irresistible Allure of Red Velvet Brookies
Forget everything you thought you knew about your favorite red-hued treats. Move over Red Velvet Oreos and classic Red Velvet cakes! There’s a new dessert royalty in town, captivating hearts and taste buds with its glorious layers: the magnificent Red Velvet Brookie. This innovative creation perfectly marries the rich, tender texture of a brownie with the chewy delight of a chocolate chip cookie, all infused with that signature red velvet flavor and a vibrant pop of color.
Since the first introduction of beloved Nutella Brookies back in 2015, the quest for exciting new brookie variations has been a delicious adventure. And what better inspiration for a new, amazing recipe than the season of love itself? Valentine’s Day sparked the idea for these ruby-red beauties, transforming ordinary baking into a celebration of color and flavor. But don’t let their holiday origins fool you—these Red Velvet Brookies are truly a treat for any day you desire a touch of sweet, chocolatey perfection.
Imagine biting into a soft, fudgy brownie base, swirled with notes of cocoa and a hint of tang, topped with a generous layer of classic chocolate chip cookie dough, made extra special with that iconic red velvet twist. The combination is simply divine, offering a complex yet harmonious flavor profile that will leave you craving more. These brookies are not just a dessert; they’re an experience—a symphony of textures and tastes that elevate the humble brownie and cookie into something truly extraordinary.
Whether you cut them into neat squares for a sophisticated presentation or use a heart-shaped cutter for a playful, romantic touch, one thing is certain: you won’t be able to stop at just one. I even found myself wrapping these up in charming, heart-covered bags to share with friends, primarily to save myself from devouring the entire batch solo—and trust me, it would have happened!
Beyond their stunning appearance and incredible taste, Red Velvet Brookies offer a delightful blend of familiarity and novelty. They take beloved dessert components and combine them in a way that feels both comforting and exciting. Perfect for potlucks, parties, or simply as a well-deserved personal treat, these brookies are guaranteed to be a showstopper. Get ready to impress your family and friends with this simple yet sensational recipe that is destined to become a new favorite in your baking repertoire.
Ingredients for Red Velvet Brookies
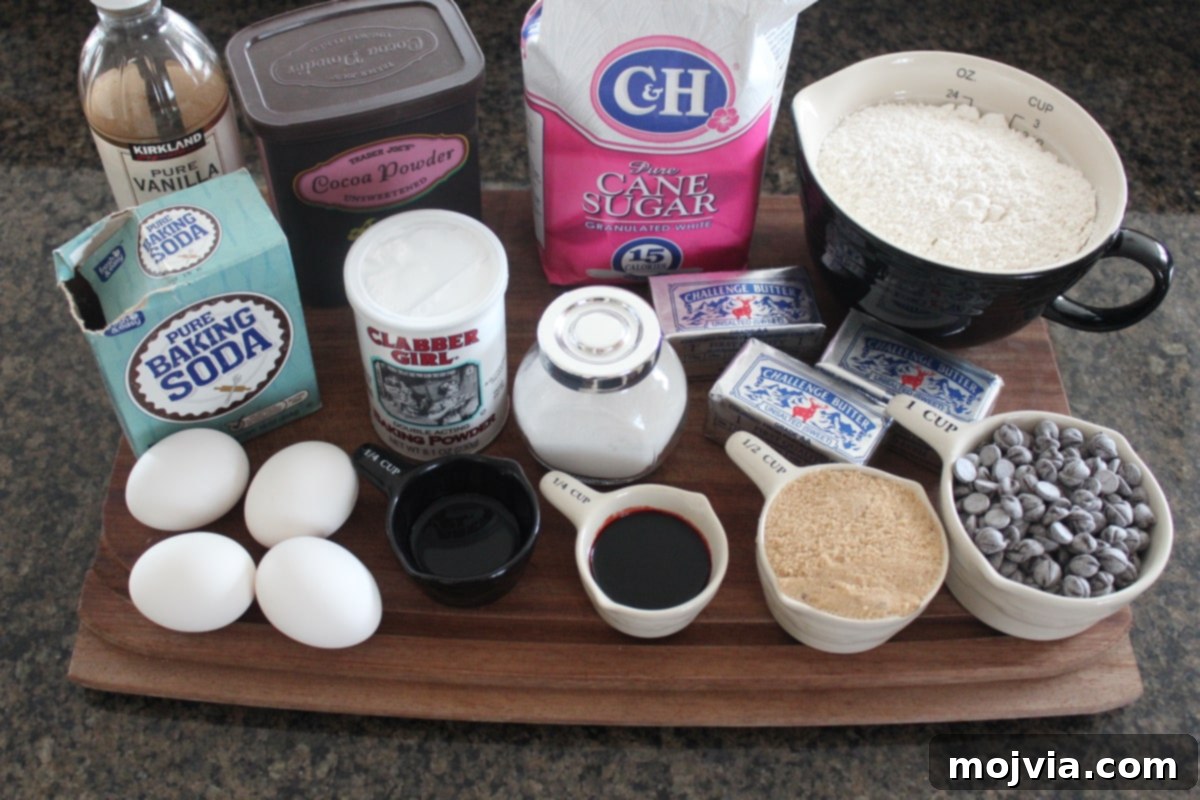
Crafting the perfect Red Velvet Brookies requires a thoughtful selection of ingredients for both the brownie and cookie layers. Each component plays a crucial role in achieving the desired flavor, texture, and vibrant color. Here’s a breakdown of what you’ll need, along with a few insights to ensure your brookies turn out absolutely perfect:
For the Red Velvet Cookie Dough:
- All-Purpose Flour: The structural backbone of our cookie dough. Using all-purpose flour provides the ideal chewiness.
- Unsweetened Cocoa Powder: This provides the subtle chocolatey depth characteristic of red velvet. Opt for a good quality cocoa for richer flavor.
- Kosher Salt: Essential for balancing the sweetness and enhancing all the other flavors.
- Baking Powder: A leavening agent that helps the cookies rise slightly, contributing to a softer texture.
- Unsalted Butter (Room Temperature): Crucial for creaming with sugars, creating a light and airy base for the cookie dough. Ensure it’s truly at room temperature for best results.
- Granulated Sugar & Brown Sugar: A combination of sugars ensures both crisp edges and a soft, chewy interior. Brown sugar adds moisture and a hint of molasses flavor.
- Eggs (Whole Egg + Egg Yolk): The whole egg binds the ingredients, while the extra egg yolk adds richness, moisture, and chewiness, making the cookies incredibly tender.
- Red Food Coloring: This is where the “red” in red velvet comes from! Liquid or gel food coloring works, with gel often providing a more intense color with less volume.
- Vanilla Extract: A classic flavor enhancer that complements the cocoa beautifully. Use pure vanilla extract for the best taste.
- White Vinegar: The secret ingredient in red velvet! It reacts with the cocoa powder and baking soda (often present in cocoa or leavening agents) to deepen the red color and add a subtle tang that defines red velvet flavor.
- Chocolate Chips: I recommend semi-sweet chocolate chips for a balanced sweetness, but feel free to experiment with milk chocolate, white chocolate, or dark chocolate chips to customize your brookies.
For the Red Velvet Brownie Batter:
- Unsalted Butter (Room Temperature): Again, room temperature butter is key for achieving that smooth, fudgy brownie texture.
- Granulated Sugar: Provides sweetness and contributes to the crackly top of the brownies.
- Vanilla Extract: Enhances the overall flavor profile of the brownie layer.
- Eggs: Provide structure and moisture, ensuring a rich, fudgy brownie.
- Red Food Coloring: To give the brownie layer its signature red velvet hue.
- White Vinegar: For that essential red velvet tang and color enhancement.
- All-Purpose Flour: Gives the brownies their structure. Avoid overmixing once flour is added to keep them tender.
- Unsweetened Cocoa Powder: The chocolate element for the brownie base.
- Kosher Salt: To balance the sweetness and deepen the chocolate flavor.
- Baking Powder: A small amount to give the brownies a slight lift without making them too cakey.
Having all your ingredients at room temperature, especially the butter and eggs, is a game-changer for baking consistency and texture. Take the time to measure accurately, and you’ll be well on your way to baking absolutely spectacular Red Velvet Brookies!
Step-by-Step Guide to Baking Red Velvet Brookies
Creating these layered red velvet delights is a fun and straightforward process. Follow these detailed instructions to ensure your brookies come out perfectly baked, fudgy, and chewy.
Prepping for Success:
Before you begin mixing, preheat your oven to 325°F (160°C). This ensures your oven is at the correct temperature when your batter is ready. Also, prepare a 9-inch x 13-inch baking dish by spraying it thoroughly with cooking spray. This will prevent sticking and make for easy removal of your brookies later.
Creating the Red Velvet Chocolate Chip Cookie Dough:
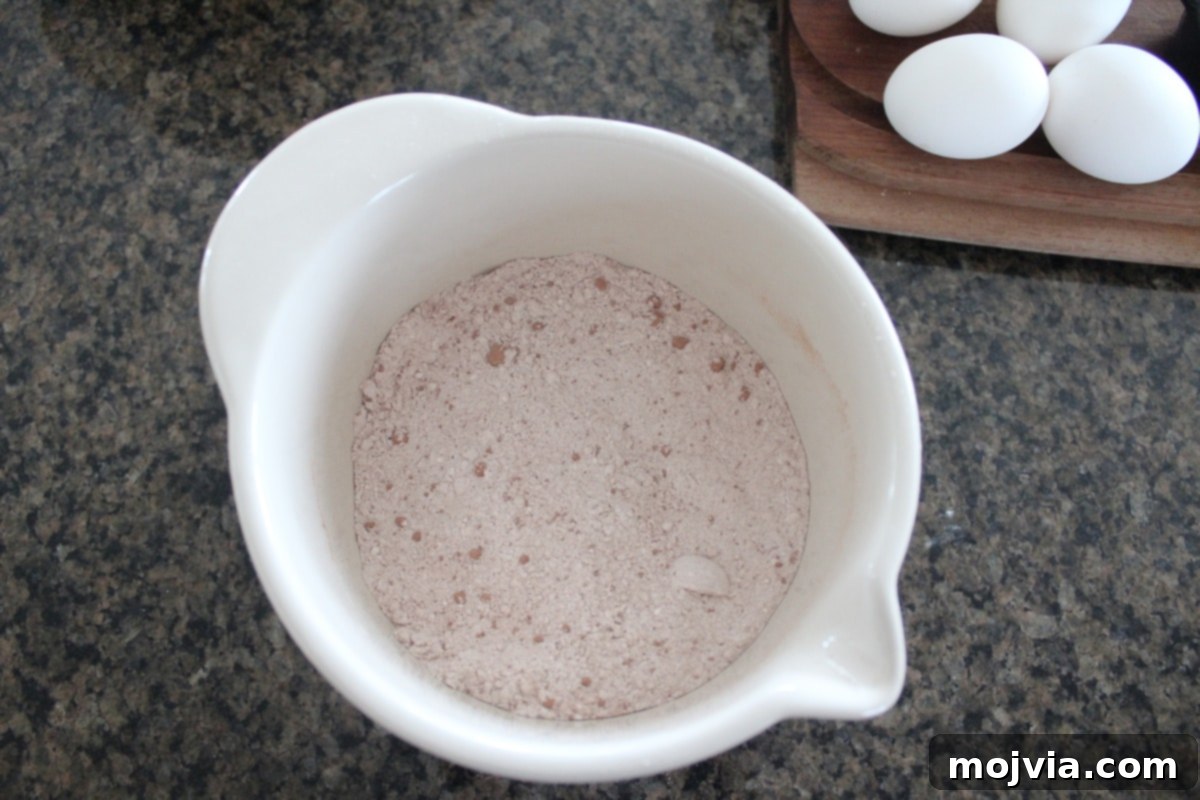
- Combine Dry Ingredients: In a small mixing bowl, whisk together the flour, unsweetened cocoa powder, kosher salt, and baking powder. This ensures all the dry components are evenly distributed. Set this bowl aside.
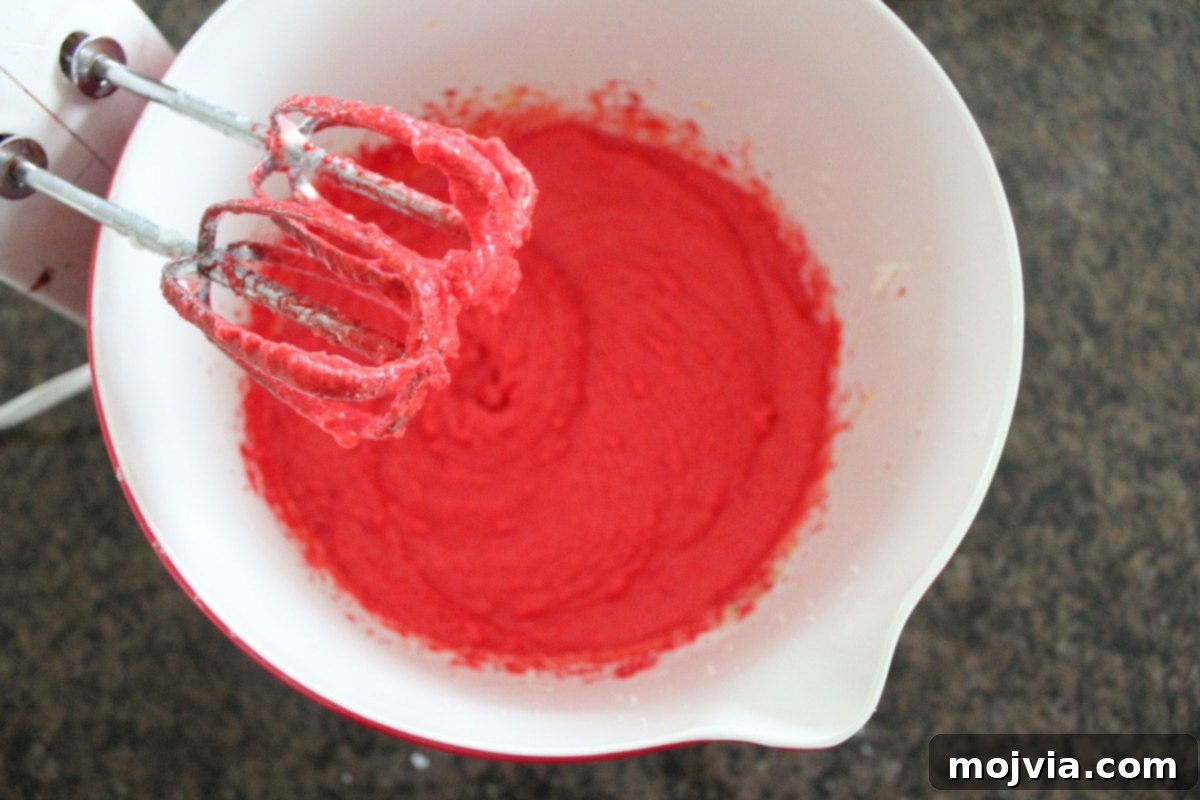
- Cream Wet Ingredients: In a larger mixing bowl, using an electric hand mixer or a stand mixer fitted with the paddle attachment, cream together the room temperature butter, granulated sugar, and brown sugar until the mixture is light, fluffy, and smoothly combined. This process incorporates air, contributing to the cookie’s texture.
- Add Eggs and Flavor: Beat in the whole egg and the additional egg yolk one at a time, mixing well after each addition until fully incorporated. Then, mix in the red food coloring, vanilla extract, and white vinegar until the color is uniform and vibrant.
- Combine Wet and Dry: Gradually add the reserved dry ingredient mixture to the wet ingredients, mixing on low speed until just combined. Be careful not to overmix, as this can lead to tough cookies.
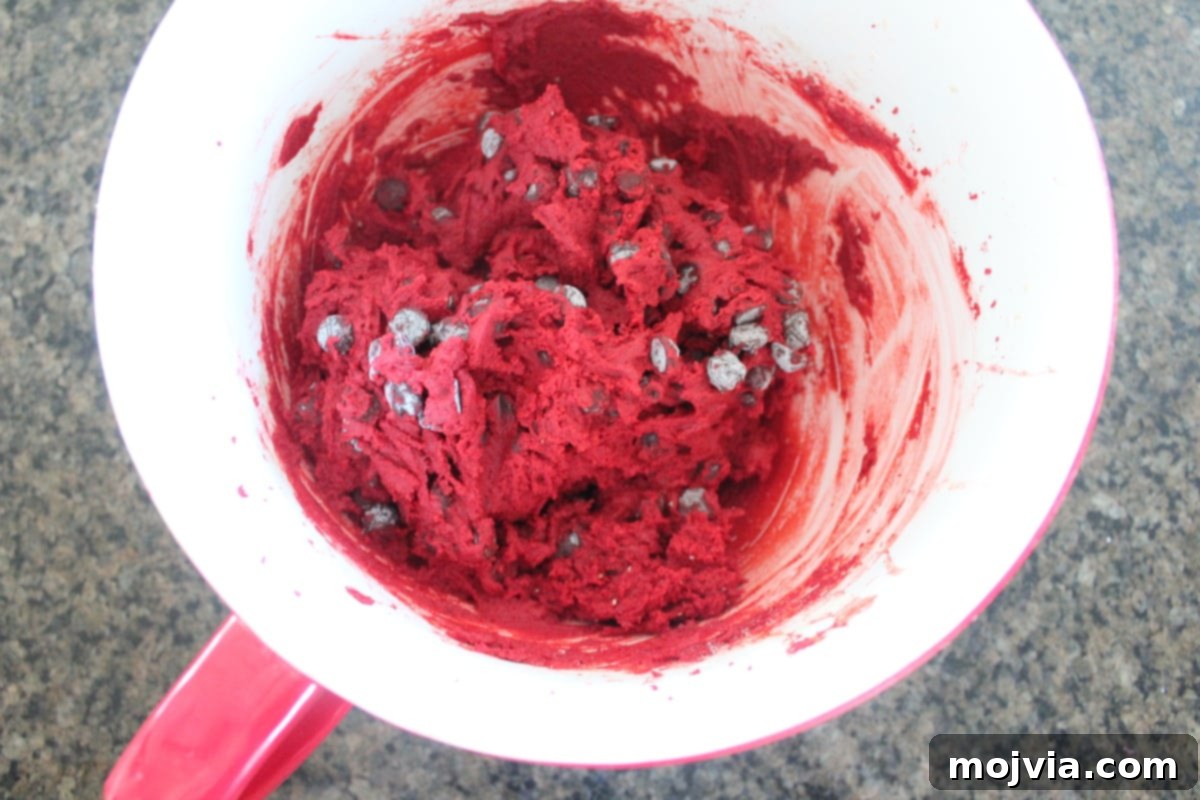
- Fold in Chocolate Chips: Gently fold in the chocolate chips by hand using a spatula. This prevents them from breaking up too much.
- Chill the Dough: Place the finished cookie dough in the refrigerator. Chilling helps to firm up the dough, making it easier to handle and preventing it from spreading too much during baking.
Preparing the Red Velvet Brownie Batter:
- Cream Butter and Sugar: In a separate large bowl, cream the room temperature butter and granulated sugar together until light and fluffy. This is a foundational step for fudgy brownies.
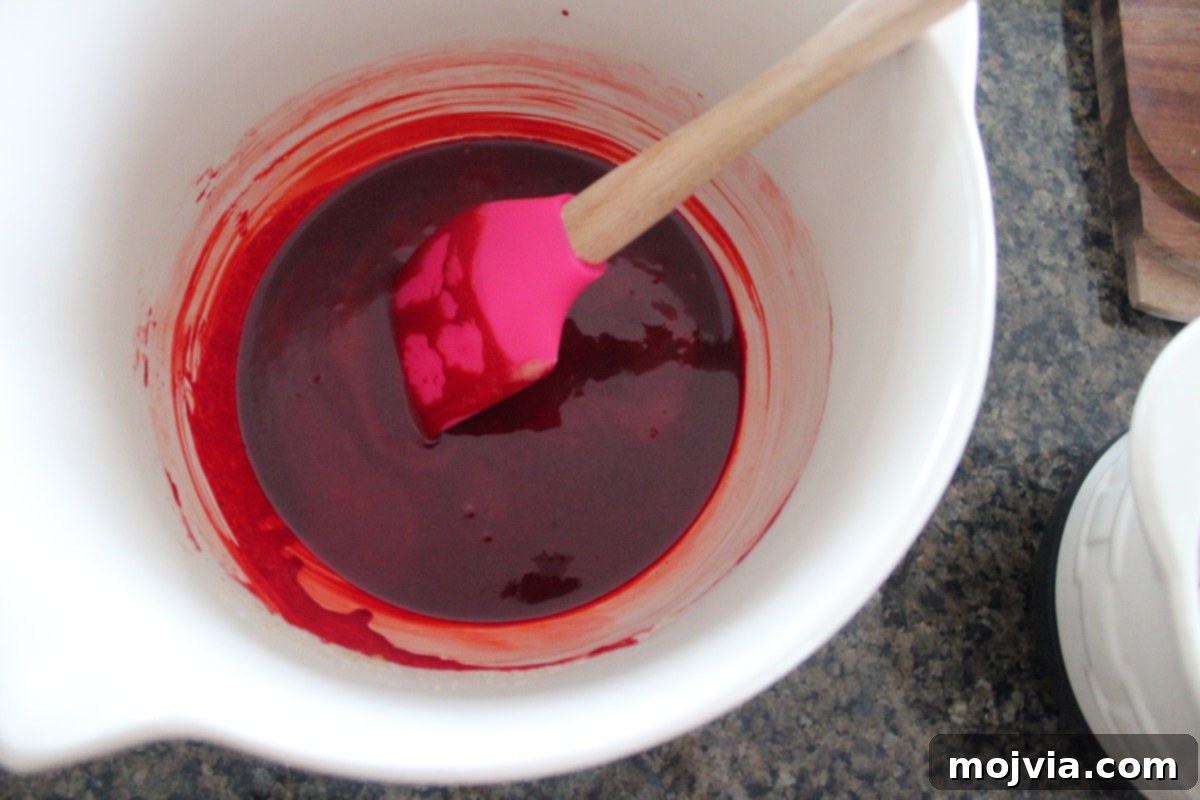
- Mix Wet Ingredients: Stir in the vanilla extract, eggs, red food coloring, and white vinegar until the mixture is smooth and evenly colored.
- Combine Dry Brownie Ingredients: In another separate bowl, whisk together the cocoa powder, flour, kosher salt, and baking powder.
- Fold Wet and Dry: Add the dry cocoa-flour mixture to the butter-sugar mixture and blend well until just combined. Again, avoid overmixing.
Assembling and Baking Your Brookies:
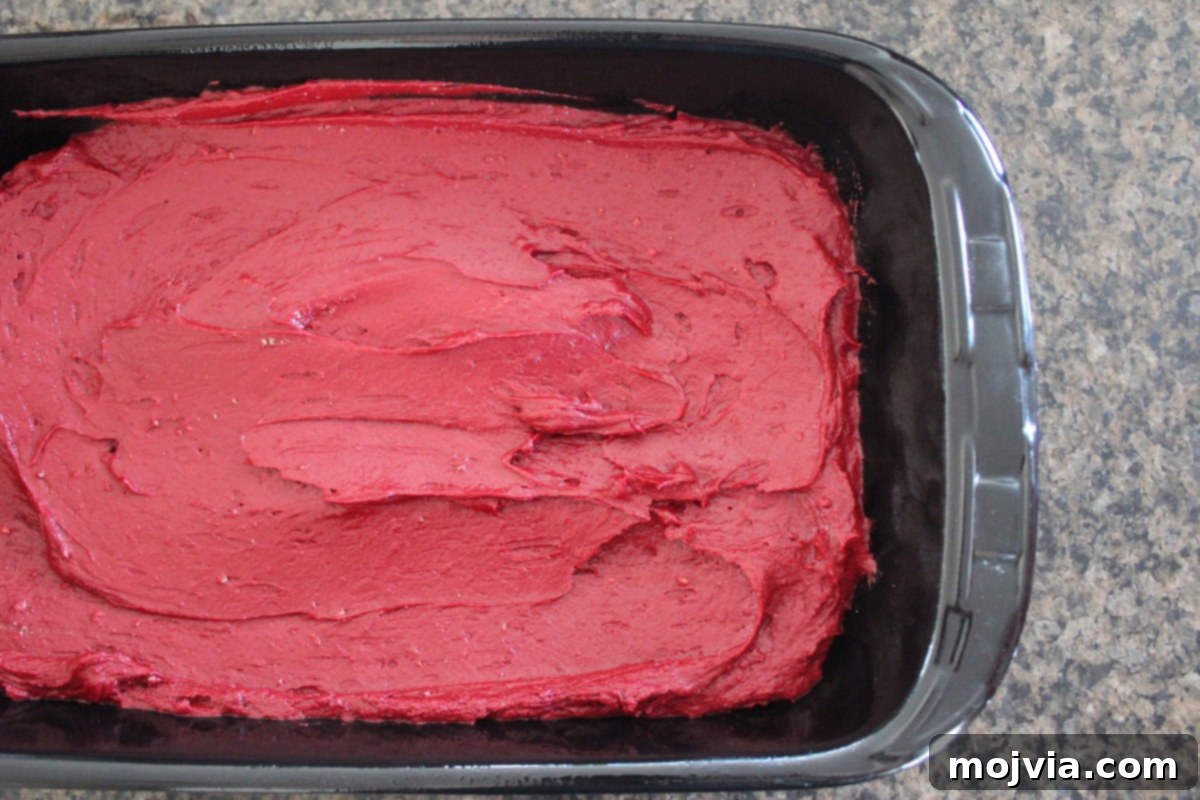
- Layer the Brownie Batter: Evenly spread the red velvet brownie batter into the bottom of your prepared 9×13 inch baking dish. This forms the foundational layer of your brookies.
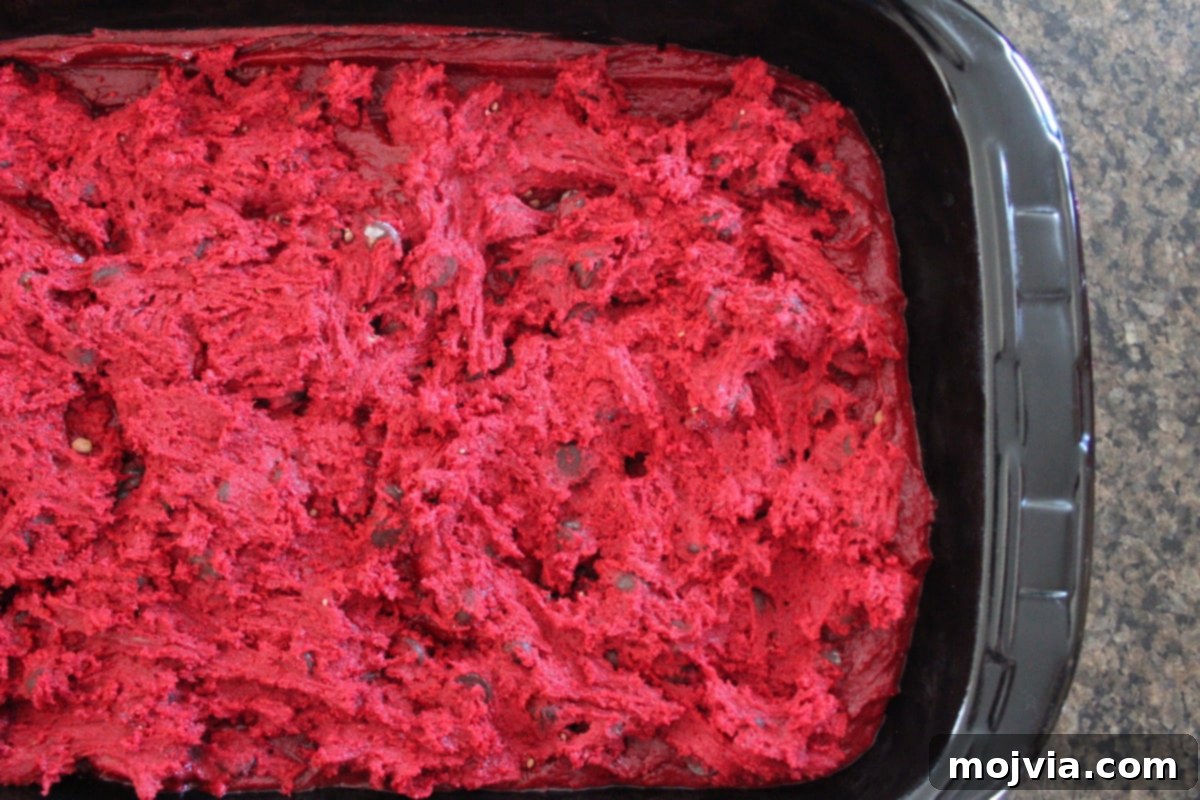
- Top with Cookie Dough: Remove the chilled cookie dough from the refrigerator. Gently crumble or dollop spoonfuls of the cookie dough evenly over the brownie batter. You don’t need to spread it perfectly smooth; some texture adds to the charm.
- Bake to Perfection: Place the baking dish into your preheated 325°F oven. Bake for approximately 40-50 minutes. The brookies are done when a toothpick inserted into the brownie portion comes out with moist crumbs, not wet batter. The cookie top should be set and lightly golden.
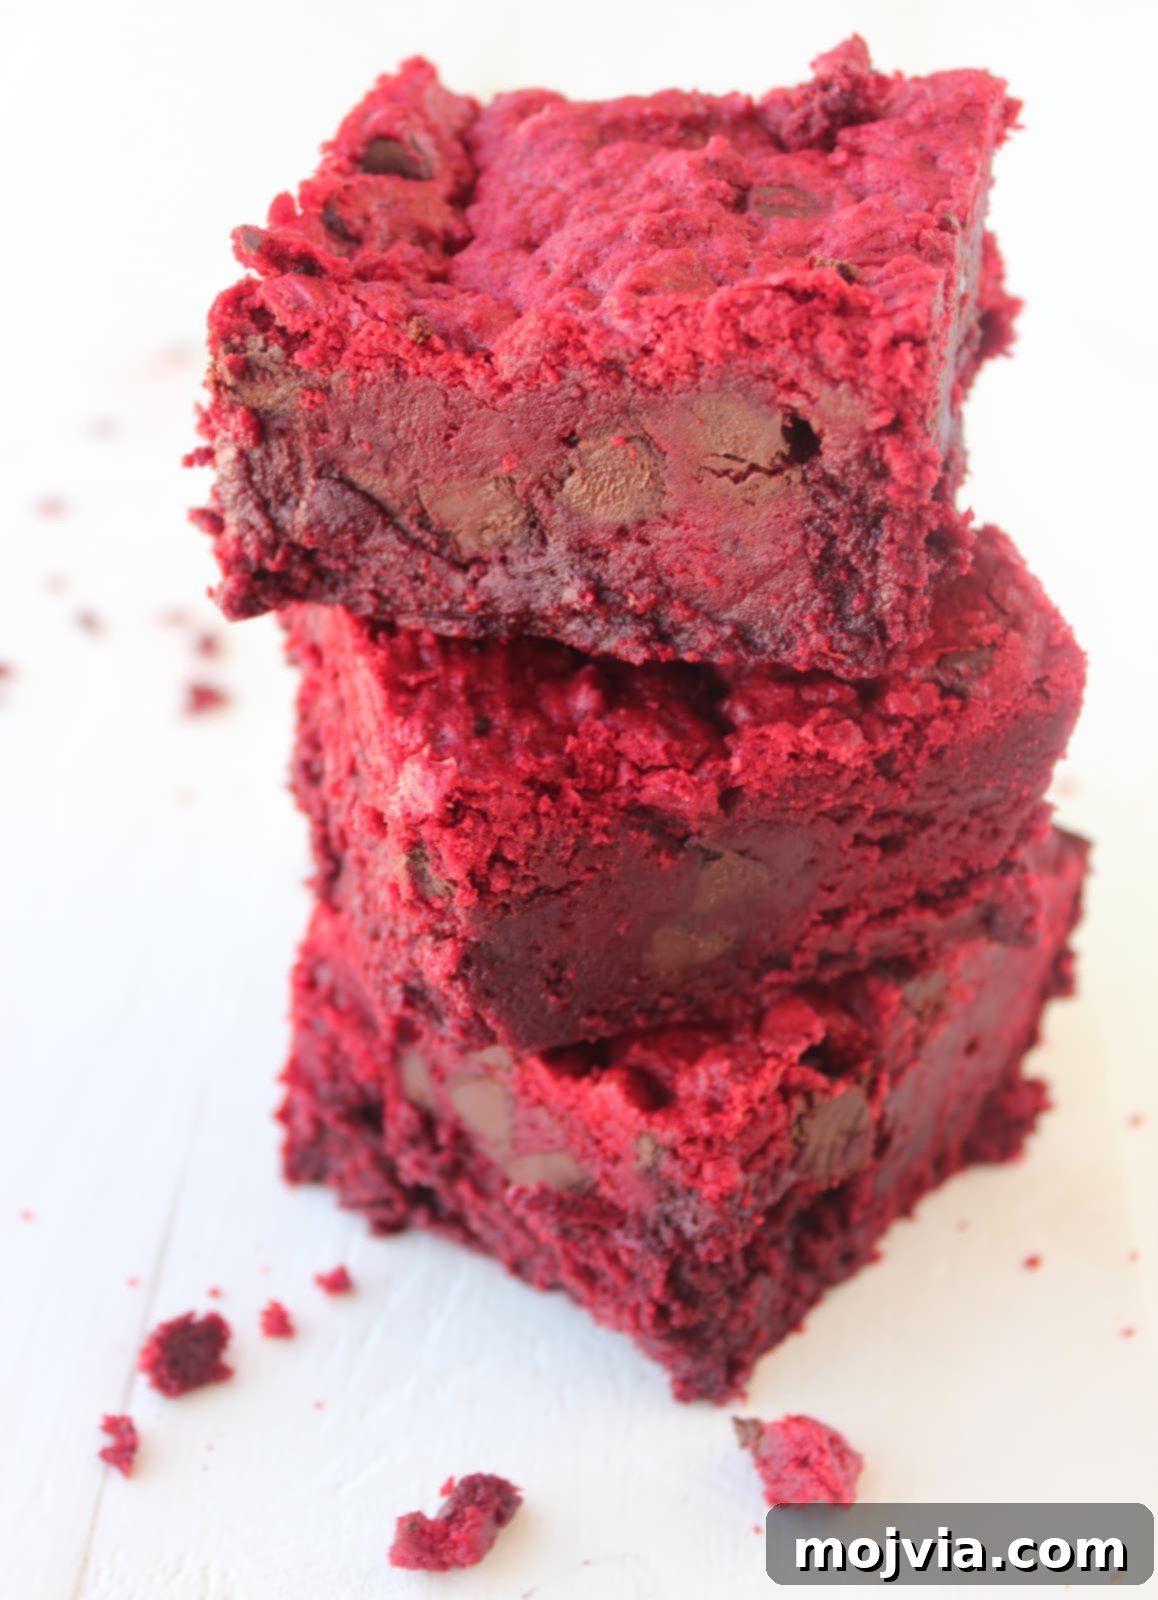
- Cool and Serve: Once baked, remove the brookies from the oven and let them cool completely in the pan on a wire rack. This is crucial for them to set properly and achieve the perfect fudgy-chewy texture. Cooling thoroughly also makes slicing much easier. After cooling, slice into squares or your desired shapes and enjoy!
Pro Tips for Perfect Brookies
Achieving brookie perfection is within reach with a few expert tips and tricks. Whether you’re a seasoned baker or just starting, these insights will help you master your Red Velvet Brookies and ensure they turn out beautifully every time.
- Room Temperature Ingredients are Key: This cannot be stressed enough, especially for butter and eggs. Room temperature butter creams more smoothly with sugar, incorporating air for a lighter texture. Cold ingredients can result in a lumpy batter and an inconsistent bake. Plan ahead and take your butter and eggs out of the fridge at least 30-60 minutes before you start baking.
- Don’t Overmix the Batter: Once you add the dry ingredients to the wet ingredients for both the cookie dough and brownie batter, mix only until just combined. Overmixing develops the gluten in the flour, leading to tough, dense brookies instead of the desired fudgy brownie and chewy cookie textures. A few lumps of flour are fine; they’ll disappear during baking.
- Quality of Food Coloring Matters: For the most vibrant red velvet color, opt for gel food coloring over liquid. Gel colors are more concentrated, meaning you’ll need less to achieve a deep, rich red without altering the consistency of your batter. Brands like Wilton or Americolor are excellent choices.
- Chill the Cookie Dough: While it might seem like an extra step, chilling the cookie dough is vital. It allows the butter to firm up, preventing the cookies from spreading too much in the oven. It also helps the flavors meld and makes the dough easier to handle when layering it over the brownie batter. A minimum of 30 minutes in the refrigerator is recommended.
- Evenly Spread the Layers: Take your time to spread both the brownie batter and the cookie dough as evenly as possible in the baking dish. An even distribution ensures that each bite of brookie has a perfect balance of both layers and that they bake uniformly.
- Baking Time Varies: Ovens can vary significantly, so the baking time is often an estimate. Start checking your brookies around the 40-minute mark. You’re looking for the brownie layer to be mostly set but still slightly soft in the center (it will firm up as it cools). A toothpick inserted into the brownie portion should come out with moist crumbs, not wet batter. If it’s too wet, continue baking in 5-minute increments.
- Cool Completely: Patience is a virtue when it comes to brookies! Resist the urge to cut into them immediately. Allowing the brookies to cool completely in the pan is essential for them to set properly. This ensures the brownie layer achieves its fudgy texture and the cookie layer remains chewy. Cutting them too soon can result in a crumbly mess.
- Customize Your Chocolate Chips: While semi-sweet chocolate chips are a classic choice, don’t hesitate to experiment! White chocolate chips can add a lovely visual contrast and creamy sweetness, while dark chocolate chips will intensify the chocolate flavor. A mix of different types of chips can also create an exciting texture and flavor profile.
By following these tips, your Red Velvet Brookies will be a triumph—perfectly textured, beautifully colored, and utterly delicious!
Frequently Asked Questions About Red Velvet Brookies
- What flavor is red velvet, exactly? Red velvet is a distinctive flavor profile best described as a mild chocolate with a slight tang. This unique taste comes from the combination of cocoa powder, buttermilk (or in this recipe, vinegar acting similarly), and sometimes a touch of coffee. The vinegar reacts with the cocoa and baking powder to deepen the red color and contribute to that subtle, pleasant tang. It’s truly a balanced blend of sweet, rich, and tangy notes, all enhanced by its signature vibrant red hue from food coloring.
- What’s the difference between fudgy and cakey brownies? The distinction lies mainly in the fat-to-flour ratio and the leavening agents used. Fudgy brownies typically contain more butter and chocolate (or cocoa) and fewer leavening agents (like baking powder) compared to cakey brownies. They often have a higher ratio of fat to flour and eggs to flour, resulting in a dense, moist, and intensely chocolatey texture. Cakey brownies, on the other hand, tend to have more flour and leavening, giving them a lighter, fluffier, and more crumbly cake-like consistency. Our Red Velvet Brookies recipe leans towards fudgy for that decadent brownie base.
- How do you store brookies to keep them fresh? To maintain their optimal freshness and delicious texture, store your Red Velvet Brookies in an airtight container at room temperature for up to 3-5 days. For longer storage, you can freeze them! Place cooled brookies in a single layer on a baking sheet to flash freeze for about an hour, then transfer them to an airtight freezer-safe container or a heavy-duty freezer bag. They will stay fresh in the freezer for up to 3 months. When you’re ready to enjoy, simply thaw them at room temperature or warm them gently in the microwave for a few seconds.
What to Serve With Your Decadent Brookies
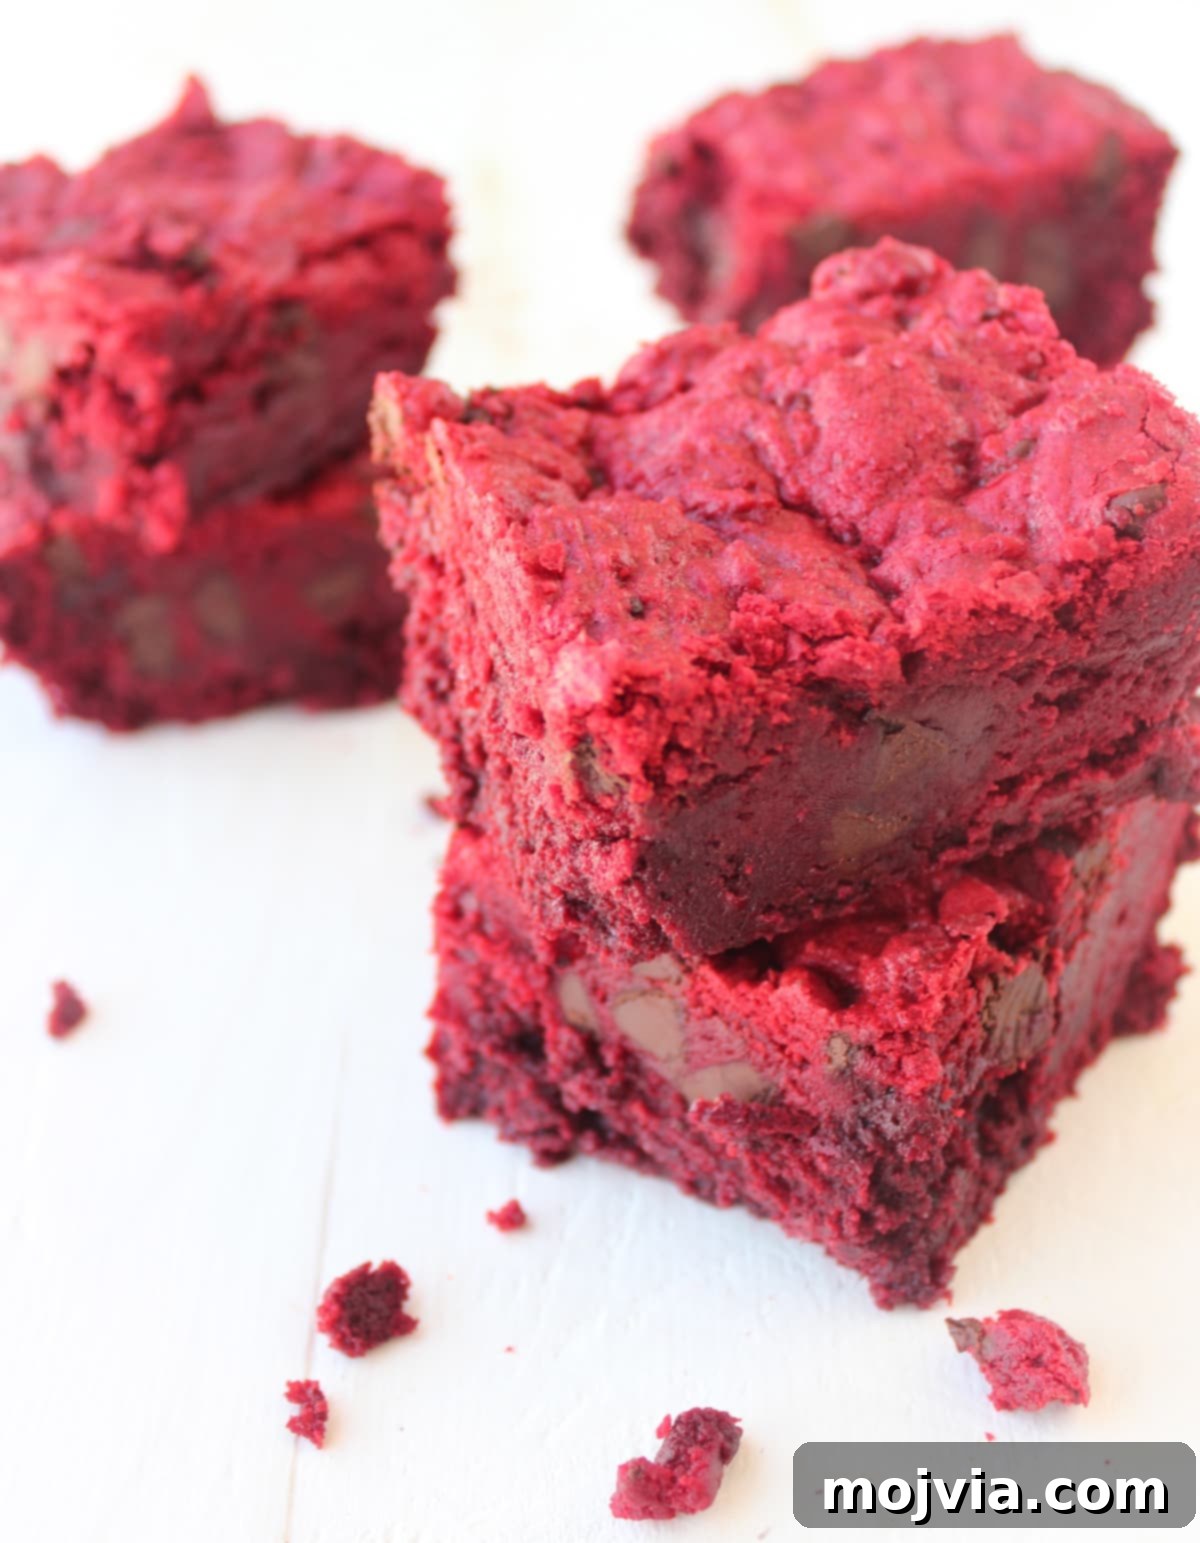
While Red Velvet Brookies are undeniably delightful on their own, pairing them with the right accompaniment can elevate your dessert experience to an entirely new level. Consider making these irresistible treats “à la mode” for an extra special indulgence. The combination of warm, fudgy brookies and cold, melting ice cream is pure bliss!
For the ultimate experience, I highly recommend warming your brookies in the microwave for about 20-30 seconds before serving. This will make them wonderfully soft and slightly gooey, allowing the ice cream to melt just enough to create a delightful sauce. Here are some fantastic no-churn ice cream recipes that would perfectly complement your Red Velvet Brookies:
- Salted Caramel Ice Cream: The rich, buttery notes of caramel pair beautifully with the chocolatey tang of red velvet.
- Moose Tracks Ice Cream: A combination of chocolate, peanut butter cups, and fudge swirls would add incredible depth and texture.
- Milk and Cookies Ice Cream: Enhance the cookie layer of your brookie with this comforting, familiar flavor.
- Strawberry Ice Cream: The fresh, fruity sweetness of strawberry offers a delightful contrast to the rich red velvet.
- Chocolate Ice Cream: For the ultimate chocolate lover, a scoop of creamy chocolate ice cream intensifies the cocoa notes.
- Classic No-Churn Ice Cream: A simple vanilla or plain sweet cream ice cream would allow the red velvet flavors to truly shine.
Beyond ice cream, a dollop of fresh whipped cream, a drizzle of chocolate fudge sauce, or even a sprinkle of powdered sugar can also make for a lovely presentation and added layer of enjoyment. Experiment and find your favorite combination!
More Red Velvet Creations
If you’ve fallen in love with the unique blend of chocolatey tang and striking red hue of these brookies, then you’re undoubtedly a fan of all things red velvet! This beloved flavor profile lends itself beautifully to a variety of desserts. If you can’t get enough of this delightful decadence, these recipes are perfect for your next baking adventure. They promise more of that vibrant color and rich flavor you crave!
Red Velvet Brookies Recipe Card
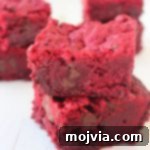
Red Velvet Brookies
Red velvet chocolate chip cookie dough is layered on top of red velvet brownie batter in this delicious recipe for Red Velvet Brookies!
Servings: 15 brookies
Prep Time: 30 mins
Cook Time: 40 mins
Total Time: 1 hr 10 mins
Author: Whitney Bond
Course: Dessert
Cuisine: American
Pin Recipe
Ingredients
Red Velvet Cookie Dough
- 1 ¾ cups flour
- ¼ cup unsweetened cocoa
- ½ teaspoon kosher salt
- ½ teaspoon baking powder
- ¾ cup butter, at room temperature
- ½ cup granulated sugar
- 1 cup brown sugar
- 1 egg
- 1 egg yolk
- 1 tablespoon red food coloring
- 1 tablespoon vanilla extract
- 1 teaspoon white vinegar
- 1 ½ cups chocolate chips
Red Velvet Brownie Batter
- 1 cup butter, at room temperature
- 2 cups sugar
- 1 teaspoon vanilla extract
- 3 eggs
- 1 tablespoon red food coloring
- 1 teaspoon white vinegar
- 1 cup flour
- 1 cup unsweetened cocoa
- ½ teaspoon kosher salt
- ½ teaspoon baking powder
Instructions
- Preheat the oven to 325°F (160°C). Prepare a 9×13 inch baking dish by spraying it with cooking spray.
Prepare the cookie dough:
- Combine the flour, cocoa, salt, and baking powder in a small mixing bowl and set aside.
- In a large bowl, mix together the butter, granulated sugar, and brown sugar until smooth and creamy.
- Combine the egg and egg yolk with the other ingredients, mixing well.
- Add in the food coloring, vanilla, and vinegar, mixing until the color is uniform.
- After the ingredients are well combined, add in the dry ingredients and mix until just incorporated.
- Hand mix in the chocolate chips.
- Place the dough in the refrigerator to chill while you prepare the brownie batter.
Prepare the brownie batter:
- Cream the butter and sugar together in a large bowl.
- Stir in the vanilla, eggs, red food coloring, and vinegar until smooth.
- Mix the cocoa, flour, salt, and baking powder together in a separate bowl.
- Add the cocoa-flour mixture to the butter-sugar mixture and blend well until just combined.
Assemble and Bake:
- Spread the brownie batter evenly into the prepared 9×13 inch baking dish.
- Remove the cookie dough from the refrigerator and spread it in dollops or crumbles evenly over the brownie batter.
- Place in the preheated oven and bake for 40-50 minutes, or until a toothpick inserted into the brownie layer comes out with moist crumbs.
- Let cool completely on a wire rack before slicing into squares and serving.
Nutrition Facts
Calories: 589 kcal (29% DV)
Carbohydrates: 82g (27% DV)
Protein: 6g (12% DV)
Fat: 28g (43% DV)
Saturated Fat: 17g (85% DV)
Cholesterol: 116mg (39% DV)
Sodium: 380mg (16% DV)
Potassium: 209mg (6% DV)
Fiber: 3g (12% DV)
Sugar: 59g (66% DV)
Vitamin A: 785mg (16% DV)
Vitamin C: 0.1mg
Calcium: 75mg (8% DV)
Iron: 2.7mg (15% DV)
Did you make this recipe?
Tag @WhitneyBond on Instagram and hashtag it #WBRecipes!